
Note: This article is written for web publishing and synthesizes practical food-safety, appliance-care, and home-cleaning guidance from reputable U.S. public health, appliance, consumer, and home-care resources. Source links are intentionally not inserted, per request.
Your refrigerator is the hardest-working appliance in the kitchen. It runs all day, guards your leftovers, chills your drinks, and silently judges that mystery container in the back corner. Cleaning it may not be your idea of weekend glamour, but a fresh refrigerator can protect food quality, reduce odors, improve appliance performance, and make cooking feel less like an archaeological dig.
The good news? Learning how to clean a refrigerator does not require a chemistry degree, a hazmat suit, or dramatic music. With the right supplies and a simple system, you can clean the refrigerator interior, polish the exterior, refresh the gaskets, clear the coils, and organize everything so your fridge looks less like a food traffic jam.
This complete guide walks you through refrigerator cleaning from top to bottom: shelves, drawers, door seals, stainless steel surfaces, water dispensers, coils, freezer zones, odors, spills, and smart maintenance habits. Grab a sponge, take a deep breath, and prepare to meet the celery you forgot in March.
Why Cleaning Your Refrigerator Matters
A clean refrigerator is not just about appearances. Yes, sparkling shelves are satisfying, but the real value is food safety and appliance efficiency. Refrigerators are designed to slow bacterial growth by keeping food cold, ideally at 40°F or below. However, spills, spoiled food, raw meat juices, and sticky containers can introduce germs and odors that spread across shelves and drawers.
Regular refrigerator cleaning helps you remove expired food, prevent cross-contamination, control odors, and make better use of space. It also gives you a chance to check whether the fridge is cooling properly. If your refrigerator is overloaded, dirty, or blocked by old containers, air may not circulate as well as it should.
Cleaning the exterior matters too. Handles are touched constantly, often right after someone has handled raw ingredients, opened the trash can, or performed the classic “just one more snack” maneuver. Meanwhile, condenser coils can collect dust, pet hair, and kitchen grime. When coils are dirty, the refrigerator may work harder to stay cold, which can affect energy use and long-term performance.
How Often Should You Clean a Refrigerator?
A refrigerator does not need a full spa day every week, but it does appreciate regular attention. Think of refrigerator cleaning in three levels: quick maintenance, monthly cleaning, and deep cleaning.
Weekly Refrigerator Maintenance
Once a week, scan for expired food, wipe visible spills, and toss leftovers that have passed their safe window. Many cooked leftovers are best used within three to four days. If a container has become emotionally complicated, throw it away. Food should not require courage.
Monthly Refrigerator Cleaning
Once a month, wipe shelves, drawers, handles, and door bins. This is also a good time to clean sticky condiment bottles before they turn the refrigerator door into a maple syrup crime scene.
Seasonal Deep Cleaning
Every three to four months, do a more complete clean: empty the fridge, remove shelves and drawers, wash removable parts, clean the interior walls, wipe the gasket, vacuum underneath, and check the coils. Homes with pets, heavy cooking, frequent spills, or a large family may need deeper cleaning more often.
Supplies You Need to Clean a Refrigerator
You do not need harsh chemicals for routine refrigerator cleaning. Because food touches or sits near many refrigerator surfaces, gentle cleaning products are usually best.
Basic Refrigerator Cleaning Supplies
Gather warm water, mild dish soap, baking soda, white vinegar, microfiber cloths, a non-scratch sponge, a soft toothbrush, a small bowl, paper towels or clean kitchen towels, trash bags, a cooler with ice packs, and a refrigerator thermometer. For coil cleaning, use a vacuum with a brush attachment and a long refrigerator coil brush.
Optional Supplies
You may also want cotton swabs for crevices, stainless steel cleaner for certain exterior finishes, disposable gloves for old spills or spoiled food, and a diluted sanitizing solution for situations involving raw meat leaks, recalls, or serious contamination.
What to Avoid
Avoid abrasive pads, steel wool, strong-smelling cleaners, and harsh chemicals on food-contact areas. Do not mix cleaning chemicals. Bleach and ammonia, for example, should never attend the same party. Also avoid pouring water into vents, controls, lights, or electrical components.
Step 1: Prepare the Refrigerator for Cleaning
Before you start scrubbing, make a plan. Refrigerator cleaning goes faster when you work in sections and keep food cold while you clean.
Turn Down the Drama, Not the Safety
If the cleaning will take only a few minutes, you can usually leave the refrigerator plugged in. For a full deep clean, especially if you are cleaning coils or moving the appliance, unplug it first. Always follow the manufacturer’s instructions for your specific model.
Use a Cooler for Perishable Food
Place dairy, meat, seafood, eggs, cooked leftovers, and other perishable foods in a cooler with ice packs while you clean. Perishable foods should not sit at room temperature for long. If something has been out for more than two hours, it may need to be discarded.
Take a “Before” Photo
This sounds silly until you are holding three shelves and wondering which one was living above the yogurt. A quick phone photo can help you remember shelf placement, drawer positions, and door bin layout.
Step 2: Empty and Sort the Contents
Remove all food from the refrigerator. Work quickly, but do not rush so much that you miss important details. Group items into categories: keep, toss, clean, and question mark.
Toss Expired or Spoiled Food
Check expiration dates, use-by dates, and leftovers. Throw away anything moldy, slimy, leaking, sour-smelling, or suspiciously ancient. If you cannot identify it, it is not dinner; it is evidence.
Clean Containers Before Returning Them
Sticky jam jars, oily salad dressing bottles, and sauce containers can re-contaminate clean shelves. Wipe containers with a damp cloth before putting them back. This one step makes the whole refrigerator stay cleaner longer.
Check Raw Meat and Seafood Packaging
Raw meat, poultry, and seafood should be sealed and stored where juices cannot drip onto ready-to-eat foods. If packaging has leaked, clean and sanitize the affected area carefully.
Step 3: Remove Shelves, Drawers, and Door Bins
Take out removable shelves, crispers, deli drawers, and door bins. Let glass shelves warm slightly before washing them. Sudden temperature changes can crack glass, and nobody wants refrigerator cleaning to become a glass confetti festival.
Wash Removable Parts
Wash shelves and drawers with warm, soapy water. Use a non-scratch sponge for stuck-on spills. For stubborn residue, sprinkle baking soda on the area or use a paste made from baking soda and water. Rinse thoroughly and dry completely before reinstalling.
Clean Drawer Tracks and Shelf Grooves
Drawer tracks collect crumbs, vegetable flakes, and mysterious grit. Use a soft toothbrush, cotton swab, or folded cloth to clean grooves and corners. These small areas are where odors often hide like tiny villains.
Step 4: Clean the Refrigerator Interior
Now it is time for the main event: cleaning the refrigerator interior. Mix two tablespoons of baking soda with one quart of warm water for a gentle deodorizing solution. You can also use mild dish soap and warm water for routine cleaning.
Wipe from Top to Bottom
Start at the top interior wall and work downward. This prevents dirty water from dripping onto areas you have already cleaned. Wipe the ceiling, side walls, back wall, shelf supports, drawers, door bins, and floor of the refrigerator.
Clean Around Vents Carefully
Air vents help circulate cold air. Wipe around them gently, but do not flood them with water. Blocked vents can affect cooling, so avoid placing food directly against them when you reload the fridge.
Dry Everything Thoroughly
Moisture encourages odors and can make drawers stick. After wiping the interior, dry surfaces with a clean towel. A dry fridge is a happier fridge, and also less dramatic.
Step 5: Clean and Refresh the Door Gasket
The door gasket, also called the rubber seal, is one of the most neglected parts of the refrigerator. It traps crumbs, spills, mildew, and sometimes enough debris to start a tiny civilization.
How to Clean the Refrigerator Gasket
Use warm water with mild dish soap or a baking soda solution. Gently pull back the folds of the gasket and wipe inside with a microfiber cloth or soft toothbrush. Do not yank or stretch the rubber. Rinse with a damp cloth and dry thoroughly.
Check the Seal
A dirty or damaged gasket can prevent the door from sealing properly. If the gasket is cracked, loose, or no longer grips, the refrigerator may lose cold air and work harder. After cleaning, close the door on a piece of paper. If the paper slides out easily, the seal may need attention.
Step 6: Sanitize After Raw Meat Leaks or Food Recalls
Most routine refrigerator cleaning does not require strong sanitizers. However, if raw meat juices leak, spoiled food spreads, or a recalled food item has been stored in the refrigerator, sanitation becomes more important.
Safe Sanitizing Method
After washing affected surfaces with hot, soapy water, you can sanitize with a diluted bleach solution made from one tablespoon of unscented liquid chlorine bleach in one gallon of water. Apply carefully, allow brief contact, then wipe and air-dry. Do not use this solution on surfaces that the manufacturer warns against treating with bleach.
Handle Recalled Food Carefully
If food has been recalled, place it in a sealed bag before throwing it away. Wash reusable containers with hot, soapy water. Then clean and sanitize shelves, drawers, and surfaces that may have touched the food.
Step 7: Remove Refrigerator Odors
Refrigerator odors are usually caused by spills, spoiled food, or porous packaging. The first rule is simple: remove the source. Baking soda cannot save a fridge that is still hosting expired fish.
Use Baking Soda for Freshness
After cleaning, place an open box or shallow dish of baking soda inside the refrigerator. Replace it every few months. Baking soda helps absorb odors, but it works best in a clean refrigerator.
For Strong Odors
If odors remain, remove all food, clean the interior thoroughly, and air out the refrigerator briefly while keeping food safely chilled elsewhere. Activated charcoal or dry coffee grounds can help absorb stubborn smells, but they should not replace proper cleaning.
Step 8: Clean the Refrigerator Exterior
The refrigerator exterior faces fingerprints, grease, dust, and the occasional spaghetti sauce splash. Clean it based on the finish.
Painted or Textured Refrigerator Doors
Use warm water and mild dish soap. Wipe with a microfiber cloth, rinse with a clean damp cloth, and dry. Pay extra attention to handles, edges, and the top of the refrigerator, where dust gathers quietly and confidently.
Stainless Steel Refrigerator Doors
For stainless steel, wipe with the grain using a soft microfiber cloth. Mild dish soap and water work for basic cleaning. For fingerprints, use a stainless steel cleaner recommended by the manufacturer. Avoid bleach, ammonia, abrasive powders, and steel wool, which can damage the finish.
Clean the Handles
Handles are high-touch surfaces. Wipe them frequently, especially after cooking with raw meat, handling groceries, or hosting guests. If your fridge has textured handles, use a soft toothbrush to clean grooves.
Step 9: Clean Under and Behind the Refrigerator
The floor under the refrigerator is where crumbs go to retire. Pull the appliance forward carefully if your model and kitchen layout allow it. Avoid damaging flooring, water lines, or power cords.
Vacuum and Wipe the Floor
Vacuum dust, crumbs, and pet hair from the floor. Wipe sticky spots with a damp cloth and mild cleaner. Dry the floor before moving the refrigerator back.
Inspect the Area
Look for water leaks, pest signs, damaged cords, or unusual dust buildup. Catching small problems early can prevent expensive repairs later.
Step 10: Clean Refrigerator Coils
Condenser coils release heat from the refrigerator. When they are covered in dust and pet hair, the appliance may struggle to cool efficiently. Coil cleaning is one of those chores that sounds technical but is usually simple.
How to Clean Refrigerator Coils
Unplug the refrigerator first. Locate the coils, which may be behind a front grille, underneath the appliance, or on the back. Use a vacuum with a brush attachment to remove loose dust. Then use a long coil brush to gently loosen trapped debris. Vacuum again, clean the grille, and plug the refrigerator back in.
How Often to Clean Coils
For many homes, cleaning refrigerator coils every six months is a practical schedule. If you have pets, heavy dust, or an older refrigerator, clean them more often. Pet hair is basically a sweater your fridge never asked to wear.
Step 11: Clean the Water Dispenser and Ice Area
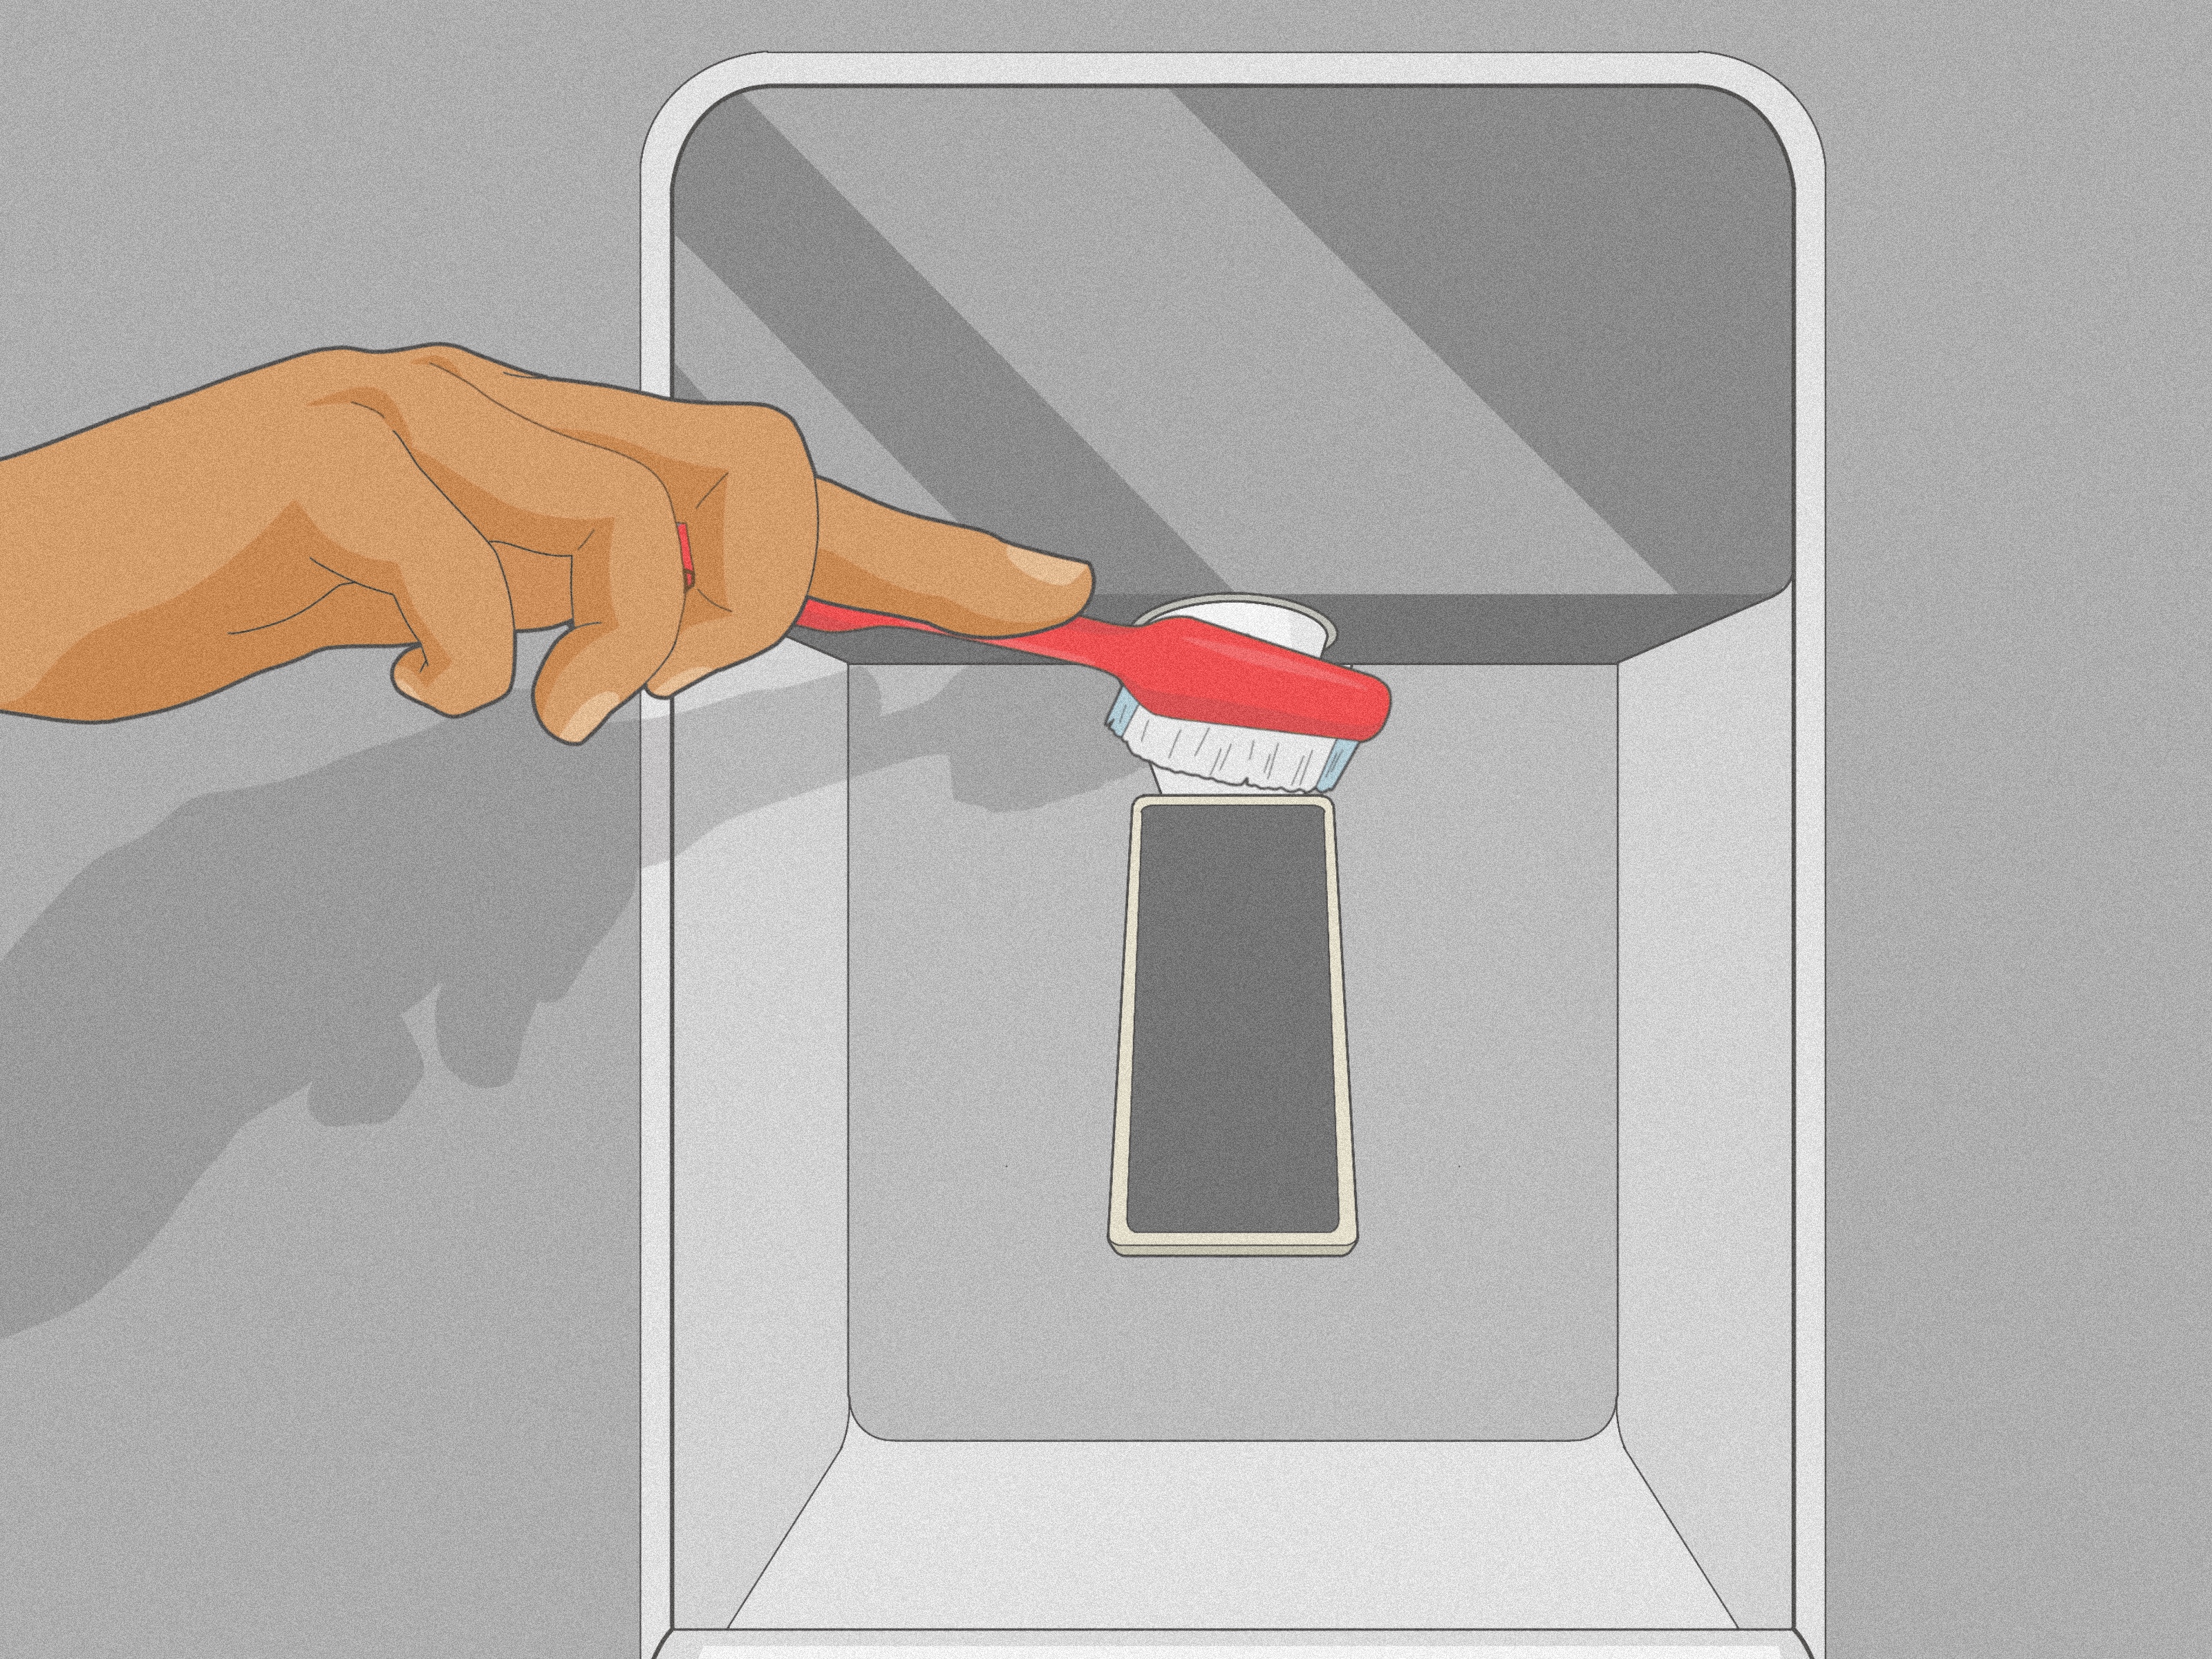
If your refrigerator has a water dispenser or ice maker, include it in your cleaning routine. Moisture, minerals, and splashes can create buildup.
Clean the Dispenser Tray
Remove the tray if possible and wash it with warm, soapy water. For mineral deposits, use white vinegar on a cloth, let it sit briefly, then rinse and dry.
Replace Water Filters
Many refrigerator water filters should be replaced about every six months, though the exact timing depends on your model and water use. Follow your manufacturer’s instructions.
Step 12: Reload the Refrigerator the Smart Way
After everything is clean and dry, reload the fridge with food safety and convenience in mind. Organization is not just for people who label baskets for fun. It can reduce waste and help you find food before it becomes science.
Best Refrigerator Organization Tips
Store ready-to-eat foods and leftovers above raw meat, poultry, and seafood. Keep raw meats in sealed containers on a lower shelf to prevent drips. Put fruits and vegetables in crisper drawers according to your fridge’s humidity settings. Use door shelves for condiments and other items that tolerate slight temperature changes.
Label Leftovers
Use labels or masking tape with dates. This prevents the classic household debate: “Is this chili from Tuesday or from the previous administration?”
Do Not Overpack
Leave room for air circulation. A packed refrigerator may have warm spots, and hidden food is more likely to spoil.
Common Refrigerator Cleaning Mistakes
Even well-intentioned cleaning can go wrong. Avoid these common mistakes to protect your food and your appliance.
Using Strong Chemicals Inside the Fridge
Strong-smelling cleaners can leave residues and odors near food. Mild dish soap, baking soda, and warm water are usually enough for routine cleaning.
Putting Cold Glass Shelves in Hot Water
Cold glass can crack when exposed to hot water. Let shelves come closer to room temperature before washing.
Ignoring the Gasket
A dirty gasket can trap grime and reduce sealing performance. Clean it gently and dry it well.
Skipping the Coils
Clean shelves make the fridge look good. Clean coils help it work better. Do both.
Returning Dirty Containers
If sticky bottles go back into a clean fridge, the mess returns immediately. Wipe jars and bottles before reloading.
Quick Refrigerator Cleaning Checklist
Use this checklist when you want a fast, practical routine:
- Move perishables to a cooler.
- Toss expired, spoiled, or questionable food.
- Remove shelves, drawers, and bins.
- Wash removable parts with warm, soapy water.
- Wipe interior walls with baking soda solution or mild soap.
- Clean the gasket folds gently.
- Sanitize affected areas after raw meat leaks or recalls.
- Clean the exterior and handles.
- Vacuum underneath and behind the refrigerator.
- Clean condenser coils every six months or as needed.
- Reload food safely and label leftovers.
Extra Experience-Based Tips for Cleaning a Refrigerator
After cleaning many refrigerators in real homes, one thing becomes obvious: the hardest part is not scrubbing. The hardest part is decision-making. People hesitate over jars with one tablespoon of salsa, leftovers that “might still be okay,” and condiments purchased during a very confident recipe phase. The best refrigerator cleaning experience starts with permission to let go. If nobody has touched that specialty mustard in eight months, it has probably finished its journey.
A helpful trick is to clean by temperature sensitivity. Remove the most perishable items last and return them first. Condiments, whole fruits, and sealed drinks can tolerate a little more time outside the fridge than milk, seafood, raw meat, and cooked leftovers. This keeps the cleaning process calmer and safer. It also prevents the classic problem of turning a quick cleaning project into a room-temperature dairy convention.
Another useful experience: always clean the containers, not just the fridge. Many people spend an hour washing shelves and then return sticky ketchup bottles, greasy jars, and damp produce bags. Within two days, the refrigerator looks messy again. Before reloading, wipe the bottom and sides of containers. For produce, remove wilted leaves before storage. For berries or delicate greens, avoid washing too early unless you plan to dry them thoroughly, because extra moisture can speed spoilage.
Clear bins can make refrigerator maintenance much easier. A small bin for yogurt, one for snacks, one for condiments, and one for leftovers helps prevent food from disappearing in the back. The best system is not the prettiest one; it is the one your household will actually use. If kids grab snacks, place approved items at eye level. If leftovers often get forgotten, give them one dedicated shelf or bin labeled “Eat First.” A refrigerator should not require a treasure map.
For odor control, the biggest lesson is speed. Cleaning spills immediately is far easier than removing dried sauce, hardened syrup, or onion juice that has developed a personality. Keep a small microfiber cloth nearby or use a paper towel as soon as a spill happens. A two-minute wipe can prevent a twenty-minute scrub later.
When cleaning stainless steel, patience beats pressure. Rubbing aggressively can create streaks or scratches. Wipe with the grain, use a clean cloth, and buff dry. If fingerprints return quickly, especially in homes with children, accept that stainless steel is less a finish and more a guestbook for hands. Frequent light wiping works better than occasional aggressive cleaning.
One overlooked habit is checking the refrigerator thermometer after a deep clean. Doors stay open during cleaning, and the temperature may rise temporarily. Once everything is reloaded and the door is closed, allow the fridge to cool back down and confirm it is at 40°F or below. This simple step gives peace of mind, especially after a long cleaning session.
Finally, schedule refrigerator cleaning around grocery shopping. The easiest time to clean a fridge is before you restock it, when shelves are naturally emptier. You will waste less food, move fewer items, and avoid discovering three duplicate jars of pickles only after buying a fourth. Refrigerator cleaning is not glamorous, but it is deeply satisfying. A clean fridge makes meals easier, grocery planning smarter, and midnight snacking slightly more dignified.
Conclusion
Cleaning a refrigerator is one of those household tasks that pays off immediately. You get fresher smells, safer food storage, easier meal prep, cleaner surfaces, and a better-running appliance. Start with the interior, wash removable shelves and drawers, clean the gasket, sanitize when needed, wipe the exterior, vacuum underneath, and remember the coils. The process is simple when you break it into steps.
More importantly, a clean refrigerator helps you see what you already have. That means fewer forgotten leftovers, fewer duplicate groceries, and fewer terrifying discoveries hiding behind the orange juice. Treat your fridge to regular maintenance, and it will return the favor by keeping your food cold, organized, and ready for whatever meal plan you pretend you are following this week.













