
If you have ever looked at a shuffleboard table and thought, “That’s beautiful, but also probably costs as much as a small moon mission,” good news: you can build one yourself. A DIY shuffleboard table is one of those rare projects that feels equal parts furniture, game room centerpiece, and personal flex. It is long, dramatic, fun to use, and just complicated enough to make you feel like a woodworking wizard when it is finished.
The trick is building a table that does not just look like shuffleboard furniture, but actually plays well. That means paying attention to size, materials, levelness, finish, glide, and the tiny detail that turns many confident weekend projects into emotional support lumber: wood movement. In other words, this is not just a big skinny table. It is a long, slick, carefully built playing surface that needs stability and finesse.
In this guide, you will learn how to make a shuffleboard table step by step, which materials make the most sense, what mistakes to avoid, and how to keep your finished table playing fast and fair. We will also cover the real-life experience side of the project, because every ambitious build has a moment where you stand in the garage, stare at the parts, and whisper, “Well, this escalated quickly.”
Before You Build: Choose the Right Shuffleboard Table Size
Before you buy a single board, decide how big your shuffleboard table should be. Regulation shuffleboard tables are famously huge, with a 22-foot length and a 20-inch-wide playfield. That is terrific if you own a large game room or a repurposed airplane hangar. For most homes, a 9-foot, 12-foot, 14-foot, or 16-foot table is much more realistic.
As a rule of thumb, smaller tables fit better in home game rooms, while 14-foot and 16-foot tables offer a more satisfying playing experience if you have the space. You also need room around the ends and sides so players can stand comfortably and shoot without introducing drywall damage into the game. A table that technically fits but leaves people throwing pucks with their elbows tucked like nervous chickens is not a win.
Good home-size options
- 9-foot table: best for tighter spaces and casual family play.
- 12-foot table: a sweet spot for many homes.
- 14-foot to 16-foot table: better glide, more satisfying shots, and a more “real” shuffleboard feel.
- 22-foot regulation: awesome, but only if your room can handle the commitment.
If you are building your first DIY shuffleboard table, a 12-foot or 14-foot model is usually the smartest choice. It gives you the drama and playability people want without turning your house into a tunnel.
Materials and Supplies for a DIY Shuffleboard Table
You can customize your build, but most successful homemade shuffleboard table plans rely on the same basic structure: a sturdy cabinet or cradle, a solid playfield, side rails, gutters, leg supports, and a finish that makes the puck glide instead of sulk.
Main materials
- Hardwood butcher block or edge-glued hardwood for the playfield
- 3/4-inch plywood for the cabinet, sides, and internal structure
- 2×4 or 2×6 lumber for legs and bracing
- Wood screws, bolts, washers, glue, and leveling feet
- Gutter lining such as carpet, rubber, or another soft surface
- Polyurethane or epoxy-style finish for the playfield
- Paint or inlay material for scoring lines
- Optional climate adjusters for long-term leveling
If you are wondering why so many builders use butcher block for the playfield, the answer is simple: it is thick, stable, attractive, and already designed to behave like a serious slab of wood instead of a flimsy panel with big dreams. Plywood, meanwhile, is excellent for the cabinet because it is dimensionally stable and resists seasonal movement better than large solid-wood panels. That is exactly what you want in a big, long piece of furniture that should stay square instead of developing opinions.
How to Make a Shuffleboard Table: Step-by-Step
Step 1: Measure Your Room Like You Mean It
Measure the length, width, doorway access, and any turns, beams, or stair issues before you finalize your plan. This is where optimism gets people in trouble. A 14-foot table may fit beautifully on paper, but if you cannot get the finished sections into the room, your project becomes a very expensive hallway sculpture. Think beyond the final footprint and plan for assembly, movement, and player clearance.
Step 2: Build or Sketch a Detailed Plan
Create a cut list and decide your exact dimensions. Include overall table length, playfield width, cradle width, gutter depth, rail height, and final table height. Most shuffleboard tables end up around bar or counter height, which feels natural for play and looks right in a game room. A clear plan now saves you from the classic builder’s tragedy later: discovering two “matching” pieces are only emotionally identical.
Step 3: Build the Leg Assemblies First
Start with the legs and supports so you have a strong foundation. Your leg assemblies should be rigid, square, and braced enough to carry serious weight. Shuffleboard tables are not light. Even a modest homemade version can get heavy fast once you add the playfield, frame, and finish. A wobbly base will haunt the whole project, so overbuild this section a little. Nobody has ever complained that their shuffleboard table was tragically too stable.
Step 4: Build the Cabinet or Cradle
The cabinet, sometimes called the cradle, holds the playfield and creates the long trough shape people associate with a classic shuffleboard table. Use plywood and framing lumber to build a straight, rigid body. Make sure the structure is square and the supports are evenly spaced. This is the backbone of the table, and it needs to resist sag over time. Long furniture always tries to teach humility, so internal support is your best friend here.
Step 5: Add Cross-Bracing and Leveling Feet
Install cross-bracing between the legs and under the cabinet. Then add adjustable leveling feet so the table can be tuned once it reaches its final location. Floors are rarely as level as they pretend to be, and shuffleboard is one of those games that exposes even tiny inconsistencies. If a puck always drifts left, your guests will absolutely blame your skill before they blame the floor. Give yourself a way to correct that.
Step 6: Create the Playfield Blank
The playfield is the star of the show. If you are using butcher block sections, join them carefully to create the full length you need. If you are building a shorter table, a single piece may work. For longer builds, many DIY makers use two sections joined together. The goal is a flat, thick, straight playing surface that can handle finish and repeated use. Maple and other hardwood-style surfaces are popular because they are durable and hold up well over time.
Step 7: Let the Wood Acclimate
Do not skip this. Bring the playfield material into the same environment where the table will live and let it acclimate before final assembly and finishing. Wood constantly responds to humidity. That means it can expand, contract, or warp if rushed. Acclimating the material helps reduce surprises later. Think of it as letting the wood settle down and get comfortable before you ask it to spend the next several years being judged by flying pucks.
Step 8: Sand the Playfield Until It Feels Ridiculously Smooth
Sand the surface evenly and patiently, working through finer grits until the top feels glassy. The playfield is not a rustic farmhouse bench. It is a precision surface. Any roughness, dips, glue residue, or uneven seams will affect the glide. Pay special attention to the joint area if your playfield is made from multiple sections. The smoother the substrate, the better your finish will look and the more consistent your puck speed will feel during play.
Step 9: Shape the Edges and Add the Rails
Once the playfield is flat and smooth, build the side rails and gutters around it. The rails should frame the play surface neatly, and the gutters should catch off-target pucks without sounding like a cymbal crash every few seconds. Many builders line the gutters with carpet or another soft material to reduce noise and protect the table. This is where the project starts to look less like oversized shelving and more like the game table you imagined.
Step 10: Install Climate Adjusters if Your Design Allows It
For longer shuffleboard tables, climate adjusters are a smart upgrade. These systems mount beneath the playfield and help compensate for seasonal changes in humidity and slight warping over time. Are they mandatory for every small home table? No. Are they useful if you want better long-term performance, especially on a long hardwood playfield? Absolutely. If your budget allows, this is one of the best “future you will thank present you” additions you can make.
Step 11: Seal the Underside and Edges Too
Many first-time builders focus only on the top surface. Big mistake. Seal the underside and edges of the playfield as well so the wood is more evenly protected from moisture changes. No finish can stop wood movement completely, but balanced finishing helps reduce dramatic behavior. When one side is sealed and the other is ignored, the board may react unevenly. You are building a shuffleboard table, not conducting a science experiment in preventable warping.
Step 12: Apply the Finish in Multiple Coats
A durable, smooth finish is what transforms a wood slab into a real shuffleboard play surface. Many builders use polyurethane, while some higher-end builds use thicker poured coatings or epoxy-style finishes. Whatever finish you choose, apply multiple even coats, allow proper drying time, and sand lightly between coats when needed. Rushing this stage is how you end up with dust nibs, bubbles, or a finish texture that says “handcrafted” in the least flattering way possible.
Step 13: Add Scoring Lines and Markings
Mark the scoring zones near the far end of the table once your layout is finalized. Keep the lines crisp and centered. You can paint them, use careful inlay work, or mask and finish over them depending on your style. This detail seems minor until you play the first game and realize that clear scoring lines make the table feel polished, intentional, and much easier to use. It is one of those finishing touches that makes your project look professionally planned.
Step 14: Assemble the Final Pieces and Level the Table
Install the playfield into the cradle, secure the rails and gutter system, and move the table to its final spot. Then level it patiently. This part matters more than people expect. A beautifully finished table that is out of level will still play terribly. Use your leveling feet first, then fine-tune any climate adjusters if your design includes them. Test by sliding pucks from different positions and watching whether they drift consistently. Tiny adjustments here make a big difference.
Step 15: Wax, Dust, and Test the Glide
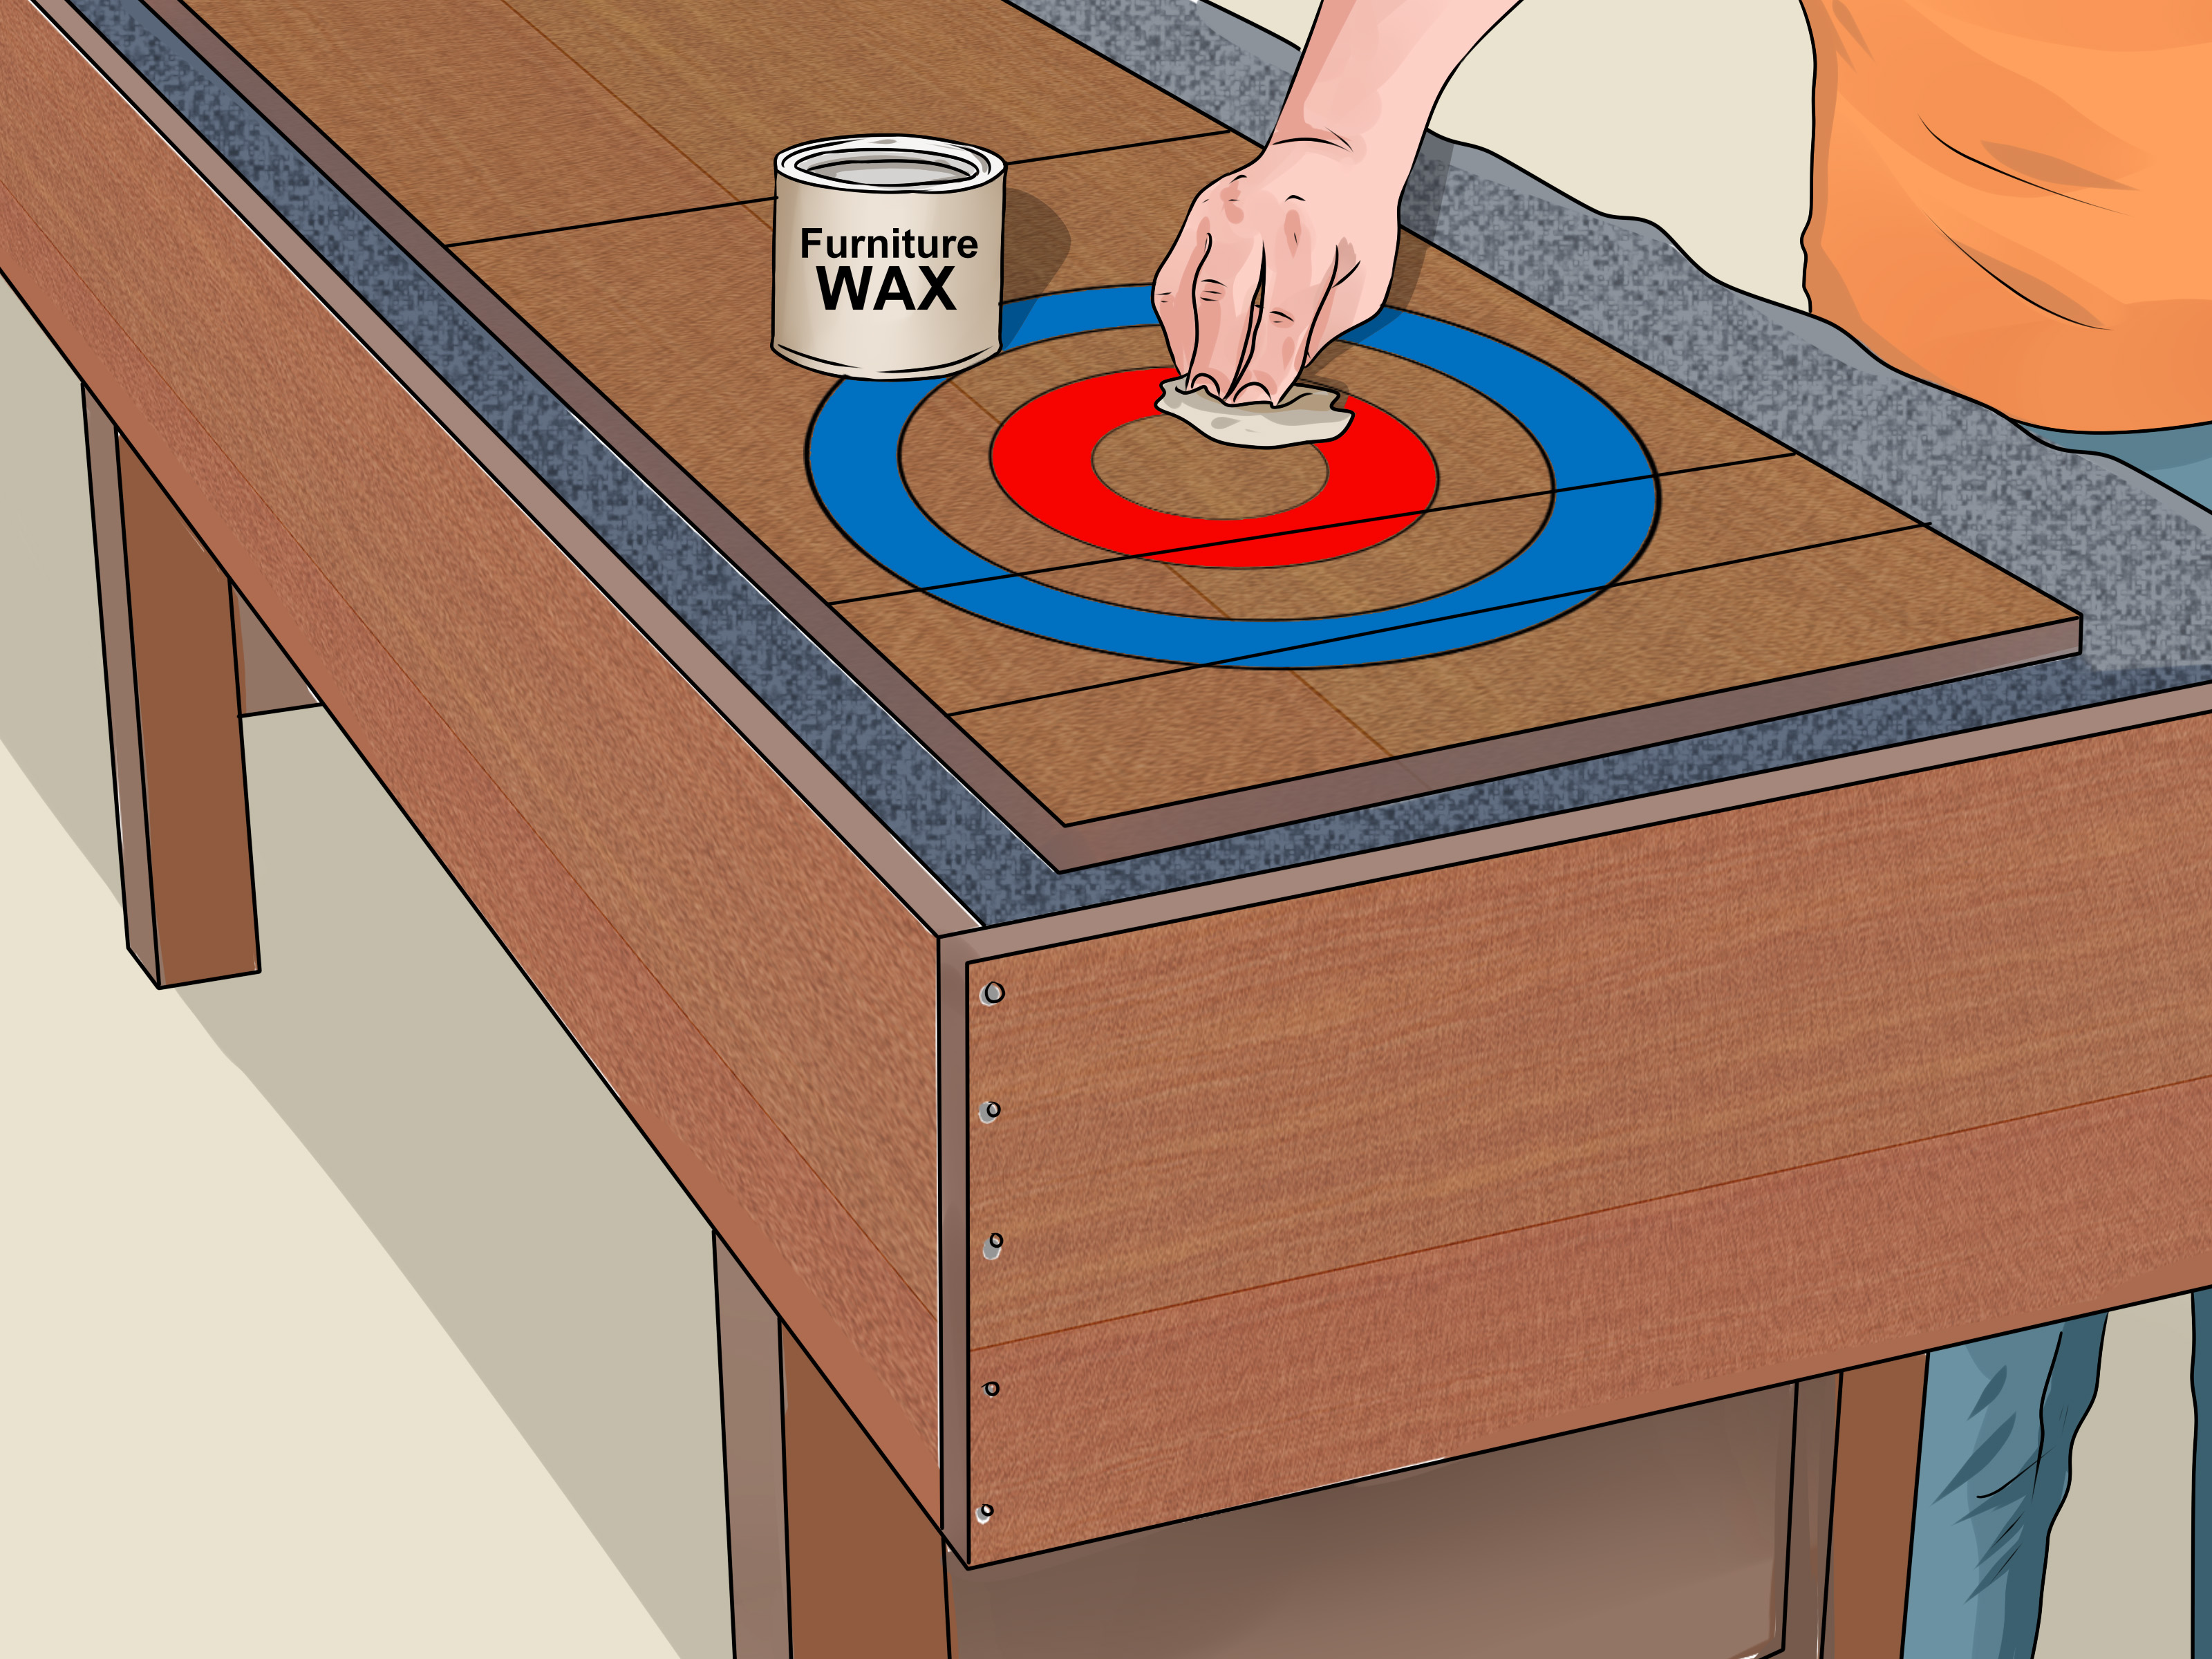
Once the finish is cured, clean the surface and prepare it for play with shuffleboard wax or powder designed for table shuffleboard. Despite the name, shuffleboard “wax” is often more like a powder or bead product that reduces friction and changes puck speed. Use it lightly at first. Too much and your pucks may launch like they just heard a starting pistol. A little tuning will help you find the speed that feels best for your homemade shuffleboard table.
Mistakes to Avoid When Building a Shuffleboard Table
Ignoring wood movement
Wood reacts to humidity. That is not a personality flaw; it is just science. Design for it, finish thoughtfully, and avoid locking large solid panels in ways that invite cracks or warp.
Making the base too weak
Long tables need serious support. If the cabinet sags, the playfield will follow its lead like a loyal but disappointing sidekick.
Skipping leveling hardware
You cannot count on the floor to do you any favors. Adjustable feet are cheap insurance for good play.
Rushing the finish
The finish is not decorative fluff. It directly affects puck glide, durability, and the whole feel of the game.
Building too big for your house
A 16-foot table sounds glorious until it dominates the room and requires guests to sideways-shuffle around it like museum guards.
How to Maintain Your DIY Shuffleboard Table
A great build deserves decent maintenance. Keep the playfield dust-free, use the right shuffleboard cleaning products for the finish you chose, and refresh wax or speed powder as needed. If you added climate adjusters, check them occasionally, especially during seasonal humidity changes. If the pucks begin drifting or the surface no longer feels true, level the table again before assuming your friends suddenly developed suspiciously accurate bank shots.
Also, keep the table out of harsh sun, extreme moisture, and unstable environments when possible. A homemade shuffleboard table can last for years, but it will always appreciate being treated like furniture rather than patio décor that accidentally wandered indoors.
Final Thoughts on Making a Shuffleboard Table
Learning how to make a shuffleboard table is really about combining smart carpentry with game-room practicality. The best builds are not necessarily the most expensive ones. They are the ones with a solid structure, a smooth playfield, good leveling, thoughtful finishing, and dimensions that actually fit the home. If you get those things right, your table will not just look impressive in photos. It will play well, last longer, and become the kind of thing people talk about when they visit.
And honestly, that is the magic of this project. You are not just building furniture. You are building an excuse for people to gather, compete, laugh, and argue very seriously about whether that puck was hanging over the line. Which, in the grand tradition of game-room craftsmanship, is exactly the point.
Real-World Experiences From Building a Shuffleboard Table
One of the most common experiences people have when building a shuffleboard table is underestimating how massive it feels in real life. On paper, a 12-foot or 14-foot build sounds manageable. In the shop, it suddenly becomes clear that you are not making a coffee table or even a dining table. You are making a long, heavy object that wants space, planning, and a little respect. The first time builders dry-fit the cabinet and stand back, there is usually a brief silence followed by something like, “Wow, that is… very table.”
Another shared experience is discovering that the playfield becomes the emotional center of the whole project. You can be pretty relaxed about hidden supports, internal screws, or the underside of the cabinet. But the second you start sanding and finishing the playing surface, your standards rise dramatically. Suddenly a tiny scratch looks like a federal issue. People who are usually fine with “close enough” become deeply philosophical about smoothness, sheen, and whether one more coat will finally make the surface perfect. It is woodworking meets mild obsession.
Builders also learn quickly that leveling is not a one-and-done task. Many people assume that once the table is assembled, the hard part is over. Then they slide a puck and watch it drift like it is late for another appointment. That is when the patience phase begins. Tiny adjustments to leg levelers or climate supports can completely change the way the table plays. It is a good lesson in how precision works: the project may look finished long before it is truly dialed in.
There is also a lot of satisfaction in solving practical details that nobody notices at first glance but everybody appreciates later. A well-lined gutter makes the game sound better. Good storage for pucks and wax keeps the area tidy. A sturdy base gives the whole table a reassuring, furniture-grade feel. These little choices are rarely the flashy part of the build, yet they are often what make people say, “This feels like a real shuffleboard table,” instead of, “Nice giant DIY thing you have there.”
And then there is the social reward. A homemade shuffleboard table tends to become the room’s unofficial host. People gather around it naturally. Even guests who claim they do not know the rules usually want to try one shot. Then another. Then suddenly there is a tournament nobody planned, someone is keeping score too intensely, and the builder is casually pretending not to glow with pride. That may be the best experience of all: seeing a project move from lumber and finish into actual life, laughter, and repeated use. A good DIY build is satisfying to complete. A great one becomes part of the home.














