
White chocolate is the diva of the baking aisle. Dark chocolate can handle a little drama, milk chocolate is usually friendly enough, but white chocolate? It wants low heat, dry tools, gentle stirring, and possibly a tiny velvet pillow. Melt it too quickly and it can turn from glossy and creamy to thick, grainy, and emotionally unavailable.
The good news: once you understand how white chocolate behaves, melting it is not difficult. Whether you want to drizzle it over cookies, dip strawberries, decorate cake pops, make bark, swirl it into cheesecake, or create a smooth white chocolate ganache, the secret is patience. White chocolate contains cocoa butter, sugar, and milk solids, but no cocoa solids, which makes it lighter in flavor and more sensitive to heat than regular chocolate. In the United States, products labeled “white chocolate” must meet specific standards, including at least 20% cocoa butter, which helps explain why quality matters when you melt it.
This guide explains how to melt white chocolate in 9 simple steps using the microwave or a double boiler. You will also learn how to prevent scorching, fix common texture problems, thin melted white chocolate, and use it like a confident baker instead of someone nervously staring into a bowl muttering, “Please don’t seize.”
Why White Chocolate Is Tricky to Melt
Before jumping into the steps, it helps to know why white chocolate can be fussy. White chocolate has more milk solids and sugar than many dark chocolates, and it does not contain cocoa solids. That gives it a sweet, creamy flavor, but it also means it can scorch more easily. Overheated white chocolate may become clumpy, oily, dull, or grainy.
Another problem is water. Even a tiny splash of water, steam, or condensation can cause melted chocolate to seize. Seized chocolate turns thick and stiff because the sugar particles grab onto the moisture. It is not always ruined, but it will no longer behave like silky dipping chocolate.
The best way to melt white chocolate is to use gentle heat, small pieces, frequent stirring, and completely dry equipment. Think of it like giving the chocolate a spa day, not sending it to boot camp.
How to Melt White Chocolate: 9 Steps
Step 1: Choose Good-Quality White Chocolate
Start with real white chocolate whenever possible, especially if you want smooth melting and rich flavor. Look for cocoa butter on the ingredient list. White baking bars, couverture white chocolate, and quality white chocolate wafers usually melt more smoothly than bargain chips.
White chocolate chips can work, but many chips are designed to hold their shape during baking. That means they may melt thicker than chopped bars. If you are making cookies, chips are perfect. If you are dipping strawberries or drizzling pretzels, chopped white chocolate or melting wafers may give you a better finish.
Avoid using old chocolate that smells stale, looks dusty, or has absorbed pantry odors. White chocolate is mild, so it can pick up flavors from nearby spices, onions, or that mysterious open bag of “something” hiding behind the flour.
Step 2: Chop the White Chocolate Into Small, Even Pieces
Even pieces melt evenly. Uneven chunks create the classic problem: half the chocolate is liquid while one stubborn boulder sits in the middle like it owns the bowl. Use a sharp knife to chop bars into small pieces, about the size of chocolate chips or smaller.
If you are using wafers, pistoles, or small chips, you may not need to chop them. Still, check for large clusters and break them apart. The smaller the pieces, the less heat you need, and less heat means less risk of burning.
For best results, melt at least a few ounces at a time. Very tiny amounts can overheat quickly because there is not enough mass to distribute the heat.
Step 3: Dry Every Bowl, Spoon, and Spatula
Moisture is the villain in this story. Before melting white chocolate, make sure your bowl, spoon, spatula, cutting board, and hands are completely dry. If you washed a bowl right before using it, wipe it thoroughly and let it air-dry for a few extra minutes.
This is especially important when using a double boiler because steam can sneak into the bowl. A single drop of water can make white chocolate thicken suddenly. Do not cover the bowl while melting because condensation can form under the lid and drip down into the chocolate.
Use a silicone spatula or dry spoon for stirring. Wooden spoons can hold moisture, so they are not the best choice unless you are certain they are fully dry.
Step 4: Decide Between the Microwave and Double Boiler
You can melt white chocolate successfully using either the microwave or a double boiler. The best method depends on your project and your comfort level.
Use the microwave for small batches, quick drizzles, decorating, and simple dipping projects. It is fast and convenient, but you need to use reduced power and short bursts.
Use a double boiler for larger batches or when you want more control. A double boiler melts chocolate with gentle steam heat instead of direct heat. It takes longer, but it is excellent for careful melting.
Do not melt white chocolate directly in a saucepan over regular heat unless you are very experienced and using extremely low heat. Direct heat can create hot spots that scorch the chocolate before you even get a chance to apologize.
Step 5: Melt White Chocolate in the Microwave Slowly
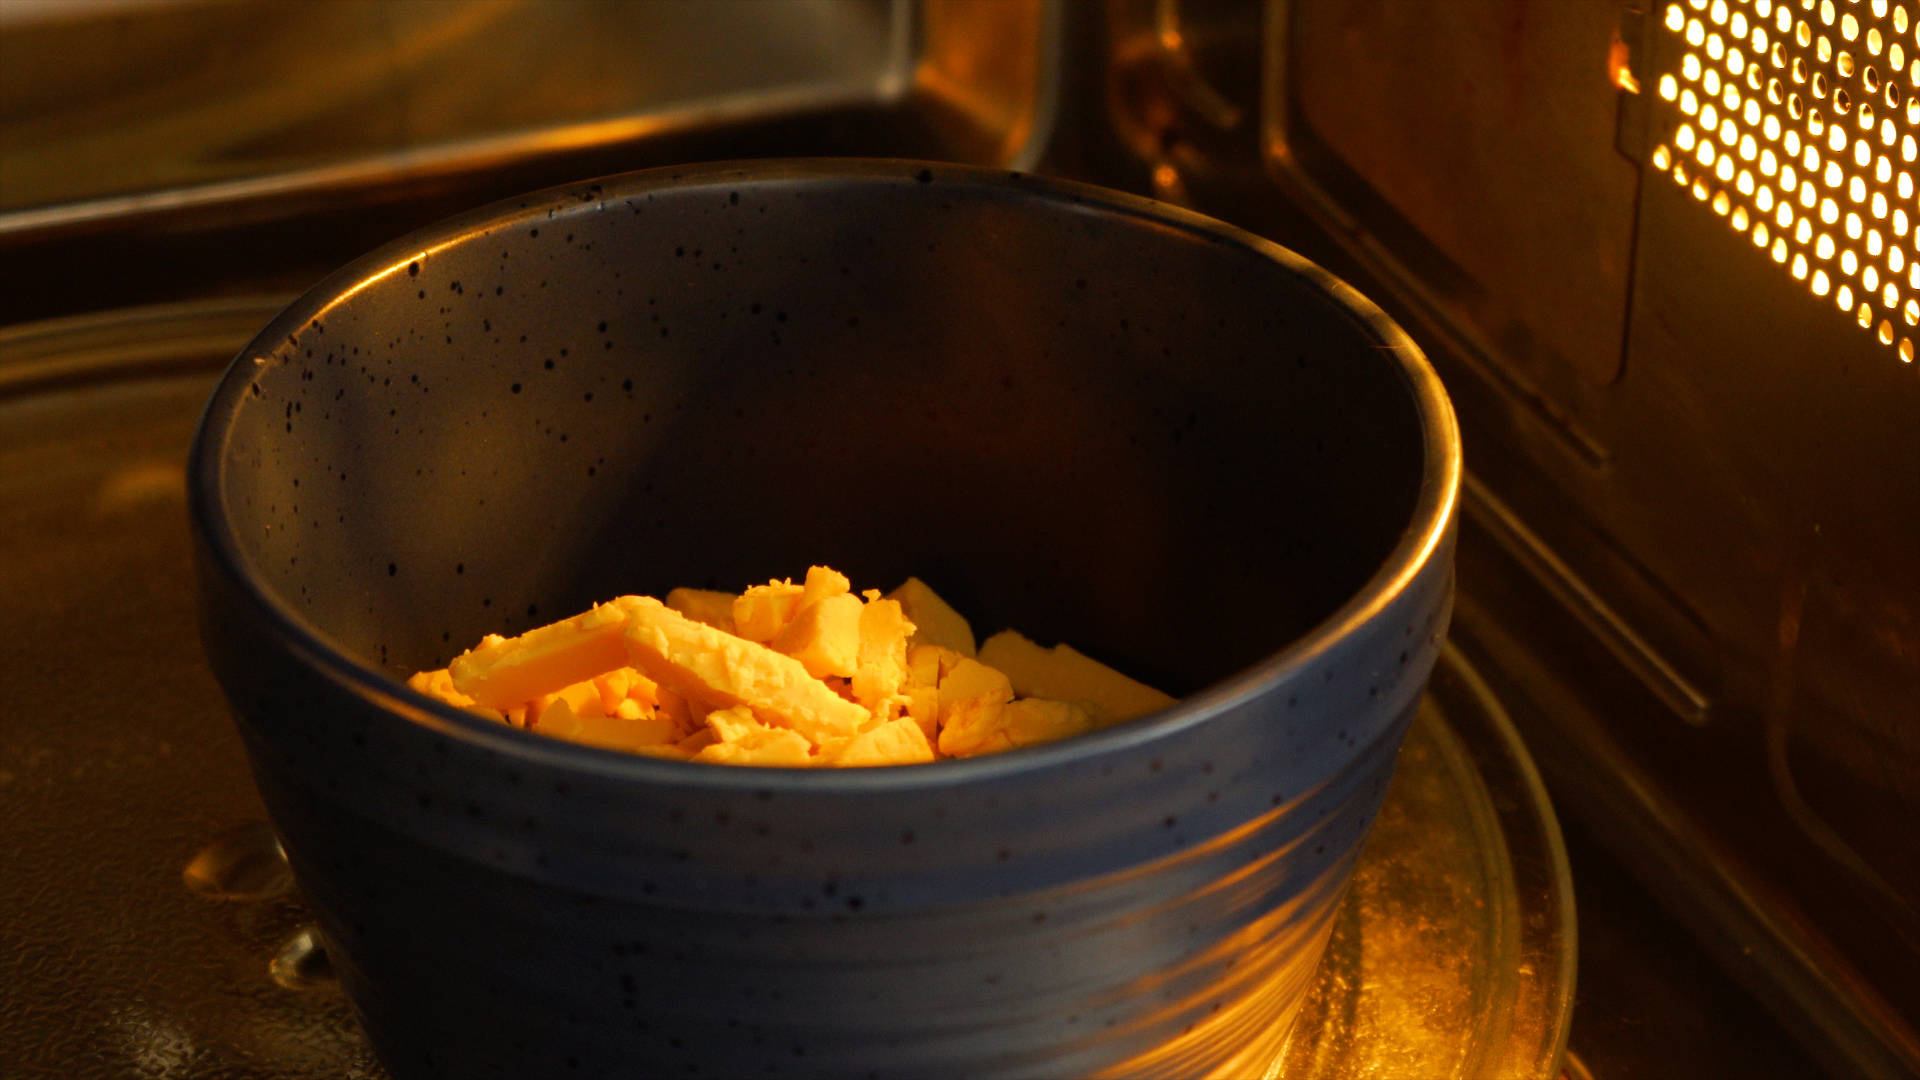
To melt white chocolate in the microwave, place the chopped chocolate in a dry microwave-safe glass bowl. Heat it at 50% power for 15 to 20 seconds. Remove the bowl and stir well, even if the chocolate does not look melted yet.
Return it to the microwave and continue heating in 10- to 15-second bursts, stirring after each burst. Stop when the chocolate is about 80% melted. The remaining pieces will melt from residual heat as you stir.
This final stir is important. If you microwave until every piece is fully melted, the chocolate may already be too hot. White chocolate can burn without turning dramatically dark, so trust the stirring process. Smooth, glossy chocolate comes from patience, not from pressing the “add 30 seconds” button like it owes you money.
Step 6: Melt White Chocolate With a Double Boiler
To use a double boiler, fill a small saucepan with about 1 inch of water. Bring it to a gentle simmer, not a rolling boil. Place a heatproof bowl over the pan, making sure the bottom of the bowl does not touch the water.
Add the chopped white chocolate to the bowl. Stir gently and often as it begins to soften. Keep the heat low. If the water boils aggressively, turn it down or briefly remove the pan from the heat. Steam should warm the bowl gently; it should not attack the chocolate like a tiny sauna monster.
When the white chocolate is mostly melted, remove the bowl from the saucepan and continue stirring until smooth. Wipe the bottom of the bowl with a towel before pouring or using the chocolate so no condensation drips into your dessert.
Step 7: Stir Gently Until Smooth and Glossy
Stirring distributes heat and helps the last bits melt without more cooking. Use slow, steady motions with a silicone spatula. Scrape the sides and bottom of the bowl so no chocolate sits in a hot spot.
Do not whip air into the chocolate. Vigorous stirring can make it look streaky or bubbly, especially if you are using it for coating or dipping. You want smooth and relaxed, not foamy and suspicious.
If the chocolate looks thick but not grainy, keep stirring for a minute before adding anything. White chocolate often loosens as the cocoa butter fully melts and distributes through the mixture.
Step 8: Thin the Melted White Chocolate If Needed
Sometimes melted white chocolate is too thick for dipping or drizzling. This is common with chips, lower-cocoa-butter products, or chocolate that has been overheated slightly. You can thin it, but choose the right ingredient.
For candy coatings, cake pops, pretzels, or strawberries, stir in a tiny amount of neutral fat, such as refined coconut oil, vegetable shortening, or cocoa butter. Start with 1 teaspoon per 4 ounces of white chocolate, then add more only if needed. Stir until fully blended.
Avoid adding water, milk, or cold cream to melted white chocolate unless you are intentionally making ganache with a tested ratio. Random liquid can cause seizing. If you want a sauce or ganache, warm the cream first and pour it over chopped white chocolate, then let it sit briefly before stirring.
Step 9: Use the Melted White Chocolate Right Away
Melted white chocolate works best while it is warm and fluid. Use it immediately for dipping fruit, coating truffles, drizzling popcorn, decorating cupcakes, or spreading into bark. Line trays with parchment paper before you begin so you are not scrambling with a bowl of cooling chocolate in one hand and panic in the other.
If the chocolate thickens while you work, rewarm it gently. In the microwave, use 5- to 10-second bursts at 50% power. Over a double boiler, place the bowl back over barely simmering water for a few seconds, then remove and stir.
Let dipped items set at room temperature if your kitchen is cool. For faster setting, refrigerate briefly, but avoid leaving white chocolate in the refrigerator too long because moisture and temperature changes can encourage bloom, which appears as pale streaks or spots.
Microwave Method vs. Double Boiler Method
Both methods work, but they suit different situations. The microwave is best when you need speed. It is also useful because it avoids steam, one of chocolate’s biggest enemies. The downside is that microwaves can heat unevenly, so stirring between bursts is non-negotiable.
The double boiler is slower but offers steady, gentle heat. It is useful for larger amounts and for bakers who like visual control. The main risk is water contamination. Keep the simmer low, do not let the bowl touch the water, and protect the chocolate from steam.
If you are a beginner, the microwave at half power is usually the easiest choice. If you are melting a pound of white chocolate for a big batch of holiday treats, the double boiler may feel more manageable.
Common Mistakes When Melting White Chocolate
Using High Heat
High heat is the fastest way to ruin white chocolate. It can scorch, separate, or become grainy. Always use low heat, short microwave intervals, and frequent stirring.
Letting Water Touch the Chocolate
Water can make white chocolate seize. Keep everything dry, avoid steam, and never cover warm melted chocolate with a lid that can collect condensation.
Not Stirring Enough
Chocolate continues melting as you stir. If you rely only on heat, you are more likely to overcook it. Stirring is not busywork; it is the magic wand.
Using Poor-Quality White Chips
Some white chips are not true white chocolate and may contain other fats instead of cocoa butter. They can still be useful, but they may melt thicker or taste sweeter and less creamy.
Adding Cold Ingredients
Cold butter, cold cream, or refrigerated flavorings can shock melted white chocolate. If you are making ganache or adding fat, use room-temperature or gently warmed ingredients.
How to Fix Melted White Chocolate Problems
If It Is Too Thick
Add a small amount of refined coconut oil, shortening, or cocoa butter. Stir gently until smooth. Add fat gradually because too much can prevent the chocolate from setting firmly.
If It Is Grainy
Grainy white chocolate may be overheated. Remove it from heat immediately and stir in a small amount of neutral fat. It may not become perfect for dipping, but it can often be used in fillings, frostings, or cookie dough.
If It Seizes
If water caused the chocolate to seize, it will become stiff and paste-like. You may be able to turn it into a sauce by adding warm cream or warm milk gradually, but it may not work as a coating anymore. Do not throw it out too quickly; seized chocolate can still be delicious in brownies, ganache, or hot chocolate.
If It Separates
Separated white chocolate looks oily or broken. Take it off the heat and stir slowly. A little cocoa butter or shortening may help bring it back together. If it remains broken, use it in recipes where perfect texture is less important.
Best Uses for Melted White Chocolate
Melted white chocolate is wonderfully versatile. Its sweet, creamy flavor pairs well with tart fruit, salty snacks, warm spices, nuts, and dark chocolate. Try it in these easy ideas:
- White chocolate-covered strawberries: Dry the berries completely before dipping.
- Holiday bark: Spread melted white chocolate on parchment and top with crushed candy canes, pistachios, or dried cranberries.
- Cookie drizzle: Spoon melted chocolate into a small zip-top bag, snip the corner, and drizzle over cooled cookies.
- Cake pop coating: Thin the chocolate slightly so cake pops dip smoothly without falling apart.
- Popcorn mix: Toss popcorn, pretzels, and nuts with melted white chocolate for a sweet-salty snack.
- Ganache: Combine warm cream and chopped white chocolate for a smooth filling or glaze.
How to Store Melted and Set White Chocolate
Once white chocolate has set on treats, store them in an airtight container in a cool, dry place. Room temperature is usually best for dipped pretzels, bark, and cookies. Refrigeration can help chocolate set quickly, but long storage in the fridge may create condensation when the treats return to room temperature.
If you have leftover melted white chocolate, spread it thinly on parchment paper and let it set. Once firm, break it into pieces and store it for future baking. You can remelt it later, although the texture may be slightly different if it has been mixed with oil or shortening.
Helpful Tips for Better Results
Use a thermometer if you want extra control. White chocolate generally melts at a lower temperature than dark chocolate, so gentle warming is key. You do not need fancy pastry tools for everyday melting, but a thermometer can help prevent overheating if you are making candies or decorative pieces.
Work in a dry kitchen when possible. Humidity can make chocolate more difficult to handle. If you are dipping fruit, wash it ahead of time and dry it thoroughly with paper towels. Strawberries, in particular, love to hide water near their leaves like tiny dessert saboteurs.
Prepare your toppings before melting the chocolate. Once melted, white chocolate waits for no one. Have sprinkles, chopped nuts, crushed cookies, sea salt, or dried fruit ready to go.
My Real-World Experience With Melting White Chocolate
The first thing experience teaches you about melting white chocolate is that confidence is good, but overconfidence is how you end up with a bowl of vanilla-scented cement. White chocolate looks innocent. It sits there in pretty little chips or creamy bars, suggesting that it will behave beautifully. Then you microwave it too long, stir too late, or let one heroic droplet of water fall into the bowl, and suddenly your dessert project has entered its “learning opportunity” era.
One of the most useful lessons is to stop heating before the chocolate looks completely melted. Beginners often keep microwaving until every last piece disappears. That is usually too far. The better move is to stop when small lumps remain and stir patiently. The residual heat does the rest. This feels strange the first time because your eyes say, “It is not done,” but your spatula says, “Relax, I’ve got this.” Trust the spatula.
Another practical tip is to choose the right white chocolate for the job. For drizzling cookies, white chips are often fine, especially if you add a small amount of shortening or coconut oil. For dipping strawberries or making a clean candy shell, a good white chocolate bar or quality melting wafer is easier to manage. The difference is noticeable. Better white chocolate melts more fluidly, tastes less sugary, and sets with a prettier finish.
Dry fruit is also non-negotiable. If you are making white chocolate-covered strawberries, wash them early and let them air-dry on towels. Then pat around the leaves before dipping. Strawberries can look dry while secretly holding water near the stem. That hidden moisture can make the chocolate slide, streak, or thicken. In chocolate work, “mostly dry” is just another way of saying “future problem.”
The double boiler method is excellent, but it requires calm heat. The water should simmer gently, not boil like pasta night. If the bowl gets too hot or steam escapes around the sides, white chocolate can become thick and stubborn. I like removing the bowl from the pot when the chocolate is mostly melted, then finishing with gentle stirring on the counter. It gives you more control and reduces the risk of overheating.
For party prep, parchment paper is your best friend. Before melting anything, line trays, set out toppings, clear counter space, and decide where finished treats will cool. Melted white chocolate has a short window where it is perfectly smooth. You do not want to spend that window digging through a drawer for sprinkles while the chocolate slowly turns into frosting texture.
If a batch goes wrong, do not panic. Thick or slightly grainy white chocolate can often be saved for another use. Stir it into buttercream, fold it into blondie batter, make a quick sauce with warm cream, or swirl it into cheesecake filling. It may not be ideal for glossy dipping, but it can still taste wonderful. The only true failure is throwing away delicious ingredients before giving them a second job.
After you melt white chocolate a few times, you start to recognize the signs. Smooth and shiny means you are on track. Thick but glossy means it may need a little more stirring or a touch of fat. Dull, stiff, or grainy means it got too hot or met moisture. These clues make the process much less intimidating.
The biggest takeaway is simple: melt white chocolate slowly, stir more than you heat, and keep water far away. Do that, and you can turn a delicate ingredient into elegant drizzles, crisp coatings, creamy ganache, and desserts that look like they came from a bakery instead of a kitchen where someone is still wearing pajama pants. No judgment. Some of the best chocolate work happens in pajama pants.
Conclusion
Learning how to melt white chocolate is mostly about respecting its delicate nature. Use good-quality chocolate, chop it evenly, keep every tool dry, and warm it slowly. The microwave works beautifully when you use half power and short bursts. A double boiler is ideal for larger batches when you control the steam and keep the heat gentle.
Once melted, white chocolate can dress up simple desserts in minutes. Drizzle it over cookies, dip fruit, coat pretzels, make bark, or turn it into a creamy ganache. With the right method, you get a smooth, glossy finish instead of a grainy kitchen mystery. White chocolate may be a little dramatic, but with patience and a dry spatula, it is absolutely worth the fuss.












