
If your Brita water bottle has started smelling a little “gym bag adjacent,” tasting oddly like yesterday, or looking like it has been through a small emotional crisis, it is probably time for a proper cleaning. The good news is that cleaning a Brita bottle is not complicated. The better news is that it does not require a chemistry degree, a hazmat suit, or a motivational speech.
A Brita water bottle is built to make drinking water easier and better tasting, but like any reusable bottle, it works best when it is kept clean. Between your hands, your mouth, your bag, your car cup holder, and the mysterious crumbs that somehow exist in every backpack on Earth, bottles collect grime faster than most people realize. Add a straw, mouthpiece, and filter into the mix, and you have several little spots where odors and residue can hang out if you are not careful.
This guide walks you through exactly how to clean a Brita water bottle in 10 clear steps. You will also learn what to avoid, how often to clean it, how to deal with lingering smells, and what real-life bottle-cleaning situations usually look like outside the land of perfect routines and spotless kitchens.
Why Cleaning Your Brita Water Bottle Matters
Cleaning your Brita water bottle is not just about appearances. Sure, a cloudy bottle with mystery fingerprints is not winning any beauty contests, but the real issue is performance and hygiene. Reusable bottles can collect leftover moisture, mouth residue, and everyday dirt. If the bottle stays damp for too long or is rarely washed, it can develop unpleasant odors and that dreaded slimy feeling nobody wants to discover mid-sip.
Regular cleaning also helps protect the parts that make the bottle useful in the first place. The lid, straw, threads, and mouthpiece need attention because those areas trap moisture and are easy to ignore. And while the filter helps improve taste, it is not supposed to be cleaned with soap like the bottle body. It should be removed before washing, handled properly, and replaced on schedule.
In other words, cleaning your Brita bottle helps it smell better, taste better, last longer, and stop acting like a tiny science project.
What You Will Need
- Mild dish soap
- Warm water
- A soft bottle brush
- A small straw brush or narrow cleaning brush
- A clean sponge or soft cloth
- A drying rack or clean towel
Optional for a deep clean: baking soda, white vinegar, or a properly diluted sanitizing solution for the bottle body only. Never clean the filter with soap, bleach, or abrasive products.
How to Clean a Brita Water Bottle: 10 Steps
-
1. Empty the Bottle and Take It Apart
Start by pouring out any remaining water. Then unscrew the lid, separate removable parts, and take a good look at what you are working with. If your Brita bottle has a straw, mouthpiece, cap, or locking lid components, open and separate whatever the design allows. The goal is simple: every part that touches water or your mouth should be accessible.
This step sounds obvious, but plenty of people “clean” a bottle by sloshing soapy water around inside and calling it a day. That is not cleaning. That is wishful thinking with bubbles.
-
2. Remove the Filter First
Before washing anything, remove the Brita filter. This is one of the most important steps. The bottle itself can be cleaned, but the filter should not be scrubbed with soap or run through the dishwasher. Set it aside somewhere clean and dry while you wash the rest of the bottle.
If you are installing a fresh filter after cleaning, follow the product directions for preparing it. If your current filter is near the end of its life, this is the perfect time to replace it. A clean bottle with an overdue filter is like putting clean socks on and jumping into a mud puddle.
-
3. Check Whether Your Bottle Is Plastic or Stainless Steel
This matters more than people think. Brita’s hard-sided plastic filtering bottles are generally dishwasher safe on the top rack once the filter is removed. Brita stainless steel filtering bottles should be washed by hand. If you are not sure which model you have, play it safe and hand-wash it.
Either way, avoid abrasive cleaners and rough scrubbers. Your bottle does not need a punishment routine. It needs a gentle, thorough cleaning.
-
4. Rinse Away Loose Residue
Give the bottle body, lid, straw, and mouthpiece a quick rinse under warm water before adding soap. This helps flush out any loose debris and makes the actual wash more effective. Pay attention to the threads where the lid screws on, because those spots love to collect grime while pretending to be innocent.
If the bottle has been sitting in your car, gym bag, or desk corner for a while, do not be surprised if this rinse already reveals a suspicious odor. That is your cue to keep going, not to panic.
-
5. Wash the Bottle Body With Mild Dish Soap
Add a small amount of mild dish soap to warm water and clean the inside of the bottle with a bottle brush. Scrub the bottom, sides, and shoulder area thoroughly. If your bottle opening is wide enough, a soft sponge can help, but a brush usually does a better job reaching the full interior.
Wash the outside too. Yes, the outside. That part touches your hands, the kitchen counter, the gym bench, your backpack pocket, and whatever mystery zone exists inside your car. It deserves soap as much as the inside does.
-
6. Clean the Lid, Straw, and Mouthpiece Carefully
This is where many bottle-cleaning efforts go to die. The lid and drinking components are often the grimiest parts because they stay damp and come into direct contact with your mouth. Use a small brush to scrub the straw and any openings in the mouthpiece. Wash around seals, grooves, and hinges if your model has them.
Take your time here. A spotless bottle body does not mean much if the mouthpiece still smells like a damp locker room. Small parts need extra attention because they are easy to overlook and annoyingly good at hiding buildup.
-
7. Handle Odors and Stains With a Deeper Clean
If your Brita bottle still smells funky after a standard wash, give the bottle body a deeper clean. A paste of baking soda and water can help lift odor, or you can use a small amount of white vinegar diluted with water to freshen the interior. Another option is a proper sanitizing step for the bottle body only if it needs extra help.
Important: do not use harsh chemicals, abrasive cleaners, or anything that could damage the bottle or linger in the drinking surfaces. And again, keep all of that away from the filter. If the filter itself smells wrong, looks damaged, or is overdue, replacing it is smarter than trying to rescue it like a reality show makeover gone too far.
-
8. Rinse Everything Thoroughly
Once all parts are washed, rinse them very well with clean water. Any leftover soap can affect the taste of your next refill, and nothing ruins a nice cold sip faster than a surprise note of lemon-scented detergent. Keep rinsing until the water runs clear and there are no bubbles left.
This step is especially important for the lid, straw, and mouthpiece, where soap can hide in tiny spaces.
-
9. Let Every Part Air-Dry Completely
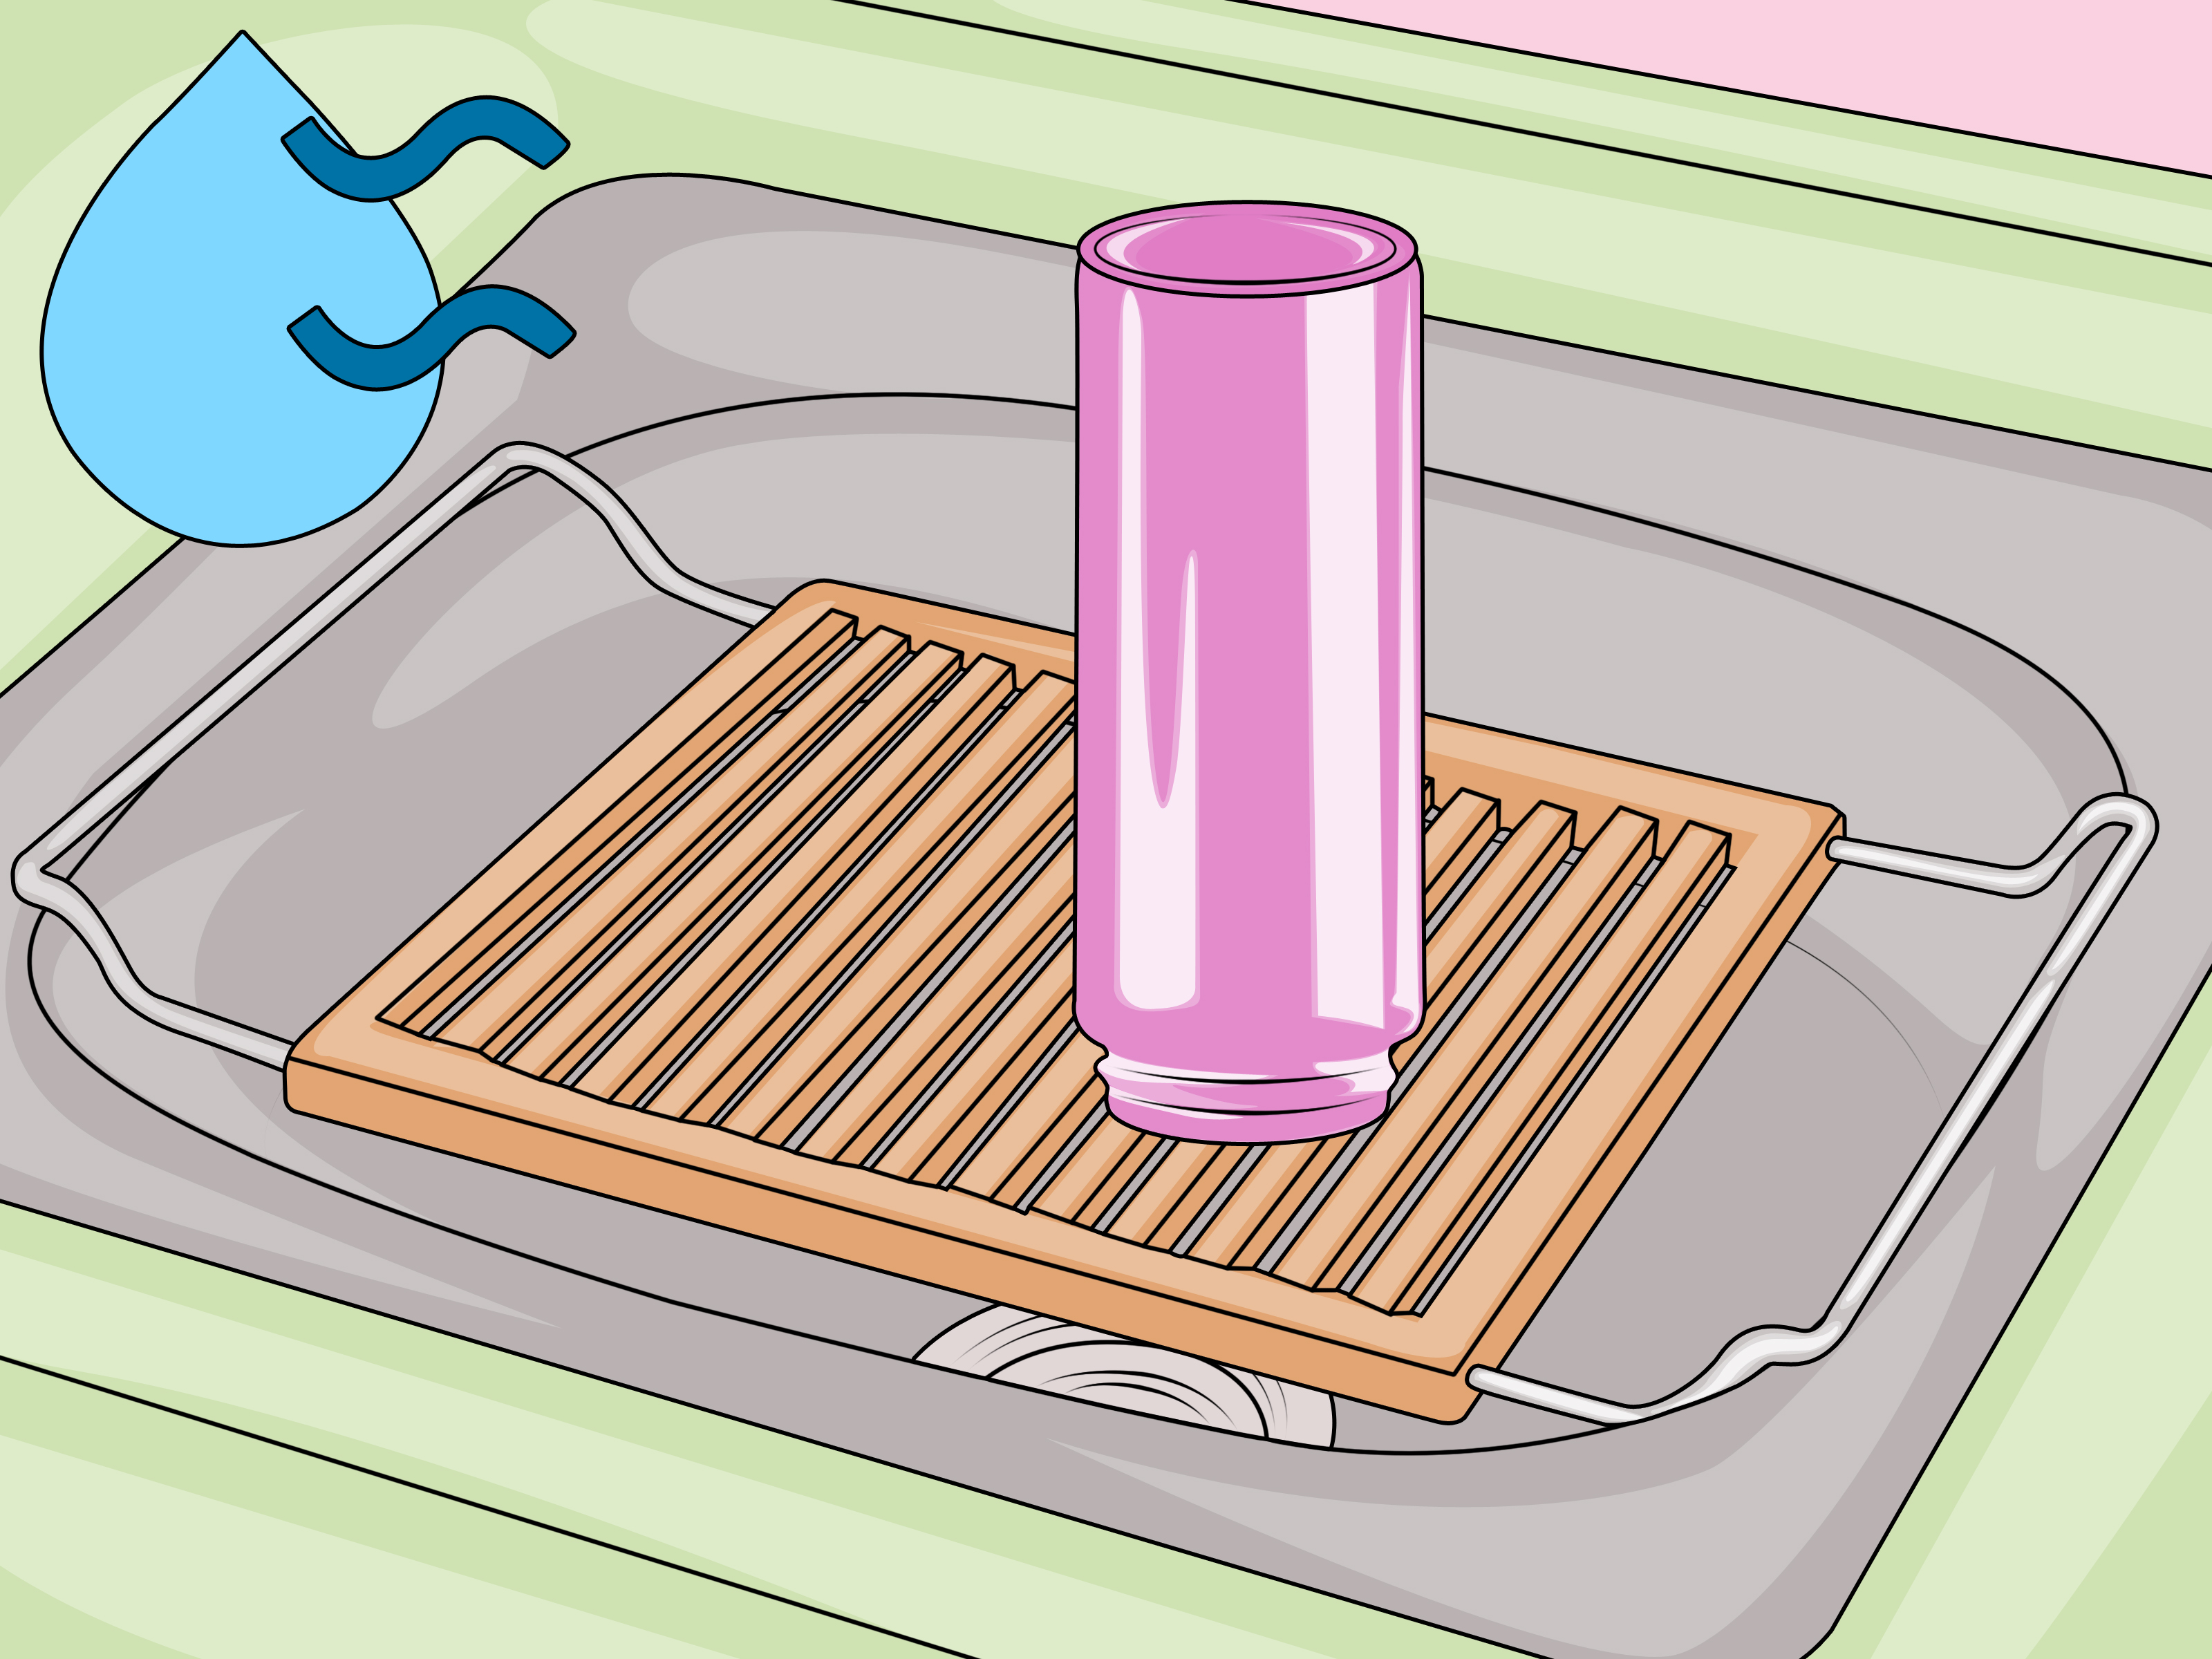
Set the bottle and all removable parts on a clean drying rack or towel and let them air-dry fully before putting everything back together. This is not the moment to get impatient. Reassembling a bottle while parts are still damp can trap moisture and lead to odors later.
Store the bottle with the lid off or loosely attached until the inside is completely dry. This simple habit makes a huge difference in keeping your reusable water bottle fresh between uses.
-
10. Reassemble and Check the Filter Schedule
Once everything is dry, put the bottle back together and reinstall the filter if it is still within its use window. If the filter is old, slow, funky, or overdue, replace it. Brita bottle filters typically need replacement about every 40 gallons or roughly every two months, depending on your usage.
Then fill the bottle with cold water and enjoy the deeply satisfying feeling of drinking from a bottle that smells like absolutely nothing. That is the dream.
Common Mistakes to Avoid
- Washing the bottle without removing the filter first
- Putting a stainless steel Brita bottle in the dishwasher
- Using abrasive scrubbers or harsh cleaners
- Ignoring the straw, mouthpiece, and lid threads
- Reassembling the bottle before it is fully dry
- Keeping an old filter far beyond its replacement time
- Using hot water when the bottle is meant for cold water use
These mistakes are common because they save time in the moment. Unfortunately, they also create bad smells, weird tastes, and unnecessary wear. So yes, laziness is efficient right up until it is not.
How Often Should You Clean a Brita Water Bottle?
For best results, wash your Brita water bottle regularly, ideally after daily use or at least very frequently if it goes everywhere with you. A deeper clean is a smart idea whenever you notice odor, visible residue, or slower-moving grime in the lid and mouthpiece areas.
If you only rinse and refill the bottle over and over, buildup will eventually catch up with you. That does not make you a bad person. It just makes your bottle a little too confident.
A simple routine works well:
- Quick clean: Wash with warm water and mild dish soap after regular use
- Deep clean: Do a more careful scrub of the straw, lid, and threads once or twice a week
- Filter check: Replace on schedule instead of trying to stretch it into retirement
Real-Life Cleaning Experiences With a Brita Water Bottle
In real life, most people do not clean their Brita water bottle in a spotless kitchen while soft music plays and sunlight pours dramatically across the counter. Usually, the cleaning moment happens after you take a sip and think, “Why does this taste like old backpack?” That is the universal sign that your bottle has been promoted from “fine” to “please help.”
One of the most common experiences is the office bottle. It lives on a desk all day, gets refilled several times, and somehow becomes part hydration tool, part emotional support object. People often assume that because they only put water in it, it stays clean. Then they unscrew the lid and discover a ring around the mouthpiece or a stale smell that says, “I have seen things.” The fix is almost always the same: a proper wash, extra attention to the lid and straw, and full air-drying before the next refill.
Then there is the gym bottle experience. This bottle gets tossed into a bag, rolled under a car seat, carried with sweaty hands, and occasionally left in a hot car like it is training for a survival show. Even if the inside only held water, the outside and drinking surfaces take a beating. After a few days, the bottle may smell off even though the owner swears they “just cleaned it.” In many cases, they rinsed it. Rinsing is lovely, but it is not the same as scrubbing the mouthpiece and threads where funk likes to settle in and sign a lease.
Travel is another classic scenario. A Brita bottle on a road trip can be a hero. It saves money, cuts down on disposable bottles, and keeps water tasting better. But travel also means inconsistent cleaning. You refill at airports, rest stops, hotels, and random sinks while living out of a bag. By the time you get home, the bottle usually needs a full reset: disassemble, wash, deep clean the lid, dry everything, and check whether the filter should be replaced.
Parents also know the “family bottle shuffle,” where water bottles multiply in the house like socks with ambition. Somebody grabs the wrong lid, somebody leaves one half-full in a backpack, and somebody definitely insists the bottle is clean because it looks clean. This is where routines help. A quick evening wash and overnight air-dry solve a lot of gross surprises before they start.
The most satisfying experience, though, is the first sip after a thorough cleaning. No smell. No strange aftertaste. No suspicious residue around the mouthpiece. Just cold, fresh water and the small but glorious feeling that you have your life together for at least the next ten minutes. Honestly, for a reusable bottle, that is a pretty strong performance review.
Conclusion
Learning how to clean a Brita water bottle is mostly about building a simple habit. Remove the filter, wash the bottle with mild soap, clean the lid and straw carefully, rinse well, and let everything dry before reassembly. That is the formula.
The details matter, though. Know whether your model is plastic or stainless steel. Do not use abrasive cleaners. Do not wash the filter like it is just another bottle part. And do not ignore weird smells, because bottles are many things, but subtle is not one of them.
If you stay on top of regular cleaning and replace the filter when needed, your Brita bottle should keep doing what it was meant to do: making it easier to drink clean, better-tasting water without hauling around a pile of disposable plastic bottles.














