
Changing the font on your Tumblr blog is one of those tiny design moves that can make your page feel brand-new without requiring you to rebuild your theme, learn a whole programming language, or sacrifice a weekend to the CSS goblin. Whether your blog is a moodboard, writing archive, fandom shrine, photography portfolio, personal diary, or a beautifully chaotic collection of everything you have ever loved at 2:17 a.m., typography sets the tone before visitors read a single word.
The good news? You do not need to be a professional web designer to change Tumblr fonts. In most cases, you can do it in one of two easy, fast ways: by using your theme’s built-in customization options or by adding a small piece of custom CSS. The first method is beginner-friendly and perfect when your Tumblr theme already includes font controls. The second method gives you more freedom and lets you use fonts from places like Google Fonts, Adobe Fonts, or standard web-safe font stacks.
This guide walks you through both methods in plain American English, with examples, troubleshooting tips, and practical advice so your Tumblr blog looks stylish instead of “I accidentally broke the internet.” Let’s make your blog’s words dress better.
Why Changing Your Tumblr Font Matters
Your font is more than decoration. It affects readability, personality, brand identity, and how long visitors stay on your blog. A clean sans-serif font can make your Tumblr feel modern and minimal. A serif font can create a literary, editorial, or vintage mood. A handwritten or display font can add personality, but it can also become unreadable faster than a group chat with 873 unread messages.
For Tumblr blogs, font choice is especially important because themes often mix text posts, captions, quotes, links, headings, tags, and navigation. A font that looks cute in your title might be painful in long paragraphs. The trick is not just picking a “pretty” font, but choosing one that fits your content and works across desktop and mobile screens.
Before You Start: Know Where Tumblr Font Changes Happen
Tumblr font customization usually happens inside the blog theme editor. On the web version of Tumblr, you can go to your blog settings, make sure your custom theme is enabled, and open the theme editor. Depending on your theme, you may see built-in appearance controls, theme options, advanced options, a custom CSS box, and an option to edit the HTML directly.
One important detail: custom themes usually apply to your public blog URL, such as yourblog.tumblr.com. They may not affect every view inside the Tumblr dashboard or mobile app. So if you change the font and wonder why your dashboard still looks the same, congratulations: you did not fail. Tumblr is simply being Tumblr.
Method 1: Change the Font Using Your Tumblr Theme Options
This is the fastest and safest method. Many Tumblr themes include built-in font controls, especially premium themes or modern free themes designed for customization. These controls may let you change the blog title font, body font, heading font, accent font, font size, text color, or spacing without touching code.
Step 1: Open Your Tumblr Blog Settings
Log in to Tumblr on a desktop browser. Click your account icon, choose the blog you want to customize, and open that blog’s settings. Look for the custom theme section. If custom themes are turned off, enable them first.
Step 2: Click “Edit Theme”
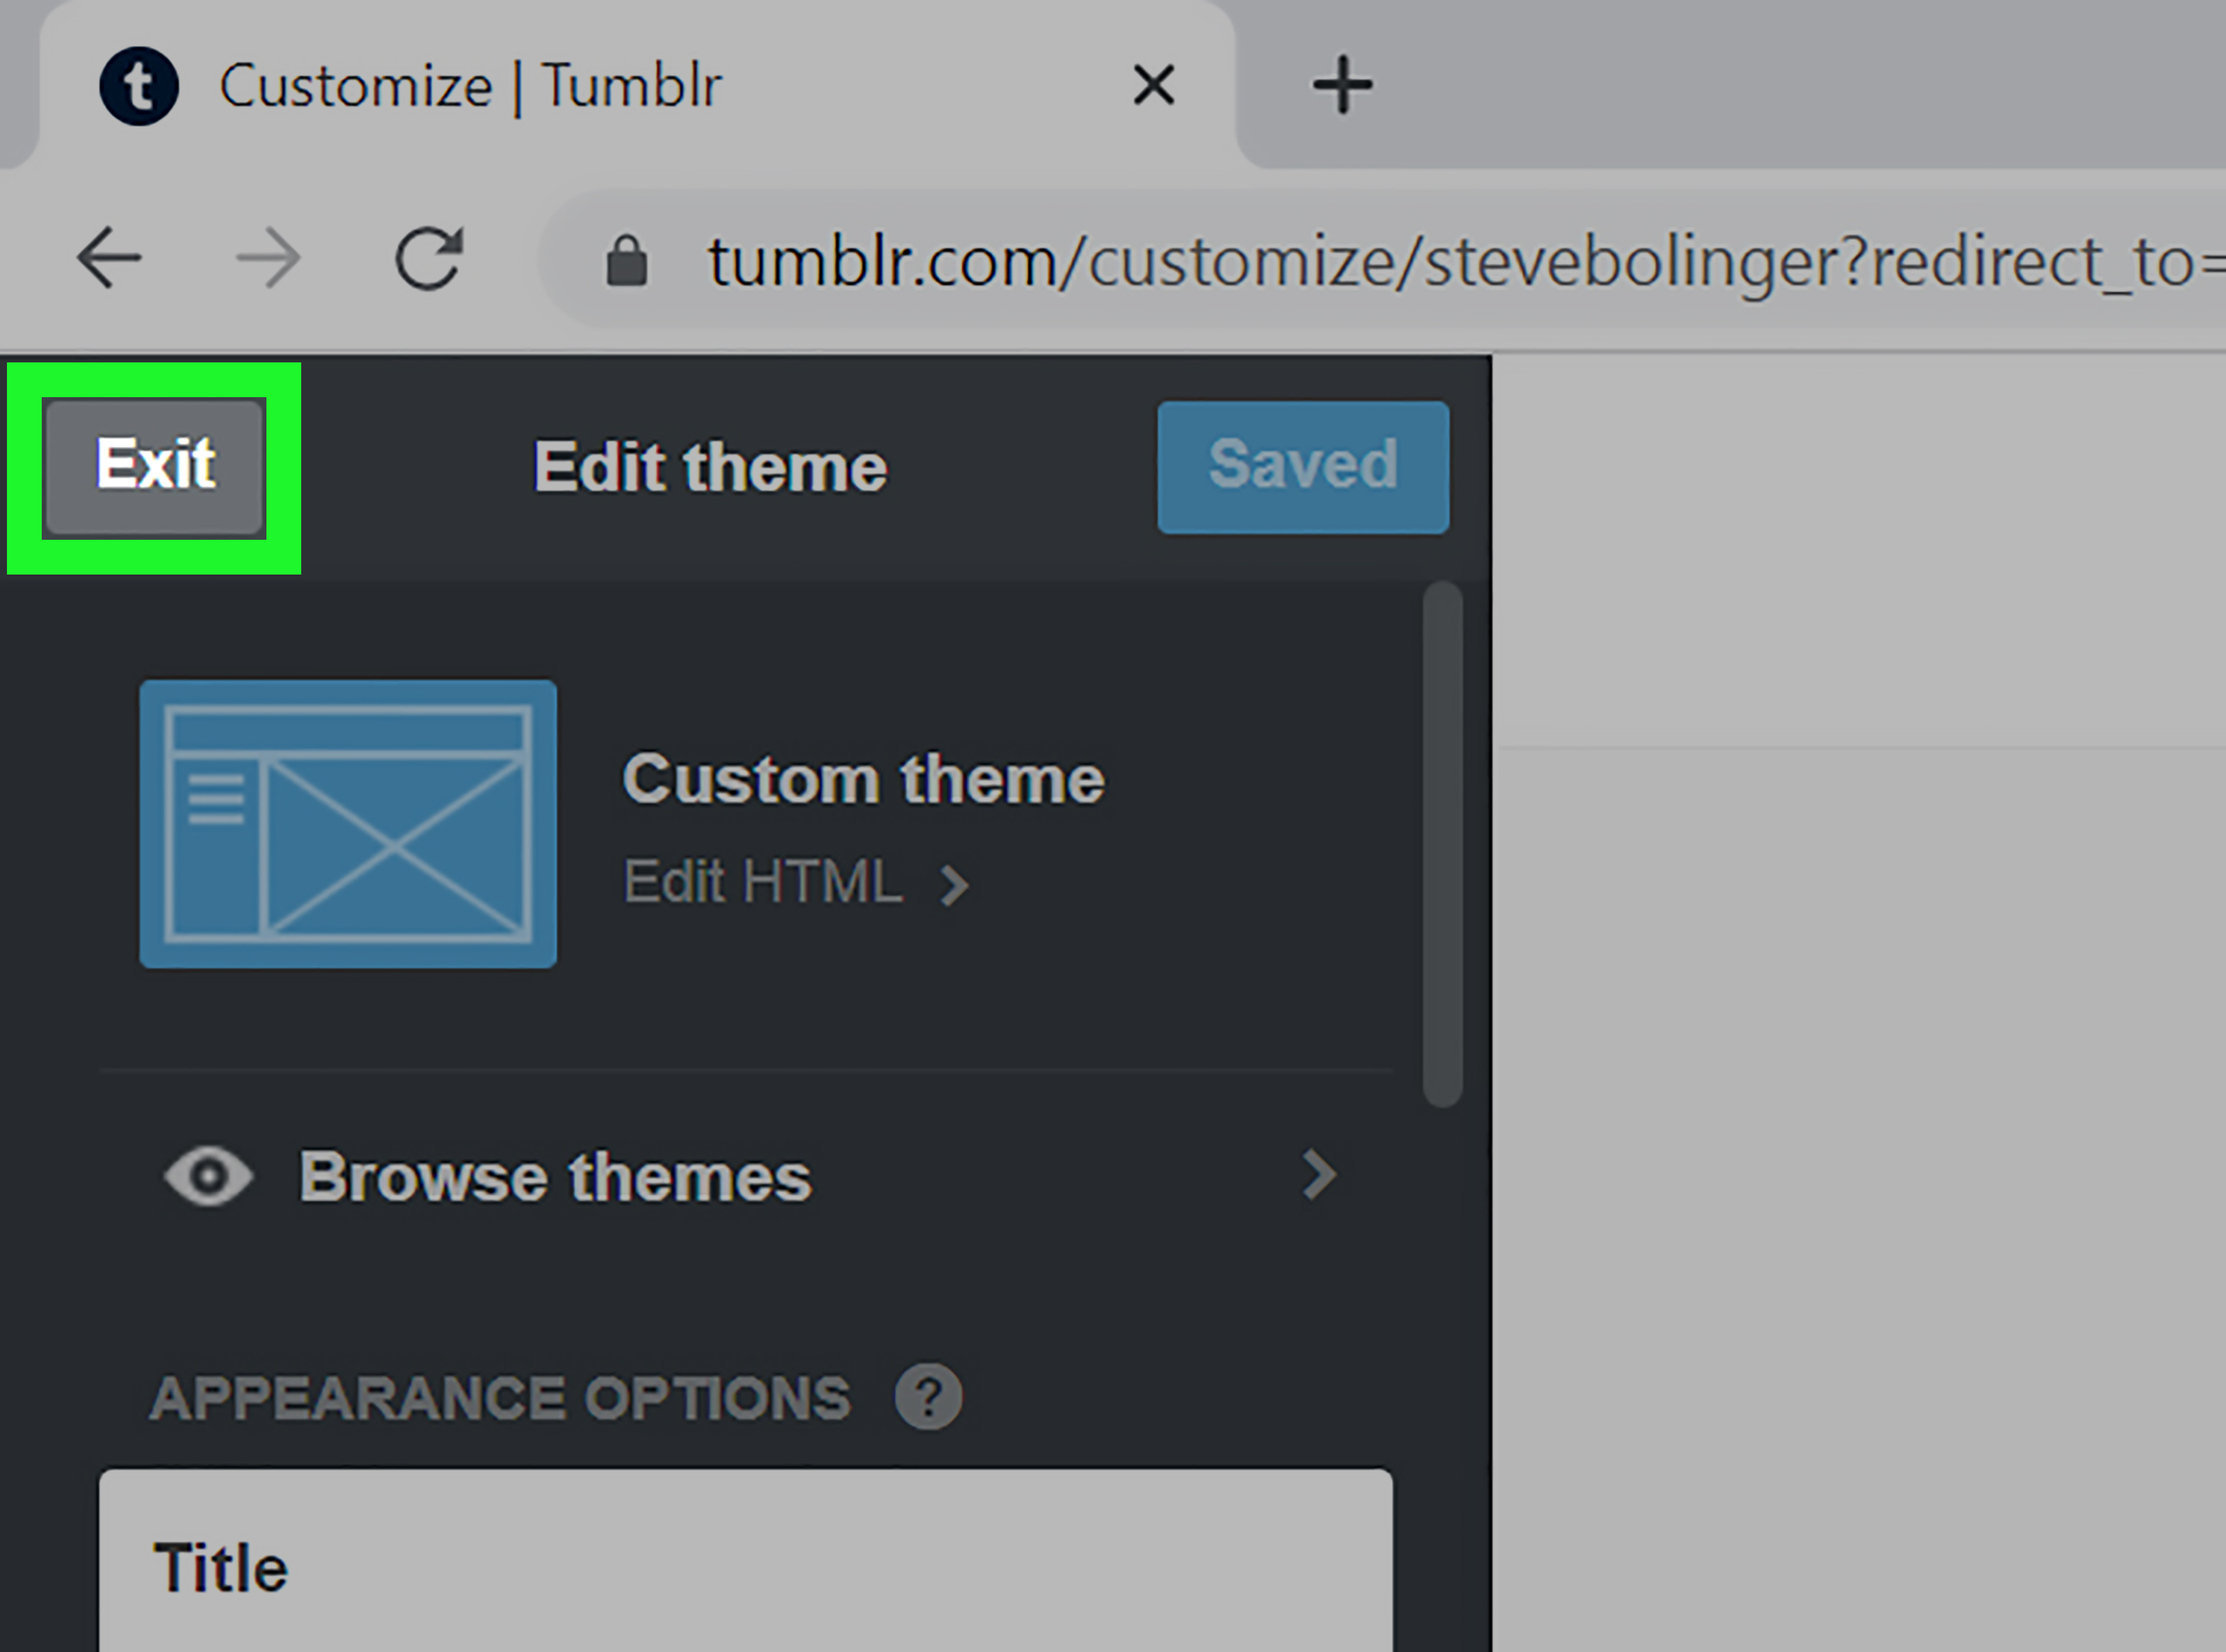
Once the custom theme option is active, click Edit Theme. This opens Tumblr’s theme customizer. On the left side, you should see customization controls. On the right side, you will usually see a live preview of your blog.
Step 3: Look for Font or Typography Options
Scroll through the theme settings and look for labels such as:
- Body font
- Title font
- Header font
- Post font
- Text font
- Font family
- Typography
- Appearance options
Not every Tumblr theme uses the same labels. Some themes are generous and organized. Others hide settings like they are guarding pirate treasure. Take a calm scroll before deciding your theme has no font options.
Step 4: Select a New Font
If your theme gives you a dropdown menu, choose a font that matches your blog’s style. For example, a minimalist photo blog might look great with Inter, Helvetica, or Arial. A writing blog might feel more polished with Georgia, Merriweather, or another readable serif font. A playful personal blog might use a rounded font, but keep the main post text simple enough to read.
Step 5: Preview and Save
Use the preview panel to check how the font looks in titles, posts, links, tags, and navigation. If everything looks good, click Save. Then open your public blog in a new tab and refresh the page.
Best For
This method is best for beginners, bloggers who do not want to edit code, and anyone using a theme with strong built-in options. It is also the least risky method because you are using controls the theme creator already prepared.
Limitations
The downside is that you are limited to whatever options the theme provides. Some Tumblr themes do not include font controls at all. Others let you change the title font but not the post font. If your theme settings do not give you the font control you want, move on to Method 2.
Method 2: Change the Font with Custom CSS
Custom CSS is the flexible method. CSS stands for Cascading Style Sheets, which is the language websites use to control visual styling: fonts, colors, spacing, borders, layout, and all the other design details that make a page look intentional instead of like a digital garage sale.
On Tumblr, you can often add custom CSS through the advanced options area in the theme customizer. Some themes also allow you to edit the HTML directly and place CSS inside a <style> section. The custom CSS box is usually safer because you are not rewriting the full theme code.
Step 1: Back Up Your Theme First
Before touching code, copy your existing custom HTML or CSS into a plain text file. Save it somewhere easy to find. This gives you a quick escape hatch if something goes sideways. Design confidence is wonderful; a backup is better.
Step 2: Open Advanced Options
Go to your Tumblr blog settings, click Edit Theme, and scroll to Advanced Options. Look for Add custom CSS or a similar field. If your theme supports it, you can paste CSS there.
Step 3: Add a Basic Font Rule
To change the main body font of your Tumblr blog, start with a simple CSS rule like this:
This tells the browser to use Arial first. If Arial is not available, it tries Helvetica. If Helvetica is not available, it uses the browser’s default sans-serif font. That final generic fallback is important because no single font is guaranteed to exist on every device.
Step 4: Change Specific Parts of the Theme
If you only want to change headings, blog titles, posts, or links, you can target those elements more specifically. The exact class names depend on your theme, but these examples often work or can be adapted:
The phrase font-family: inherit; tells links to use the same font as their surrounding text. This keeps your layout from looking like three different websites got into a font argument.
Step 5: Use Google Fonts on Tumblr
If you want a font that is not normally installed on most computers, Google Fonts is a popular option. It provides web fonts that can be loaded with a stylesheet link and then referenced in CSS.
For example, suppose you want to use Playfair Display for headings and Inter for body text. You would first add the font import:
Paste this into the custom CSS box if your theme allows @import. If your theme rejects it, you may need to place the Google Fonts <link> tag inside the HTML <head> area instead, then keep the font-family rules in your CSS.
Step 6: Save and Test
After pasting your CSS, click Save. Open your blog in a new tab, refresh, and check several post types. Look at text posts, quote posts, image captions, tags, links, navigation, and your blog description. A font change that looks great in one place may look cramped somewhere else.
Quick Font Pairing Ideas for Tumblr Blogs
Not sure which fonts to use? Here are a few practical combinations:
- Minimal blog: Inter for everything, with bold headings.
- Writing blog: Merriweather for post text and Source Sans 3 for navigation.
- Aesthetic blog: Playfair Display for headings and Lato for body text.
- Portfolio blog: Montserrat for headings and Open Sans for descriptions.
- Retro blog: Georgia for body text and Courier New for small accent labels.
- Fandom blog: Poppins for headings and system sans-serif for posts.
The safest formula is simple: use one expressive font for headings and one highly readable font for body text. Avoid using five fonts unless your design goal is “haunted flyer found under a vending machine.”
How to Choose the Right Font for Your Tumblr Blog
Prioritize Readability
If your blog has long posts, readability matters more than drama. Fonts with clear letter shapes and comfortable spacing work best. A decorative font might look amazing in your blog title but exhausting in a 900-word personal essay about your favorite fictional villain.
Match the Mood of Your Content
A photography blog may benefit from clean, quiet typography that lets images shine. A poetry blog might use a soft serif font. A tech or resource blog usually works well with a modern sans-serif. Your font should support your content, not fight it for attention.
Use Fallback Fonts
Always include fallback fonts in your CSS. A good font stack looks like this:
The browser reads the list from left to right. If the first font fails or is unavailable, it tries the next one. The final generic family, such as sans-serif or serif, gives the browser a safe last choice.
Do Not Load Too Many Font Weights
Font weights are variations like regular, medium, semibold, bold, and black. Loading too many weights can slow down your blog. For most Tumblr themes, you only need two or three: regular for body text, semibold for subheadings, and bold for titles.
Test on Mobile
Tumblr visitors may view your blog on phones, tablets, laptops, and large monitors. A font that looks elegant on desktop can become tiny or crowded on mobile. After saving your changes, check your public blog on your phone. If your theme uses Tumblr’s default mobile theme, some custom font changes may not appear unless you disable that setting and your custom theme is responsive.
Common Tumblr Font Problems and Fixes
The Font Did Not Change
First, refresh your blog and clear your browser cache. Then check that you saved the theme. If you used Google Fonts, make sure the font name in your CSS exactly matches the font name from the provider. For example, 'Playfair Display' must include the space and be spelled correctly.
The CSS Box Says HTML Is Not Allowed
The custom CSS box is for CSS only. Do not paste <link>, <script>, <style>, or full HTML elements there. If you need to add a font stylesheet link, put it in the theme HTML inside the <head> section, or use a CSS @import rule if your theme accepts it.
The Blog Looks Broken After Editing HTML
Restore your backup. If you did not make a backup, check Tumblr’s theme recovery options. Also look for missing brackets, missing semicolons, unclosed tags, or pasted code from an untrusted source. One tiny typo can make a theme act like it has had too much espresso.
The Font Works on Desktop but Not Mobile
Your blog may be using Tumblr’s default mobile theme. In the theme customizer’s advanced options, check the mobile theme setting. Only disable the default mobile theme if your custom theme is responsive and looks good on small screens.
The Font Loads Slowly
Use fewer fonts and fewer weights. Stick with modern web font formats when self-hosting, and consider font-display: swap; when using @font-face. This allows text to appear in a fallback font while the custom font loads, which is usually better than making visitors stare at blank text.
Example: A Clean Tumblr Font Setup
Here is a practical CSS snippet for a polished Tumblr blog using Google Fonts:
This setup keeps body text readable, gives headings personality, and avoids loading unnecessary decorative fonts. It is simple, practical, and unlikely to make your readers squint.
Example: A No-Google-Fonts Setup Using Web-Safe Fonts
If you want speed and simplicity, use web-safe fonts that are already available on most systems:
This option loads quickly because the browser does not need to download an external font file. It may not feel as custom as a Google Fonts setup, but it is stable, fast, and beginner-proof.
Best Practices for Tumblr Font Customization
- Use no more than two font families for a clean design.
- Keep body text readable above all else.
- Always include fallback fonts.
- Use decorative fonts only for titles or small accents.
- Back up your theme before editing HTML.
- Check your blog on desktop and mobile after saving.
- Avoid random code from unknown sources.
The best Tumblr font change is one visitors barely notice because it feels natural. The text is comfortable, the mood is clear, and the blog feels more “you” without screaming “I spent six hours arguing with CSS.”
Final Thoughts
Changing the font on your Tumblr blog is a quick way to refresh your design, strengthen your blog’s personality, and make your posts easier to read. Start with your theme’s built-in options if they exist. That is the easiest path and usually takes only a few minutes. If your theme does not offer font controls, custom CSS gives you the flexibility to style body text, headings, links, captions, and other theme elements.
Remember the golden rule: beautiful typography should help your content, not steal the microphone from it. Choose readable fonts, use fallbacks, test on mobile, and keep your design consistent. Your Tumblr blog does not need a complete makeover to feel fresh. Sometimes, all it needs is a better font and the confidence of a blog that finally found its outfit.
Extra Experience Notes: What It Feels Like to Change Fonts on Tumblr
Changing fonts on Tumblr sounds simple, and technically it is. Emotionally, it can become a tiny design adventure. The first time you open the theme editor, you may feel like you have entered a control room full of buttons labeled by someone who assumed everyone was born knowing CSS. But once you understand the two main routestheme options or custom CSSthe process becomes much less intimidating.
In real use, the easiest wins usually come from small changes. Switching a harsh default font to a cleaner sans-serif can instantly make a blog feel more modern. Replacing a plain title font with a tasteful serif can make the whole page feel more editorial. Even adjusting the font size and line height can change the reading experience dramatically. Many Tumblr blogs suffer not because the font is ugly, but because the text is too small, too tight, or too inconsistent across posts.
One useful lesson is to test fonts with your actual content. A font can look perfect in a sample sentence like “The quick brown fox jumps over the lazy dog,” but your blog may include long captions, lowercase aesthetic titles, song lyrics, quotes, tags, usernames, and reblog chains. Always preview the font with real posts. If your blog has long writing, read a full paragraph. If your blog is image-heavy, check captions. If your theme uses tiny navigation links, make sure the new font does not turn them into decorative crumbs.
Another experience-based tip: do not chase uniqueness at the cost of comfort. It is tempting to choose the most unusual font because it feels original. But readers usually appreciate clarity more than novelty. A slightly distinctive heading font paired with a calm body font often looks better than using one dramatic font everywhere. Think of fonts like seasoning. A little adds flavor. Too much makes the soup file a complaint.
Custom CSS is also less scary when you change one thing at a time. Add the body font rule, save, preview, and confirm it works. Then add heading styles. Then adjust captions or tags. If you paste twenty lines at once and something breaks, troubleshooting becomes harder. Slow, boring testing is secretly the glamorous path to a blog that works.
Finally, keep a backup. Tumblr themes can be flexible, but custom code is still code. Before editing HTML, copy the original theme into a text file. Name it something obvious, like tumblr-theme-backup-before-font-change.txt. Future you will be grateful, especially if current you gets ambitious and decides to “just tweak one more thing.” That phrase has started many design mysteries.
Overall, changing your Tumblr font is one of the fastest ways to make your blog feel intentional. It does not require a full redesign, expensive tools, or advanced development skills. With a good font pair, a readable fallback stack, and a little patience, your Tumblr can look cleaner, more personal, and much easier to enjoy.












