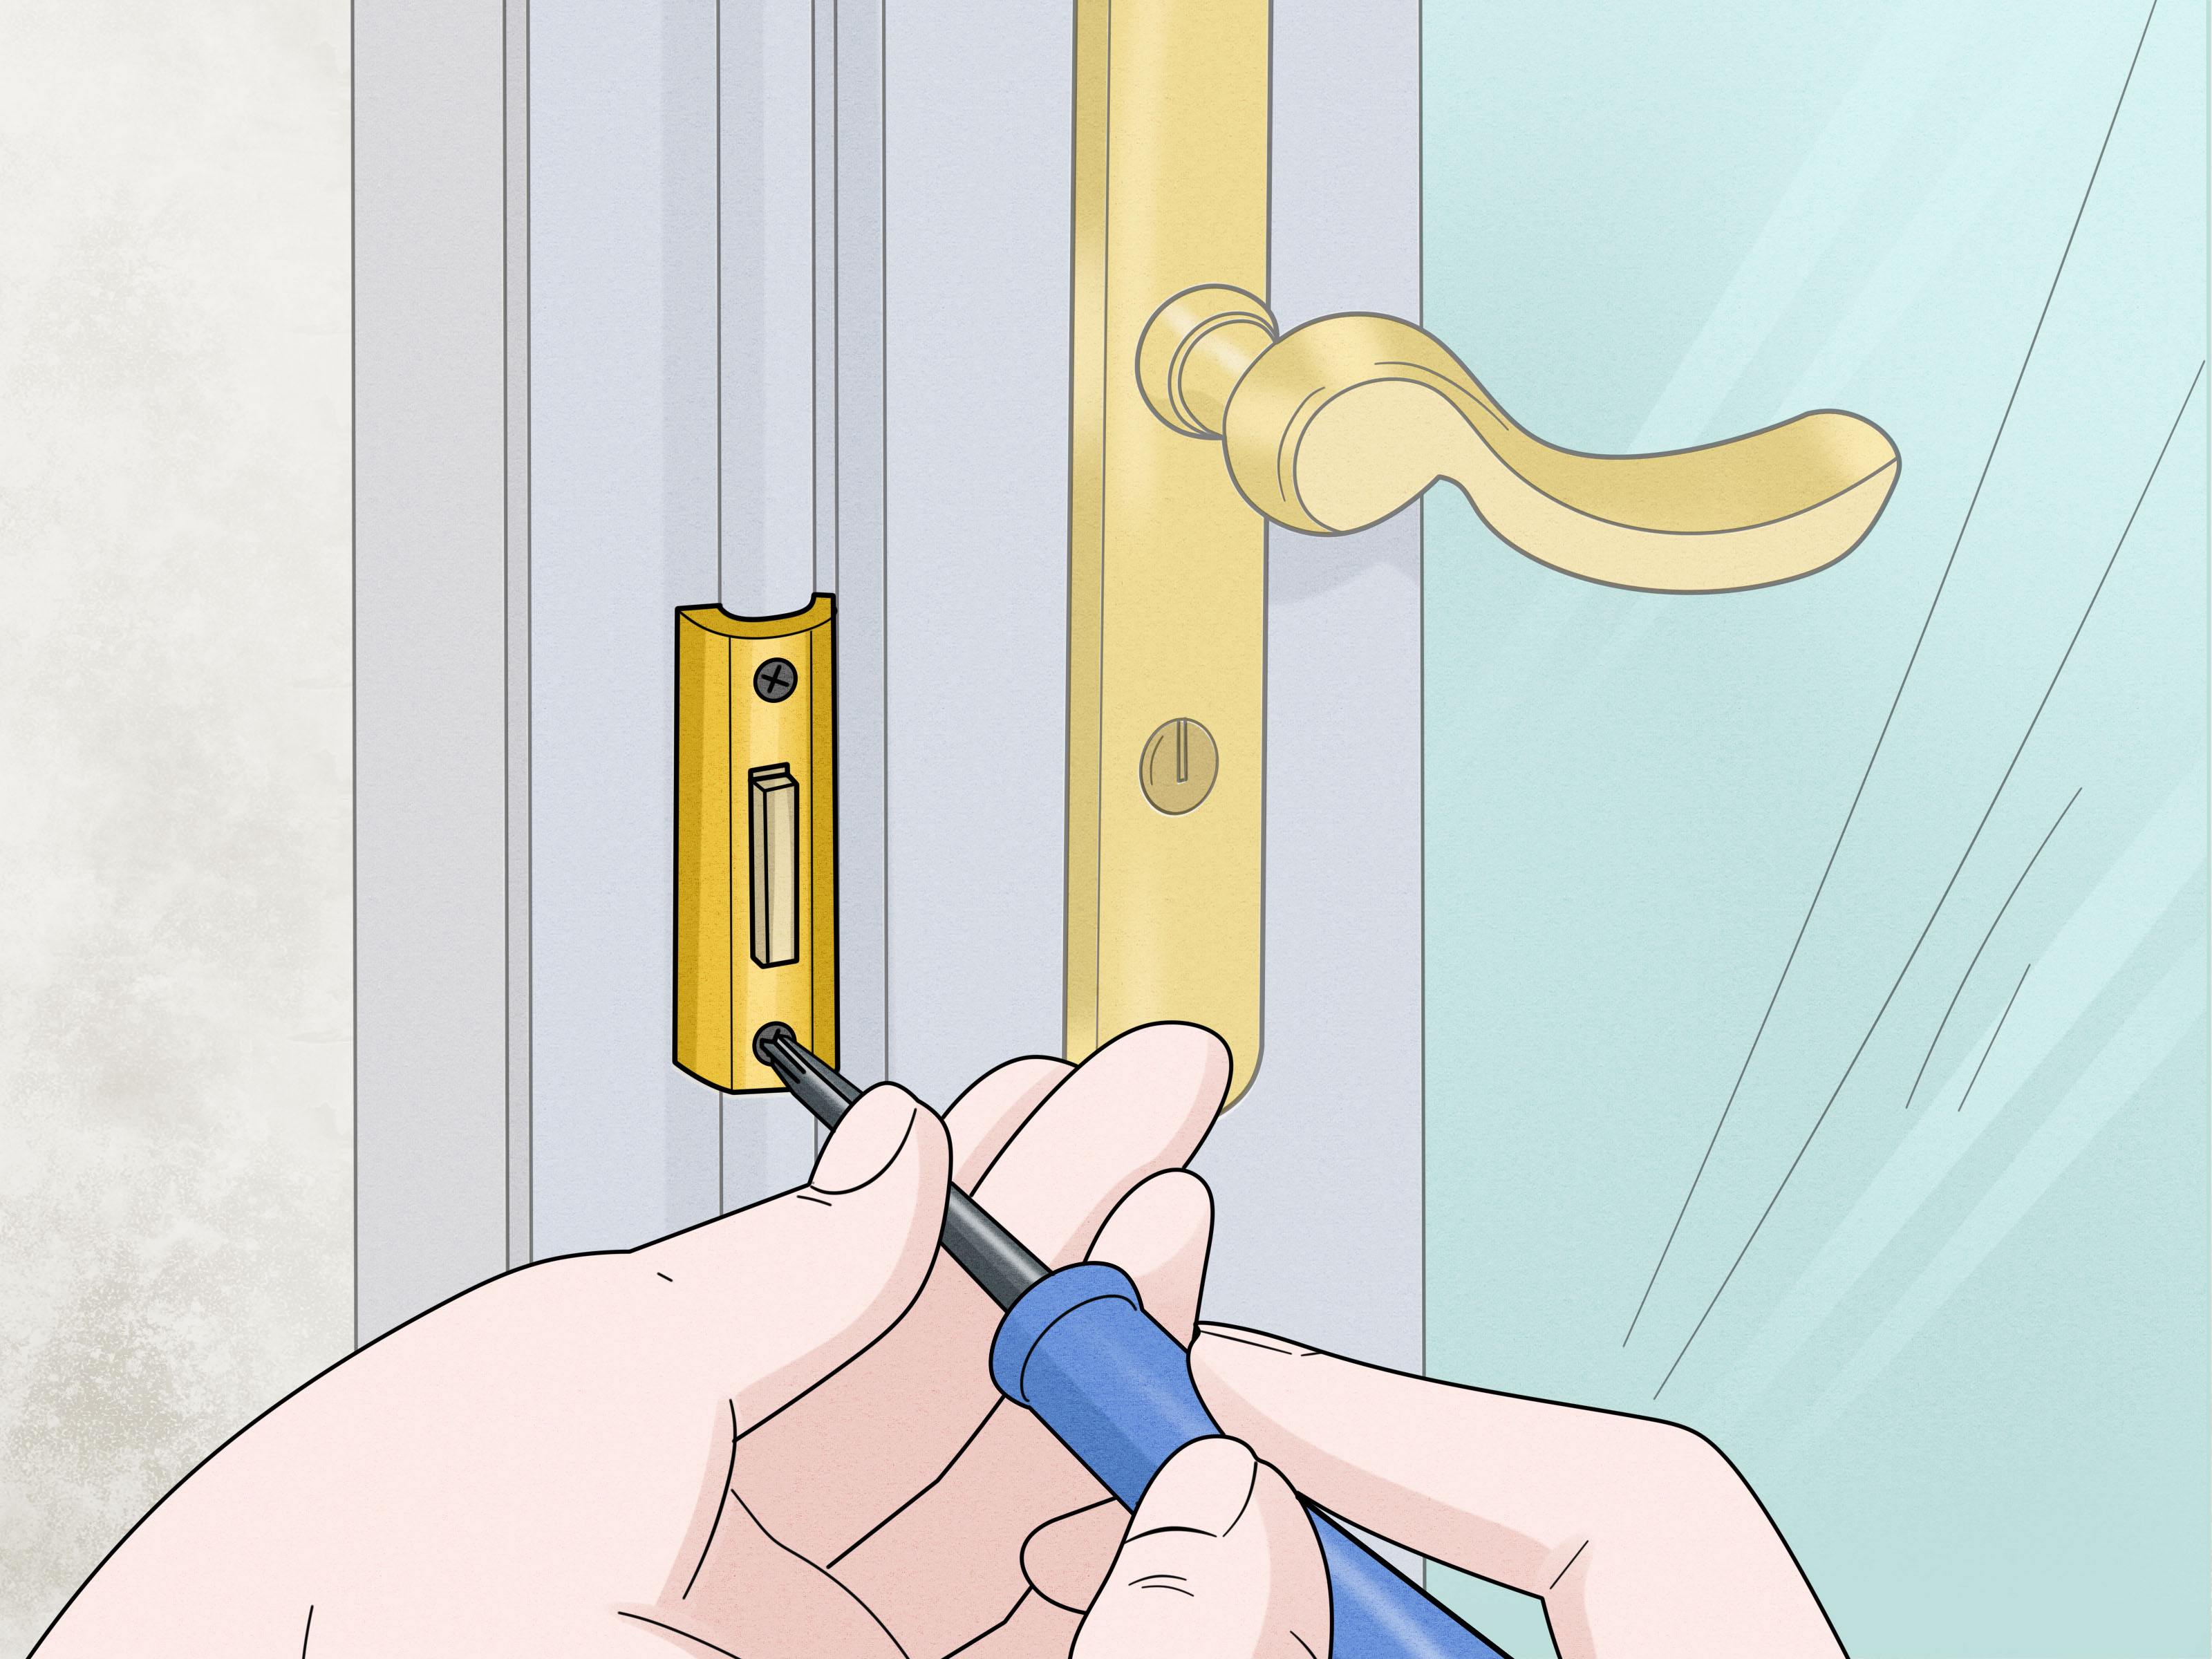
A door chime is one of those tiny home systems you barely noticeuntil it stops working. Suddenly, packages vanish into porch purgatory, guests knock like it is 1897, and your dog becomes the only functioning alert device in the building. The good news? Most wired door chime problems come from a short list of suspects: the button, the chime unit, the transformer, loose wiring, or a power issue.
This guide explains how to repair a door chime in 12 practical steps, using a safe, logical troubleshooting process. You will learn how a wired doorbell works, how to test the button, how to inspect the chime, when to check the transformer, and when to stop being heroic and call a licensed electrician. The goal is not to turn your hallway into an electrical laboratory. The goal is to restore that satisfying ding-dong without unnecessary drama.
Important safety note: Traditional wired door chimes usually run on low-voltage AC power, commonly around 16 volts, but the transformer itself connects to household line voltage. Always turn off power before opening or replacing parts, test wires before touching them, and call a licensed electrician if you are dealing with a transformer, junction box, breaker panel, burnt wiring, repeated breaker trips, or anything beyond your skill level.
How a Wired Door Chime Works
A basic wired doorbell system has three main parts: the push button outside, the chime box inside, and the transformer that lowers household voltage to safer low voltage for the doorbell circuit. When someone presses the button, it completes the circuit. Current flows to the chime, a solenoid moves a small plunger, and the plunger strikes a metal tone bar. That is the classic “ding.” In two-note chimes, the plunger usually strikes one tone bar when the button is pressed and another when it releases, giving you the famous “ding-dong.” Very fancy. Almost orchestral. Almost.
Most chime boxes have terminals labeled TRANS, FRONT, and sometimes REAR. TRANS connects to the transformer, FRONT connects to the front door button, and REAR connects to a second button if you have one. Some electronic chimes also use a diode at the button to make the melody play correctly. If that diode is backwards, missing, or damaged, the chime may play only part of the tune or behave like it has forgotten the second half of its job.
Tools and Materials You May Need
Before you begin your doorbell chime repair, gather a few basic tools. You may need a screwdriver, needle-nose pliers, a non-contact voltage tester, a multimeter, electrical tape, wire strippers, replacement doorbell button, replacement chime unit, replacement transformer, masking tape for labeling wires, and a clean cloth. For mechanical chimes, a small amount of nonflammable electrical contact cleaner may help clean sluggish parts, but never oil the plungers. Oil attracts dust and turns a sticky chime into a tiny hallway swamp.
How to Repair a Door Chime: 12 Steps
Step 1: Confirm the Problem
Start with the obvious. Press the doorbell button and listen carefully. Does nothing happen? Does the chime hum? Does it make only one weak “ding”? Does it ring constantly? Each symptom points in a different direction.
If there is no sound at all, suspect power, the button, broken wiring, the transformer, or the chime unit. If the chime hums, the button may be stuck, the wires may be shorted, or a smart doorbell may be drawing power incorrectly. If you hear only one note, the chime plunger may be stuck, underpowered, blocked, or dirty. If the chime rings constantly, the button could be jammed or the wires may be touching somewhere.
Step 2: Turn Off the Power
Even though the doorbell circuit is low voltage after the transformer, safe troubleshooting starts at the electrical panel. Turn off the breaker that controls the doorbell circuit. If the panel is not labeled, look for a breaker tied to the hallway, entry, foyer, garage, basement, or nearby lighting circuit. If you are unsure, turn off power to the area and verify with a tester.
Never assume a wire is safe because it “looks small.” Tiny wires can still lead back to equipment connected to household power. If you need to open a junction box, remove a transformer, or work near line-voltage wiring, stop and call a qualified electrician.
Step 3: Inspect the Doorbell Button
The doorbell button is the hardest-working and most weather-abused part of the system. It gets rain, heat, cold, dust, spider webs, and enthusiastic visitors who press it like they are launching a rocket. Remove the button from the wall or trim and gently pull it forward. Check for corrosion, loose screws, frayed wires, cracked plastic, or a stuck button.
If the contacts are dirty, clean them gently with a dry cloth or suitable electrical contact cleaner. Tighten loose terminal screws. If the button feels mushy, jammed, cracked, or rusty, replacement is usually faster than trying to perform delicate surgery on a $5 part.
Step 4: Test the Button by Touching the Wires Together
With the button removed and the power restored only if you are safely testing the low-voltage side, disconnect the two low-voltage wires from the back of the button. Touch the bare ends together briefly. If the chime rings, congratulations: the wiring, transformer, and chime are probably working, and the button is the problem.
If the chime does not ring when the wires touch, the issue is somewhere else. Turn the power off again before reconnecting or moving deeper into the system. This simple button test is one of the fastest ways to diagnose a doorbell not working, and it saves you from replacing the chime when the real villain is a weather-beaten button wearing a tiny plastic disguise.
Step 5: Replace the Doorbell Button if Needed
If the button test proves the button is bad, install a replacement. Bend the ends of the wires into small hooks with needle-nose pliers, wrap them clockwise around the button screws, and tighten the screws securely. The wires on a simple doorbell button are usually interchangeable, so either wire can go on either terminal unless the manufacturer specifies otherwise.
Mount the new button firmly, but do not crush the wires behind it. If the button is outside and exposed to weather, choose a model rated for exterior use. A fresh button often restores the entire system in minutes, which is deeply satisfying and may make you feel like a home-repair wizard. Enjoy the moment responsibly.
Step 6: Remove the Chime Cover and Look Inside
If the button is not the problem, move to the chime unit. Most chime covers lift off, slide upward, or snap loose. Some have small screws. Remove the cover carefully and inspect the inside. Look for loose wires, dust, dead insects, broken springs, bent plungers, or anything touching the tone bars.
Mechanical chimes need open space for the plungers to move and strike the tone bars. If wires are pushed against the bars, the sound may be muted or weirdly dull. If the plunger is stuck or sluggish, the chime may produce one weak note or no note at all.
Step 7: Tighten Chime Terminal Screws and Label the Wires
Before disconnecting anything, take a photo of the wiring. Then label the wires with masking tape. Common terminals include TRANS, FRONT, and REAR. Loose terminal screws can interrupt the circuit, especially in older homes where vibration, repainting, remodeling, and decades of wall movement have had plenty of time to cause trouble.
Tighten the terminal screws gently. Do not overtighten and strip them. If a wire end looks damaged or oxidized, turn off power, trim the end, strip a small fresh section, and reconnect it securely. A good connection should be snug, clean, and free of stray copper strands touching another terminal.
Step 8: Clean the Mechanical Chime Parts
For a mechanical door chime that hums, buzzes, or makes only one tone, inspect the plungers. These are small metal rods inside the chime mechanism. They should move freely. Dust can make them sluggish, and previous “helpful” repairs involving household oil can make them gummy.
Use a clean cloth to remove dust. If needed, use a nonflammable electrical contact cleaner recommended for this type of component, then let everything dry completely. Do not oil the plungers. It may seem clever for about three days, and then dust sticks to the oil and the chime becomes lazy again. Door chime plungers are not bicycle chains; they prefer to stay dry.
Step 9: Test Voltage at the Chime
If the button and visible chime parts look fine, use a multimeter set to AC voltage to test whether power is reaching the chime. Carefully test between the TRANS terminal and FRONT terminal while the button is pressed, following your meter instructions and basic electrical safety practices.
A traditional wired chime often operates around 16 volts AC, though acceptable voltage depends on the chime and transformer. Some systems may use 8, 10, 16, or 24 volts. Smart video doorbells often have stricter requirements, commonly in the 16 to 24 VAC range with enough VA capacity. Always check the rating printed on the chime, transformer, and smart doorbell documentation.
If voltage reaches the chime when the button is pressed but the chime does not sound, the chime unit may be bad. If voltage does not reach the chime, the problem may be the transformer, wiring, button circuit, or a loose connection.
Step 10: Check the Transformer Output
The transformer may be mounted near the electrical panel, on a junction box, in the basement, in the garage, in the attic, near the furnace, in a closet, or sometimes inside or behind the chime box. It reduces household voltage to low voltage for the doorbell system.
Use a multimeter to test the low-voltage terminals on the transformer. If the transformer is rated for 16 VAC but produces little or no output, it may have failed. If it produces noticeably low voltage under load, the chime may sound weak or incomplete. If the transformer feels extremely hot, smells burnt, has visible damage, or is installed improperly, stop using the system and call an electrician.
Replacing a transformer involves line-voltage wiring on the primary side. That is not the same as changing a decorative doorbell button. If you are not trained and comfortable with electrical work, hire a licensed electrician for transformer replacement.
Step 11: Inspect for Broken or Damaged Doorbell Wiring
If the button, chime, and transformer test correctly but the system still refuses to ring, inspect the wiring path where visible. Look for pinched wires, rodent damage, broken insulation, paint-covered splices, loose wire nuts, or wires pulled from terminals. Doorbell wire is thin, and it can break if it is bent repeatedly or stapled too tightly.
For hidden wiring, a continuity tester or wire tracer may help identify a break, but tracing wires through walls can become time-consuming. If the break is inaccessible, many homeowners choose to run new low-voltage bell wire, install a wireless chime, or call a professional. There is no prize for opening six walls to save one ancient wire unless you enjoy drywall dust as a lifestyle.
Step 12: Replace the Chime Unit if It Has Failed
If power is reaching the chime and the button circuit is working, but the chime still does not sound correctly, replacement may be the cleanest repair. Turn off power, label all wires, remove the old chime base, thread the wires through the new base, mount it level, and reconnect each wire to the matching terminal.
Match the new chime to your system. A mechanical chime, electronic chime, smart doorbell, and transformer must be compatible. Some smart doorbells require a power kit, jumper, resistor, chime connector, or specific transformer rating. Some newer wired video doorbells do not work with every existing mechanical chime. Before buying parts, compare voltage, VA rating, and chime compatibility. This five-minute check can prevent a full afternoon of muttering at the wall.
Common Door Chime Problems and What They Mean
The Chime Does Nothing
No sound usually means a bad button, no transformer output, broken wiring, a tripped breaker, or a failed chime. Start at the button because it is easy to test and commonly fails first.
The Chime Hums but Does Not Ring
A humming chime may mean the button is stuck, the wires are shorted, the plunger is jammed, or a smart doorbell is pulling power in a way the chime does not like. Disconnect the button first to see whether the hum stops.
The Chime Rings Constantly
Constant ringing usually points to a stuck button or wires touching each other somewhere in the circuit. Check the exterior button for moisture, corrosion, or physical damage.
The Chime Makes Only One Note
A one-note chime may have a weak transformer, dirty plunger, blocked tone bar, loose wire, or worn mechanical part. Clean the mechanism, check for obstructions, and verify the transformer output.
The Smart Doorbell Works, but the Indoor Chime Does Not
This is common after upgrading to a video doorbell. The transformer may not provide enough power, the chime may not be compatible, or the required chime connector may be missing. Check the video doorbell manufacturer’s power and chime compatibility requirements.
When to Call a Licensed Electrician
Call a licensed electrician if the transformer needs replacement, the transformer is inside or attached to a junction box, wires are burnt or melted, the breaker trips repeatedly, you detect line voltage where it should not be, the chime wiring disappears into walls with no clear path, or you simply feel unsure. Electrical confidence is good. Electrical guessing is not. The difference between the two can be expensive, smoky, or both.
Also call a professional if you are installing a new wired system where none existed before. Running new low-voltage wiring may be simple in some homes, but connecting a transformer to household power must comply with local electrical code. A clean, code-compliant installation protects the home and helps future troubleshooting make sense.
Maintenance Tips to Keep Your Door Chime Working
Once your door chime is working again, keep it healthy with a few simple habits. Clean the exterior button occasionally, especially if it is exposed to rain or dust. Make sure the button is not loose on the door trim. Keep the chime cover properly seated so dust does not collect inside. Avoid painting over the button or chime cover vents. If you renovate, label the doorbell transformer and chime wires before anyone starts moving electrical boxes, drywall, or trim.
If your home has an older transformer and you plan to install a smart video doorbell, check the voltage and VA rating before installation. Many old transformers were designed for simple mechanical chimes, not Wi-Fi cameras that sip power all day like tiny security-conscious vampires. Upgrading the transformer may be necessary, but that job belongs to someone qualified to work with line voltage.
Practical Experience: What Usually Happens in Real Door Chime Repairs
In real homes, door chime repair rarely unfolds like a perfect manual. The first surprise is usually the transformer location. Homeowners expect it to be politely sitting beside the chime, wearing a name tag. Instead, it may be near the breaker panel, mounted to a basement junction box, hiding in the garage, tucked near the furnace, or lurking behind the old chime box like a shy metal beetle. Finding it can take longer than replacing the button.
The second common experience is discovering that the cheapest part caused the biggest annoyance. A bad doorbell button is incredibly common. The outside button lives a rough life: moisture gets inside, screws loosen, contacts corrode, and plastic gets brittle. Many people start by shopping for a new chime unit, but the two-wire button test often reveals the truth in ten seconds. If touching the two button wires together rings the chime, the expensive parts are innocent. The button did it. Case closed.
Another practical lesson: weak chimes are often not “broken” in a dramatic way. They are tired. Dust builds up inside the chime box. A plunger sticks. A wire rests against a tone bar. A homeowner from years past may have sprayed oil into the mechanism with the noble confidence of someone who had no idea they were creating future paste. Cleaning the chime and freeing the plunger can bring back the second note without replacing anything.
Smart doorbells add a new twist. A traditional mechanical chime might have worked happily for 30 years with a modest transformer, but a video doorbell needs steady power for a camera, Wi-Fi radio, microphone, speaker, and internal electronics. That is why a system may work before the upgrade and misbehave afterward. Symptoms include buzzing, weak chimes, random resets, no indoor ring, or the doorbell reporting low power. In those cases, the answer may be a compatible transformer, manufacturer-supplied chime connector, or a chime listed as compatible with the smart device.
One of the best habits during any door chime repair is taking photos before disconnecting wires. Doorbell wiring looks simple until three white wires are hanging from the wall and each one has apparently chosen a life of mystery. A quick phone photo can save a long guessing session. Labeling wires with masking tape is even better, especially when terminals read TRANS, FRONT, and REAR.
Finally, the smartest repair experience is knowing when to stop. Replacing a push button or cleaning a chime is usually manageable for a careful DIYer. Replacing a transformer, opening a junction box, or troubleshooting line-voltage issues is different. A working door chime is convenient, but it is not worth unsafe electrical work. The best repair is the one that ends with a reliable ring, a safe system, and no dramatic story involving sparks.
Conclusion
Repairing a door chime is mostly about troubleshooting in the right order. Start with the simple parts, test the doorbell button, inspect the chime, check for loose wiring, verify low-voltage power, and only then suspect the transformer or hidden wiring. Many doorbell chime repair jobs end with a new button, a tightened screw, a cleaned plunger, or a properly matched replacement chime.
For DIY homeowners, the key is patience and safety. A door chime may be a small system, but it still connects to your home’s electrical network through a transformer. Respect the wiring, turn off power before handling components, and bring in a licensed electrician when the work moves beyond low-voltage troubleshooting. With the right approach, your door chime can return to doing its one humble job: announcing visitors before they text “I’m outside.”
Note: This article is for general educational guidance on low-voltage door chime troubleshooting. Always follow manufacturer instructions, local electrical codes, and professional safety practices. Hire a licensed electrician for transformer replacement, line-voltage wiring, unsafe wiring conditions, or any repair you are not fully qualified to perform.