
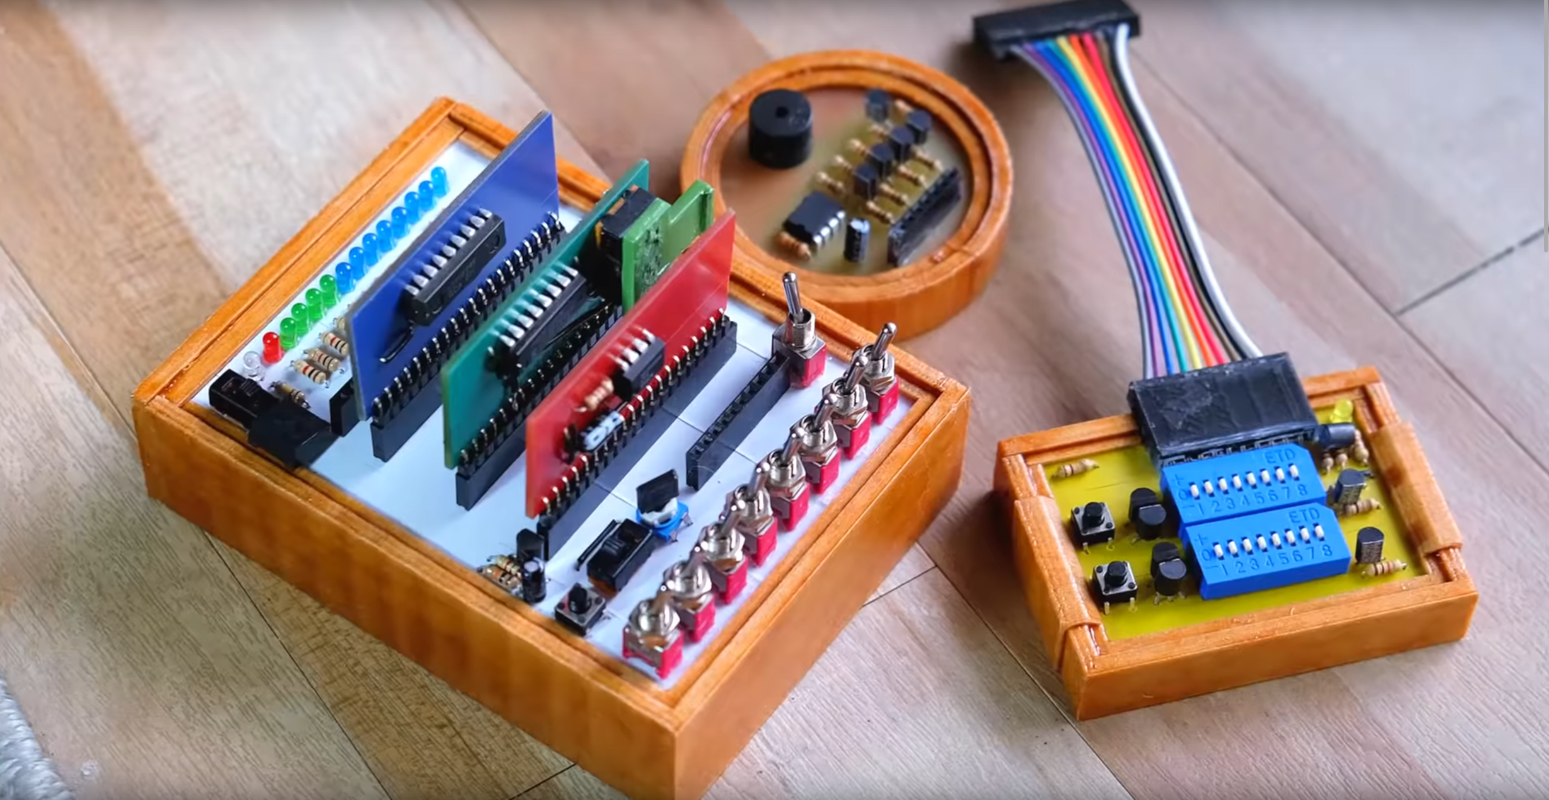
Building a homebrew computer from the ground up sounds like the kind of thing a movie hacker does in a basement while muttering to a blinking wall of LEDs. In reality, it is less dramatic, more educational, and occasionally interrupted by a tiny wire that ruins your afternoon because it is one hole off on the breadboard. Glamorous? Not always. Fascinating? Absolutely.
A homebrew computer is a computer you design, assemble, test, and program yourself instead of buying as a finished machine. It may be built with simple logic chips, a classic 8-bit CPU such as the 6502, breadboards, EEPROMs, RAM chips, switches, LEDs, serial interfaces, or a custom printed circuit board. The goal is not to outperform a modern laptop. Your refrigerator might beat it in raw computing power. The goal is to understand what a computer actually does when software stops being magical fog and becomes electrical signals moving through real hardware.
For hobbyists, students, retro-computing fans, and anyone who has ever wondered what happens between “turn it on” and “it works,” a DIY computer project is one of the most satisfying rabbit holes in technology. You begin with a clock pulse, add registers, memory, input/output, and instructions, then slowly assemble a machine that can run code. When it finally prints “Hello, world,” you do not merely see text. You see a tiny civilization of chips cooperating politely.
What Is a Homebrew Computer?
A homebrew computer is a custom-built computing system made by an individual or small group, usually for learning, experimentation, or creative engineering. The term has deep roots in personal computing culture. In the 1970s, hobbyists gathered to trade ideas, show off designs, and imagine a future where computers were not locked away in universities, corporations, or government labs. The famous Homebrew Computer Club helped shape that early personal-computing spirit, proving that curiosity plus shared knowledge can be more powerful than a warehouse full of polished marketing brochures.
Today, “homebrew computer” can mean several things. Some builders create an 8-bit computer on breadboards using 7400-series logic chips. Others build a 6502 computer with RAM, ROM, address decoding, and a simple display. Some design a single-board computer on a PCB. Others simulate the whole journey in hardware description languages before touching a soldering iron. The common thread is simple: you are not just using a computer; you are discovering how one becomes a computer.
Why Build a Computer From Scratch?
1. You Learn Computer Architecture the Honest Way
Reading about CPUs is useful. Building one, or building a system around one, is unforgettable. A homebrew computer teaches you how a clock coordinates activity, how registers store values, how memory maps work, why buses matter, and why timing diagrams look like ancient runes until they suddenly make sense. Concepts such as address lines, data lines, control signals, ROM, RAM, interrupts, and machine code become physical realities instead of vocabulary words.
2. You Understand Software at a Lower Level
Modern programming hides enormous complexity. That is usually good; nobody wants to write a memory controller just to make a to-do app. But when you build a DIY computer from scratch, you learn what software looks like near the metal. A small assembly program that lights an LED or writes a character to an LCD display can teach more about execution than a thousand lines of high-level code. Suddenly, “the CPU fetches an instruction” is not abstract. It is your CPU, fetching your instruction, from your ROM, because your wiring finally stopped being dramatic.
3. You Get Better at Debugging
A homebrew computer rewards patience and punishes assumptions. If the machine fails, the problem could be a reversed chip, a floating input, a bad jumper, a missing pull-up resistor, a timing issue, a wrong memory address, or a program bug wearing a fake mustache. Debugging teaches systematic thinking: test one module at a time, verify power rails, check the clock, confirm address decoding, inspect control signals, and never trust a wire just because it looks innocent.
Choosing Your Homebrew Computer Path
There is no single “correct” way to build a homebrew computer. The best path depends on your goals, budget, patience level, and tolerance for tiny jumper wires that behave like spaghetti with opinions.
The Logic-Gate Computer
The most ground-up approach is to build a simple CPU from logic chips. This often includes a clock module, registers, an arithmetic logic unit, RAM, a program counter, an instruction register, output display, and control logic. This route is excellent for learning what a CPU does internally. It is also slow, wire-heavy, and deeply satisfying. You are not just connecting a processor; you are building the processor’s personality from smaller digital building blocks.
The 6502-Based Computer
The 6502 and its modern CMOS relatives, such as the W65C02S, are popular choices for homebrew computer projects. The 6502 family powered or influenced many classic systems, and it remains approachable because its architecture is understandable, well documented, and friendly to small designs. A typical 6502 homebrew computer includes a CPU, clock oscillator, RAM, ROM or EEPROM, address decoder, reset circuit, and input/output chip. Add a serial port or LCD display, and you have a real little machine that can run assembly programs.
This path is a sweet spot for many builders. You still learn address buses, data buses, memory maps, and machine code, but you do not have to design every internal CPU circuit yourself. Think of it as learning to build a car by assembling the engine bay, transmission, wiring, dashboard, and controls rather than refining iron ore in the backyard.
The Nand-to-System Learning Path
Another powerful approach is conceptual: start from a NAND gate and build upward through Boolean logic, adders, memory, CPU design, assembly language, a virtual machine, compiler, and operating system ideas. This kind of first-principles path is excellent if your main goal is understanding the full stack of computing. It may be simulated instead of wired, but it trains your brain to see how layers connect.
Core Parts of a Homebrew Computer
Clock Module
The clock is the heartbeat of the computer. It sends regular pulses that coordinate when data moves, when registers load, and when instructions advance. Beginners often start with a slow clock so they can watch LEDs change state step by step. Later, the clock can be sped up once the design is stable. A slow clock is not embarrassing; it is a debugging superpower wearing sensible shoes.
Registers
Registers are small storage locations inside or near the CPU. They hold temporary values while instructions execute. In a simple 8-bit computer, registers may hold numbers for arithmetic, addresses for memory access, or results before output. Watching register LEDs update is one of those moments when digital logic stops feeling invisible.
Arithmetic Logic Unit
The arithmetic logic unit, or ALU, performs operations such as addition, subtraction, bitwise logic, and comparisons. In a very simple machine, the ALU might only add and subtract. That is enough to demonstrate a core truth: computers are not “smart” in the human sense. They are extremely obedient symbol shufflers. Give them enough tiny operations, and suddenly you have spreadsheets, games, websites, and a printer that still refuses to cooperate.
Memory: RAM and ROM
RAM stores data that changes while the computer runs. ROM or EEPROM stores the program that starts the machine. In a 6502 homebrew computer, the CPU reads instructions from memory addresses. That means your memory map matters. You decide which address range belongs to RAM, which belongs to ROM, and where input/output devices appear. It is like city planning, except the city is made of bytes and one wrong street sign can send the mayor into nonsense land.
Address and Data Buses
A bus is a group of wires that carries information between components. The address bus tells memory or devices where the CPU wants to read or write. The data bus carries the actual value. Control lines specify whether the operation is a read, write, reset, interrupt, or another signal. Understanding buses is essential because most homebrew computer problems are really communication problems: the CPU is asking a question, but the wrong chip is answering, or no chip answers at all.
Input and Output
A computer that cannot communicate is basically a very expensive blinking ornament. Input/output can be as simple as switches and LEDs or as useful as a serial terminal, keypad, LCD screen, VGA output, sound chip, or storage device. Many beginners start with an LED display because it gives immediate feedback. Later, a serial interface can connect the homebrew computer to a modern PC, making it much easier to load programs and inspect output.
Planning the Build Before Buying Parts
Before ordering chips, define the project. Do you want to build a logic-chip CPU to understand control signals? Do you want a 6502 breadboard computer that runs assembly? Do you want a compact PCB version? Do you want to write a tiny monitor program, connect a keyboard, or display graphics? Scope matters. A small finished computer is better than a grand unfinished masterpiece living forever in a drawer labeled “almost.”
Start with a block diagram. Draw the CPU, RAM, ROM, clock, reset circuit, address decoder, and I/O devices. Then sketch the memory map. For example, RAM might occupy the lower address range, ROM might sit at the top so reset vectors are available, and I/O might live in a small decoded region. This diagram becomes your map when debugging. Without it, you are just wandering through wires with confidence, which is not the same thing as progress.
Breadboard First, PCB Later
Breadboards are popular because they let builders prototype without soldering. They are reusable, forgiving, and perfect for learning. They are also imperfect. Long jumper wires, loose contacts, and messy layouts can cause flaky behavior, especially as clock speeds rise. For a first homebrew computer, breadboards are ideal because they encourage experimentation. Keep wires short, use consistent colors, add decoupling capacitors near chips, and test modules separately.
Once the circuit works, a printed circuit board can make the computer more reliable and compact. PCB design introduces new skills: schematic capture, layout, routing, footprints, grounding, and manufacturing files. Many builders treat the breadboard version as the rough draft and the PCB version as the neat final essay. Unlike school essays, however, the PCB may still contain one embarrassing typo that costs two weeks and a tiny bodge wire.
Programming Your Homebrew Computer
Programming usually begins with machine code or assembly language. On a 6502 system, you may write a small program that initializes I/O, prints characters, blinks LEDs, or reads buttons. The program is assembled on a modern computer, written to EEPROM, and installed in the homebrew machine. Some builders create a monitor program, which lets them inspect memory, enter code, and run routines from a terminal.
This stage is where hardware and software shake hands. If the program fails, the error might be software, wiring, or timing. That sounds annoying because it is. But it also teaches a rare and valuable skill: full-stack debugging from electrical signal to instruction behavior. You learn to ask better questions. Is the reset vector correct? Is the ROM mapped where the CPU expects it? Is the stack page available? Is the I/O address decoded properly? Is the code writing to the display, or is it politely shouting into the void?
Common Mistakes Beginners Make
Floating Inputs
Digital chips do not like uncertainty. An unconnected input may drift between logic levels and cause unpredictable behavior. Use proper pull-up or pull-down resistors where needed, and avoid assuming that “not connected” means “off.” In electronics, not connected often means “surprise party.”
Skipping Decoupling Capacitors
Small capacitors near power pins help stabilize voltage when chips switch states. Many beginners skip them because the circuit seems simple. Then the computer behaves like it had three espressos and a personal grudge. Add decoupling early. Future you will be grateful.
Building Too Much Before Testing
The fastest way to get stuck is to wire the entire computer before testing anything. Build in modules. Verify the clock. Test registers. Confirm RAM. Check ROM output. Validate address decoding. Then connect subsystems. The modular approach may feel slower, but it prevents the classic disaster: everything is connected, nothing works, and every wire is now a suspect.
How Much Does a Homebrew Computer Cost?
A basic breadboard computer can range from modest to surprisingly expensive depending on parts, tools, and ambition. The chips themselves may be affordable, but breadboards, jumper wires, EEPROM programmers, power supplies, logic probes, multimeters, oscilloscopes, and spare components add up. You do not need every advanced tool at the beginning. A good multimeter, careful documentation, and a slow clock can take you far. An oscilloscope becomes useful when timing problems appear, but many builders begin without one.
The real cost is time. A homebrew computer is not an instant weekend decoration. It is a learning project. Expect false starts, rewiring, reading datasheets, re-reading datasheets, realizing the datasheet was right the first time, and eventually celebrating tiny wins that normal people do not understand. “The address decoder works!” may not impress everyone at dinner, but among builders, that is practically fireworks.
What Can You Do With a Homebrew Computer?
A simple homebrew computer can blink LEDs, display text, run small games, accept keyboard input, communicate over serial, play simple sounds, or control external circuits. More advanced builds can add video output, storage, custom operating environments, BASIC interpreters, or homegrown programming languages. The point is not speed. The point is ownership. Every feature you add becomes a lesson in how computers grow from minimal systems into useful machines.
Some builders recreate the feel of early personal computers. Others make educational kits, custom consoles, retro terminals, or art installations. The beauty of homebrew computing is that the machine can be as weird as your imagination allows. Want a computer with toggle switches and a hex display? Perfect. Want one that runs a tiny game from EEPROM? Excellent. Want one that prints status messages like a miniature mainframe pretending to be important? That is not only allowed; it is encouraged.
Experience Notes: Lessons From Building a Homebrew Computer From The Ground Up
The first experience most builders remember is not the final success. It is the first mysterious failure. You connect power, press reset, and the LEDs stare back like they know something you do not. This is where the project begins teaching character. A homebrew computer does not care how excited you are. It only cares whether the clock edge arrives at the correct time, the chip select line behaves, and the data bus is not being driven by two parts at once.
One practical lesson is to document everything. Keep a notebook or digital build log. Write down the memory map, chip part numbers, pin connections, test results, and changes. When the computer stops working after “one small improvement,” your notes become a rescue rope. Without notes, you may spend an evening discovering that yesterday’s brilliant shortcut was actually today’s villain.
Another experience is learning to respect simple tools. A continuity test can find a broken connection faster than dramatic guessing. A slow clock can reveal control-signal problems one step at a time. LEDs on important lines can show whether the machine is alive or merely posing for photographs. Even a printed copy of the schematic can help, especially when you mark tested sections with a pencil. It feels old-school because it is, and it works because electrons have not upgraded to cloud-based confusion.
Patience is the most important component, and sadly it does not come in a DIP package. You will misread pinouts. You will place a jumper one row off. You will forget that breadboard power rails sometimes split in the middle. You may program an EEPROM, install it proudly, and then realize the reset vector points into empty memory. None of this means you are bad at electronics. It means you are doing real engineering, where progress often arrives disguised as troubleshooting.
The best moment is when the computer performs a task that seems tiny to everyone else. Maybe it counts in binary. Maybe it writes a character to an LCD. Maybe it echoes text over serial. To outsiders, it is just a slow homemade gadget. To the builder, it is proof that the architecture works: the clock ticks, the CPU fetches, the memory responds, the program executes, and the output appears. That little result carries the weight of every wire, every mistake, and every late-night “why are you like this?” whispered at a breadboard.
Building a homebrew computer from the ground up changes how you see technology. A laptop stops being a sealed slab of mystery. Software feels less abstract. Hardware feels less intimidating. You begin noticing that every modern device, no matter how advanced, still depends on the same core ideas: logic, memory, timing, input, output, and carefully organized layers of abstraction. The homebrew machine may be small, slow, and wonderfully impractical, but it gives you something powerful: a working mental model of computing from the bottom up.
Conclusion
A homebrew computer from the ground up is not just a project; it is a guided tour through the hidden machinery of the digital world. Whether you choose a logic-chip CPU, a 6502 breadboard computer, or a first-principles simulated system, the journey teaches architecture, electronics, programming, and debugging in a way that ordinary computer use never can. It is hands-on, occasionally stubborn, and deeply rewarding.
The finished machine may not stream video, run modern apps, or impress benchmark charts. That is fine. Its real value is not performance. Its value is understanding. When you build a computer yourself, every blinking LED becomes a sentence in a language you finally know how to read.














