
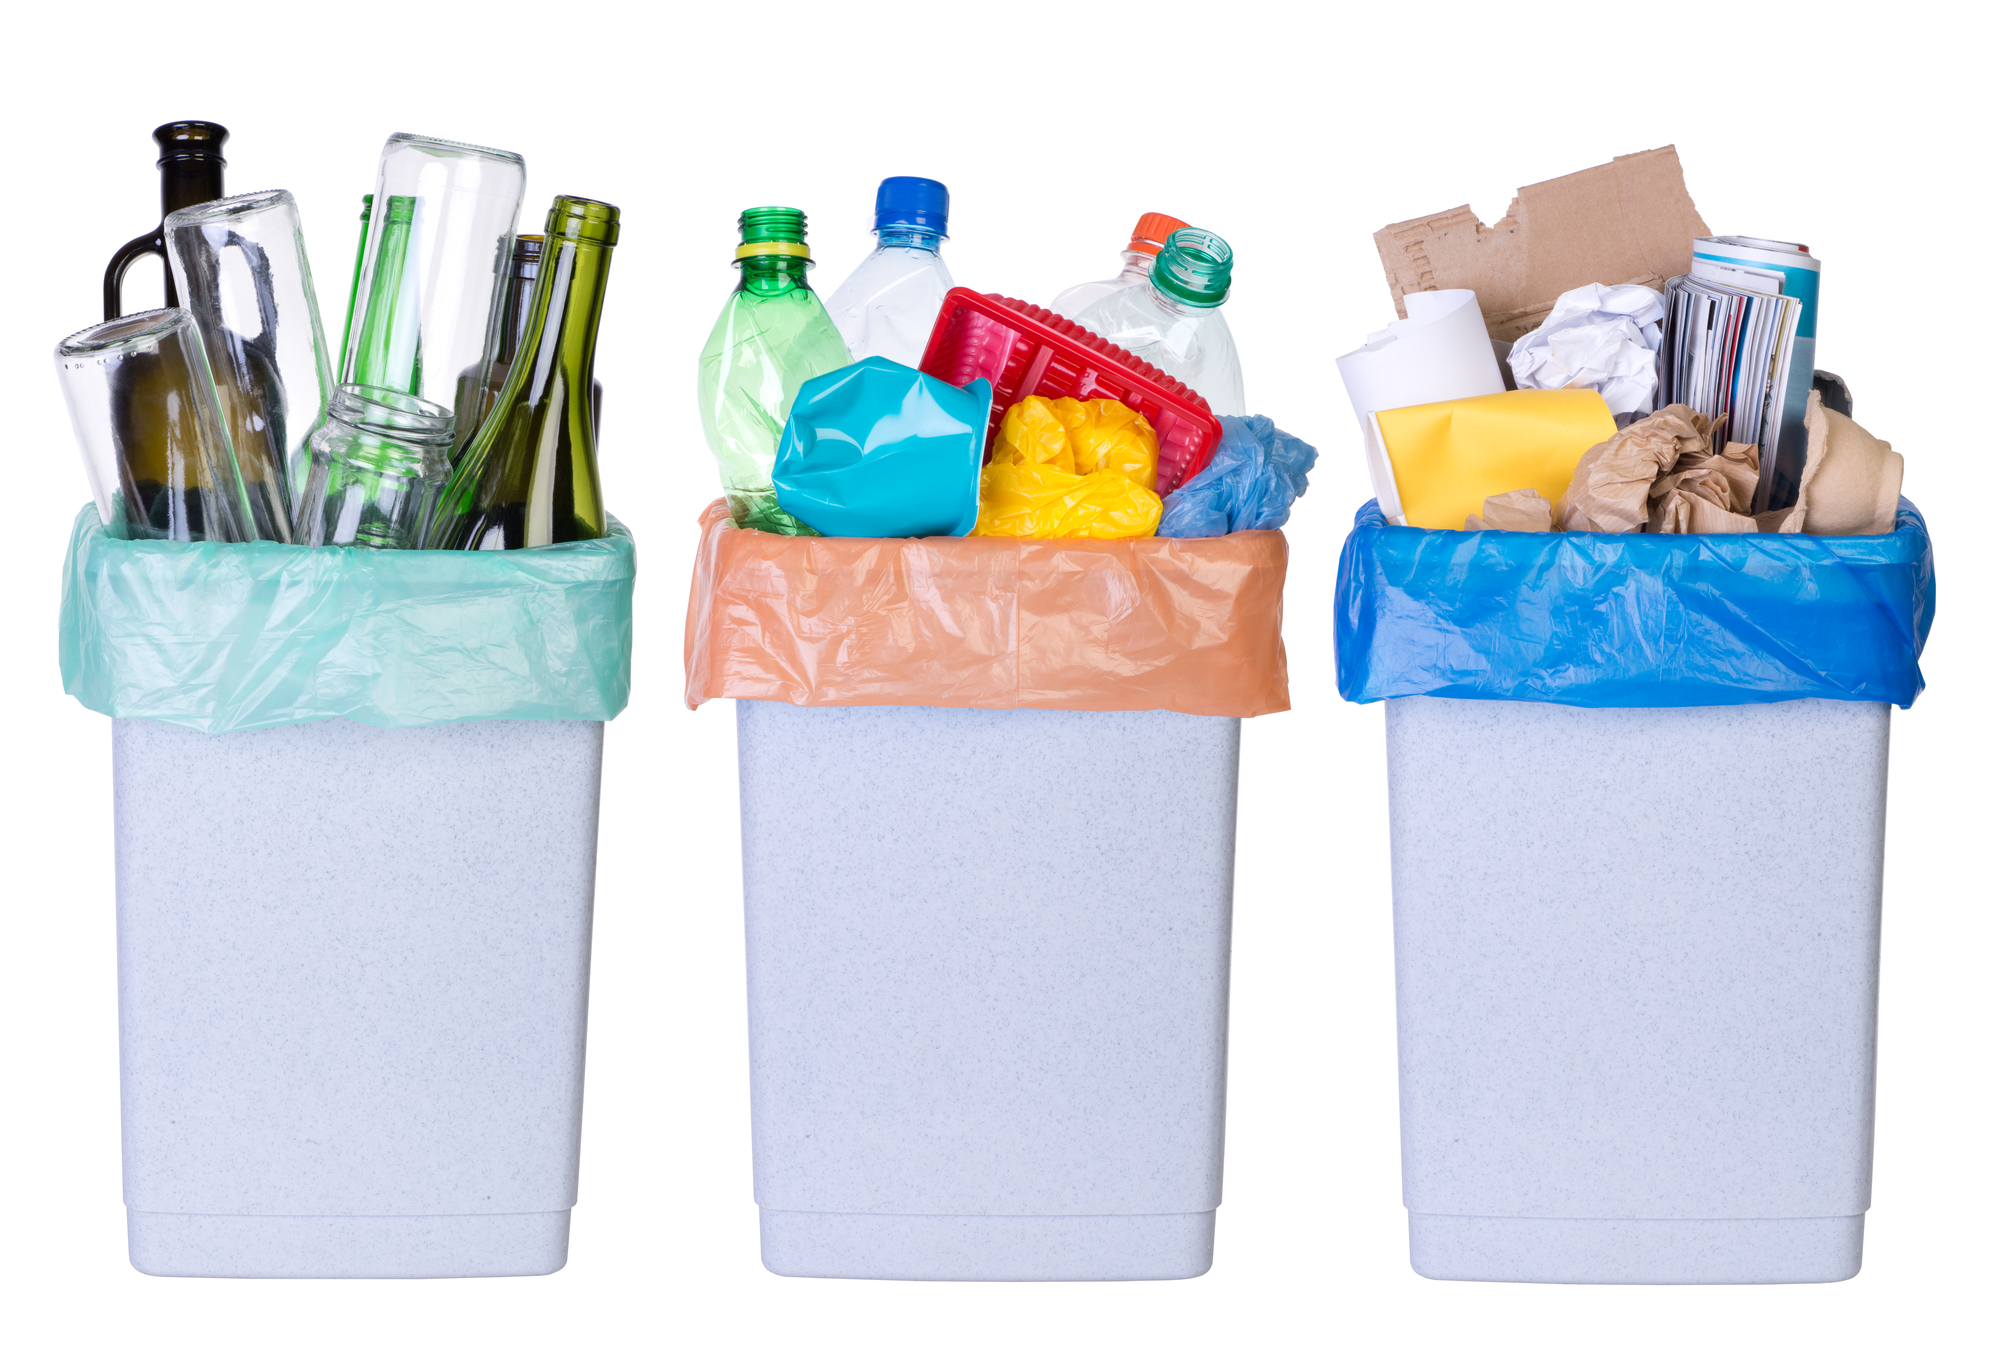
Before you toss that oatmeal canister, pasta sauce jar, cereal box, or cardboard tube into the recycling bin, pause for one dramatic second. That humble piece of “trash” may be a desk organizer, a kid’s puppet theater, a mini planter, a gift box, a wall hanging, or the craft project that saves a rainy afternoon from turning into a screen-time marathon.
Inexpensive craft ideas from the recycling bin are proof that creativity does not require a cart full of glittery supplies and a receipt long enough to wallpaper the hallway. With a little imagination, everyday household packaging can become useful, decorative, educational, and surprisingly stylish. The best part? You already paid for the materials when you bought the cereal, eggs, soup, pasta sauce, or paper towels. Congratulations: your craft closet has been secretly living in your kitchen.
Recycled crafts are also a practical way to teach kids and adults about reuse, waste reduction, and resourcefulness. While recycling is important, reusing an item first often gives it a longer life before it enters the waste stream. That means less clutter, fewer supply runs, and more “I made that!” moments around the house.
Why Recycling Bin Crafts Are Worth Trying
The appeal of recycling bin crafts is simple: they are affordable, accessible, and forgiving. If your first cardboard castle leans like it had a rough weekend, no problem. You can try again with the next shipping box. If your tin can pencil holder looks more “abstract raccoon” than “modern farmhouse,” call it character and move on.
These projects work well for families, classrooms, homeschool activities, scout groups, community events, and anyone who wants to make something without spending much money. They also encourage problem-solving. A child who figures out how to turn a bottle cap into a wheel is practicing design thinking, even if they are mostly focused on making the car go “vroom.”
What Counts as a Good Recycling Bin Craft Material?
Great materials are clean, dry, sturdy, and easy to cut or decorate. Before crafting, rinse food containers thoroughly, remove sharp lids, peel off labels when possible, and let everything dry. Avoid containers that held chemicals, raw meat, oily residue, or anything with a strong odor. Crafting should smell like glue sticks and optimism, not last Tuesday’s tuna emergency.
Reliable recycling bin craft supplies include cardboard boxes, cereal boxes, paper towel tubes, toilet paper rolls, egg cartons, clean tin cans, glass jars, bottle caps, paper bags, magazines, newspapers, plastic containers, yogurt cups, tissue boxes, and clean takeout containers. Add basic supplies such as scissors, glue, tape, markers, paint, yarn, fabric scraps, and string, and you are ready to begin.
1. Cardboard Box Dollhouses, Castles, and Mini Cities
Cardboard boxes are the royalty of recycling bin crafts. They are sturdy, easy to cut, and big enough for ambitious projects. A shoebox can become a dollhouse, a cereal box can turn into a townhouse, and a shipping box can become a castle complete with towers, flags, and suspiciously dramatic dragons.
To make a cardboard dollhouse, cut windows and doors, cover the outside with scrapbook paper or magazine pages, and use smaller boxes for furniture. A toothpaste box can become a bed. A bottle cap can become a tiny table. Scraps of fabric can become curtains or rugs. For a city project, line up boxes of different heights, paint windows, add roads from black construction paper, and create cars from small cartons.
This project is excellent for kids because it combines art, storytelling, engineering, and pretend play. For adults, cardboard houses can become seasonal decor, miniature photo backdrops, or charming handmade gift packaging.
2. Tin Can Desk Organizers
Clean tin cans are perfect for turning clutter into something that looks intentional. Use them to hold pencils, paintbrushes, scissors, rulers, makeup brushes, kitchen utensils, or small tools. Just make sure there are no sharp edges before decorating. If needed, cover the rim with strong tape, felt, or a strip of fabric.
For a simple version, wrap the can in paper and secure it with glue. For a more polished look, paint the can, wrap it with twine, add ribbon, or decorate it with pressed leaves. You can also glue several cans together on a scrap piece of cardboard or wood to create a rotating homework station or craft supply holder.
One smart variation is a “family command center” made from three or four cans labeled “Pens,” “Coupons,” “Keys,” and “Tiny Things Nobody Claims.” That last category is important. Every home has mystery objects. Give them a stylish place to gather.
3. Glass Jar Lanterns, Vases, and Storage Containers
Glass jars are the little black dress of upcycling: simple, versatile, and always useful. Pasta sauce jars, jam jars, and pickle jars can become candle holders, vases, bathroom storage, craft supply containers, or mini terrariums.
For a jar lantern, clean the jar, paint the outside with a thin layer of translucent glass paint, or glue tissue paper pieces around the surface for a stained-glass effect. Add an LED tea light inside. Avoid using real flames in decorated jars unless you know the materials are heat-safe and placed away from paper, fabric, and glue.
For storage, add labels and sort buttons, beads, rubber bands, cotton balls, paper clips, or spare change. A row of matching jars on a shelf makes even chaotic craft supplies look like they have a five-year plan.
4. Egg Carton Flowers and Critters
Egg cartons are made for crafting. Their little cups practically beg to become flower petals, bugs, animals, and tiny treasure trays. Cut apart the cups, trim the edges into petal shapes, paint them, and glue several together to make flowers. Attach pipe cleaners, twigs, or rolled paper for stems.
For kids, egg carton caterpillars are a classic. Cut a strip of connected cups, paint them in bright colors, add googly eyes or drawn-on eyes, and use pipe cleaners for antennae. You can also make turtles, ladybugs, bees, boats, or small sorting trays for beads and buttons.
Egg cartons are especially useful for projects that need texture. Their bumpy shape adds instant dimension without expensive supplies. Plus, if the finished flower looks a little wonky, nature makes weird flowers too. You are simply being botanically accurate.
5. Paper Towel Tube Binoculars, Rockets, and Wall Art
Paper towel tubes and toilet paper rolls may not look glamorous, but they are craft-room gold. Tape two toilet paper rolls together, decorate them, punch holes in the sides, attach string, and you have pretend binoculars for backyard exploring. For rockets, cover a tube in foil or paper, add a cone top, and glue paper flames to the bottom.
For wall art, cut tubes into narrow rings, pinch them into petal shapes, and glue them together in floral patterns. Once painted, these lightweight pieces can look surprisingly elegant. This is a great adult craft because it turns basic cardboard into something that looks like it escaped from a boutique home decor store.
Cardboard tubes can also become napkin rings, seed starter pots, pencil cups, marble runs, or small gift boxes. The trick is to stop seeing a tube and start seeing a possibility with two open ends.
6. Cereal Box Notebooks, Gift Tags, and Drawer Dividers
Cereal boxes are thin but sturdy, making them ideal for paper crafts. Cut them into rectangles and cover them with decorative paper to make notebook covers. Punch holes along one side, add recycled paper inside, and tie the pages together with yarn or binder rings.
For gift tags, cut small shapes from the cardboard, punch a hole at the top, and decorate the plain side. You can leave the colorful cereal box side visible for a playful look. Nothing says “happy birthday” like a handmade tag with a sneaky corner of a cartoon cornflake mascot.
Cereal boxes also make excellent drawer dividers. Cut strips to fit the drawer, cover them with paper, and arrange them into compartments for socks, office supplies, jewelry, or craft tools. It is not glamorous work, but neither is digging through a drawer for one missing glue stick while muttering like a pirate.
7. Bottle Cap Magnets and Mini Mosaics
Bottle caps are small, colorful, and perfect for tiny projects. Turn them into magnets by gluing small photos, magazine cutouts, or painted designs inside the cap, then attaching a magnet to the back. They are great for refrigerators, lockers, classroom boards, or office filing cabinets that need a little personality.
You can also use bottle caps for mosaic-style art. Arrange them on cardboard, wood scraps, or canvas to create flowers, initials, animals, or abstract patterns. This project works best when you collect caps by color and plan the design before gluing. Otherwise, you may end up with a masterpiece titled “I Ran Out of Blue.”
For young children, avoid loose caps if they are small enough to pose a choking risk. Use larger lids or supervise carefully.
8. Magazine Beads and Rolled Paper Art
Old magazines, catalogs, and junk mail can become colorful paper beads. Cut long triangles from magazine pages, roll each triangle around a toothpick or skewer, secure the end with glue, and let it dry. Once finished, string the beads into bracelets, necklaces, garlands, or keychains.
Rolled paper can also be used for wall art. Roll magazine pages into tubes, flatten or curl them, then glue them into patterns. Try spirals, sunbursts, hearts, or geometric shapes. The glossy colors create a layered look without paint.
This is a relaxing craft for older kids and adults. It is also a sneaky way to use junk mail for good instead of letting it silently judge you from the kitchen counter.
9. Paper Bag Gift Wrap and Handmade Envelopes
Brown paper bags are one of the easiest materials to reuse. Cut them open, flatten them, and use the plain side as gift wrap. Add drawings, stamps, pressed leaves, ribbon, twine, or painted patterns. The result feels rustic, personal, and much more charming than panic-buying shiny gift wrap at the last minute.
You can also fold paper bags into envelopes for cards, seeds, stickers, or small notes. Use an old envelope as a template, trace it onto the paper bag, cut it out, fold, and glue. Add a label or doodle on the front.
For kids, paper bags can become puppets. Fold the bottom flap into a face, add ears, hair, clothes, and accessories, then put on a show. Bonus points if the puppet has a dramatic backstory and refuses to clean its room.
10. Plastic Bottle Planters and Bird Feeders
Clean plastic bottles can become planters, bird feeders, watering cans, or hanging garden decorations. For a simple planter, cut a bottle in half, poke drainage holes in the bottom, decorate the outside, add soil, and plant herbs or small flowers. Use the top half as a funnel or mini greenhouse cover for seedlings.
To make a basic bird feeder, cut openings in the sides of a clean bottle, add a perch made from a stick or wooden spoon, fill with birdseed, and hang it securely. Place it somewhere easy to clean and away from areas where birds may be vulnerable to pets.
Plastic bottle crafts are a good opportunity to discuss which plastics are accepted by local recycling programs and why reusing a container can sometimes be the better first step.
11. Tissue Box Monsters and Storage Bins
Empty tissue boxes already have a mouth-shaped opening, which means half the monster is basically done for you. Paint the box, add paper teeth around the opening, glue on eyes, and use it as a silly “monster” that eats notes, chores, or small toys.
For a grown-up version, cover tissue boxes with fabric or decorative paper and use them as storage bins for cords, socks, receipts, or craft scraps. You can also stack several boxes in a drawer to separate items. The humble tissue box may never win an interior design award, but it can absolutely stop your junk drawer from becoming a geological dig site.
12. Takeout Container Paint Palettes and Craft Trays
Clean plastic takeout containers are useful as washable craft trays, paint palettes, bead sorters, and project organizers. Use lids as glue stations or paint-mixing surfaces. Use deeper containers to hold supplies for one project so everything stays together.
This is especially helpful for kids’ crafts. Instead of spreading pom-poms, caps, glue, scissors, and paper pieces across the entire table, place supplies in a container. When craft time ends, snap on the lid and save unfinished pieces for later. It is not magic, but it may feel close.
Safety Tips Before You Start
Recycling bin crafts are fun, but safety matters. Wash containers well, smooth sharp edges, and avoid materials that can break into dangerous pieces. Adults should handle cutting thick cardboard, punching holes in metal, or using hot glue. Young children should use age-appropriate scissors and avoid small pieces such as bottle caps, beads, and buttons unless closely supervised.
When painting or sealing projects, choose child-safe supplies when crafting with kids and work in a ventilated area. Avoid using food containers for food again after they have been painted, glued, or decorated with materials that are not food-safe.
How to Build a Low-Cost Recycling Bin Craft Station
You do not need a dedicated craft room. A small box, basket, or drawer can become your craft station. Start by collecting clean cardboard tubes, cereal boxes, jars, cans, egg cartons, bottle caps, and paper bags. Add basic supplies like washable markers, glue sticks, tape, scissors, yarn, and scrap paper.
Sort materials by type so they are easy to grab. Keep sharp or breakable items out of reach of small children. Once the bin is full, use what you have before saving more. This prevents your “craft supply collection” from becoming a second recycling center with emotional attachments.
Experience: What Recycling Bin Crafting Teaches You Over Time
After spending enough afternoons turning recyclables into crafts, you start to look at household waste differently. A cardboard tube is no longer just packaging. It is a rocket booster, a flower petal, a napkin ring, a telescope, or the beginning of a marble run that will absolutely take over the living room. A jar is not just a jar. It is a lantern, a vase, a button keeper, a gratitude jar, or a tiny greenhouse for a stubborn basil cutting.
One of the biggest lessons is that imperfect crafts are often the best ones. Store-bought craft kits can be beautiful, but they usually have one expected result. Recycling bin crafts are more flexible. The materials are uneven, the colors do not always match, and the finished product may lean slightly to the left. That is part of the charm. It encourages experimentation instead of perfection.
For families, these crafts can become small traditions. A rainy Saturday might turn into “box city day.” The week after Thanksgiving might become “jar lantern night.” Before birthdays, kids can make gift tags from cereal boxes and wrapping paper from grocery bags. These projects save money, but they also create a sense of ownership. A child who makes a pencil holder from a soup can often feels proud every time they use it.
Adults benefit too. Upcycling projects can be calming because they require hands-on focus without needing expensive tools. Cutting paper, wrapping twine, painting a jar, or arranging bottle caps into a pattern gives the brain a break from screens and schedules. There is something deeply satisfying about making a useful item from something that almost became trash.
The practical benefits show up quickly. Jars organize buttons and screws. Cans corral pens. Boxes divide drawers. Takeout containers hold project pieces. Suddenly the home feels a little more organized, and the solution did not require a shopping trip. That is the quiet genius of recycling bin crafting: it turns ordinary clutter into useful clutter with better manners.
Of course, not every project is a triumph. Some cardboard structures collapse. Some paint refuses to stick. Some “adorable” egg carton animals look like they know government secrets. But even the flops teach useful lessons about balance, texture, glue, drying time, and patience. The low cost makes failure feel less frustrating. You are not ruining expensive supplies; you are learning with yesterday’s packaging.
Over time, you also become more selective. You learn which containers are worth saving and which ones should go straight to the proper bin. You discover that clean, sturdy materials are best, that labels are easier to remove after soaking, and that a small stash is better than a mountain of “future projects.” The goal is creativity, not becoming emotionally responsible for every yogurt cup in the county.
Most importantly, recycling bin crafts remind us that creativity begins with attention. When you pause before throwing something away, you ask a useful question: “Could this become something else?” Sometimes the answer is no, and that is fine. But sometimes the answer is a cheerful yes, followed by scissors, glue, paint, and a finished project that makes everyone smile.
Conclusion
Inexpensive craft ideas from the recycling bin prove that creativity does not have to be costly, complicated, or hidden behind a wall of specialty supplies. With cardboard boxes, jars, cans, egg cartons, paper bags, plastic bottles, and a few basic tools, you can make decor, toys, organizers, gifts, planters, and classroom activities that are useful and fun.
These projects help reduce waste, encourage resourcefulness, and turn everyday materials into something personal. Whether you are crafting with kids, decorating on a budget, organizing your home, or simply looking for a satisfying weekend project, your recycling bin may be the best craft store you never knew you had.













