
A curved shower rod is one of those rare bathroom upgrades that feels slightly fancy without requiring the budget of a luxury spa or the patience of a saint. It gives you more elbow room, helps keep the shower curtain from trying to become your best friend mid-shampoo, and can make a tight bathroom feel a little more open. Best of all, installing one is a very manageable DIY project if you take your time and measure carefully.
If you have a drill, a level, and the emotional strength to make two matching pencil marks on a wall, you are already in pretty good shape. The trick is not brute force. The trick is accuracy. A crooked curved shower rod is not “modern art.” It is just a curved reminder that level matters.
This guide walks you through how to install a curved shower rod in 10 practical steps, with simple explanations, helpful tips, and a few lessons that can save you from drilling unnecessary “decorative ventilation holes” into your bathroom wall.
Why a Curved Shower Rod Is Worth It
Before you grab the drill, it helps to know why curved shower rods are so popular. Their outward bow creates more room inside the shower, which can make bathing more comfortable and prevent the liner from clinging to your arms and shoulders. In smaller bathrooms, that extra bit of space can make the tub area feel less cramped. It is not a magic trick, but it is a pretty solid optical and practical improvement.
Fixed curved rods also tend to feel sturdier than tension models. Once properly mounted, they are more secure for daily use, especially in busy family bathrooms where curtains get yanked open like someone is unveiling a game show prize.
Tools and Materials You’ll Need
- Curved shower rod kit
- Mounting brackets or posts
- Screws and anchors
- Tape measure
- Pencil
- Level
- Drill
- Drill bits for your wall type
- Screwdriver
- Painter’s tape if drilling into tile
- Safety glasses
- Step stool if needed
Before You Start
Check the instructions included with your rod before doing anything else. Some curved shower rods are adjustable, some may need trimming, and some use slightly different mounting hardware. Also confirm what kind of wall surface you have: drywall, studs, tile, or something more stubborn. The correct anchors and drill bits depend on that surface.
One more thing: if your bathroom has tile in the mounting area, do not rush. Tile drilling is completely doable, but it rewards patience and punishes overconfidence. In other words, treat it like hot soup.
How to Install a Curved Shower Rod in 10 Steps
Step 1: Measure the Wall-to-Wall Opening
Use a tape measure to check the width of the tub or shower opening from wall to wall. Write that number down. Then compare it to the rod’s sizing range. Many curved shower rods are designed for standard tub openings, but not every bathroom got the memo, so measure first and shop second.
If your model allows cutting for a custom fit, follow the manufacturer’s guide exactly. Do not freestyle with a hacksaw just because you are feeling handy. “Close enough” is not a measurement system.
Step 2: Decide on the Installation Height
Next, determine how high you want the rod to sit. In most bathrooms, the goal is to keep the curtain high enough that it does not drag on the floor, but low enough that it still overlaps the tub or shower edge properly. That overlap helps keep water inside where it belongs instead of creating a surprise puddle near your bath mat.
If you are using a standard curtain, check its length before you mark the wall. If you plan to use an extra-long curtain for a taller, more dramatic look, set the height accordingly. This is one of those decisions that affects both function and style.
Step 3: Mark Both Mounting Points
Hold one mounting bracket or base against the wall at your chosen height and lightly mark the screw holes with a pencil. Repeat on the opposite wall. Then use a level to make sure both sides line up evenly.
This step matters more than people think. A rod that is even slightly off can look sloppy, cause the curtain to slide oddly, and make you stare at it every morning while brushing your teeth and regretting everything.
Step 4: Check the Rod Projection
Because the rod curves outward, confirm that it will still be centered over the tub edge once installed. You want the extra space inside the shower, not an awkward bow that pushes too far into the room. Stand back and visualize where the curve will sit.
This is especially important in small bathrooms. A curved rod should make showering feel roomier, not turn your bathroom into an obstacle course.
Step 5: Drill the Holes Carefully
Now it is time to drill. Put on safety glasses and drill at the marked points using the correct bit for your wall type. For drywall, standard bits and anchors are often enough. For studs, use the bit size recommended by the manufacturer and drive screws directly into the framing.
If you are drilling into tile, place painter’s tape over the mark first so the bit does not skate around on the slick surface. Start slowly and use steady pressure. Tile is not impressed by impatience.
Step 6: Insert Anchors if Needed
If you are mounting into drywall or tile without hitting a stud, insert the wall anchors into the drilled holes. They should sit flush with the wall. If an anchor sticks out, tap it gently or check whether the hole is deep enough. A proud anchor may sound confident, but it is not doing the job correctly.
Use the anchors recommended for the rod and the wall material. This is not the moment to use a random leftover anchor from a mystery drawer in the garage.
Step 7: Attach the First Mounting Bracket
Line up the first bracket or mounting post with the holes and insert the screws. Tighten them until the bracket is secure. Snug is good. Over-tightened to the point of wall damage is not a personality trait you want from your drill hand.
If your rod kit includes decorative covers, note the order of assembly before tightening everything down. Some covers slide on before the rod locks into place, and forgetting that step is a classic DIY plot twist.
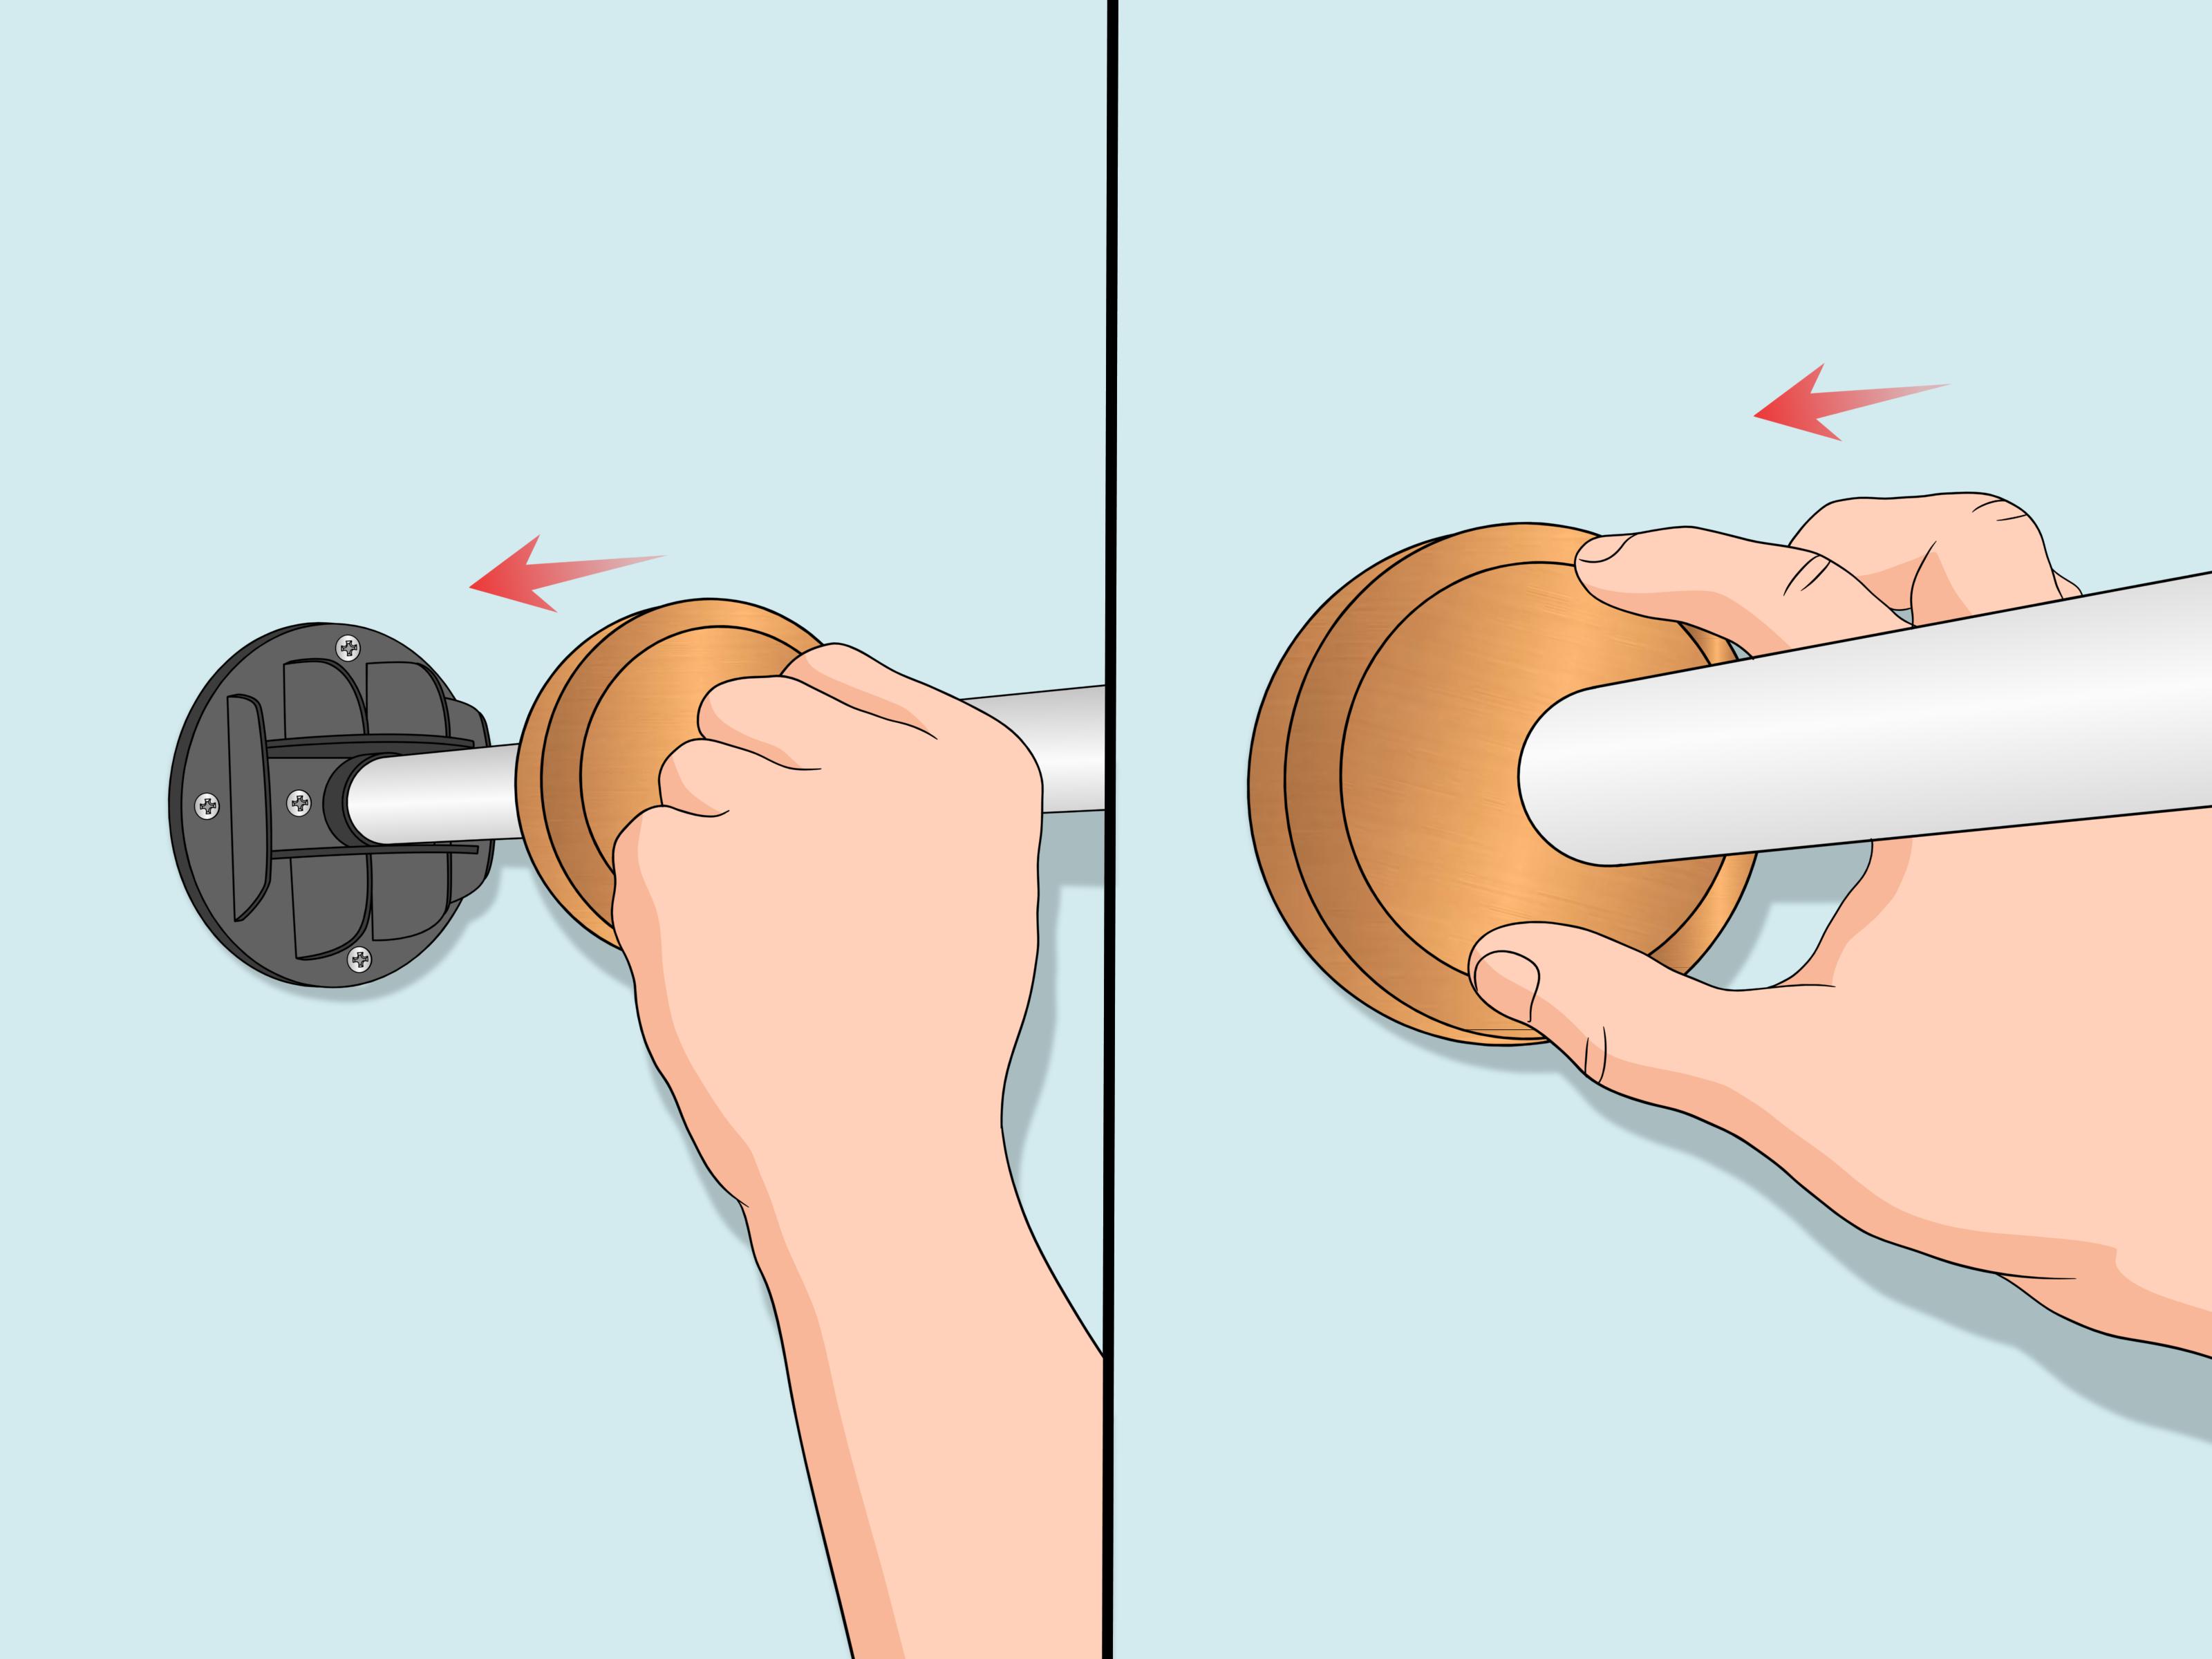
Step 8: Assemble the Curved Rod
Depending on the model, you may need to connect sections of the rod, attach receivers, or slide covers into position before final installation. Some adjustable rods expand to fit the opening, while others use a connector piece. Follow the product sequence closely.
If you are using a hookless curtain, install it now if the instructions say to do so before the rod is fully secured. That one detail has ruined many otherwise successful installs, followed closely by the phrase, “Well, that was annoying.”
Step 9: Secure the Rod to the Second Side
Attach the rod to the first mounted side, then align the second end with the bracket or receiver on the opposite wall. Expand or fit the rod into place according to the instructions. Once everything lines up, secure the second side and tighten any set screws or locking hardware.
Give the rod a gentle shake. It should feel stable, even, and firmly attached. If it wobbles, stop and fix that now. A shower rod should not move like it just heard surprising gossip.
Step 10: Hang the Curtain and Test Everything
Slide on the shower rings or hooks and hang the curtain and liner. Open and close them several times to make sure they move smoothly. Check that the liner falls inside the tub and that the curtain hangs neatly outside. Then step back and admire your work like the bathroom renovation legend you briefly are.
Finally, test the setup during the next shower. Make sure water stays contained, the curtain does not drag, and the curve feels comfortable rather than awkward. Small adjustments now can prevent daily annoyance later.
Common Mistakes to Avoid
- Skipping the level: Your eyes are optimistic. Your level is honest.
- Ignoring curtain length: A rod placed too high can leave your liner floating awkwardly above the tub edge.
- Using the wrong bit: Drywall, studs, and tile all need different approaches.
- Forgetting decorative covers or hookless curtains: Assembly order matters.
- Over-tightening screws: You want secure hardware, not wall damage.
- Centering the rod poorly: The curve should improve the shower space, not invade the rest of the bathroom.
Pro Tips for a Cleaner, Better Install
Want the finished job to look extra polished? Match your rod finish to other bathroom hardware like your faucet, towel bars, or cabinet pulls. It makes the room feel intentional, even if the rest of the bathroom still contains a shampoo bottle collection that could rival a small store.
Also consider upgrading your rings. Smooth-glide rings with ball bearings can make the curtain easier to move and less noisy. It is a small detail, but one of those tiny upgrades that makes a bathroom feel less “basic rental” and more “someone here has standards.”
Frequently Asked Questions
How high should a curved shower rod be installed?
That depends on your curtain length, but the rod should usually be high enough to keep the curtain off the floor while still allowing the liner to fall inside the tub or shower properly.
Can I install a curved shower rod on tile?
Yes. You just need the correct masonry or tile drill bit, painter’s tape to help control the bit at the start, and a patient drilling pace.
Are curved shower rods good for small bathrooms?
Yes, as long as the bathroom has enough clearance for the rod’s outward bow. They usually make the showering area feel more spacious, though they do project farther into the room than straight rods.
Is a fixed rod better than a tension rod?
For long-term stability, a fixed rod is generally the better choice. Tension rods are convenient, but mounted rods are usually more secure for everyday use.
Final Thoughts
Installing a curved shower rod is one of those home projects that punches above its weight. It does not take a full remodel, a contractor crew, or a reality TV host with dramatic music. It just takes careful measuring, the right hardware, and a willingness to slow down during the boring parts so the finished result looks great.
Once installed properly, a curved shower rod can make your bathroom feel roomier, more comfortable, and a little more polished. Not bad for a project that starts with a tape measure and ends with you feeling oddly proud of two well-placed brackets.
Real-World Experience: What Installing a Curved Shower Rod Actually Feels Like
The first time I installed a curved shower rod, I assumed it would be a 20-minute job. That was adorable. In reality, it turned into one of those classic DIY lessons where the job itself was not especially hard, but every shortcut I considered would have made it harder in the long run. The biggest surprise was how much measuring mattered. A curved rod changes the look of the entire tub area, so even a small mistake becomes very visible. A quarter inch off does not sound dramatic until you realize your eye catches it every single day.
The second surprise was how different wall materials feel when you are drilling into them. Drywall is straightforward. Tile is the part that makes you suddenly talk to your drill like it is a nervous teammate. Going slow made a huge difference. Painter’s tape helped more than I expected, especially when trying to keep the bit from wandering. Once the first hole was clean and accurate, the rest of the job felt much less stressful.
I also learned that “read the instructions first” is not boring advice. It is excellent advice wearing boring clothes. Some rods want decorative covers installed before the final connection. Some require a certain assembly order. Some are adjustable, while others need trimming. If you skip ahead and assume all curved shower rods work the same way, the project can turn into an annoying puzzle halfway through.
What made the finished result feel worthwhile was the difference during actual use. The shower felt more open almost immediately. That little outward curve really does create more shoulder room, and the curtain stopped brushing against me every five seconds. In a smaller bathroom, that change feels bigger than it sounds on paper. It is not a luxury hotel transformation, but it is absolutely one of those practical upgrades you notice every day.
If I had to give one piece of honest experience-based advice, it would be this: take your time on the front end. Spend extra minutes checking height, level, and bracket placement before you drill. Those are the decisions that make the install feel easy later. The actual fastening and assembly go quickly once the layout is right. In other words, the calm, careful part is what earns you the satisfying part. And when you finally hang the curtain, step back, and see everything lined up properly, it is deeply satisfying in a very specific homeowner way. Suddenly you are not just a person with a drill. You are a person who conquered the bathroom wall and won.











