
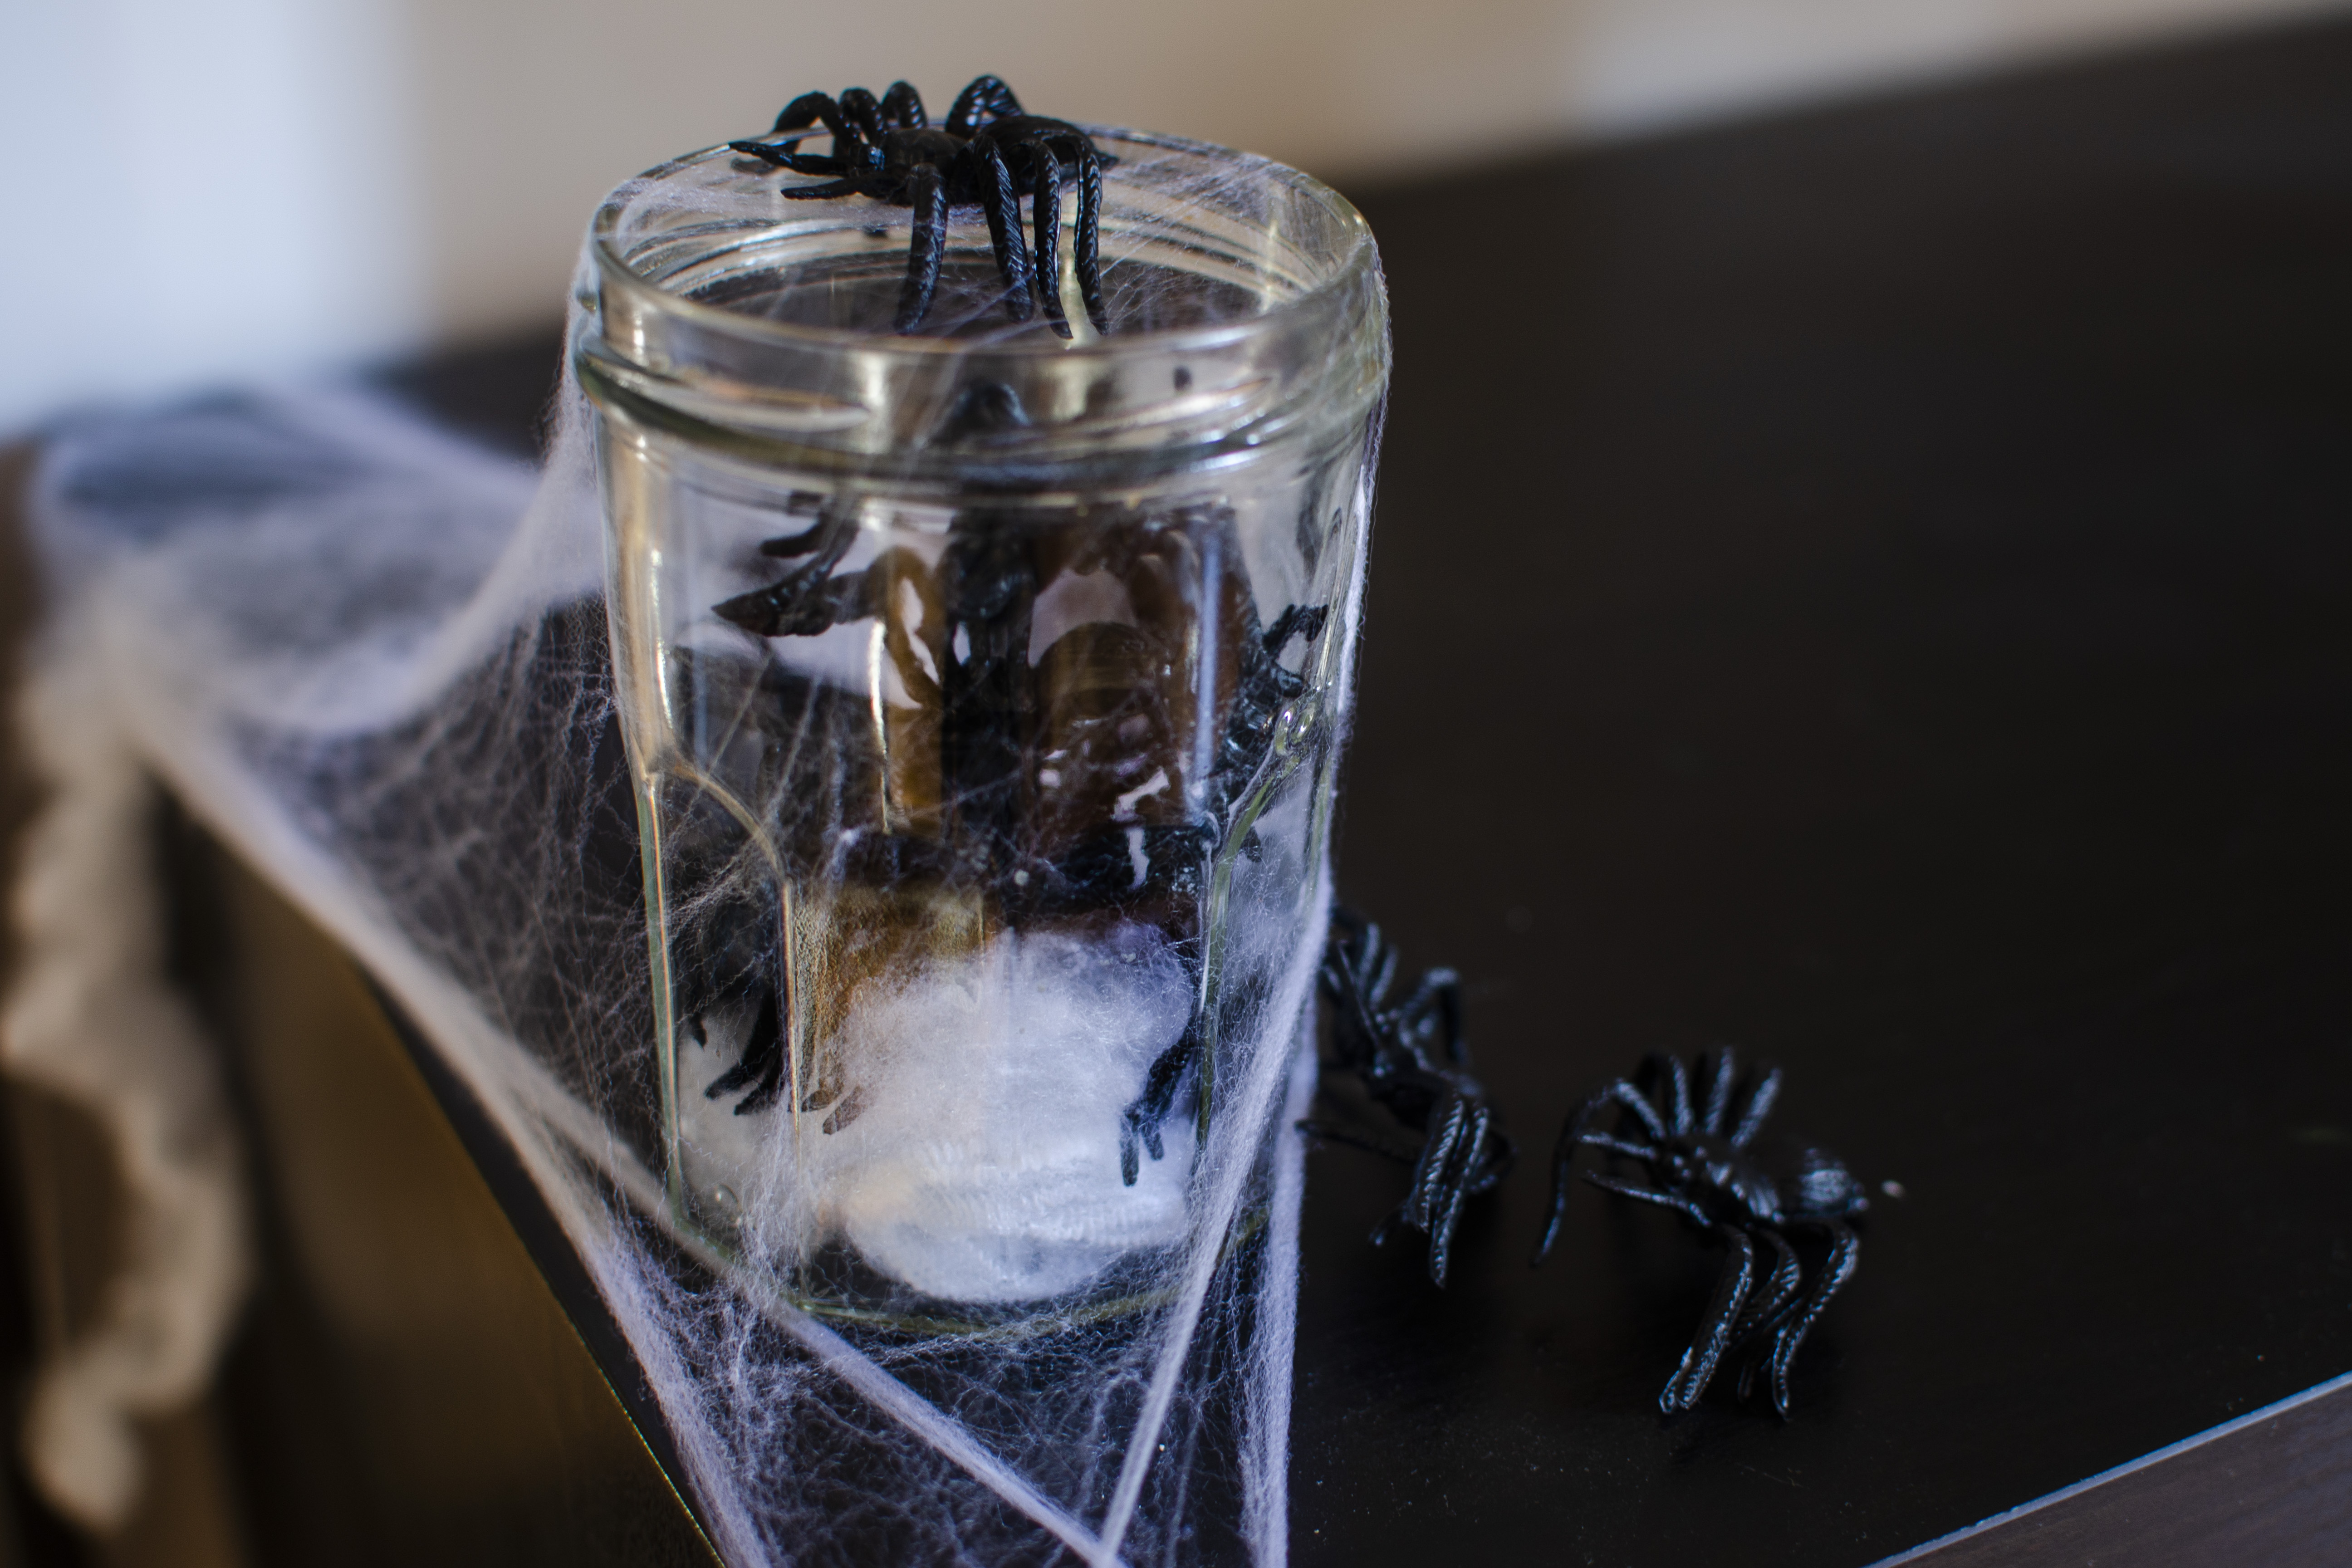
Note: This article is written for web publishing and synthesizes practical Halloween decorating, home safety, pet safety, fire prevention, and wildlife-friendly guidance from reputable U.S.-based sources without inserting source links.
Introduction: The Fine Art of Making Your House Look Abandoned on Purpose
Fake spider webs are one of the fastest ways to turn an ordinary room, porch, window, hallway, mantel, or party table into a Halloween scene that says, “Nobody has cleaned here since 1847, and we are proud of it.” They are cheap, lightweight, easy to shape, and surprisingly dramatic when used correctly. Used badly, however, they can look like a sad cotton ball got into a fight with your staircase.
The secret to great fake spider web decorations is not using more webbing. It is using less webbing, stretched farther, anchored better, and placed where it creates shadows, texture, and spooky movement. A tiny pinch of web material can cover a large area when pulled thin. That is why one small bag often claims to cover hundreds of square feet, which sounds impossible until you discover that fake cobwebs behave like Halloween taffy.
This guide explains how to put up fake spider webs in 13 simple steps, including where to place them, how to stretch them, how to anchor them, how to add spiders, how to light them, and how to keep your display safe for people, pets, and wildlife. Whether you are decorating a haunted house party, a front porch, a classroom, a retail display, or your living room for a movie night, these tips will help you create cobwebs that look spooky instead of sloppy.
Before You Start: Choose the Right Kind of Fake Spider Web
Most fake spider webbing sold for Halloween is made from stretchy synthetic fibers. It usually comes compressed in a small plastic bag and expands when pulled apart. This style works best indoors, on windows, mantels, shelves, banisters, door frames, mirrors, and party backdrops. For outdoor displays, especially around bushes, trees, and open yard areas, consider safer alternatives such as rope spider webs, yarn webs, window clings, cardboard silhouettes, or large reusable web panels.
Traditional gauzy fake webbing can entangle birds, bats, insects, small mammals, and pets, especially during fall migration. If you use it outdoors, keep it limited to solid surfaces such as doors, walls, railings, or the inside of windows. Avoid stretching it across shrubs, trees, gardens, or flight paths. Halloween should scare your neighbors, not the local songbirds.
Supplies You Will Need
You do not need a professional haunted house budget to decorate with fake spider webs. Start with one or two bags of stretchable Halloween spider webbing, a handful of plastic spiders, removable adhesive hooks, painter’s tape, clear tape, twist ties, zip ties, scissors, and battery-operated candles or LED lights. For outdoor or porch displays, add rope, command-style hooks, floral wire, clips, and weather-safe spider props.
A step stool may help for higher indoor areas, but avoid risky climbing. If a spot requires a tall ladder, ask an adult for help or choose a lower display zone. A web at eye level can look just as creepy as one on the roof, and it is much less likely to end with someone explaining Halloween physics to an urgent care nurse.
How to Put Up Fake Spider Webs: 13 Steps
Step 1: Pick a Clear Theme for Your Spider Web Display
Before opening the bag, decide what kind of Halloween look you want. A haunted mansion style needs thin, dusty webs in corners, around mirrors, and across picture frames. A giant spider invasion needs thicker web clusters, large spiders, and dramatic porch lighting. A cute kid-friendly setup can use small spiders, window webs, and silly signs. Your theme helps you avoid the classic beginner mistake: putting webbing everywhere until your house looks like it sneezed.
Step 2: Choose Safe and Effective Locations
The best places for fake spider webs are areas with natural anchor points. Indoors, try stair railings, bookshelves, fireplace mantels, window frames, doorways, chandeliers that do not heat up, chair backs, mirrors, and table corners. Outdoors, focus on porch posts, railings, fences, front doors, and solid walls. Avoid walkways, stairs, handrails people need to hold, heat sources, open flames, ceiling fans, vents, and anything that could block an exit.
Fake webbing looks especially good in corners because real spider webs naturally collect there. Stretch a small amount from wall to wall or from a shelf to a frame. When the web seems to “belong” to the architecture, it looks more realistic.
Step 3: Clean the Surface First
Dust, moisture, and greasy surfaces make tape and hooks fail. Wipe smooth areas with a dry cloth before attaching anything. For glass, mirrors, painted walls, and door frames, use removable adhesive products that are safe for the surface. For brick, wood railings, or rough outdoor materials, small hooks, clips, twist ties, or zip ties usually work better than tape.
Do not use strong adhesives on delicate paint, wallpaper, antique furniture, or rental walls unless you enjoy losing your security deposit in a very festive way.
Step 4: Pull Off a Small Piece of Webbing
Open the package and remove a small amount, not the whole clump. A golf-ball-sized piece can stretch across a surprisingly large area. Keep the rest in the bag so it does not tangle before you use it. Fake spider webbing works best when built in layers, not slapped on in one giant wad.
Think of it like seasoning food. You can always add more. Removing too much fake web from a decorative skeleton’s ribs is slightly less fun than it sounds.
Step 5: Stretch the Web Until It Is Thin and Wispy
This is the most important step. Hold the webbing with both hands and gently pull it apart in multiple directions. Rotate it, stretch it, separate the fibers, and keep pulling until it becomes thin, uneven, and transparent. The goal is not a white blanket. The goal is a delicate, creepy texture that catches light and creates shadows.
If the web looks like cotton candy, keep stretching. If it looks like foggy strands with random holes, you are getting close. Real cobwebs are irregular, so do not worry about making the pattern perfect. Halloween décor loves imperfection. That is why skeletons are always smiling.
Step 6: Anchor the First Corners
Attach the webbing to two or three anchor points. For example, stretch it from the top corner of a window to the opposite lower corner, then pull a third section toward a curtain rod, shelf, or hook. The tension helps the web hold its shape. If you let it hang from only one point, it will droop like a haunted laundry accident.
Use painter’s tape for temporary indoor spots, removable hooks for walls and windows, zip ties for railings, and twist ties for banisters. Keep anchors small and hidden whenever possible. The less visible the hardware, the more magical the effect.
Step 7: Build Layers, Not Clumps
Once the first thin layer is in place, add a second smaller layer at a different angle. This gives the web depth. On a mantel, run one layer along the back edge, another over candleholders, and a third lightly across picture frames or pumpkins. On a porch railing, wrap thin strands around posts, then stretch wisps diagonally between them.
Resist the urge to bury everything. A pumpkin should still look like a pumpkin. A lamp should still function as a lamp. Your cat should not emerge from the décor looking like it has joined a ghost union.
Step 8: Add Plastic Spiders Where the Web Has Tension
Plastic spiders look best when placed at anchor points, corners, and thicker intersections. Clip, twist, or lightly tape them into place. Put larger spiders near the center of a display and smaller spiders along the edges. This creates a more natural “spider family has been busy” effect.
For a dramatic front door, place one oversized spider above the door frame and stretch webs downward around the sides. For a table centerpiece, scatter small spiders near plates, napkins, and pumpkins. Keep tiny spider props away from toddlers and pets because small decorations can become choking hazards.
Step 9: Use Lighting to Make the Webs Pop
Fake spider webs are basically stage actors: they need lighting to perform. Use battery-operated candles, LED tea lights, orange string lights, purple uplights, or small spotlights to create shadows. Place lights behind or beside the webbing rather than blasting it from the front. Side lighting makes thin strands glow and adds texture.
Avoid real candles near fake webs. Many Halloween decorations can burn easily, and open flames do not belong next to synthetic fibers, paper décor, dried cornstalks, fabric, or costumes. Battery-operated candles give you the spooky flicker without the “why is the porch smoking?” plot twist.
Step 10: Keep Walkways and Exits Clear
Safety matters, especially if kids, guests, or trick-or-treaters will visit. Do not stretch fake webs across stairs, railings, narrow hallways, or doorways people need to use. Keep exits clear. Make sure no one has to duck under webbing while carrying candy, drinks, costumes, or a toddler dressed as a pumpkin.
Outdoor displays should not block house numbers, doorbells, porch lights, or paths. Decorations should be spooky, but emergency access should remain boringly practical.
Step 11: Make Outdoor Webs Wildlife-Friendly
If you want outdoor spider webs, choose safer placement. Put fake webbing on the inside of windows, against a solid door, or across a flat porch wall where animals are less likely to fly or crawl through it. Avoid trees, shrubs, hedges, fences near vegetation, and garden beds. These areas are used by birds, insects, bats, squirrels, chipmunks, and other small creatures.
A better outdoor option is a rope spider web. Use white cotton rope, clothesline, or thick yarn to create a big web across a porch or fence. The thicker material is easier for people and wildlife to see and less likely to entangle small animals. It is also reusable, which is good for your budget and your post-Halloween cleanup mood.
Step 12: Check the Display Daily
Fake spider webs shift with wind, foot traffic, pets, and curious guests who say, “I just wanted to touch it.” Check your webs daily during the Halloween season. Re-stretch sagging sections, remove fallen leaves, secure loose spiders, and make sure no strands have blown into walkways, plants, vents, lights, or heaters.
If you use any webbing outside, inspect it morning and evening. If you ever find an animal caught in webbing, do not simply pull it free and release it. Cut around the material carefully and contact a local wildlife rehabilitator or animal care professional for guidance.
Step 13: Take the Webs Down Promptly After Halloween
When Halloween ends, remove fake webs before they become weathered, tangled, dirty, or forgotten. Pull them down gently, collect small pieces, and throw away damaged synthetic webbing. Reusable rope webs, plastic spiders, hooks, and clips can be stored for next year.
Cleanup is not glamorous, but neither is finding a soggy fake cobweb on your porch in December. Future you deserves better.
Indoor Fake Spider Web Ideas
Haunted Mirror
Stretch thin webbing across one corner of a mirror and add two or three tiny spiders. The reflection doubles the effect, making the web look deeper than it is. This works especially well in entryways, bathrooms, and party spaces.
Creepy Mantel
Drape wispy strands across pumpkins, candleholders, old books, skull props, or framed photos. Use battery candles behind the webbing to create a dusty haunted-house glow.
Spider Staircase
Wrap small amounts of webbing around stair spindles or banisters without covering the handrail people need to hold. Add spiders climbing upward for a fun invasion effect.
Window Web Scene
Place webs inside the window and add paper bats, spider silhouettes, or orange lights. This is one of the safest and most effective ways to get an outdoor-facing Halloween look without exposing wildlife to loose synthetic webbing.
Outdoor Fake Spider Web Ideas
Front Door Web Frame
Attach webbing around the door frame, keeping the door fully functional. Add one large spider above the frame and smaller spiders near the corners. This creates a strong focal point for trick-or-treaters.
Porch Railing Web
Use zip ties or twist ties to secure webbing to porch posts and railings. Keep it tight, visible, and away from steps. For a more durable option, use rope or yarn instead of gauzy synthetic material.
Garage Door Spider Attack
Attach removable hooks around a garage door and stretch webbing or rope across the surface. Add large spiders for a bold look. Make sure the web does not interfere with the garage door mechanism.
Common Mistakes to Avoid
The first mistake is using too much webbing. Thick clumps look fake and messy. Stretching the material thin creates the best effect. The second mistake is placing webs near candles, heaters, light bulbs, or electrical equipment that gets warm. The third mistake is decorating outdoor plants with synthetic webbing. It may look spooky, but it can be dangerous for wildlife.
Another common mistake is ignoring scale. Tiny spiders on a huge porch may disappear, while giant spiders on a small bookshelf may look accidentally hilarious. Match your spider size to your display area. A large porch needs big props. A small mantel needs detail.
How to Make Fake Spider Webs Look More Realistic
Real cobwebs are uneven, dusty, and random. To create that effect, stretch the webbing until it is almost transparent. Pull tiny holes into it. Let some strands be tighter than others. Attach webs to corners, edges, and objects where spiders might actually build. A web floating in the middle of a blank wall can look strange unless it is part of a stylized party backdrop.
For extra realism, use fewer spiders. One big spider and three small ones can look creepier than fifty plastic spiders partying like they rented the place. Place spiders with intention: one in the center, one near the edge, and one half-hidden in a corner.
Pet and Kid Safety Tips
Keep fake webbing out of reach of pets that like to chew, chase, or investigate. Cats may see dangling web strands as toys. Dogs may treat plastic spiders as snacks. Small children may pull decorations down or put tiny props in their mouths. Use larger decorations in family areas and keep small accessories higher up.
Battery-operated lights are safer than candles, but button batteries can be dangerous if removed and swallowed. Keep battery compartments secured and place light-up decorations where young children cannot open them.
Eco-Friendly Alternatives to Fake Spider Webs
If you want a reusable or wildlife-safer Halloween display, try rope webs, yarn webs, paper cutouts, cardboard spiders, window clings, chalkboard web drawings, lace fabric, cheesecloth, or reusable mesh panels. These options can still look spooky while reducing loose plastic waste.
Rope webs are especially impressive. Tie several long rope strands from a center point to outer anchor points, then weave shorter pieces in circles or spirals. Add a giant spider, dim lighting, and a few pumpkins, and suddenly your porch has main-character energy.
Real-Life Experience: What Actually Works When Decorating With Fake Spider Webs
After decorating with fake spider webs more times than any reasonable person should admit publicly, one lesson stands above the rest: the webbing only looks good when you are patient with it. The first time many people use fake cobwebs, they grab a fistful, stretch it twice, and slap it onto a bush, mirror, or doorway. The result usually looks less like a haunted mansion and more like a dryer lint emergency. The magic happens when you slow down, use tiny pieces, and pull the fibers until they are thin enough to almost disappear.
For indoor decorating, the most successful spots are usually the ones that already have corners and texture. A fireplace mantel with pumpkins, books, and battery candles can look fantastic with just a few wisps of webbing. A mirror becomes instantly spooky when one corner is covered. A bookshelf can turn into a haunted library with webbing stretched between old hardcovers and small skull props. The trick is to let some of the original décor show through. Fake webs are supporting actors, not the entire cast.
One practical experience worth mentioning is that lighting changes everything. During the day, fake webs may look plain. At night, with a warm LED candle or a purple light nearby, they suddenly look dramatic. Side lighting is best because it catches the strands and throws soft shadows. Direct overhead lighting can flatten the effect. If your web display looks disappointing, do not add more webbing first. Add better lighting. It is the Halloween version of good posture.
Outdoor decorating requires more thought. Webbing placed across a door or solid porch wall can look great, but webbing on shrubs and trees creates problems. Leaves stick to it. Wind pulls it loose. It gets wet. Worst of all, it can trap insects, birds, and small animals. A rope web on a porch is usually a better long-term choice. It is bold, visible, reusable, and easier to remove. It also photographs better because the web pattern is clear from the street.
Another lesson: secure the spiders more than you think you need to. Lightweight plastic spiders fall, rotate, or vanish into the yard when the wind picks up. Twist ties, floral wire, or small zip ties work better than tape outdoors. Indoors, removable adhesive dots or clear tape are usually enough. Place spiders at web intersections so they look like they belong there.
Finally, cleanup matters. The best decorators remove fake webs soon after Halloween, before weather turns them into sad gray strings. Store reusable spiders, hooks, rope webs, and lights in labeled bags. Next October, you will thank yourself when you are not digging through a mystery box labeled “miscellaneous spooky nonsense.”
Conclusion: A Little Stretch, a Little Strategy, and a Lot of Spooky Charm
Putting up fake spider webs is easy, but making them look good takes a little technique. Start with a clear theme, choose safe locations, stretch the webbing thin, anchor it carefully, add spiders with intention, and use lighting to bring the whole scene to life. Keep walkways clear, avoid heat and open flames, protect pets and children, and think twice before using synthetic webbing outdoors.
The best fake spider web displays are not the biggest or messiest. They are the ones that look intentional, atmospheric, and just creepy enough to make guests pause before ringing the doorbell. With these 13 steps, you can create a Halloween setup that feels spooky, stylish, safe, and funwithout making your house look like it lost a fight with a pillow factory.













