
Installing plantation shutters is one of those home projects that looks wildly impressive when it is done right and mildly haunted when it is not. The good news? You do not need to be a master carpenter to pull it off. You do, however, need a level, a drill, a little patience, and the emotional maturity to accept that old windows are sometimes shaped like abstract art.
This guide walks you through how to install plantation shutters in 9 practical steps, with extra advice for inside mount and outside mount setups, common mistakes to avoid, and real-world DIY experiences that make the job feel much less intimidating. Whether you are upgrading a living room, adding bathroom privacy, or finally replacing that sad mini-blind situation from 2009, this tutorial will help you get a clean, custom-looking result.
Before You Start: Know What You Are Installing
Most plantation shutters install either inside the window opening or outside the opening on the trim or wall. Inside mounts give a built-in look and show off decorative trim. Outside mounts are often the better choice when the window frame is shallow, uneven, or just not cooperative.
Before you pick up a drill, confirm your mount style, make sure the parts in the box match the window they belong to, and read the brand-specific instructions that came with your shutters. Hardware layouts, frame styles, and hinge placements can vary slightly by manufacturer, so your instruction sheet is not filler. It is the map.
Tools and Materials You Will Likely Need
Keep everything close before you begin, because climbing down a ladder twelve times to find a pencil is how projects become personality tests.
- Steel measuring tape
- Pencil
- Level
- Drill or driver
- Screwdriver
- Step ladder
- Hammer or rubber mallet, depending on frame style
- Shims
- Caulk or touch-up material for finishing, if needed
How to Install Plantation Shutters in 9 Steps
Step 1: Confirm the Mount Type and Measure the Opening Again
Even if your shutters arrived custom-made, take a final look at the opening before installation. For an inside mount, check that the window is reasonably square. A simple way to do this is to measure diagonally from corner to corner in both directions. If the diagonals are significantly off, the opening may not be square enough for a clean inside fit.
This is also the moment to confirm depth. Inside-mounted shutters need enough clearance for the frame and louvers. Outside-mounted shutters need enough flat surface on the wall or trim for a stable attachment point. If your window has chunky molding, proud trim, or a handle nearby, outside mount may save the day.
Step 2: Unpack Everything and Match the Parts to the Correct Window
Lay a drop cloth, quilt, or soft surface on the floor and unpack the shutters carefully. Do not mix frames or panels from different windows. That way lies confusion, muttering, and the classic DIY line: “Why is this almost fitting?”
Check for frame pieces, panels, hinge pins, screws, catches, strike plates, filler strips, and any specialty hardware included with your order. If something is missing, it is much better to discover it before you have one panel hanging and your confidence hanging by a thread.
Step 3: Dry-Fit the Opening and Check for Square, Level, and Obstructions
Hold the frame or hang strips in place without fastening anything yet. This dry fit helps you spot problems before screws make them official. Look for bowed jambs, protruding trim, window cranks, uneven drywall, or a sill that is not level.
If you are installing inside mount shutters, aim for even clearance around the frame. If you are installing outside mount shutters, make sure the frame sits centered and visually balanced over the opening. This is not just about operation. It is also about the finished look. Plantation shutters are architectural, so sloppy alignment shows.
Step 4: Assemble the Frame on a Protected Surface
Many shutter systems arrive with separate frame pieces that connect using keys, brackets, or routed joints. Assemble the frame on the floor in front of the window so you can keep track of orientation. Left goes left, top goes top, and yes, it matters.
Work slowly and keep the corners tight. If your system uses corner keys or inserts, tap them in carefully rather than forcing them like you are trying to win an argument with plastic. A snug, square frame now will make the rest of the installation dramatically easier.
Step 5: Position the Frame and Fasten the Top First
Lift the assembled frame into the opening or onto the wall and center it. Use a level across the top. If the top is off, the shutters may swing poorly, show uneven gaps, or refuse to close neatly. In other words, this is not the step to rush.
Once the frame is centered and level, install the first screws at the top corners and then at the top center if your frame allows. Fastening the top first helps establish the frame’s shape and keeps it from drifting while you adjust the sides. Do not bury every screw immediately. Snug is good. Final-tight comes later.
Step 6: Shim and Secure the Sides Until the Frame Is Plumb
Now check the sides with your level. If the opening is slightly out of plumb, use shims behind the frame or hinges where needed. This is a completely normal part of the process, especially in older homes where windows have settled over time.
The goal is not to force the window opening to behave. The goal is to make the shutter frame behave beautifully within it. Add screws through the pre-drilled holes once the sides are straight and the clearances look even. If your shutters use hang strips instead of a full frame, align those carefully and keep them flush so the panels sit correctly.
Step 7: Attach the Bottom or Remaining Frame Sections
With the top and sides aligned, secure the remaining screws and frame sections. If your frame includes a bottom piece, make sure it sits cleanly without twisting the side rails. If it uses light blocks, inserts, or filler pieces, wait until the shutters are operating properly before snapping those in place.
This is the stage where many DIYers get overly confident and over-tighten screws. Resist the urge. Too much torque can pull a frame out of square or distort composite materials just enough to create rubbing or uneven reveals. Tight enough to hold firmly is the goal. Tight enough to summon regret is not.
Step 8: Hang the Panels and Insert the Hinge Pins
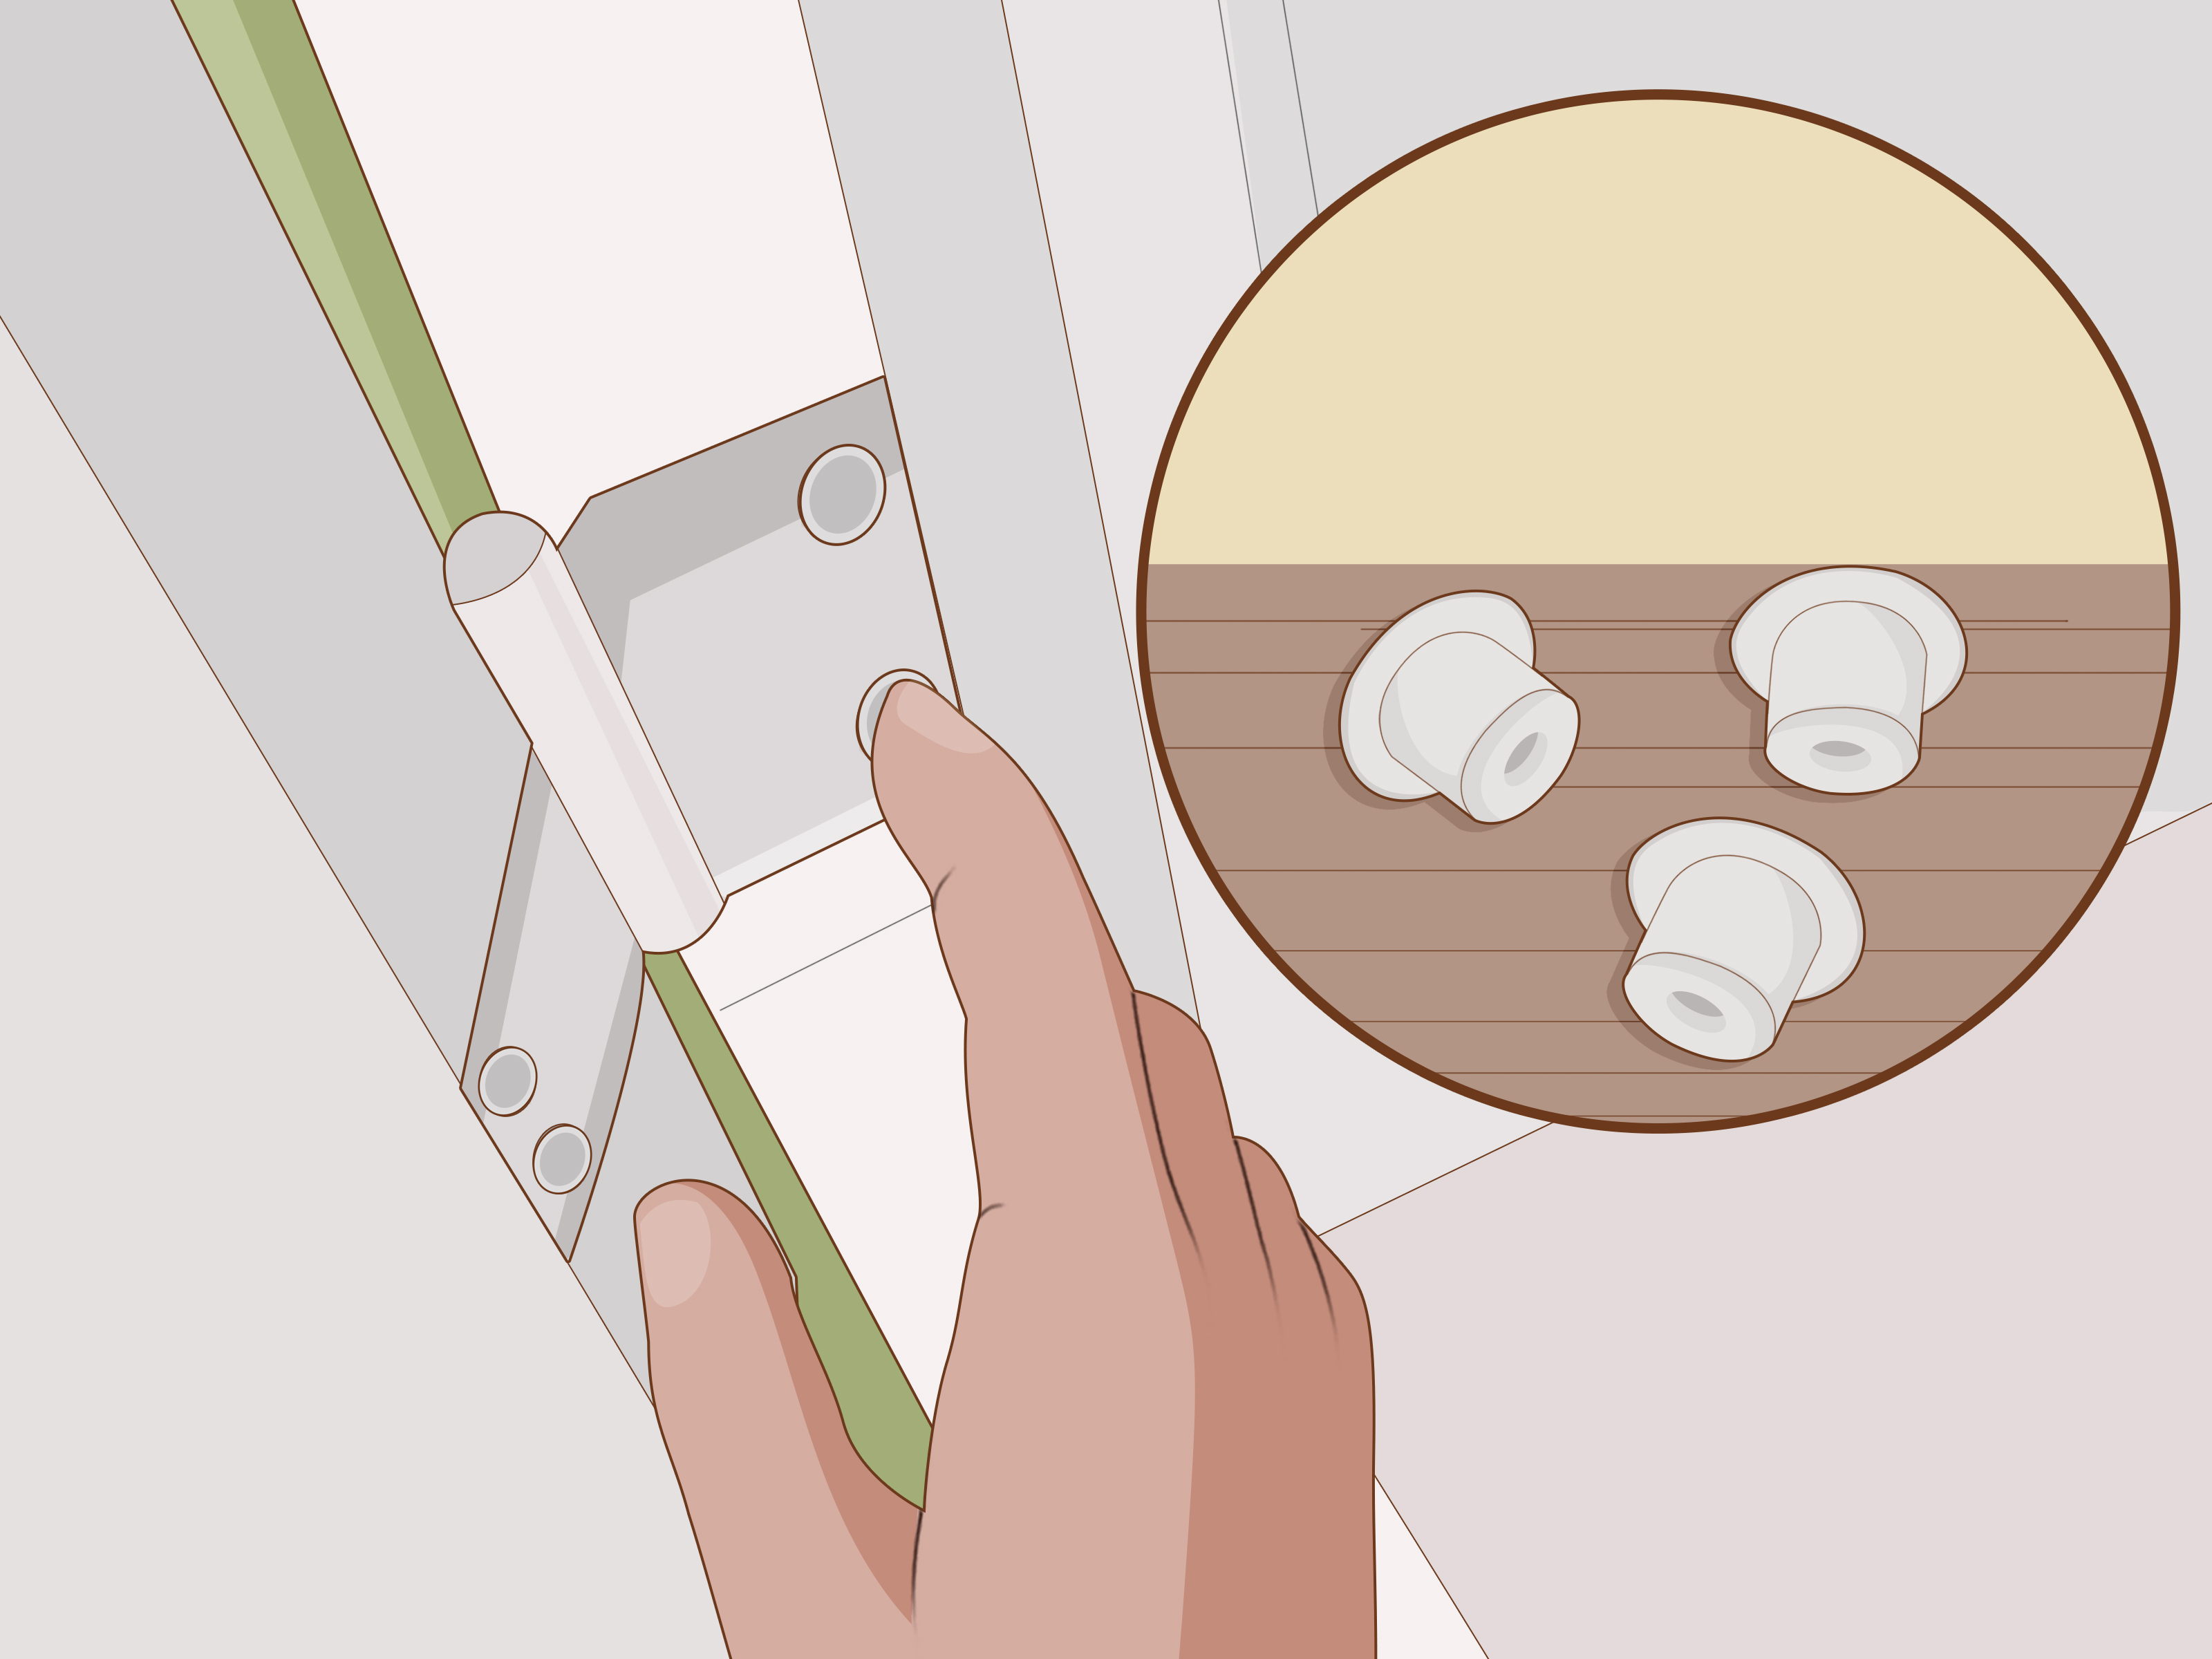
Once the frame is secure, attach the shutter panels by aligning the hinges and inserting the hinge pins. Start with one side and then move to the other. If you have bifold or multi-panel shutters, follow the panel order marked by the manufacturer. That order is not decorative. It determines how the panels stack and swing.
Open and close the panels several times. They should move smoothly without scraping, binding, or drifting open by themselves. If they rub, the frame may need a slight adjustment. This is why you held off on full finishing touches earlier.
Step 9: Install the Catch, Strike Plate, and Finishing Details
Once the panels are swinging correctly, install the button catch, magnet, or other closure hardware included with your shutters. Typically, the catch attaches to the frame first. Then you close the panel, mark the strike plate location, and fasten it to the stile so the panels close cleanly and stay put.
Finally, cover visible screw holes if your system includes inserts or caps. Add caulk along the frame edges only if needed for a cleaner finished look. Wipe off dust, adjust louver tension if the manufacturer allows, and step back to admire the moment when your window suddenly looks like it belongs in a much nicer house.
Inside Mount vs. Outside Mount: Which One Is Easier?
Inside mount usually delivers the most tailored look, but it is less forgiving. Your window opening needs to be square enough, deep enough, and consistent enough for the frame to sit properly.
Outside mount is often easier in homes with shallow jambs, decorative trim, or imperfect openings. It can also block light more effectively because the frame extends beyond the glass area. If you are working with a problem window, outside mount is often the stress-saving option.
Common Plantation Shutter Installation Mistakes
Ignoring Window Squareness
If an inside-mount shutter is fighting you from the first dry fit, do not assume the shutter is wrong. The opening may be out of square. Measure diagonally before blaming the box.
Skipping the Dry Fit
Test-fitting the frame first can reveal crooked trim, unexpected handles, and gaps that would otherwise surprise you after the first screw is already in.
Leveling the Window Instead of the Frame
Your house may not be perfectly level. That is fine. Your shutter frame still needs to be. Let the level guide the frame, not the window casing’s feelings.
Over-Tightening Screws
Too much pressure can pull the frame out of alignment. Tighten gradually and recheck operation as you go.
Forgetting Final Hardware Alignment
A catch or strike plate installed slightly off can make beautifully mounted shutters feel cheap. Spend the extra two minutes aligning the close.
Do Plantation Shutters Work in Bathrooms and Kitchens?
Yes, but material matters. In humid rooms like bathrooms, kitchens, and laundry areas, composite or vinyl-style shutters are often the safer bet because they handle moisture better than traditional wood. Real wood shutters look gorgeous, but they are usually happiest in drier spaces such as living rooms, bedrooms, and offices.
That means installation technique stays similar, but material selection should match the room. A beautiful shutter that warps in a steamy bathroom is not a home upgrade. It is a future complaint.
How Long Does It Take to Install Plantation Shutters?
For a straightforward standard-size window, many homeowners can install one set in about 1 to 2 hours. The first window usually takes the longest because you are learning the system. After that, the process speeds up. If you are installing multiple shutters in one room, expect your second and third windows to feel much easier.
Larger windows, French doors, specialty shapes, and older homes with uneven openings can add time. So can a missing drill bit, a mysterious extra bracket, or that one screw that rolls under the baseboard heater and enters witness protection.
What the Experience Is Really Like: Practical Lessons from Real DIY Installations
The real experience of installing plantation shutters is usually a mix of satisfaction, mild confusion, and several moments of dramatic whispering at a level. Most people begin the first window with optimism and finish it with wisdom. The second window is where confidence shows up wearing work gloves.
A common experience goes like this: the shutters come out of the box looking gorgeous, and suddenly the pressure is on. They are too nice to mess up. You double-check the label, carry the frame to the window, and realize your “perfectly normal” window opening is neither perfectly square nor particularly normal. That is when shims become your best friends. DIYers often say the biggest surprise is not the drilling or the hardware. It is how much fine adjustment matters. A frame that is off by a little can feel off by a lot once the panels start swinging.
Another shared experience is that the first dry fit feels awkward and the second one feels smart. Once you hold the frame in place and actually see how it wants to sit, the project becomes more intuitive. You stop treating the instructions like abstract literature and start understanding the sequence. Top first. Level first. Test movement before fully tightening. Suddenly it all clicks.
Many homeowners also discover that plantation shutters are easier to install with a helper, especially for wider windows. One person can hold the frame steady while the other checks level and starts screws. Doing it alone is possible for many windows, but doing it with help is calmer, faster, and less likely to include balancing a frame on your knee while trying to reach a drill with the hand that is not currently regretting everything.
Older homes offer their own special adventure. In newer construction, shutters often go in cleanly and only need minor tweaking. In older homes, the window may lean, the trim may bow, and the sill may slope just enough to make you question geometry. But the good news is that shutters are forgiving when installed thoughtfully. Small gaps can often be corrected with careful alignment, light shimming, or subtle finishing details. That is why experienced DIYers preach patience more than brute force.
There is also a weirdly delightful moment at the end of the job. You install the catch, close the panel, tilt the louvers, and suddenly the room looks finished. Cleaner. Sharper. More intentional. Even people who spent half the afternoon muttering at hinge pins tend to step back and say some version of, “Okay, wow, that looks really good.”
In practical terms, most DIY installers come away with the same lessons: read the instructions all the way through before starting, do not skip the dry fit, trust your level more than your eyeballs, and do not panic when the first test close is imperfect. Plantation shutter installation is less about speed and more about sequence. Once the frame is square and the panels swing freely, the rest is mostly victory laps.
Final Thoughts
If you take one thing from this guide, let it be this: plantation shutter installation is mostly a game of alignment. Measure carefully, dry-fit before fastening, level the frame, shim where needed, and test the panels before you call it done. The actual hardware is usually straightforward. The finesse is in the fit.
Done right, plantation shutters give you privacy, light control, and that polished, built-in look homeowners love. Done wrong, they become an expensive reminder that “close enough” is not a measurement. Take your time, follow the 9 steps above, and your windows will thank you by looking far more expensive than the project felt.













