
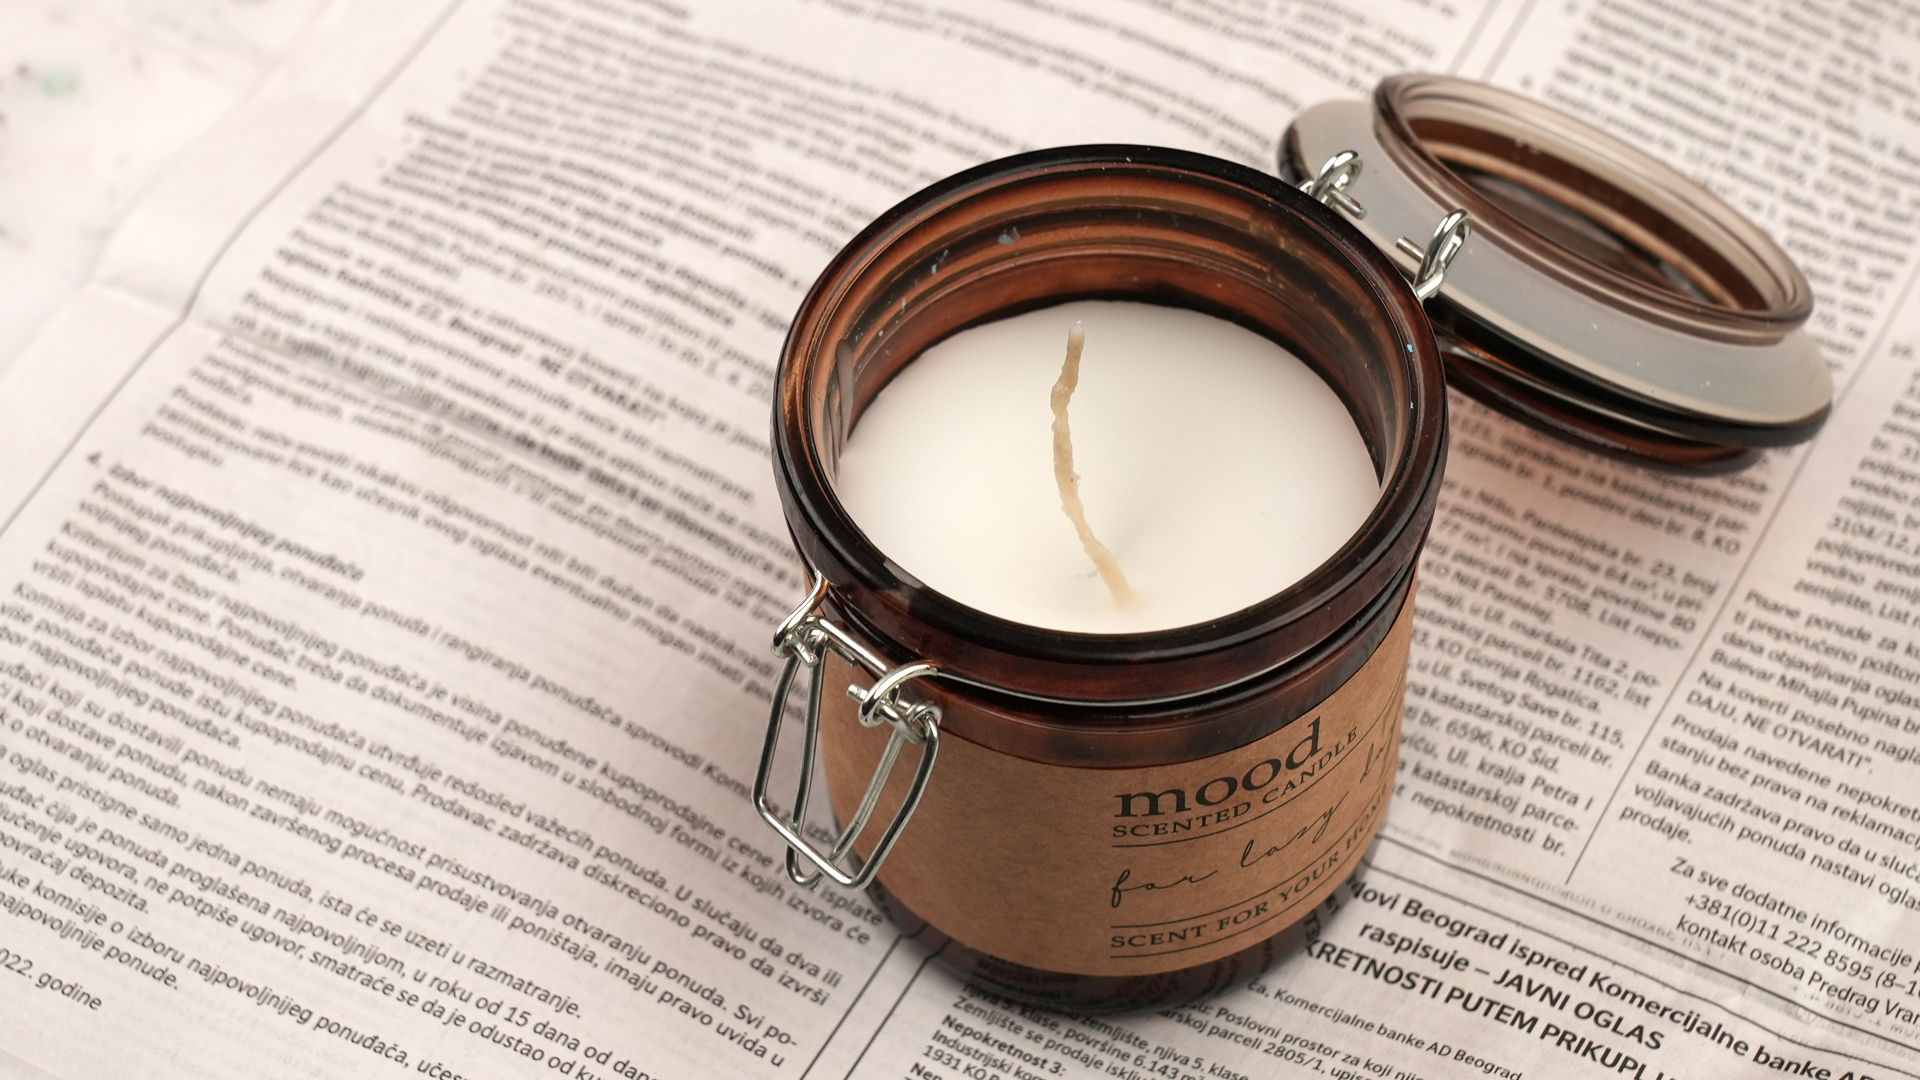
Melting wax for candles sounds simple: heat it, pour it, admire your masterpiece, and pretend your kitchen is a tiny artisan studio. But anyone who has made even one homemade candle knows the truth. Candle wax has opinions. Heat it too fast, and it can discolor. Add fragrance at the wrong temperature, and your candle may smell like “almost lavender.” Pour it too hot or too cold, and your beautiful jar can end up with sinkholes, wet spots, rough tops, or mysterious little craters that look like the moon filed a complaint.
The good news is that learning how to melt wax for candles is not difficult. You need the right tools, a safe heating method, a thermometer, and a little patience. This guide explains the best way to melt candle wax at home, including soy wax, paraffin wax, beeswax, coconut wax, and blended candle waxes. You will also learn how to use a double boiler, when to add fragrance oil, what temperatures to watch, and how to avoid the most common candle-making mistakes.
Before starting, remember that melted wax is hot, slippery, and flammable if overheated. Work carefully, keep your area clear, and never leave melting wax unattended. Candle making is relaxing, but it is still a heat-based craftnot a “walk away and check your phone for 30 minutes” craft.
Why Proper Wax Melting Matters
Wax melting is the foundation of candle making. If the wax is not melted evenly, your fragrance, dye, and additives may not blend correctly. If the temperature is too low, fragrance oil may separate or produce weak scent throw. If the temperature is too high, wax can discolor, lose performance quality, or become unsafe.
Proper melting also affects the finished look of your candles. Smooth tops, strong cold throw, clean container adhesion, even burning, and consistent color all begin with controlled heat. In other words, the candle’s final personality is shaped long before the wick is lit.
What You Need to Melt Candle Wax
You do not need a professional candle studio to melt wax at home. However, you do need tools that are safe, heat-resistant, and dedicated to candle making. Once a pot or spoon has handled fragrance oil and wax, it should not go back into food service. Your soup does not need notes of vanilla sandalwood.
Basic Supplies
- Candle wax flakes, pellets, slabs, or pastilles
- Digital kitchen scale for weighing wax
- Double boiler setup or electric wax melter
- Heat-safe pouring pitcher
- Candle thermometer or infrared thermometer
- Silicone spatula or metal stirring spoon
- Heat-safe candle containers or molds
- Pre-tabbed candle wicks
- Wick stickers or hot glue
- Fragrance oil made for candles
- Candle dye, if desired
- Paper towels and a protected work surface
Best Wax-Melting Method for Beginners
The double boiler method is the best choice for most beginners because it heats wax gently and evenly. Instead of placing wax directly on a stove burner, you place the wax in a pouring pitcher or heat-safe container, then set that container inside a pot of simmering water. The water transfers heat slowly, which reduces the risk of scorching or overheating the wax.
An electric wax melter is another good option, especially if you plan to make candles regularly. It offers more direct temperature control and can handle larger batches. For small home batches, though, a double boiler is affordable, reliable, and easy to set up.
How to Melt Wax for Candles Step by Step
Step 1: Prepare Your Candle Containers
Before you melt anything, prepare your jars or molds. Place the wick in the center of each container using a wick sticker or a small dot of hot glue. Keep the wick upright with a wick holder, clothespin, chopstick, or pencil laid across the top of the jar.
This step matters because melted wax cools faster than expected. If you wait until the wax is ready before placing your wicks, you may end up scrambling around the kitchen like a contestant on a very niche candle-making game show.
Step 2: Weigh the Wax
Always weigh wax by weight, not by volume. Wax flakes look fluffy and light, so one cup of wax does not equal one cup of melted wax. A digital scale gives you consistency from batch to batch.
As a general starting point, you can estimate that about 1 pound of wax fills roughly a 16-ounce container by volume, depending on the wax type and container shape. For more accurate results, weigh your container empty, fill it with water to the desired wax level, weigh the water, then use that number to estimate the amount of wax needed. Many candle makers use slightly less wax than the water weight because wax is less dense than water.
Step 3: Set Up the Double Boiler
Fill a saucepan with 1 to 2 inches of water. Place it over low to medium heat and bring the water to a gentle simmer, not a wild rolling boil. Put your wax into a heat-safe pouring pitcher, then place the pitcher into the saucepan.
The bottom of the pitcher can touch the water, but water should not splash into the wax. Water in candle wax can cause popping, poor texture, and unsafe burning. Keep the setup stable, and use a pot large enough that the pitcher does not tip.
Step 4: Melt the Wax Slowly
Stir the wax occasionally as it melts. Do not rush the process by cranking the heat to high. Slow, steady melting helps the wax heat evenly and reduces the risk of hot spots.
Most candle waxes melt somewhere between about 100°F and 195°F, depending on the wax type and formula. However, melting point is not always the same as the best working temperature. Many candle makers heat soy wax to around 175°F to 185°F before adding fragrance because the wax needs to be fully liquid and warm enough to bind properly with fragrance oil.
Step 5: Check the Temperature
A thermometer is not optional if you want predictable candles. Check the wax temperature often, especially once most of the solids have melted. For many soy wax projects, a common target is around 185°F before fragrance is added. Some paraffin and blended waxes may work well around 180°F to 195°F. Beeswax usually melts at a higher natural melting point than soy and often performs best when handled with steady, moderate heat.
Always follow the manufacturer’s instructions for your specific wax. Different waxes are formulated for container candles, pillars, wax melts, or tarts, and each one may have different melt, fragrance, and pour temperature recommendations.
Wax Temperature Guide for Candle Making
The following temperature ranges are general guidelines. Your exact wax may require different handling, so treat the supplier’s instructions as the final authority.
| Wax Type | Common Melting Range | Typical Fragrance Temperature | Typical Pour Range |
|---|---|---|---|
| Soy Wax | 120°F–185°F | 175°F–185°F | 120°F–160°F |
| Paraffin Wax | 115°F–190°F | 180°F–190°F | 150°F–180°F |
| Beeswax | 145°F–170°F | 160°F–170°F | 155°F–165°F |
| Coconut Wax Blends | 120°F–180°F | 170°F–185°F | 120°F–160°F |
| Wax Melts | Varies by blend | Often 175°F–185°F | Often 150°F–170°F |
Do not heat wax above the recommended range. Some suppliers warn that overheating soy wax above about 200°F can discolor it. Also, fragrance oils have their own flash points and performance limits, so candle-safe fragrance should be handled according to the supplier’s guidance.
When to Add Fragrance Oil
Fragrance oil is usually added after the wax has fully melted and reached the recommended fragrance temperature. For many soy candles, that is commonly around 175°F to 185°F. Remove the wax from direct heat, add the measured fragrance oil, and stir gently but thoroughly for about two minutes.
Stirring matters. A lazy swirl may look elegant, but it can leave fragrance unevenly distributed. Uneven fragrance can cause weak scent throw, oily spots, or poor burning. Stir like you mean it, but do not whip air bubbles into the wax.
How Much Fragrance Oil Should You Use?
Most candle recipes use fragrance oil as a percentage of wax weight. A common fragrance load is 6% to 10%, depending on the wax and the fragrance. For example, if you use 16 ounces of wax and want an 8% fragrance load, you would use about 1.28 ounces of fragrance oil.
More fragrance does not always mean a stronger candle. Too much oil can prevent the candle from setting properly, cause sweating, or create burning problems. Think of fragrance like seasoning. A little makes the recipe sing; too much makes the soup taste like perfume.
Can You Melt Candle Wax in the Microwave?
Some crafters use a microwave for small amounts of wax, but it is not the best method for beginners. Microwaves heat unevenly, making it easy to create hot spots. Wax may look partly solid while one section is much hotter than expected.
If you choose to use a microwave, only use a microwave-safe container, heat in short intervals, stir between intervals, and check the temperature constantly. Never microwave metal wick tabs, old candle jars with unknown labels, or containers that are not rated for heat. For most people, a double boiler is safer and more controlled.
How to Melt Old Candle Wax
Leftover candle wax can often be reused for wax melts, fire starters, or practice candles. The double boiler method works well for melting old wax because it allows slow heating and easier removal of wick tabs or debris.
To melt old candle wax, place wax pieces in a heat-safe pouring pitcher and warm them over a double boiler. Once melted, strain the wax through a fine metal strainer if needed. Do not pour old wax down the sink. Wax hardens in plumbing and can create clogs that are far less charming than a homemade candle.
Should You Mix Old Wax With New Wax?
You can mix old wax with new wax, but results may vary. Different waxes have different melting points, fragrance loads, dyes, and additives. If you combine mystery leftovers, treat the batch as experimental. It may be perfect for wax melts, but less predictable for a polished container candle.
How to Pour Melted Wax Correctly
After fragrance and dye are fully mixed, let the wax cool to the recommended pouring temperature. Pouring too hot can cause poor adhesion, sinkholes, or excessive shrinkage. Pouring too cool can create rough tops, frosting, or uneven surfaces.
For many soy container candles, a pour range around 120°F to 160°F is common, though some waxes prefer higher or lower temperatures. Beeswax is often poured warmer, around 155°F to 165°F. Paraffin and blended waxes vary widely, so check the wax label.
Pour Slowly
Pour the wax slowly into the container, keeping the wick centered. Leave a little space at the top of the jar. Avoid splashing wax on the sides, because it can cool into uneven streaks.
Let Candles Cool Gradually
Place candles in a draft-free area and let them cool slowly. Sudden temperature changes can cause cracks, dips, or rough tops. Do not move freshly poured candles until the wax has firmed up. The candle may look calm, but inside it is still setting.
Common Mistakes When Melting Wax
Using Direct Heat
Placing wax directly in a pan on the stove can lead to scorching and overheating. A double boiler or wax melter gives better control. Direct heat is faster in the same way running through a room with a full cup of coffee is faster: technically possible, but not wise.
Skipping the Thermometer
Guessing wax temperature is one of the easiest ways to ruin a candle. Wax appearance alone does not tell you whether it is ready for fragrance or pouring. Use a thermometer for every batch.
Adding Fragrance Too Early or Too Late
If the wax is too cool, fragrance may not bind properly. If the wax is too hot, delicate scent notes may fade. The sweet spot depends on the wax and fragrance, but many candle-safe fragrance oils are added around 175°F to 185°F.
Overheating the Wax
Overheated wax may discolor, smell burnt, or perform poorly. Keep the heat moderate and remove the wax from the heat source once it reaches the recommended temperature.
Pouring Into Cold Jars
Cold containers can shock the wax and cause adhesion issues or wet spots. If your room is chilly, warm jars slightly before pouring. They should feel gently warm, not hot.
Safety Tips for Melting Candle Wax
Candle making is enjoyable, but safety must come first. Melted wax can cause burns, and overheated wax can become a fire risk. Keep your workspace clean, dry, and free of clutter.
- Never leave melting wax unattended.
- Use low to medium heat, never high heat.
- Keep water out of melted wax.
- Keep paper towels, curtains, and flammable items away from the heat source.
- Use heat-resistant gloves when handling hot pitchers.
- Keep children and pets away from the melting area.
- Do not pour wax down the drain.
- Use candle-safe fragrance oils, not perfume or random essential oils.
- Have a lid or appropriate fire extinguisher nearby in case of emergency.
- If wax catches fire, do not use water. Turn off the heat if safe, cover the pot with a lid, and follow fire safety procedures.
How to Clean Up Melted Wax
Let leftover wax harden, then scrape it out of the pouring pitcher. Wipe remaining residue with paper towels while the pitcher is slightly warm. For stubborn wax, place the pitcher back in the double boiler briefly, melt the residue, and wipe again.
Do not wash large amounts of wax down the sink. Even small amounts can cool and cling to pipes. A little patience during cleanup saves you from a plumbing bill with absolutely no aromatherapy benefits.
Best Wax for Beginners
Soy wax is one of the most beginner-friendly choices for container candles. It melts relatively easily, works well with many candle-safe fragrances, and cleans up better than some harder waxes. Soy wax can be sensitive to temperature, so beginners should expect a little testing.
Paraffin wax often produces strong scent throw and smooth finishes, but it may require careful temperature control and proper wicking. Beeswax has a natural honey-like scent and beautiful golden color, but it is more expensive and has a higher melting point. Coconut wax blends are popular for luxury candles, though they can be soft and may need specific handling instructions.
Troubleshooting Melted Wax Problems
My Wax Looks Cloudy
Cloudiness may happen as wax cools or if the wax was not heated evenly. Stir gently and make sure the wax reaches the correct working temperature before adding fragrance.
My Candle Has Sinkholes
Sinkholes usually happen because wax shrinks as it cools. Pouring too hot, cooling too quickly, or using certain wax blends can make this more noticeable. Try pouring at a lower temperature, warming jars slightly, or saving a small amount of wax for a second top-off pour.
My Candle Top Is Rough
Rough tops are common with soy wax. Try adjusting the pour temperature, cooling the candle more slowly, or gently using a heat gun to smooth the surface after the candle sets.
My Fragrance Is Weak
Weak scent throw may come from using too little fragrance, adding it at the wrong temperature, not stirring long enough, using a fragrance that does not perform well in your wax, or burning the candle before it has cured. Many soy candles improve after curing for several days to two weeks.
Personal Experience: What I Learned From Melting Wax for Candles
The first lesson I learned about melting wax for candles is that candle making rewards calm people. Unfortunately, I began as the opposite of calm. I wanted everything to happen quickly. I turned the heat up too high, stirred like I was making pancake batter, added fragrance when the wax “looked ready,” and poured before checking the temperature. The candle did become a candle, technically. It also had a crater in the middle and a scent throw so shy it needed a motivational speech.
After a few batches, I realized that wax melting is less about speed and more about rhythm. The best results came when I prepared everything before heating the wax. Jars wicked and lined up. Fragrance weighed. Thermometer ready. Paper towels nearby. Once the wax started melting, I did not have to run around looking for a spatula while the temperature climbed. That one habit made the whole process feel easier.
Another experience that changed my candles was learning to respect the thermometer. In the beginning, I treated temperature like a suggestion. Now I treat it like the boss of the room. When I melt soy wax, I bring it up gradually, stir gently, and add fragrance at the recommended range. I also stir longer than feels necessary. Two full minutes can feel like a tiny lifetime when you are staring at a pitcher of wax, but it makes a difference. The fragrance blends better, and the finished candle smells more consistent.
I also learned that every wax has its own personality. One soy wax poured beautifully at 135°F. Another looked better when poured slightly warmer. A beeswax blend needed more heat and more patience. This is why testing matters. If you change wax brands, fragrance oils, jar sizes, wick types, or dye, you are not making the exact same candle anymore. You are introducing a new character to the story.
One of the most useful tricks is keeping notes. Write down the wax type, wax weight, fragrance percentage, melt temperature, fragrance temperature, pour temperature, room temperature, jar size, wick size, and final result. This may sound excessive until you make one perfect candle and cannot remember what you did. Candle-making amnesia is real, and it smells faintly of regret.
Finally, I learned not to judge a candle too soon. Freshly poured candles can look strange while they cool. Some tops smooth out. Some tiny imperfections are easy to fix. Some scent throws improve after curing. Give the candle time before deciding whether the batch succeeded. Candle making is part science, part craft, and part learning to stop poking the jar every five minutes.
If you are just starting, use soy wax, a double boiler, a thermometer, and small batches. Make one or two candles at a time. Test your process. Adjust one variable per batch. Most importantly, enjoy the process. Melting wax for candles is simple once you understand the temperatures, but it still feels a little magical every time plain flakes turn into a glowing, fragrant candle.
Conclusion
Learning how to melt wax for candles is the key to making candles that look smooth, smell beautiful, and burn safely. The process begins with preparation: choose the right wax, set up a double boiler, weigh your materials, secure your wicks, and keep your thermometer close. Melt wax slowly, add fragrance at the recommended temperature, stir thoroughly, and pour when the wax has cooled to the proper range.
For beginners, the double boiler method is the safest and most forgiving way to melt candle wax at home. It gives you control, helps prevent scorching, and works for soy wax, beeswax, paraffin, coconut blends, and leftover candle wax. Once you understand temperature control, candle making becomes much easierand much more fun.
The secret is not fancy equipment or complicated formulas. It is patience, accurate measuring, careful heating, and a willingness to test. Do that, and your homemade candles will stop looking like “first attempts” and start looking like something you would proudly gift, sell, or keep for yourself because, honestly, you earned that cozy glow.














