A basement can be one of the most comfortable spaces in a houseor the chilly dungeon where forgotten holiday decorations and one suspicious treadmill go to retire. The difference often comes down to insulation, air sealing, and moisture control.
Learning how to insulate your basement is not just about making the floor above less icy in winter. A properly insulated basement can improve comfort, reduce heat loss, protect finished walls from condensation, and make the space more usable year-round. But basement insulation is not a “throw some fiberglass between studs and call it a day” project. Concrete behaves differently from wood framing, ground moisture has opinions, and mold is always waiting for a poorly planned renovation to become its dream vacation home.
The smart approach is simple in theory: keep bulk water away, stop humid indoor air from reaching cold concrete, create a continuous insulation layer, seal air leaks, and use materials that can tolerate basement conditions. The details matter, though, especially when you are finishing a basement or upgrading an older home.
Why Basement Insulation Matters
Basements sit below grade, which means their walls and floors are in contact with cool soil for much of the year. Uninsulated concrete absorbs and transfers heat easily, making a basement feel cold, damp, and generally less welcoming than a doctor’s waiting room on a Monday morning.
Insulating basement walls helps reduce heat transfer, but the comfort benefits often matter just as much as the energy savings. When interior air touches cold concrete, condensation can form. That moisture may feed mold growth, damage framing, stain drywall, and create the familiar “old basement” smell that no candle has ever truly defeated.
For most homes, insulating the basement walls is more effective than insulating the basement ceiling. Basement walls are closer to the home’s conditioned living space, while the basement ceiling often contains ductwork, plumbing, wiring, and other features that work better when they remain inside the insulated envelope.
Before You Insulate: Solve Water Problems First
Insulation is not waterproofing. It can help manage condensation, but it cannot rescue a basement that regularly takes on water after heavy rain. Before installing a single foam panel or stud, inspect the basement for water issues.
Look for Warning Signs
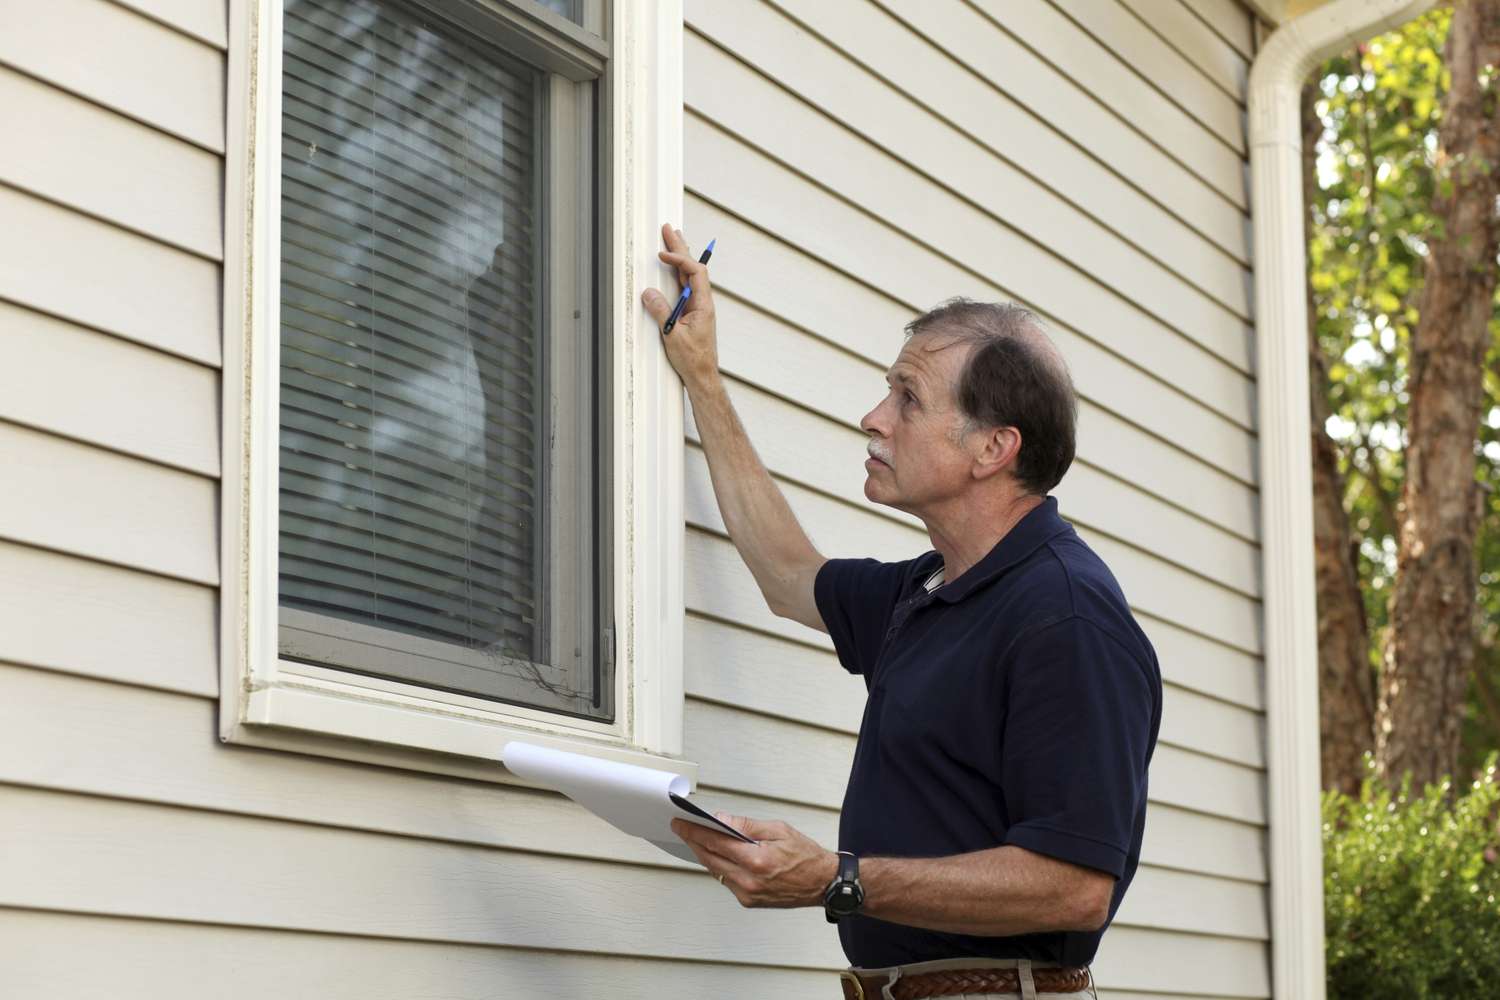
Check for water stains, peeling paint, white mineral deposits known as efflorescence, musty odors, damp carpet, rusted appliances, mold, cracked masonry, or puddles near walls. Also inspect the basement after a heavy rainstorm. Water problems are often sneaky enough to hide during dry weather and dramatic enough to appear when you have guests coming over.
Start Outside the House
The easiest basement waterproofing improvements are often outdoors. Make sure gutters are clean, downspouts direct water away from the foundation, and soil slopes away from the house. A yard that pitches toward the foundation is basically sending every rainstorm a written invitation.
Repair leaking hoses, damaged window wells, cracked exterior masonry, and failed drainage systems before insulating. If you have standing water, persistent wall leakage, a high water table, structural cracks, or repeated flooding, contact a qualified basement waterproofing or building-envelope professional. Covering an active water problem with drywall is not renovation; it is a long-term mold subscription.
Control Indoor Humidity
Basements can also become damp because warm, humid outdoor air enters during summer and condenses on cool walls or floors. A basement dehumidifier, properly sized air conditioning, and good ventilation can help manage indoor humidity. Keep an eye on humidity with a simple hygrometer, especially during humid weather.
Choose Your Basement Insulation Strategy
There are two primary ways to insulate a basement: from the exterior or from the interior. Exterior insulation is often ideal for new construction or major foundation work, while interior insulation is usually more practical for existing homes.
Exterior Basement Wall Insulation
Exterior insulation is installed outside the foundation wall before backfilling. This approach keeps the concrete warmer, reduces thermal bridging, protects the foundation from temperature swings, and preserves interior floor space.
Exterior insulation can be an excellent option during a new build, a foundation repair, or a major drainage project. However, it requires excavation, careful waterproofing details, durable protection above grade, and attention to local termite and insect inspection requirements. It is not usually the weekend project you tackle after watching two renovation videos and drinking one optimistic cup of coffee.
Interior Basement Wall Insulation
For most existing homes, interior insulation is the practical choice. The basic principle is to install a continuous, moisture-tolerant insulation layer directly against the concrete or masonry wall. This layer helps keep warm indoor air away from cold surfaces where condensation could form.
Common interior basement insulation options include rigid foam board, closed-cell spray foam, and hybrid wall systems that combine continuous foam with a framed wall and additional insulation.
Best Insulation Materials for Basement Walls
Rigid Foam Board Insulation
Rigid foam board is one of the most popular choices for basement walls because it resists moisture better than traditional fiberglass batts. Foam panels can be installed directly against concrete, taped at the seams, and sealed around edges to create a continuous thermal and air-control layer.
Common rigid foam products include expanded polystyrene, extruded polystyrene, and polyisocyanurate. The best choice depends on your climate, local code requirements, wall condition, target R-value, available space, and budget. A local insulation contractor or energy auditor can help you compare options without turning your hardware-store aisle into a philosophical crisis.
Closed-Cell Spray Foam
Closed-cell spray foam can provide insulation, air sealing, and moisture resistance in one application. It is especially useful around irregular foundation walls, rim joists, plumbing penetrations, and difficult corners where rigid panels would require an advanced degree in foam-board origami.
Spray foam is usually more expensive than rigid foam board and should be installed by a qualified professional. Proper installation matters because poor mixing, uneven coverage, or incomplete air sealing can create expensive problems that are not nearly as fun as the sales brochure suggested.
Fiberglass and Mineral Wool
Fiberglass batts should not be installed directly against concrete or masonry. Fiberglass can absorb moisture, remain damp, and lose performance when it is exposed to basement moisture conditions.
Mineral wool is more moisture tolerant than fiberglass, but it still works best as part of a properly designed wall assembly rather than as the only material directly against a damp foundation wall. In many finished basement systems, rigid foam or closed-cell spray foam goes against the concrete first, followed by a framed wall where mineral wool or unfaced fiberglass can add more insulation.
How To Insulate Basement Walls Step by Step
Step 1: Clear and Inspect the Foundation Walls
Move storage items away from the walls and inspect the concrete or block foundation carefully. Remove loose paint, damaged wall coverings, moldy materials, and anything that prevents insulation from sitting flat against the wall.
Repair active leaks first. Small nonstructural cracks may be repairable with appropriate masonry materials, but significant cracks, bowing walls, crumbling block, or recurring water intrusion should be evaluated by a professional before you continue.
Step 2: Air Seal Gaps and Penetrations
Seal gaps around pipes, electrical penetrations, ducts, sill plates, and foundation openings. The rim joist areathe band of framing above the foundation wallis especially important because it is often a major source of air leakage.
Use materials rated for the application, and keep foam products away from hot flues, chimneys, and other heat-producing components unless the assembly is specifically approved for that use. Fire safety details are not glamorous, but neither is explaining to your insurance company why your insulation project became a campfire.
Step 3: Install Continuous Rigid Foam or Spray Foam
Install rigid foam boards from the basement floor to the rim joist area, covering the exposed concrete as continuously as possible. Use foam-compatible adhesive, approved mechanical fasteners, or both, depending on the product and wall condition.
Fit the boards tightly together. Tape seams with compatible tape, and seal edges with approved foam or sealant. The goal is not merely to hang insulation on the wall; the goal is to create a continuous layer that limits air movement and keeps humid indoor air from reaching cold concrete.
If you use closed-cell spray foam, make sure it covers the wall evenly and reaches corners, wall transitions, rim joists, and other common leakage points.
Step 4: Build a Framed Wall, If Needed
If you are finishing the basement, install a framed wall on the interior side of the foam insulation. This provides a cavity for wiring, plumbing, additional insulation, and drywall.
Keep wood framing from sitting directly against damp concrete. Use code-approved bottom-plate materials and separation details appropriate for your location. The framed wall should not interrupt the continuous foam layer behind it.
For a higher R-value, you can place unfaced fiberglass or mineral wool batts in the stud cavities after the foam layer is installed. Avoid installing a separate polyethylene vapor barrier on the room side unless your local building code and wall design specifically require it. In many basement assemblies, an unnecessary interior plastic layer can trap moisture where you least want it.
Step 5: Insulate the Rim Joists
Do not forget the rim joists. They are often the most uncomfortable part of the basement because they sit at the edge of the home and can leak both air and heat.
Rigid foam cut to fit between joists and sealed around the perimeter is a common solution. Closed-cell spray foam is another effective option. The key is to create a snug, sealed installation without gaps, voids, or crushed insulation.
Step 6: Cover Foam Insulation Safely
Most foam insulation products need to be covered by an approved thermal barrier, commonly drywall, when used in finished living spaces. Always check the foam manufacturer’s instructions, local code requirements, and product-specific approvals before closing the wall.
Drywall is not just there to make the basement look polished. It can also provide important fire protection for foam insulation. Think of it as the responsible adult in the room.
Should You Insulate the Basement Floor?
Insulating a basement floor can improve comfort dramatically, especially if you plan to use the area as a family room, office, bedroom, gym, or hobby space. Concrete slabs can stay cool even when the room air feels comfortable, which is why bare feet often develop strong opinions about basement flooring.
For a major remodel, a floor system may include a moisture-control layer, rigid insulation, and a floating subfloor or finished floor above. This can make the floor warmer and reduce the risk of moisture problems beneath flooring materials.
However, adding insulation and subflooring raises the finished floor height. Before moving forward, check ceiling height, stair clearance, door swings, mechanical equipment access, and local code requirements. A warmer floor is wonderful, but not if it turns your basement into a low-ceiling obstacle course.
Avoid installing wall-to-wall carpet directly over a slab that has a history of dampness. Moisture can become trapped beneath the carpet, creating hidden mold and odors. Use moisture-tolerant flooring systems and make sure the slab is dry enough for the flooring product you choose.
Should You Insulate the Basement Ceiling?
Insulating the basement ceiling can make sense when the basement will remain unconditioned, such as a utility-only storage area or a cold workshop. In that case, ceiling insulation helps separate the living area above from the cooler basement below.
But if you plan to heat, cool, or finish the basement, insulating the basement walls is usually the better approach. Wall insulation brings the basement inside the home’s thermal boundary, which can protect pipes and ductwork while making the space more comfortable.
Insulating both the walls and ceiling is sometimes appropriate, but it should be part of a deliberate design. Randomly adding insulation everywhere can create odd temperature zones, difficult mechanical conditions, and a basement that somehow manages to be both expensive and uncomfortable.
Common Basement Insulation Mistakes To Avoid
- Installing fiberglass batts directly against concrete walls.
- Framing a wood wall directly against a damp foundation.
- Ignoring drainage, grading, gutters, or active leaks before finishing.
- Leaving foam-board seams, rim joists, and penetrations unsealed.
- Adding a plastic vapor barrier without understanding the wall assembly.
- Using carpet or moisture-sensitive flooring over a damp concrete slab.
- Covering foam insulation without meeting thermal-barrier requirements.
- Forgetting to account for electrical boxes, plumbing, radon systems, egress windows, and mechanical access.
When To Hire a Professional
A careful homeowner can handle some basement insulation work, especially air sealing, cutting rigid foam, and building a simple framed wall. But professional help is wise when you have structural cracks, wet walls, mold contamination, recurring flooding, complicated electrical work, combustion appliances, spray foam installation, radon concerns, or a finished-basement project that requires permits.
Consider hiring an energy auditor, insulation contractor, basement waterproofing contractor, or qualified remodeler who understands building science. The cheapest quote is not always the best choice. Basement work is one of those areas where saving a few dollars up front can become a very expensive science experiment later.
Real-World Basement Insulation Experiences and Lessons
Basement insulation projects tend to teach homeowners the same lesson: the wall assembly is only as good as the moisture plan behind it. Many renovation stories begin with a perfectly reasonable goalturning unused basement space into a playroom, office, home theater, or guest suite. The trouble starts when the project begins with framing and drywall instead of drainage and moisture control.
One common experience involves an older basement that feels dry most of the year but develops a faint musty smell every summer. The homeowner may assume the problem is a tiny foundation leak, yet the real culprit can be humid outdoor air entering through open windows and condensing on cool concrete. In those cases, improving air sealing, using a dehumidifier, insulating the walls continuously, and keeping summer windows closed during humid periods can make a bigger difference than repeatedly repainting the walls with miracle coatings.
Another frequent lesson comes from finished basements with fiberglass insulation tucked between studs directly against foundation walls. At first, everything looks fine. The drywall is fresh, the furniture is arranged, and someone has already claimed the corner as a gaming zone. Then a few years pass. Moisture reaches the fiberglass, wood framing stays damp, and the wall begins to smell or show discoloration. Opening the wall often reveals that the problem was not bad luck; it was the missing continuous insulation layer between the concrete and moisture-sensitive materials.
Homeowners also discover that the rim joist deserves far more attention than it usually receives. A basement can have insulated walls and still feel drafty because cold air slips through gaps where the framing meets the foundation. Sealing and insulating rim joists often produces a surprisingly noticeable comfort improvement. It is one of those jobs that looks small on paper but can make the entire basement feel less like a cave with Wi-Fi.
Flooring is another area where experience matters. Many people install carpet directly over concrete because it feels inexpensive and familiar. Unfortunately, a slab with even mild moisture vapor can turn carpet padding into a hidden sponge. Homeowners who have dealt with that situation often switch to moisture-tolerant flooring, raised subfloor panels, or floating floor systems designed for below-grade spaces. The result is usually a warmer, cleaner, easier-to-maintain basement.
Another useful takeaway is that not every basement needs the same insulation package. A dry walkout basement in a mild climate may need a different approach than a damp, fully below-grade basement in a cold region. Ceiling height, foundation type, local code, termite risk, flood history, and intended use all affect the best design.
The most successful projects tend to follow a simple order: manage water first, air seal second, add continuous insulation third, frame and finish last. That sequence may not be as exciting as shopping for paint colors and sectional sofas, but it is the reason a finished basement stays comfortable years after the renovation dust settles.
Conclusion
Knowing how to insulate your basement properly means thinking beyond R-values. The best basement insulation system controls water, limits condensation, seals air leaks, protects cold concrete from humid indoor air, and uses materials that can handle below-grade conditions.
For most existing homes, a continuous layer of rigid foam or closed-cell spray foam against the foundation wall, combined with careful rim-joist air sealing and a properly detailed framed wall, provides a durable path to a warmer and drier basement. Start with moisture control, follow local codes, and do not rush to cover concrete with fiberglass and drywall.
Note: Basement conditions vary by climate, foundation type, water table, local code, and past moisture history. Consult qualified local professionals before insulating a basement with active leaks, structural concerns, mold damage, combustion appliances, or repeated flooding.