
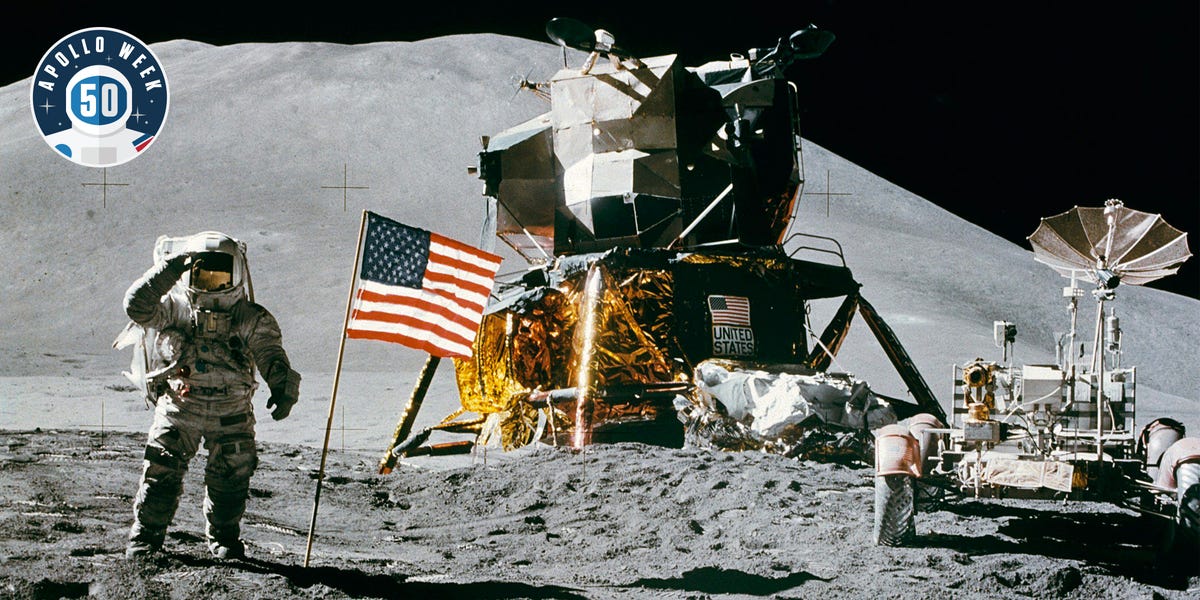
Before Apollo became a legend, it was a drawing problem.
That may sound unglamorous, but it is the truth hiding in plain sight. Long before the Moon had boot prints, flags, checklists, TV cameras, and famous quotes, it had line art. Engineers sketched rockets in cross-section, drew docking paths like orbital choreography, mapped out descent profiles, and turned terrifying unknowns into boxes, arrows, valves, cables, and numbers. In a strange way, the Apollo program reached the Moon twice: first on paper, then in space.
That is why original Apollo sketches still matter. They do more than look cool in a retro-futurist, “please pass the slide rule” kind of way. They explain how the missions actually worked. A good Apollo sketch strips away the drama and shows the machine logic underneath: what launched, what separated, what stayed in orbit, what landed, what came home, and what absolutely could not fail unless everyone wanted a very bad week.
Below are 17 kinds of original Apollo-era sketches and technical drawings that reveal the real genius of the program. Taken together, they show that Apollo was not one spaceship but a tightly coordinated system of spacecraft, trajectories, computers, radios, suits, engines, and recovery hardware all doing their jobs at exactly the right time.
Why Apollo Drawings Still Hit So Hard
Apollo sketches are powerful because they make complexity readable. They show the Moon mission as a sequence of understandable moves rather than a blur of hero shots. When you look at the original technical art, you realize that Apollo was built around elegant separation of roles. The Saturn V lifted. The Command and Service Module carried the crew through deep space. The Lunar Module landed. The guidance system kept everyone honest. The heat shield saved the day at the very end. Nobody was freelancing. Even the arrows had a plan.
17 Original Sketches That Reveal How the Apollo Missions Worked
1. The Full Saturn V Stack Sketch
The first essential drawing is the complete launch stack. This sketch shows the Saturn V as a vertical chain of jobs: the S-IC first stage for brute-force liftoff, the S-II second stage for pushing higher and faster, and the S-IVB third stage for parking orbit and translunar injection. At the very top sat the Apollo spacecraft and launch escape tower. One glance tells you Apollo did not “just go to the Moon.” It assembled momentum in stages, like a giant mechanical relay race with fire.
2. The Launch Escape System Sketch
One of the most sobering Apollo drawings is the launch escape system. It shows a tower perched above the Command Module with solid rockets ready to yank the crew away from a failing booster. This sketch reveals NASA’s basic philosophy: assume things can go wrong, then design an escape route that acts faster than human panic. The tower looked awkward, almost like the spacecraft had grown a metal hatrack, but it existed for a simple reason. If the Saturn turned into a very expensive bomb on the pad or during early ascent, the astronauts needed a way out immediately.
3. The Command Module Cutaway
The Command Module cutaway is where Apollo stops looking like abstract hardware and starts feeling human. These drawings show couches, control panels, storage, windows, hatches, and the cramped geometry of three men living inside a cone. The sketch makes one fact impossible to miss: the Command Module was not roomy. It was a compact survival cabin designed to work under launch loads, deep-space flight, and high-speed reentry. If modern readers imagine Apollo astronauts drifting through a spacious sci-fi set, this drawing politely says, “Absolutely not.”
4. The Service Module Systems Sketch
Another crucial drawing isolates the Service Module. This is where Apollo hid much of its muscle: the main Service Propulsion System engine, fuel cells, oxygen tanks, and support equipment. The sketch explains why the Command Module alone was never the whole spacecraft. The Service Module was the utility room, power plant, and major propulsion section all in one cylinder. It stayed attached through most of the mission, then separated before reentry, because bringing a giant service can through Earth’s atmosphere would have been a terrible idea.
5. The Folded Lunar Module in the Adapter Sketch
Apollo sketches of the Lunar Module tucked inside the spacecraft-lunar-module adapter are engineering magic tricks in plain view. The LM did not ride to space sitting proudly on top like a hood ornament. It traveled folded inside the Saturn V stack, protected during launch. These drawings explain why the Lunar Module looked spidery and strange: it was built for vacuum and low gravity, not aerodynamic beauty. No one at Grumman spent time making it sleek. The Moon does not care about sleek.
6. The Transposition, Docking, and Extraction Sketch
This is one of the great Apollo “aha” diagrams. After translunar injection, the Command and Service Module separated, turned around, docked with the Lunar Module, and pulled it free from the adapter. A sketch of this maneuver instantly explains why the spacecraft layout mattered. Apollo was essentially packed in launch configuration and then reassembled in space for lunar flight. It is the kind of move that sounds routine only because NASA practiced it until routine became possible.
7. The Lunar Orbit Rendezvous Sketch
If there is one drawing that captures Apollo’s strategic brilliance, it is the lunar orbit rendezvous sketch. Instead of landing the whole spacecraft on the Moon, Apollo sent only the Lunar Module down while the Command Module stayed in lunar orbit. This reduced mass, simplified the landing vehicle, and made the mission achievable with the technology and schedule NASA had. In sketch form, lunar orbit rendezvous looks elegant. In program history, it was a bold decision that made Apollo practical rather than purely aspirational.
8. The Earth Parking Orbit and Translunar Injection Sketch
Mission profile diagrams often show Apollo first entering Earth parking orbit before the S-IVB reignited for translunar injection. That sketch reveals Apollo as a staged trajectory, not a straight-line cannon shot. Parking orbit gave teams time to verify spacecraft health before committing to the Moon. Then came the burn that sent the spacecraft outward on its translunar path. Early mission diagrams also highlight free-return logic, meaning the trajectory was shaped so the spacecraft could loop around the Moon and head back toward Earth if everything else started misbehaving.
9. The Lunar Orbit Insertion Sketch
Original trajectory sketches for lunar orbit insertion show how Apollo slowed down enough to be captured by the Moon. That sounds simple until you remember the spacecraft arrived at the Moon moving very, very fast and had to fire the Service Propulsion System at precisely the right time. These diagrams reveal an important truth: Apollo was as much about controlled braking as acceleration. Space missions are not all blastoff and swagger. Sometimes success looks like knowing exactly when to hit the cosmic brakes.
10. The Lunar Module Descent Profile Sketch
The descent profile drawing is one of the best windows into the lunar landing itself. It shows the LM lowering perilune, beginning powered descent, pitching over, reducing horizontal velocity, and transitioning from computer-managed approach to the crew’s landing decisions near the surface. In other words, the Moon landing was not a simple elevator ride downward. It was a carefully shaped braking maneuver that turned forward orbital motion into a vertical touchdown. These sketches make Armstrong’s and later commanders’ workload feel even more impressive.
11. The Landing Radar and Guidance Sketch
Technical schematics of the LM guidance system show how radar fed altitude, altitude rate, and horizontal velocity data into the computer during landing. That matters because Apollo did not land by vibes. It landed by instrument fusion, onboard computation, and crew judgment layered together. The sketch also makes clear that the Lunar Module’s brain was not working alone. Radar, inertial measurement, displays, and thrust control all fed the same problem: how to get two humans onto the Moon without converting the LM into a historical crater marker.
12. The DSKY and Apollo Guidance Computer Sketch
If you have ever seen a drawing of the DSKY, the Apollo Display and Keyboard, you know it looks both humble and legendary. The interface was simple by modern standards: numeric display, verb-noun commands, clear structure, zero decorative nonsense. But Apollo diagrams show why it mattered. The guidance computer sat at the center of a network that connected inertial measurement, optics, communications, displays, and control jets. The spacecraft was not “hand-flown” in the movie sense. It was a partnership between astronauts and one of the most influential computers in exploration history.
13. The Command Module Optics Sketch
Another fascinating set of drawings highlights the sextant and scanning telescope in the Command Module. These sketches remind us that Apollo navigation was not only electronic. The crew could use celestial sightings to align the inertial system and verify where the spacecraft was pointed. It is a beautiful blend of old and new: ancient navigation logic fused to mid-century computing. Apollo, in this sense, was part starship and part seafaring tradition wearing a pressure suit.
14. The Lunar Surface EVA Suit and PLSS Sketch
Spacesuit schematics reveal that walking on the Moon required an entire spacecraft worn on the body. The Apollo extravehicular suit, paired with the Portable Life Support System, handled oxygen, cooling, ventilation, communications, and mobility under brutal constraints of weight and reliability. These drawings make the Moonwalk feel less like a stroll and more like a carefully managed engineering event. The astronaut was not simply wearing protection; he was carrying a miniature life-support architecture on his back while working in a vacuum full of abrasive dust.
15. The LM Communications and Surface Relay Sketch
Communications diagrams of the Lunar Module show something the famous photos cannot: the Moon landing was also a relay problem. The LM had to communicate with Earth, with the Command and Service Module in lunar orbit, and with the suited astronauts on the surface. Voice, telemetry, biomedical data, TV, and ranging all had to coexist inside a machine with ruthless weight limits. These sketches reveal that the Apollo missions worked not only because astronauts could do the job, but because engineers made sure Mission Control could still hear, track, and understand them.
16. The Ascent and Rendezvous Sketch
One of Apollo’s most nerve-racking drawings is the LM ascent and rendezvous profile. After surface operations, the ascent stage launched from the descent stage, entered orbit, and used rendezvous radar plus guidance logic to meet the Command Module. This sketch tells the story of Apollo’s riskiest elegance: the lander did not come home whole. Half of it stayed behind. The other half had to rise, navigate, and dock in lunar orbit with no room for sloppy timing. Lunar orbit rendezvous was brilliant on paper, but it also demanded nerve in practice.
17. The Reentry, Heat Shield, and Parachute Sequence Sketch
The final essential Apollo drawing is the Earth return sequence. It shows the Service Module separating, the Command Module reentering at lunar-return speed, the ablative heat shield taking the punishment, the forward heat shield jettisoning, drogues deploying, and then the three main parachutes lowering the capsule to splashdown. These sketches reveal the closing logic of the whole mission: after all the computers, engines, and Moon maneuvers, Apollo ended with a blunt cone, hot plasma, fabric canopies, seawater, and Navy recovery teams. It is both majestic and wonderfully practical.
What These 17 Sketches Really Teach Us
Seen together, these drawings explain Apollo better than a hundred dramatic montages. They show a mission architecture built on specialization, redundancy, and sequencing. The rocket did not need to land. The lander did not need to survive reentry. The Command Module did not need landing legs. The guidance computer did not need flashy graphics. Every major sketch reveals the same disciplined principle: do the right job in the right place at the right time, then hand off to the next system.
They also reveal just how much Apollo depended on interfaces. Docking was an interface. Radar feeding the computer was an interface. Astronauts using the DSKY were an interface. The suit backpack, the communications relay, the reentry sequence, the parachute deployment logic, and even the recovery procedures were all interfaces between one phase and the next. Apollo worked because its handoffs worked. The drawings make that obvious in a way even the most polished documentary sometimes does not.
The Experience of Reading Apollo Through Its Sketches
There is a special experience that comes from studying Apollo through original sketches rather than only through photographs. Photos give you spectacle. Sketches give you intent. A photo of a Saturn V launch is thunder and glory. A sketch of the Saturn V is a quiet explanation of why the thunder was organized the way it was. A photo of the Lunar Module on the surface feels historic. A sketch of the LM descent profile shows how many decisions, inputs, and constraints had to line up for that moment to exist.
That shift changes how modern readers understand the Apollo missions. Instead of seeing the program as a single miracle, you begin to experience it as a chain of understandable problems solved with astonishing discipline. The Moon landing stops feeling like magic and starts feeling like applied intelligence at national scale. Oddly enough, that makes it more impressive, not less. Magic is mysterious. Apollo sketches show competence, and competence under pressure is one of the most thrilling things humans can produce.
There is also something emotionally powerful about the handmade quality of many of these drawings. Even when they are precise technical diagrams, they carry the personality of an era when engineering communication depended on drafting tables, tracing paper, and human clarity. The lines are deliberate. The labels are purposeful. The pages feel like objects from a time when the path to the Moon ran through conference rooms, drafting departments, simulation labs, and stacks of mission binders. You can practically hear the pencils, pointer sticks, and coffee cups.
For students, these sketches are a master class in systems thinking. They show that big achievements are usually not won by one giant breakthrough, but by the alignment of dozens of smaller ones. For designers, they are lessons in visual clarity. For historians, they are evidence of decision-making under intense schedule pressure. For space fans, they are catnip. And for ordinary readers, they are a refreshing reminder that the greatest adventure of the twentieth century was built not only by brave crews, but by people who knew how to explain hard things clearly.
That may be the most inspiring part of all. Apollo was bold, yes, but it was also legible. The original sketches prove that the mission could be reasoned through, tested, revised, and communicated. In an age that loves polished interfaces and flashy renderings, Apollo’s old drawings still have surprising authority. They do not dazzle by accident. They persuade by structure. They say: here is the rocket, here is the orbit, here is the lander, here is the way home. No mysticism. No hand-waving. Just the Moon, reduced to an engineering sequence that human beings could actually execute.
And that is why these 17 original sketches still matter. They reveal Apollo not as a myth frozen in nostalgia, but as a working machine of extraordinary logic. They let us experience the missions from the inside out, where history is still made of arrows, stages, switches, burns, checklists, and trust. Plenty of space stories get bigger with distance. Apollo gets better when you zoom in.
Conclusion
The original Apollo sketches do more than illustrate old hardware. They reveal the architecture of one of humanity’s most ambitious exploration programs. From the Saturn V stack to the final parachute sequence, each drawing explains a specific part of the mission and shows how Apollo transformed impossible-sounding goals into organized, testable steps. Together, these 17 sketches tell the real story of how the Apollo missions worked: not by luck, not by mythology, but by brilliantly coordinated design.













