
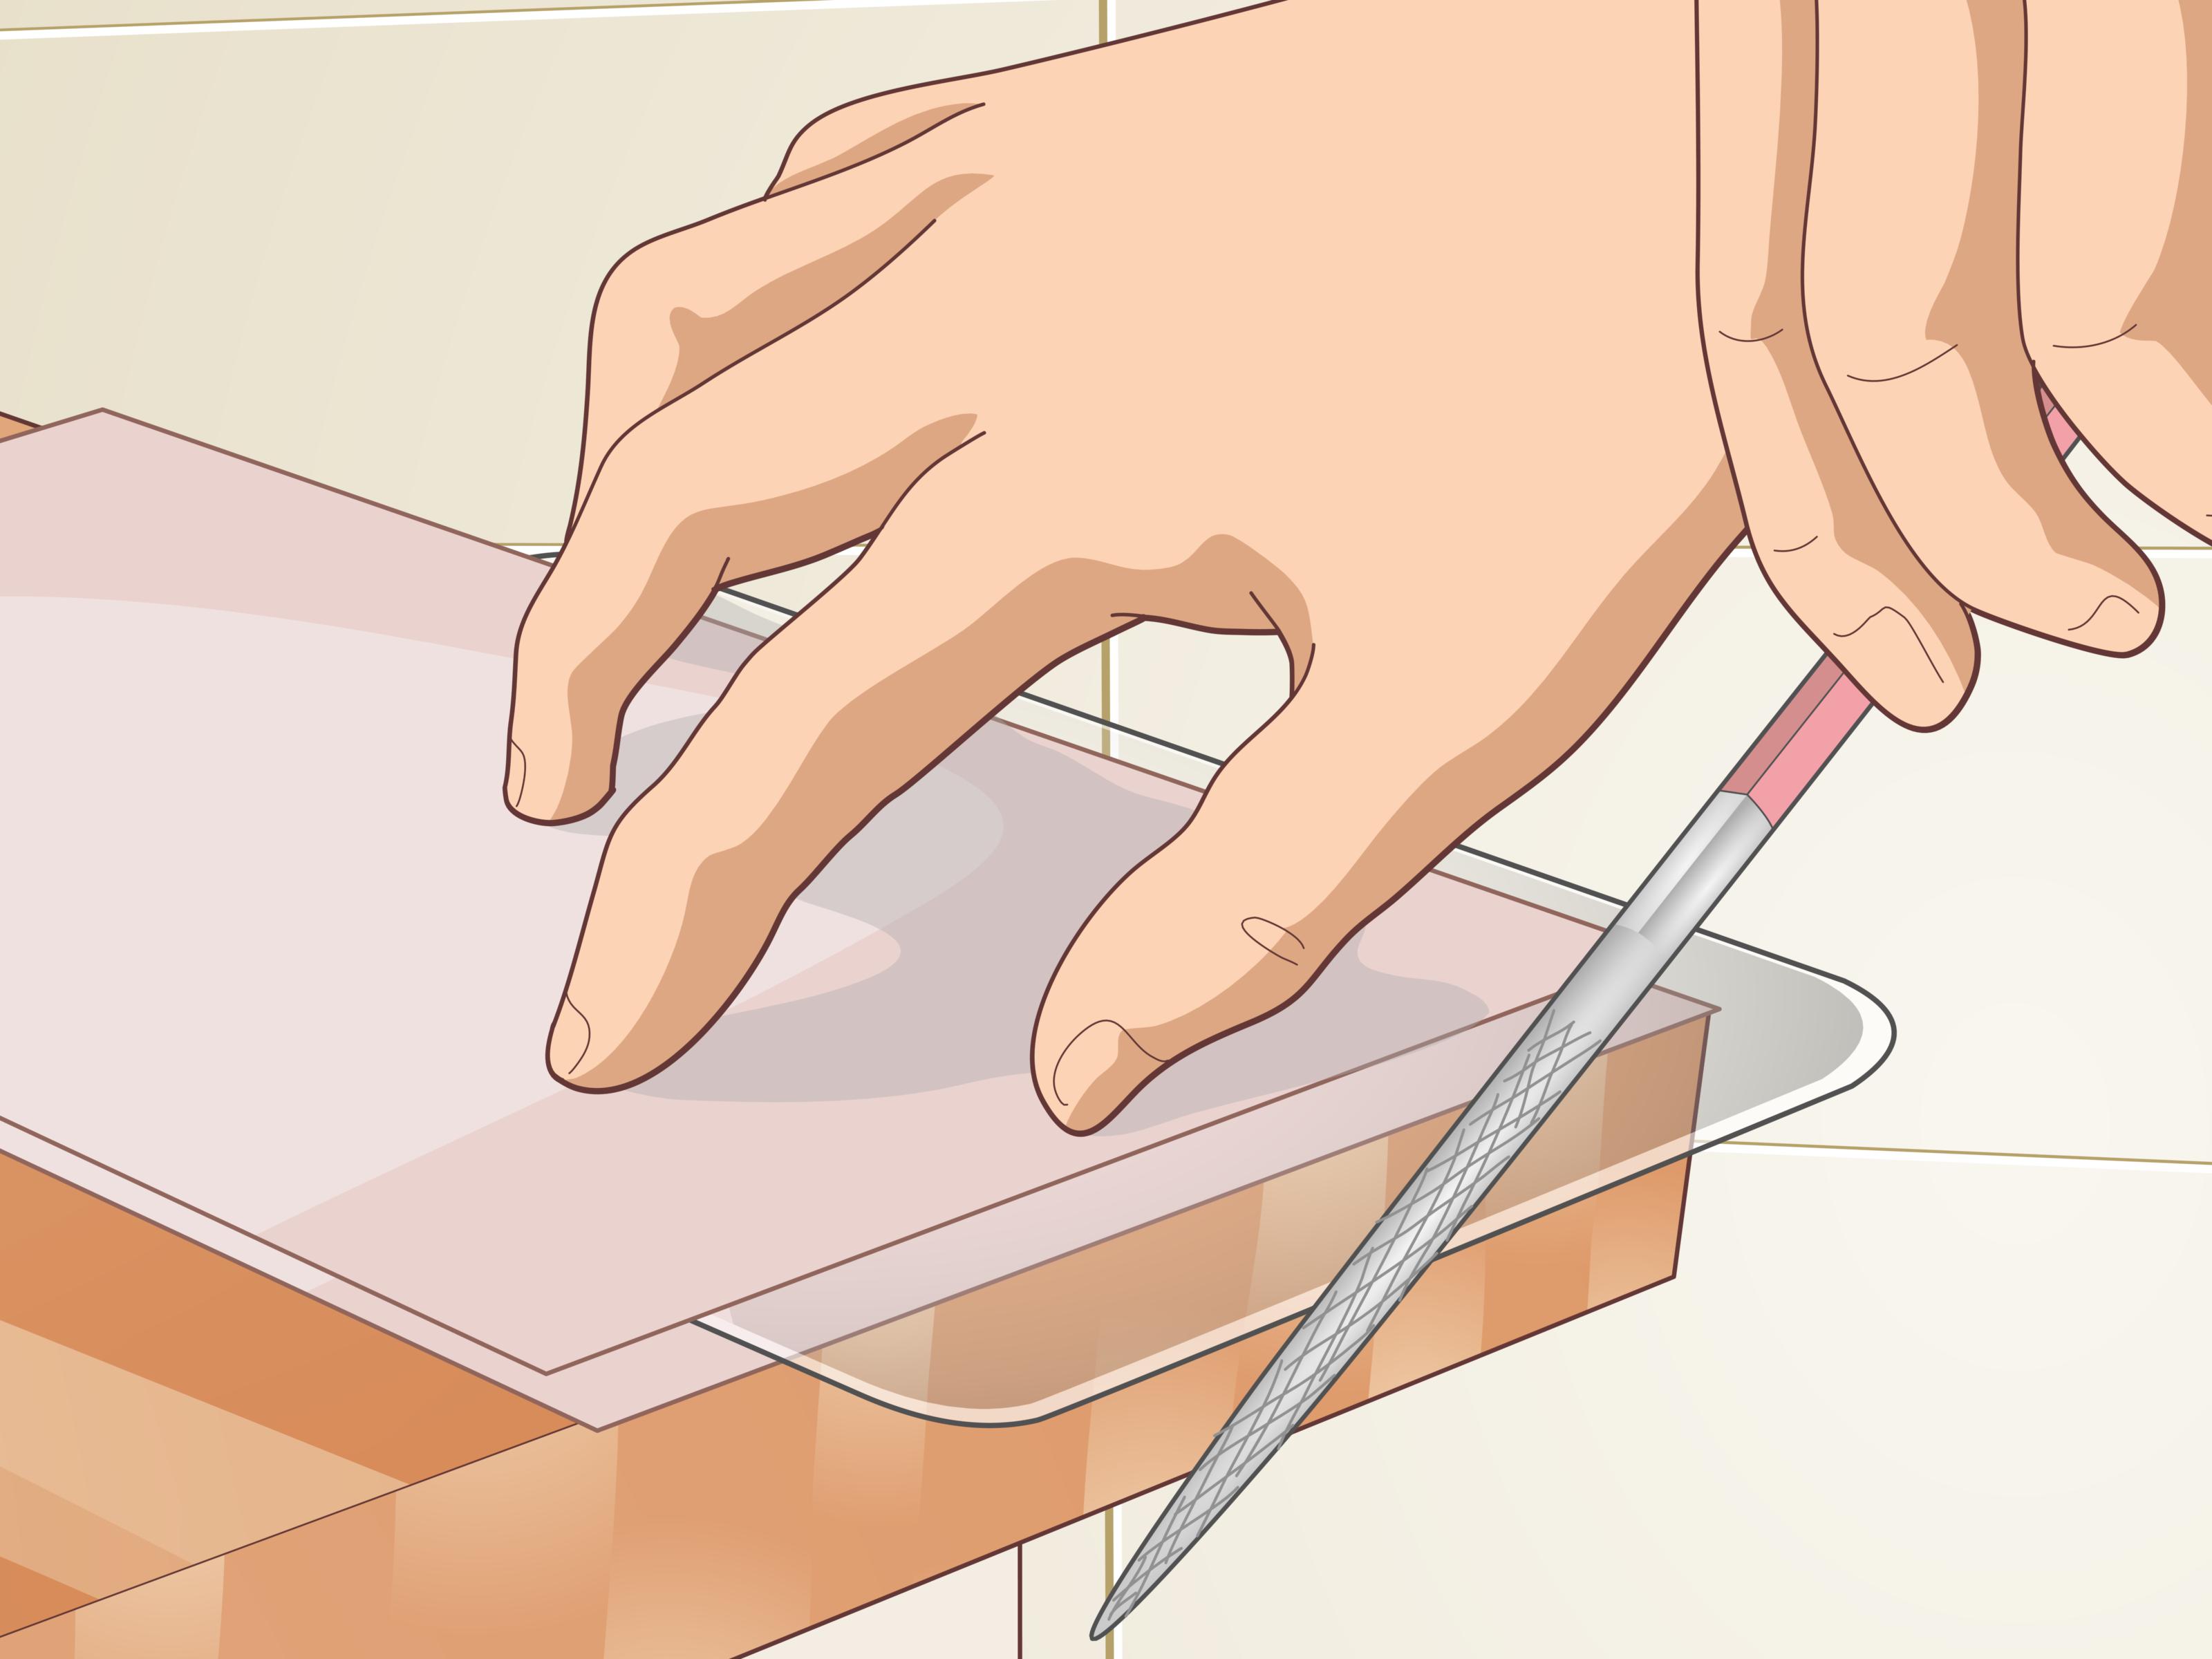
A screen protector that is two millimeters too wide can be surprisingly annoying. It catches on the phone case, hangs over the edge of a dashboard display, or blocks part of a camera or sensor. Naturally, the DIY instinct kicks in: grab a glass cutter, trim the edge, and declare victory before lunch.
Unfortunately, genuine tempered glass does not negotiate.
Once glass has been thermally or chemically strengthened, its outer surfaces remain under compression while the interior stays under tension. Cutting, drilling, grinding, or deeply scratching the finished glass can upset that carefully balanced stress pattern and cause the entire protector to crack or crumble. Manufacturers therefore shape and finish strengthened glass before the tempering or ion-exchange stage, not afterward.
That means the safest ways to “cut a tempered glass screen protector” are really three practical ways to achieve the correct fit: determine whether the protector is actually flexible film, cut a trimmable replacement, or obtain glass that was manufactured in the required shape. Here is how each method works without turning your workspace into a tiny transparent gravel pit.
Before You Begin: Is the Protector Really Tempered Glass?
Product descriptions are not always wonderfully precise. A package may use phrases such as “glass-like,” “hybrid glass,” “flexible glass,” or “9H protective film.” Some of these products contain plastic layers, while others combine a thin glass-like coating with PET or TPU. A flexible protector may be trimmable even though the advertisement repeatedly uses the word glass.
Check the material without damaging it
- Read the packaging: Look for PET, TPU, hydrogel, polyurethane, hybrid polymer, aluminosilicate glass, or tempered glass.
- Test flexibility while the liner is attached: PET and TPU usually bend noticeably. Genuine tempered glass remains rigid and may snap if forced.
- Inspect the edge: Glass protectors generally have a smooth, polished edge and a layered appearance. Film looks thinner and can often be flexed between two fingers.
- Check the thickness: Many phone-sized glass protectors are roughly one-third of a millimeter thick, although thickness alone cannot confirm the material.
Tempered glass, PET, and TPU serve different purposes. Tempered glass generally provides a harder, more glass-like surface and better impact resistance. PET film is thin and inexpensive, while TPU is flexible and better suited to curved or irregular displays.
Way 1: Trim It Only When It Is Flexible Film or Hybrid Material
If your “tempered glass” protector bends easily and its specifications identify it as PET, TPU, hydrogel, or a flexible hybrid, you may be able to resize it with ordinary craft tools. The important part is confirming that the protective layer is plastic-based rather than rigid strengthened glass.
Tools you may need
- A paper template
- A fine-tip marker
- Sharp scissors or a precision craft knife
- A self-healing cutting mat
- A metal ruler
- A small coin or circle template for rounded corners
- Microfiber cloth and dust-removal tape
Step 1: Make a template
Place a sheet of paper over the device and lightly mark the screen area. Do not automatically trace the entire front face. Raised bezels, curved edges, cases, speakers, cameras, microphones, fingerprint readers, and light sensors may all require clearance.
Measure the usable width and height in millimeters. For a display surrounded by a raised bezel, measure inside the bezel. For a completely flat glass front, determine whether the protector should cover the full glass panel or stop slightly short so a case cannot lift it. Measurement guides from screen-filter manufacturers similarly distinguish between viewable areas, raised bezels, and flat edge-to-edge glass.
Step 2: Test the paper fit
Cut the paper first and place it on the device. Verify that it does not cover a speaker grille or sensor. Install the case temporarily and make sure the template does not extend underneath the case lip.
This cheap paper rehearsal is far better than discovering your measurement error after trimming the real protector. Paper is forgiving. Adhesive film remembers every questionable decision.
Step 3: Transfer and cut
Keep the protective backing attached to the film. Trace the paper template onto the removable liner rather than the adhesive surface. Cut slowly, using long strokes for straight edges. If using a craft knife, make several light passes against a metal ruler instead of forcing the blade through in one dramatic motion.
Round each corner with a coin or curved template. Sharp square corners tend to catch on cases, collect lint, and peel sooner. Leave approximately 0.5 to 1 millimeter of clearance where the device case overlaps the display.
Step 4: Smooth and inspect the edge
Remove any loose plastic slivers and confirm that the edge is clean. Do not sand the adhesive side because debris can become permanently trapped beneath the protector. Before installation, place the trimmed film over the device one last time with the liner still attached.
This method works especially well for older GPS units, camera monitors, handheld game systems, industrial control panels, and small displays for which model-specific protectors are difficult to find.
Way 2: Replace the Glass With a Cut-to-Fit PET, TPU, or Hydrogel Protector
If the current protector is genuine tempered glass, replacing it with a trimmable film is usually the easiest DIY solution. You sacrifice some of the rigid impact protection and glass-like feel, but you gain flexibility, custom sizing, and compatibility with unusual shapes.
Choose the right replacement material
PET film is a good choice for flat screens. It is thin, clear, relatively stiff, and easy to cut into straight-sided shapes. It primarily protects against surface scratches rather than severe drops.
TPU film is softer and more flexible. It can conform more successfully to gentle curves, although the softer surface may feel slightly different beneath a fingertip or stylus.
Hydrogel film is another flexible option commonly cut by computerized plotters in repair shops. It is useful for curved displays and unusual device models, but installation may require a specific wet- or dry-application process.
Create a precise cutting plan
Measure the width and height at least twice. Record the dimensions rather than trusting your memory. For example, suppose a camera monitor has a usable flat area measuring 103.5 by 61 millimeters. A finished protector might be cut to approximately 102.5 by 60 millimeters, leaving a narrow border that reduces edge lifting.
Mark camera and sensor openings only when they are genuinely necessary. Many clear films can cover a front-facing camera without causing trouble, but a poorly cut opening may trap dust around its edge. Speaker grilles and physical buttons should normally remain uncovered.
Use a paper-and-tape prototype
Make a paper version, then attach it temporarily with low-tack tape. Check the following:
- Does the case fit without touching the template?
- Can buttons and gestures still be used comfortably?
- Are all sensors and speaker openings clear?
- Does the template sit entirely on a flat surface?
- Are the corners rounded enough to resist peeling?
Install in a clean area
Turn off the device and remove its case. Clean the display with a lint-free microfiber cloth and use dust-removal tape for stubborn particles. Align the protector before allowing the adhesive to make full contact. Start at one edge or release the center first, depending on the product instructions, and gradually press outward.
Dust, fingerprints, debris, and poor alignment are common causes of bubbles. Installation trays, alignment tabs, and smoothing cards help reduce those problems. Small air bubbles may be pushed toward an edge, while a particle trapped underneath usually requires carefully lifting the nearest section and removing the particle with clean tape.
For an expensive device or a display with complex curves, a repair store with a film-cutting plotter may be the better choice. The machine selects a pattern for the device and cuts flexible film without putting the phone anywhere near a blade.
Way 3: Buy Custom-Cut Glass or Have It Shaped Before Tempering
If you specifically want the feel and scratch resistance of glass, the correct approach is to obtain a protector made in the required dimensions. The glass must be cut, drilled, edged, and polished before it receives its strengthening treatment.
Search by exact device model
Start with the full model number, not merely the product family. A phone sold under the same family name may have different screen dimensions, speaker positions, or edge curves. Model-specific protectors are normally inexpensive enough that purchasing the correct one is safer and often cheaper than sacrificing several oversized protectors to experimentation.
Look for custom screen-protector services
Custom suppliers may request:
- Device manufacturer and exact model
- Display width and height in millimeters
- Corner radius
- Camera, speaker, or sensor locations
- Whether the front surface is flat or curved
- Whether a case will overlap the screen edges
Some services provide custom PET or TPU film rather than glass. Read the material description carefully. A “custom glass-like protector” is not necessarily tempered glass.
Use professional fabrication for specialty equipment
For laboratory instruments, marine displays, vehicle dashboards, commercial touch panels, or custom electronics, contact a specialist before ordering. Professional glass fabrication lines cut and finish the material first and temper it afterward. CNC cutting and edging equipment can create precise shapes, but this is a manufacturing process rather than an after-the-fact household modification.
The cost may not make sense for a single inexpensive phone protector. It becomes more reasonable when protecting a rare screen, producing multiple identical pieces, or fitting equipment for which no commercial accessory exists.
Methods That Sound Clever but Usually End Badly
Using a handheld glass cutter
A glass cutter scores ordinary annealed glass so it can break along a controlled line. Tempered glass already contains stored internal stress. Scoring its surface can cause cracks to spread through the entire piece instead of creating a neat break.
Grinding the edge with a rotary tool
Grinding introduces heat, vibration, and edge damage. Even if the protector does not fail immediately, the altered edge may contain weak points that crack later during installation or normal use.
Heating and slowly cooling the protector
Online discussions sometimes suggest removing the temper by heating the glass and cooling it gradually. A consumer screen protector contains adhesive, coatings, and extremely thin glass. Household ovens do not provide the controlled industrial conditions required for predictable glass processing. The adhesive may release fumes or leave residue, and uneven heating can break the protector.
Cutting under water
Water may reduce dust during certain industrial operations, but it does not remove the internal stress in tempered glass. Submerging a phone accessory also creates a wet adhesive layer that is unlikely to perform well afterward.
Using scissors, tile nippers, or pliers
These tools apply concentrated pressure at the edge, exactly where tempered glass is vulnerable. The likely result is not a beautifully resized protector. It is a collection of crunchy little regrets.
How to Get a Better Fit Without Cutting Anything
Before replacing the protector, confirm that the problem is truly its size. A protector may appear too large because it is slightly off-center, installed over debris, or being pushed upward by a tight case.
- Remove the case and inspect the protector alignment.
- Check whether the protector is designed for a different version of the device.
- Make sure the screen is clean and free of raised dust particles.
- Use the included alignment tray when available.
- Choose a “case-friendly” protector with a small border around the edge.
- Replace protectors that already have cracks, chips, or separating adhesive.
Modern installation systems often use trays or alignment frames to place the protector accurately and reduce bubbles. That is generally more reliable than repeatedly lifting and repositioning an adhesive-backed glass sheet by hand.
Experience-Based Lessons From Common DIY Attempts
The following scenarios reflect common experiences reported by people trying to fit universal protectors to unusual screens. They are useful because the same mistakes tend to repeat, whether the device is a phone, an old navigation unit, a digital camera, or a home-automation panel.
Experience 1: The oversized protector that shattered at the first score line
A typical attempt begins with an inexpensive tablet protector that is almost the correct size. The user places a ruler over it, runs a glass cutter along the surface, and expects the protector to snap cleanly like a small windowpane.
Instead, the score line reaches the stressed glass layer. The protector fractures across several directions or collapses into small pieces when lifted. Sometimes it remains intact for a few seconds, creating false hope, and then breaks when slight pressure is applied.
The practical lesson is that “almost the right size” does not make tempered glass easier to modify. A replacement flexible film would have been cheaper, cleaner, and faster. When a protector is labeled tempered glass, the smartest cutting tool is usually the search box used to order the correct model.
Experience 2: The flexible protector that fit but peeled at the corners
Another common experience involves a universal PET sheet. The user measures the display accurately and cuts a perfect rectangle. Installation goes smoothly, yet the corners begin collecting lint and lifting after several days.
The problem is often not the material or adhesive. It is the geometry. Sharp 90-degree corners catch on pockets, cleaning cloths, and case edges. The protector may also have been cut so precisely that it touches the raised bezel, leaving no tolerance for minor movement.
Recutting the film with rounded corners and a narrow clearance border usually produces a longer-lasting result. A gap smaller than a millimeter is barely visible, but it can prevent the case from continually pushing against the protector. This experience demonstrates why a paper prototype should test not only the basic dimensions but also the corner shape and case fit.
Experience 3: The perfect protector installed in a dusty room
Sometimes the cutting is excellent and the installation is the disaster. The protector matches the screen, the camera opening is correctly positioned, and every corner looks professional. Then several small bubbles appear and refuse to move.
Air bubbles can often be pressed toward an edge. Bubbles caused by dust cannot. Each particle acts like a tiny tent pole beneath the film. Pressing harder may spread the surrounding bubble, but it will not flatten the particle.
A cleaner second attempt usually involves turning off fans, wiping the work surface, washing and drying hands, cleaning the display with microfiber, and using tape to remove the final specks. The protective liner remains attached until the moment of installation. The result is less exciting than a heroic last-second rescue, but considerably more successful.
Experience 4: The case that ruined an apparently perfect installation
A protector may lie perfectly flat until the device case is reinstalled. A rigid case lip can overlap the film by a fraction of a millimeter and lift one side. The user presses the protector down, it rises again, and the next ten minutes become a pointless contest of determination.
The solution is usually to remove the protector and reduce the template slightly, or choose a case-friendly model. For future projects, fit testing should include the case from the beginning. The naked device is only half of the measurement problem when the phone spends nearly all its life wearing protective armor.
Experience 5: The rare device that justified a custom order
Owners of discontinued cameras, specialist controllers, and imported dashboard displays often discover that no ready-made protector exists. A universal film works, but hand-cut speaker and sensor openings can be difficult to repeat accurately.
In these cases, recording exact dimensions and ordering a custom-cut film can be worth the additional cost. For multiple identical devices, one carefully verified template can be reused. The first unit becomes the test piece, while the remaining units receive protectors that fit consistently.
The broader lesson from these experiences is simple: successful screen protection depends more on material selection, measurement, edge clearance, and cleanliness than on aggressive cutting. Most failures begin when a user treats tempered glass like ordinary craft material. Most successes begin with choosing something that was designed to be cutor ordering the correct shape in the first place.
Conclusion
Genuine tempered glass cannot be safely resized with common household tools after it has been strengthened. Trying to score, grind, drill, or clip it usually destroys the protector and may scatter small fragments.
The three sensible solutions are to trim the protector only when it is actually flexible film, replace rigid glass with cut-to-fit PET, TPU, or hydrogel, or purchase a custom protector manufactured in the correct dimensions. Measure in millimeters, test with a paper template, round the corners, leave clearance for the case, and install the final protector in a clean environment.
That approach may feel less adventurous than attacking glass with a rotary tool, but your screen, fingers, eyes, and vacuum cleaner will all appreciate the restraint.











