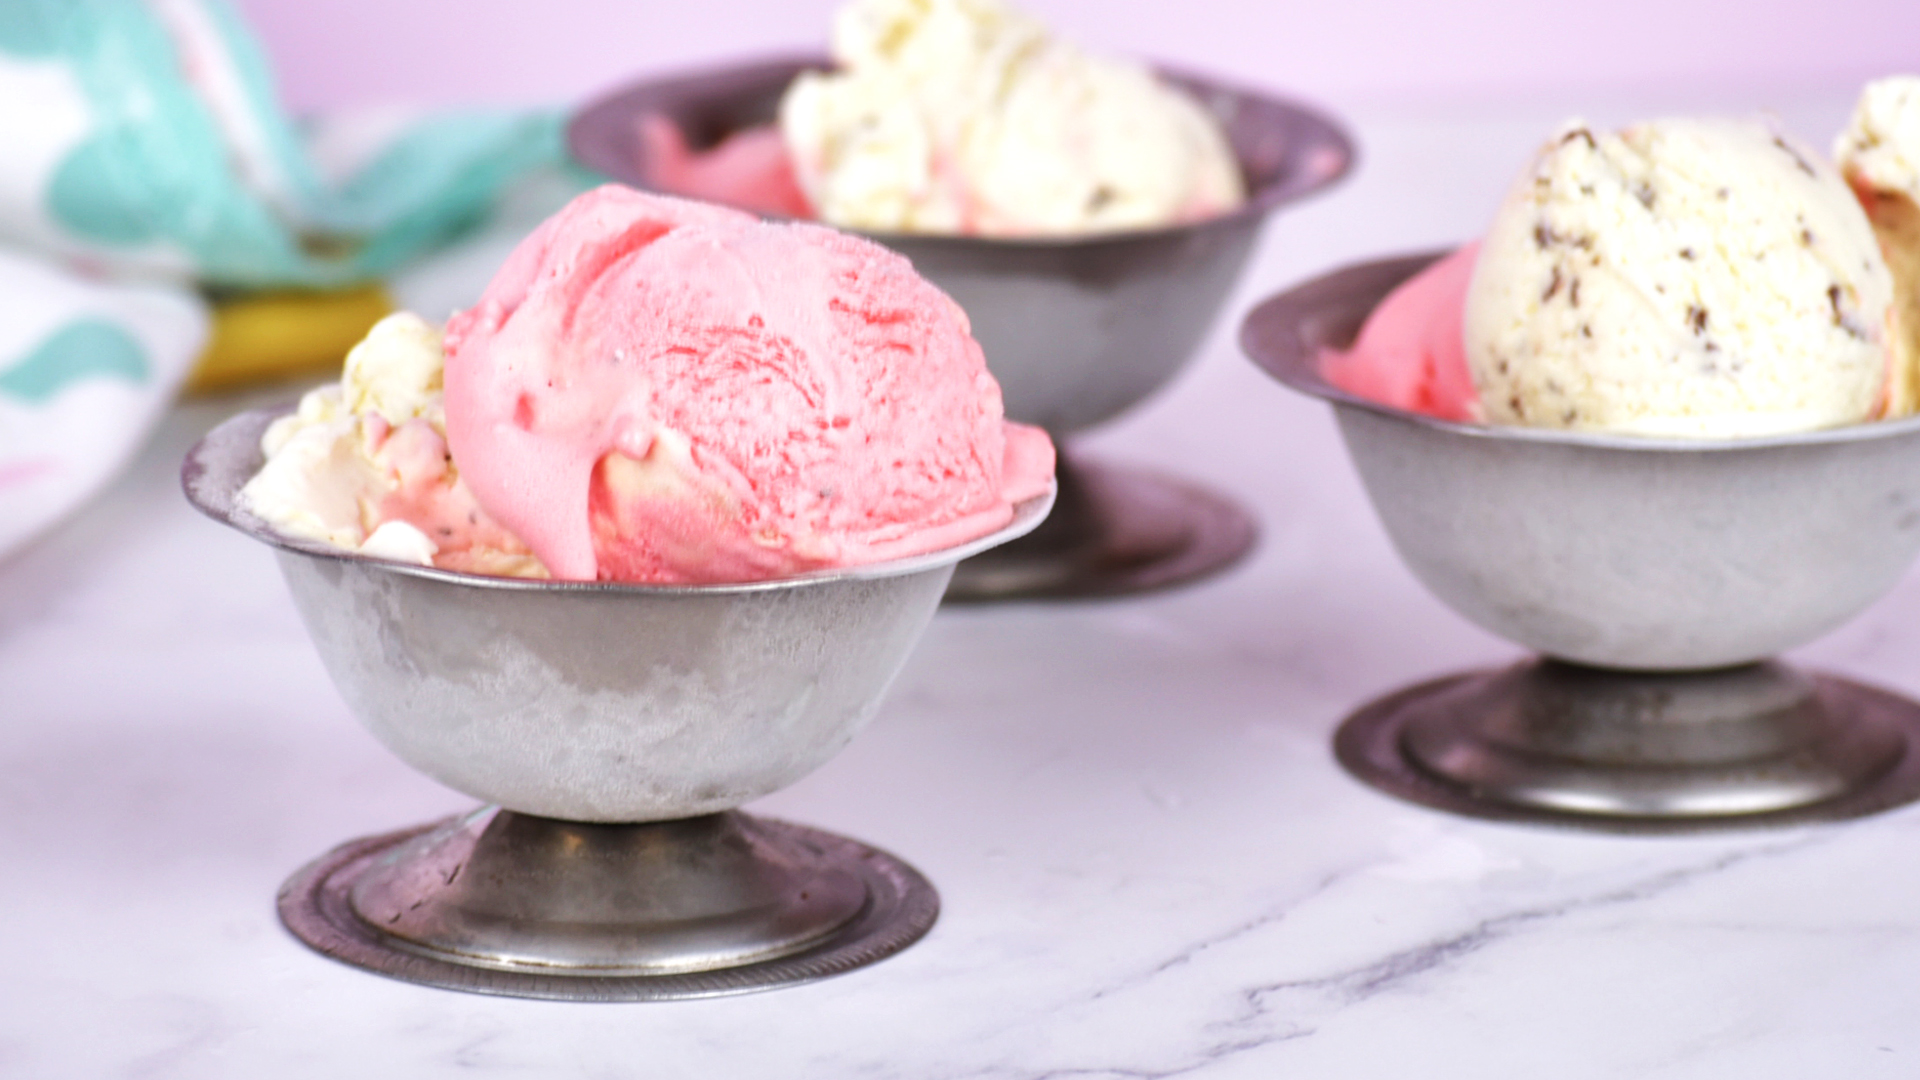
Homemade ice cream has a charming habit of making you feel like a culinary genius right up until the moment it turns into vanilla-flavored gravel. One day, it is smooth, creamy, and worthy of its own neighborhood scoolem is usually not the recipe’s flavor. It is ice crystal formation. Every ice cream mixture contains water, and that water freezes into crystals. The goal is not to eliminate those crystals entirelythat would require rewriting the laws of physicsbut to keep them extremely small. Tiny crystals feel creamy on the tongue. Large crystals feel coarse, crunchy, and disappointingly similar to an old snowbank.
Fortunately, you do not need commercial equipment or a degree in food science to make smoother homemade ice cream. Three practical habits make the biggest difference: build a balanced base, chill and churn it quickly, and store the finished ice cream correctly.
Why Does Homemade Ice Cream Become Icy?
Ice cream is a carefully balanced mixture of water, milk fat, sugar, proteins, air, and flavoring ingredients. During churning, part of the water freezes while the paddle scrapes, stirs, and breaks up the forming crystals. Fat, milk proteins, sugar, egg yolks, starches, and stabilizers interfere with crystal growth and help create a softer texture.
Problems begin when the mixture contains too much free water, freezes too slowly, or repeatedly softens and refreezes. Under those conditions, small crystals can grow into larger ones. This gradual growth is why a fresh batch may taste excellent on the first evening but noticeably icier after several days.
Common causes include:
- Using too much milk and too little cream, sugar, or milk solids
- Adding watery fruit without cooking or draining it
- Churning a base that is still warm
- Using an ice cream maker bowl that is not completely frozen
- Overfilling the machine and slowing the freezing process
- Storing ice cream in a deep or poorly sealed container
- Letting the container sit on the counter and then refreezing it
The good news is that these problems are highly preventable. Your freezer is not plotting against you. It simply needs better instructions.
1. Build a Balanced Ice Cream Base
The first defense against crystallization begins before the ice cream maker is switched on. A well-balanced base contains enough sugar, fat, protein, and dissolved solids to limit the amount of water that can freeze into large crystals.
Do Not Reduce the Sugar Carelessly
Sugar does more than make ice cream sweet. It lowers the freezing point of the mixture, helping some water remain liquid even at freezer temperatures. That keeps the finished dessert softer and reduces the formation of a solid block of ice.
Cutting the sugar in half may sound like a responsible decision, but ice cream does not interpret it as responsible. It interprets it as permission to become a brick.
When reducing sweetness, do not simply remove a large quantity of sugar from an established recipe. Use a recipe specifically developed to be less sweet, or replace part of the granulated sugar with a less-sweet functional sugar such as light corn syrup or glucose syrup. These liquid sugars add body and interfere with crystallization without making the mixture taste dramatically sweeter.
For a typical quart-sized batch, replacing a few tablespoons of granulated sugar with light corn syrup can improve smoothness. It should complement the recipe rather than become the recipe. Too much can mute delicate flavors and create an oddly sticky texture.
Use Enough Fat and Milk Solids
Fat contributes richness, but it also helps interrupt the icy structure of the frozen mixture. Heavy cream, half-and-half, egg yolks, cream cheese, and full-fat coconut milk can all make frozen desserts feel smoother.
That does not mean the highest-fat recipe automatically wins. Too much fat can coat the mouth and make flavors seem dull. The practical goal is balance. A mixture made almost entirely with low-fat milk will generally freeze harder and icier than one containing a sensible combination of whole milk and heavy cream.
Nonfat milk powder is another useful ingredient. It increases milk proteins and solids without adding much water. A few tablespoons can improve body, especially in egg-free Philadelphia-style ice cream.
Consider Egg Yolks, Starch, or a Tiny Amount of Gum
Egg yolks contain fat, proteins, and lecithin, a natural emulsifier that helps fat and water remain evenly distributed. A cooked custard base made with yolks often has a dense, luxurious texture and better resistance to iciness.
Eggs are not mandatory. Cornstarch can thicken the water phase of an egg-free base, making it harder for ice crystals to move and grow. Cream cheese is also used in some modern recipes because it contributes protein, fat, and stabilizing ingredients.
Xanthan gum or guar gum can be effective when used with restraint. For a quart of base, approximately one-eighth to one-quarter teaspoon of xanthan gum is often enough. Blend it thoroughly with the dry sugar before whisking it into the liquid. Adding it directly to wet ingredients can produce lumps with the enthusiasm of instant wallpaper paste.
More gum is not better. An excessive amount can turn creamy ice cream into something stretchy, slimy, or suspiciously close to frozen pudding glue.
Control Water in Fruit and Flavorings
Fresh fruit contains substantial water. Adding a large quantity of raw strawberries, peaches, melon, or pineapple directly to an ice cream base may create icy pockets.
Concentrate watery fruit before using it. Roast it, simmer it into a puree, macerate it with sugar and drain excess juice, or use a high-quality fruit preserve. Cooling the concentrated fruit completely before adding it is essential.
The same rule applies to coffee, tea, juice, and alcohol. Brew coffee strongly instead of adding a large volume of weak coffee. Reduce fruit juice before cooling it. Use alcohol sparingly. A tablespoon or two may make ice cream softer, but too much can prevent proper freezing and cause faster melting.
2. Chill Thoroughly and Freeze as Quickly as Possible
Once the recipe is balanced, speed becomes the priority. Fast freezing produces many small crystals. Slow freezing gives crystals more time to become large and noticeable.
Make the Base Truly Cold Before Churning
A lukewarm base forces the ice cream machine to spend valuable time cooling the mixture before meaningful freezing begins. During that delay, the freezer bowl warms and loses part of its chilling power.
After cooking the base, cool it quickly in an ice bath. Place the saucepan or mixing bowl inside a larger bowl filled with ice and cold water, then stir until the mixture is no longer warm. Cover and refrigerate it until thoroughly chilled, preferably for several hours or overnight.
A refrigerator-cold base churns faster, freezes more evenly, and places less strain on machines that use a pre-frozen bowl.
Freeze the Machine Bowl Completely
For an ice cream maker with a removable freezer bowl, follow the manufacturer’s freezing instructions. Many bowls need at least 16 to 24 hours in a properly cold freezer. Shaking the bowl should produce no sloshing sound. If liquid is still moving inside its walls, it is not ready for ice cream duty.
Store the bowl in the back or coldest section of the freezer rather than near the door. A freezer set at 0°F or below gives the bowl the best chance of becoming fully frozen.
Start the Machine Before Pouring
Turn on the machine before pouring in the base. This keeps the mixture from freezing instantly against the wall and creating a thick stationary layer that the paddle cannot scrape efficiently.
Pour in a steady stream and avoid exceeding the machine’s recommended capacity. Ice cream expands as air is incorporated. An overfilled machine churns inefficiently, freezes slowly, and may reward your ambition by overflowing onto the counter.
Churn Until It Resembles Thick Soft-Serve
Properly churned ice cream usually looks like firm soft-serve. It should hold ridges left by the paddle and pull away slightly from the sides of the bowl.
Under-churned ice cream contains too much unfrozen water and may harden with a coarse texture. Over-churning can warm the mixture after the machine has lost its freezing power. Stop when the texture is thick and the machine begins to labor.
Prepare Mix-Ins in Advance
Chocolate chips, cookie pieces, nuts, caramel, and fruit should be cold before they enter the machine. Warm caramel or room-temperature brownies can partially melt the surrounding ice cream.
Add mix-ins during the final minute or fold them in immediately after churning. Keep pieces small enough to remain pleasant when frozen. A full-sized frozen chocolate chunk is less a mix-in and more a dental appointment.
3. Harden and Store the Ice Cream Correctly
Churning creates small crystals, but storage determines whether they remain small. Even excellent homemade ice cream can become grainy when exposed to air or temperature fluctuations.
Use a Shallow, Airtight Container
Transfer the freshly churned ice cream immediately into a shallow container with a tight-fitting lid. A wide, low container allows the center to freeze faster than a tall, narrow tub.
Plastic and thin metal containers generally transfer cold faster than thick glass or ceramic. Several smaller containers can also work well because each portion freezes rapidly and the unopened containers remain protected while you serve another.
Press the ice cream firmly into the container to remove large air pockets. Smooth the surface with a spatula before sealing it.
Cover the Surface
Place parchment paper, waxed paper, or food-safe plastic wrap directly against the surface of the ice cream. This barrier reduces air exposure, moisture loss, and surface crystals.
Then secure the lid. The direct-contact layer is especially helpful after several servings have created empty space inside the container.
Store It in the Back of the Freezer
The freezer door is convenient, but convenience is the enemy of stable ice cream. Every time the door opens, items stored there experience a burst of warmer air. Repeated softening and refreezing encourages small crystals to merge into larger ones.
Place homemade ice cream toward the back of the freezer, where the temperature remains more consistent. Avoid setting it beside the freezer’s air vent if that location causes uneven hardening or extreme surface dehydration.
Do Not Let the Entire Container Soften
Instead of leaving the tub on the counter for 20 minutes, let it rest brieflyoften 5 to 10 minutes is enoughthen scoop promptly. A scoop dipped in warm water and wiped dry can handle firm ice cream without requiring the whole batch to melt around the edges.
Serve what you need and return the container to the freezer immediately. Repeated thaw-and-refreeze cycles are among the fastest ways to create coarse ice crystals.
Eat Homemade Ice Cream While It Is Fresh
Commercial products are formulated and packaged for lengthy distribution and storage. Homemade ice cream is usually at its best during the first one or two weeks.
It may remain safe for much longer when continuously frozen, but flavor and texture gradually decline. Fortunately, convincing people to finish homemade ice cream within two weeks is rarely the most difficult household management problem.
A Reliable Anti-Crystal Workflow
- Choose a tested recipe with adequate sugar, fat, and milk solids.
- Concentrate watery fruit, coffee, or juice before adding it.
- Cook the base if required, then cool it rapidly in an ice bath.
- Refrigerate the base until completely cold.
- Freeze the machine bowl thoroughly or pre-chill a compressor machine.
- Churn a modest batch until it reaches thick soft-serve consistency.
- Fold in cold mix-ins without allowing the ice cream to melt.
- Pack it into a shallow airtight container.
- Cover the surface and harden it in the back of the freezer.
- Scoop quickly and avoid repeated temperature changes.
Common Ice Cream Problems and Quick Fixes
The Ice Cream Is Icy Immediately After Hardening
The base may have contained too much water, too little sugar, or too few milk solids. It may also have entered the machine while warm. Review fruit additions and confirm that the freezer bowl was completely frozen.
The Ice Cream Was Smooth at First but Became Icy Later
This usually points to storage conditions. Use a smaller airtight container, cover the surface, move the ice cream away from the freezer door, and reduce the time it spends at room temperature.
The Ice Cream Freezes Rock-Hard
The formula may contain too little sugar or air. Try a properly tested recipe, replace a small portion of the sugar with glucose or light corn syrup, or allow the container to rest briefly before scooping.
The Ice Cream Is Soft but Still Grainy
Softness and creaminess are not the same. Alcohol can make ice cream softer without preventing large crystals. Improve the base balance and freezing speed rather than simply adding more liquor.
Fruit Pieces Turn Into Frozen Pebbles
Cut fruit into small pieces and cook or macerate it with sugar. Drain excess liquid and chill it before folding it into the ice cream. Jam, preserves, or a concentrated ripple often remain softer than plain raw fruit.
What Home Cooks Commonly Learn After a Few Batches
The first homemade batch often begins with optimism, a beautiful vanilla bean, and a casual belief that measurements are merely suggestions. The base tastes delicious, so it seems reasonable to pour it into the machine while it is still slightly warm. Twenty minutes later, the paddle is rotating through something that resembles a milkshake. It eventually freezes, but the texture is crunchy by morning.
That experience teaches the first important lesson: cold ingredients are not a fussy professional preference. They are the difference between rapid freezing and a slow journey through the crystal-building zone. Cooling the base in an ice bath and refrigerating it overnight may feel inconvenient, but the churning stage becomes dramatically easier. The mixture thickens sooner, the machine stays colder, and the finished ice cream looks like soft-serve instead of sweet soup.
A second common experiment involves “healthier” ice cream. The cream is replaced with low-fat milk, the sugar is reduced aggressively, and a generous amount of fresh fruit is added for virtue. The result may contain fewer calories, but it also develops the structural personality of a parking block.
The useful takeaway is not that lighter frozen desserts are impossible. It is that their recipes must be designed differently. Greek yogurt, concentrated fruit puree, nonfat milk powder, cornstarch, or a carefully measured stabilizer can provide body. Simply removing sugar and fat without replacing their functional roles rarely ends happily.
Storage produces another memorable lesson. Freshly churned ice cream can be flawless when eaten directly from the machine. After being placed in a tall glass bowl with a loose lid, however, it may emerge several days later with a frosty surface and hard edges. Switching to a shallow airtight container and covering the surface makes an obvious difference. The center hardens faster, fewer air pockets remain, and the top stays noticeably smoother.
Fruit flavors provide their own education. Raw strawberries folded into vanilla ice cream may freeze into pale, icy chunks. Cooking the berries briefly with sugar creates a concentrated sauce with less free water and a stronger flavor. Once chilled and swirled through the churned base, the fruit remains softer and tastes more intensely like strawberries. The extra saucepan suddenly feels worthwhile.
Another frequent discovery concerns alcohol. A splash of bourbon in vanilla ice cream can improve flavor and scoopability. A heroic pour can produce a slushy dessert that refuses to harden. Alcohol is best treated as a potent flavoring and freezing-point modifier, not a universal cure for iciness.
Perhaps the most practical lesson is that homemade ice cream rewards small batches. A modest quantity freezes quickly, fits comfortably in the machine, and is likely to be eaten while its texture is at its best. Producing a giant container may seem efficient, but the last few servings endure more air exposure, more freezer time, and more opportunities to soften.
After several batches, the process becomes pleasantly routine: prepare a balanced base, chill it thoroughly, churn it quickly, pack it carefully, and place it deep in the freezer. None of these steps is dramatic. Together, however, they transform homemade ice cream from an unpredictable frozen experiment into a consistently smooth dessert.
Conclusion
Preventing homemade ice cream from crystallizing comes down to controlling water and temperature. Start with a balanced recipe containing enough sugar, fat, protein, or stabilizing solids. Chill the base and equipment thoroughly so the mixture freezes quickly during churning. Finally, harden the ice cream in a shallow airtight container and protect it from air, warmth, and repeated thawing.
You do not need an industrial freezer or a mysterious laboratory ingredient list. A cold base, a sensible formula, and disciplined storage can produce remarkably creamy homemade ice cream. The laws of physics will still be present, but at least they will be eating dessert quietly in the corner.