Painting cornhole boards sounds simple until you are standing in the garage with painter’s tape stuck to your elbow, primer on your shoe, and one board looking “custom” in the same way a raccoon in a tuxedo looks formal. The good news? You do not need to be a professional artist to create cornhole boards that look sharp, play smoothly, and survive backyard battles, tailgate chaos, and that one uncle who insists he “almost went pro.”
This guide covers three practical ways to paint cornhole boards: a clean solid-color finish, a taped geometric design, and a stencil or decal-based custom look. Each method can work for regulation-size boards, casual backyard boards, or a weekend DIY cornhole project. The real secret is not just the paint color. It is the prep, the finish, and the patience between coats. Yes, patience. The most expensive supply in the shop.
Before You Paint: Prepare the Boards Like a Pro
Before choosing colors or designs, make sure the board surface is smooth, clean, and ready to accept paint. Standard cornhole boards are typically 2 feet wide by 4 feet long, with a 6-inch hole centered near the top. A smooth plywood surface is important because cornhole is not just decoration; the bags need to slide consistently. A rough board turns a friendly game into a physics experiment with snacks.
Basic Supplies You Will Need
- Sandpaper in medium and fine grits, such as 120, 220, and 320 grit
- Wood filler for screw holes, dents, or plywood gaps
- Tack cloth or microfiber cloth
- Primer suitable for wood
- Exterior paint, acrylic enamel, or quality latex paint
- Painter’s tape
- Foam rollers and small detail brushes
- Stencil, vinyl decal, or template if using custom artwork
- Water-based polyurethane, polycrylic, or clear protective sealer
Start by sanding the entire playing surface, edges, frame, and legs. Fill visible holes or seams with wood filler, let it dry, then sand again. Wipe away dust carefully. Dust is the enemy of a smooth finish. It sneaks into wet paint like it paid rent.
Apply primer before painting, especially if the plywood is raw or uneven in color. Primer helps paint bond better, reduces blotchiness, and gives your final color a cleaner appearance. Let the primer dry fully, then lightly sand it with fine-grit sandpaper before applying paint. This small step makes a surprisingly big difference.
Way 1: Paint Cornhole Boards with a Clean Solid-Color Finish
The simplest way to paint cornhole boards is to use one bold base color. This method is perfect for beginners, rental properties, school events, family reunions, tailgates, and anyone who wants attractive boards without needing a degree in advanced tape geometry.
Why This Method Works
A solid-color design is clean, timeless, and easy to repair. If the board gets scratched, you can lightly sand the damaged area and touch it up. Solid colors also make the cornhole bags easier to see during play, especially if you choose a contrasting bag color. Navy boards with white bags, red boards with gray bags, or forest green boards with tan bags all look classic without shouting, “I spent three days arguing with a stencil.”
How to Paint a Solid-Color Cornhole Board
After sanding and priming, use a foam roller to apply the first thin coat of paint. Thin coats are better than one heavy coat because they dry smoother and reduce roller marks. Paint in long, even strokes from top to bottom. Use a small brush around the hole and edges, then roll over the larger flat surface.
Let the first coat dry according to the paint label. Then lightly sand with fine-grit sandpaper to remove tiny raised fibers or bumps. Wipe the board clean and apply a second coat. Most boards need two coats, but lighter colors over dark wood may need three. White paint, for example, loves drama and often demands extra attention.
Once the color is even, allow the paint to cure before sealing. Dry paint is not always cured paint. If you seal too early, the finish can become soft or cloudy. When the paint is ready, apply several thin coats of clear finish. A semi-gloss or gloss finish is common because it helps bags slide, but avoid making the board so slick that bags fly off like they are late for a flight.
Best Color Ideas for Solid Boards
For a classic backyard look, try black, navy, charcoal, cream, or deep green. For party boards, go brighter with red, yellow, aqua, or orange. For wedding or gift boards, soft white, sage, dusty blue, and warm gray look polished. The best color is one that fits the setting and still gives enough contrast for scoring and gameplay.
Way 2: Use Painter’s Tape for Stripes, Chevrons, and Geometric Designs
If solid-color boards are the reliable jeans of cornhole painting, taped geometric designs are the “nice shirt” version. They look custom, but they are still beginner-friendly if you measure carefully and resist the urge to rush.
Why Tape Designs Are Popular
Painter’s tape lets you create crisp stripes, borders, triangles, diamonds, chevrons, and color blocks without freehand painting. This is one of the best methods for team colors, patriotic designs, college-inspired boards, or modern backyard decor. You get visual impact without needing to paint a bald eagle from memory, which is a public service to everyone involved.
Step-by-Step Tape Painting Method
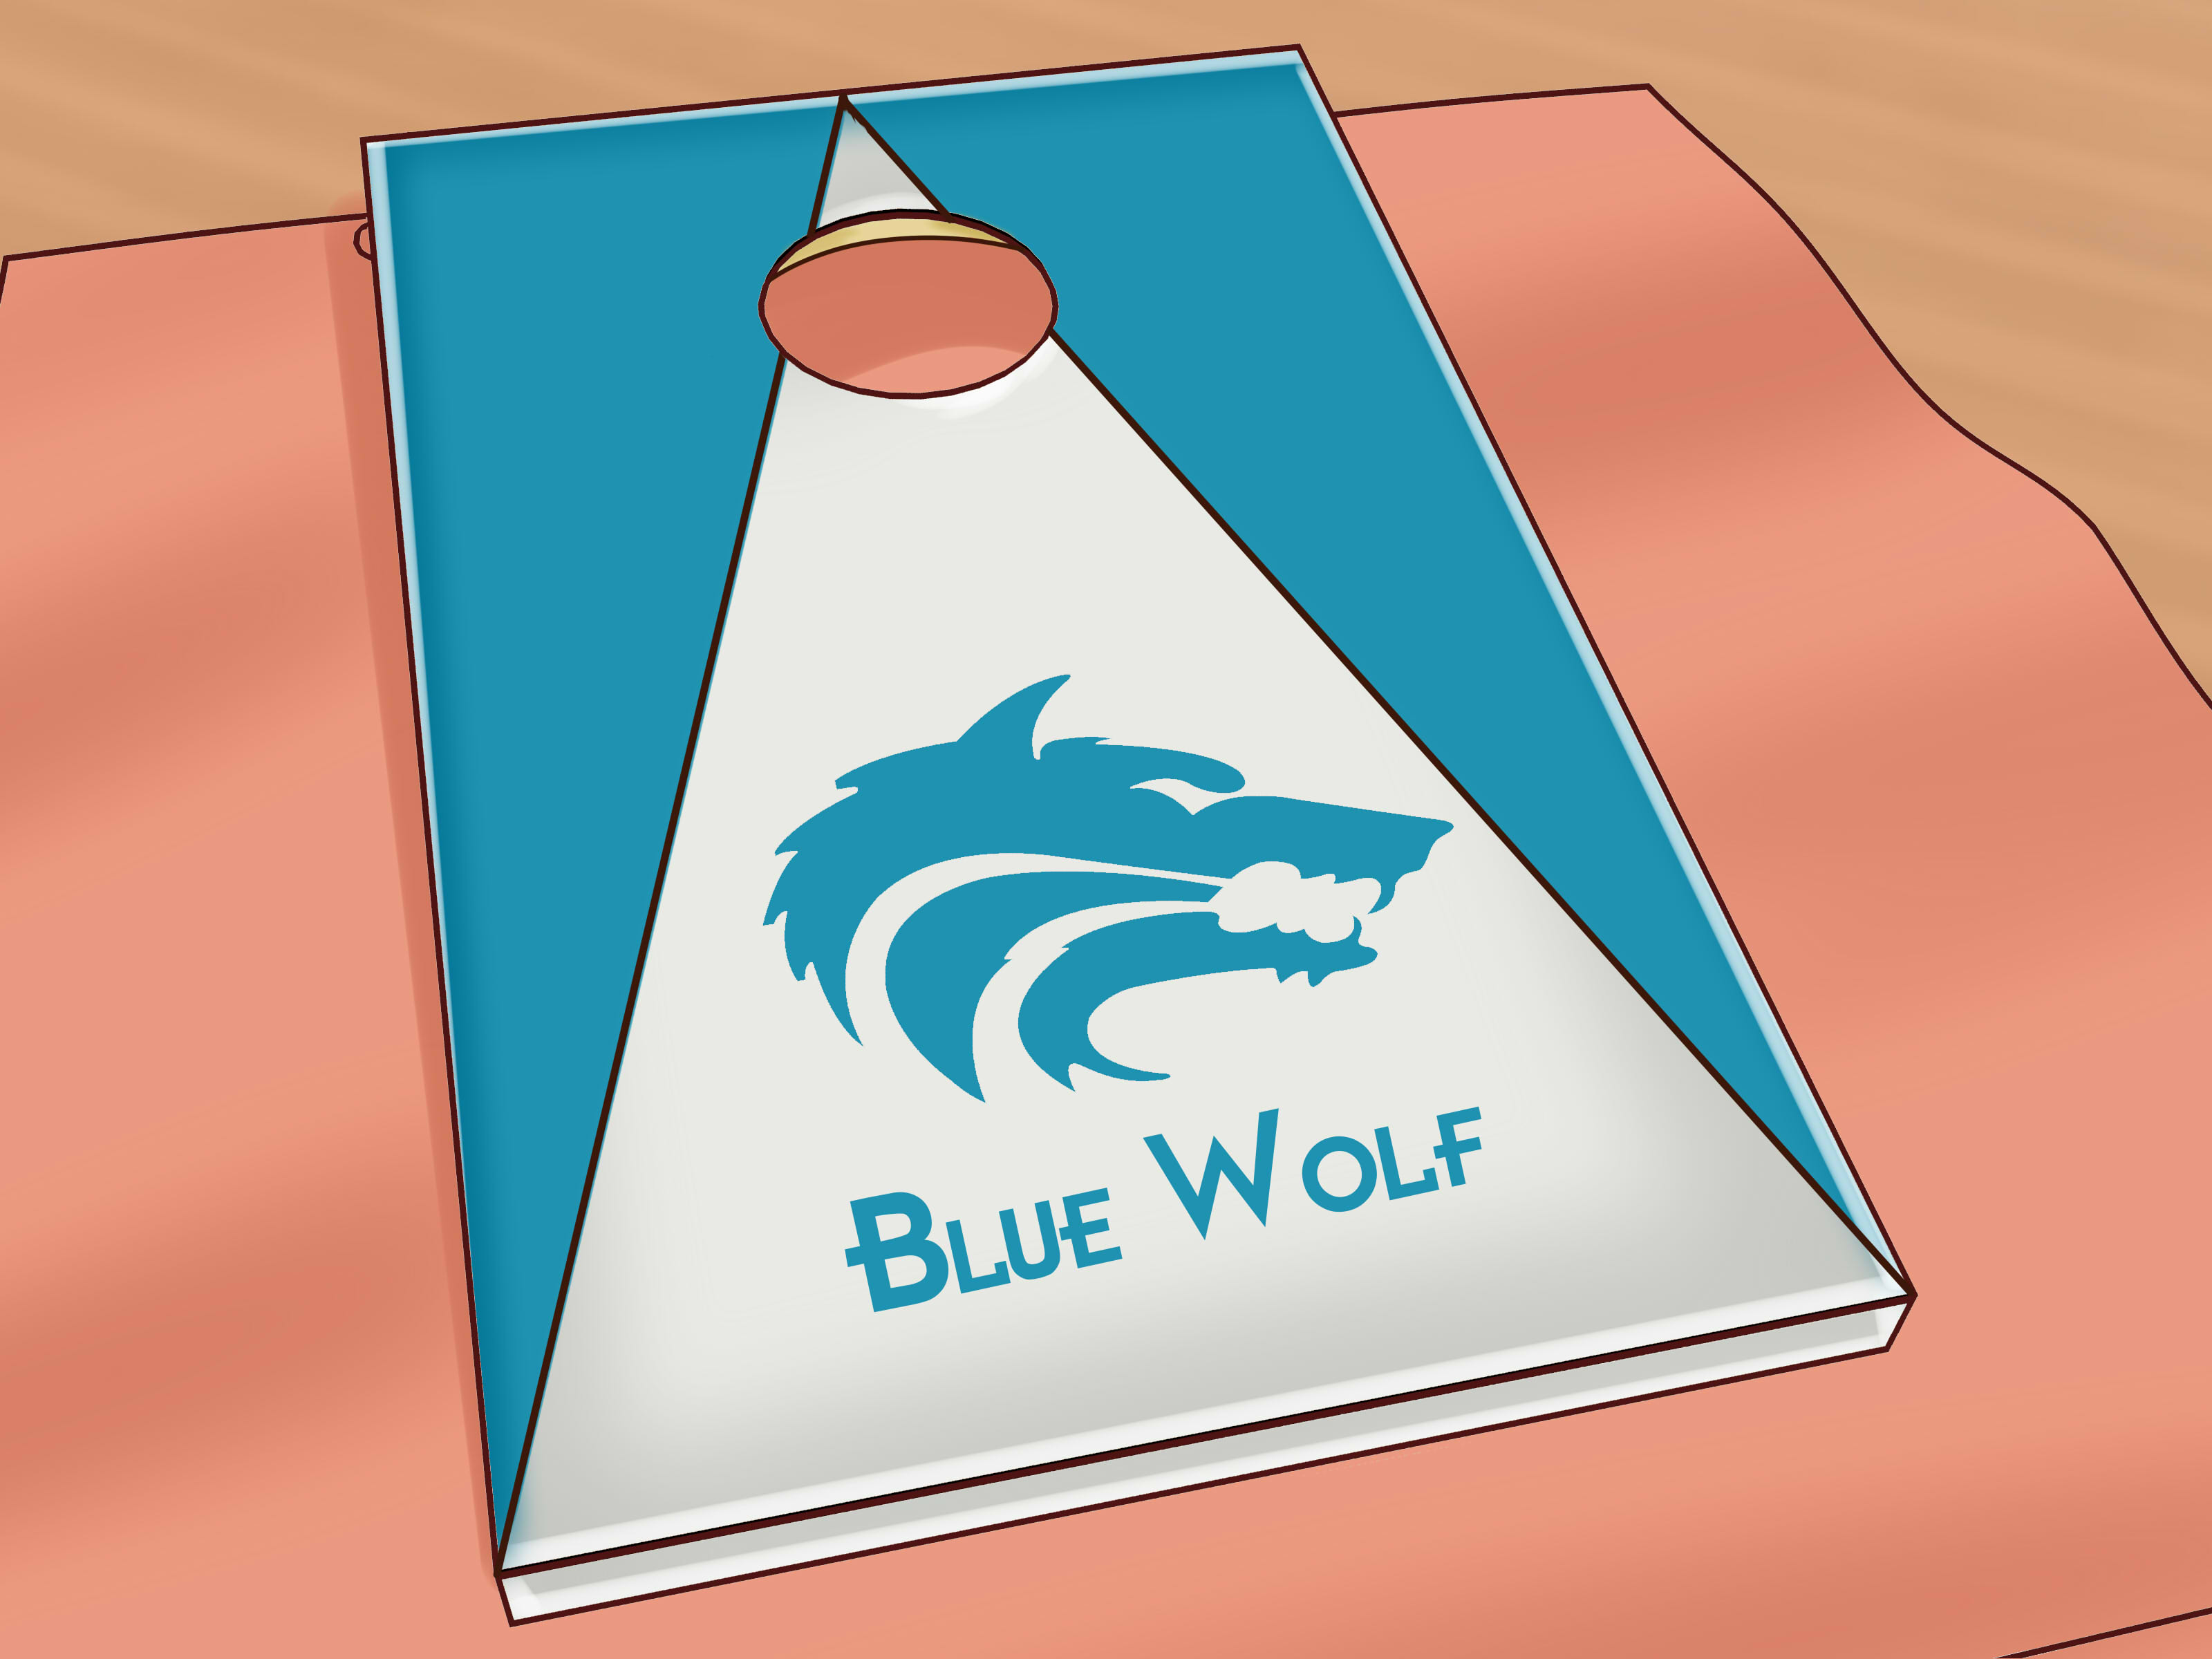
First, paint the entire board with your lightest base color. Let it dry completely. Then plan the layout with a pencil and measuring tape. For stripes, mark equal distances along both sides of the board. For chevrons, find the centerline and create matching angled points. For diagonal color blocks, run tape from corner to corner or from the hole to the lower edge.
Press painter’s tape firmly along the edges. A plastic card or putty knife can help seal the tape line. To prevent bleeding, brush a thin layer of the base color over the tape edge before adding the second color. This trick seals tiny gaps, so if anything bleeds, it is the color already underneath. It feels like cheating, but it is legal in the great backyard constitution.
Apply the second color in thin coats. Remove the tape while the paint is slightly tacky, not fully hardened. Pull the tape slowly at an angle for cleaner lines. Once everything dries, lightly inspect the edges. Small touch-ups can be done with an artist brush.
Design Examples That Look Great
A simple border around the board creates a clean frame and keeps the design from looking unfinished. Wide diagonal stripes add energy and work well for sports colors. A two-tone split design looks modern and is easy to customize. Chevron patterns are bolder, but they require more measuring. For beginners, start with three large diagonal stripes instead of twelve tiny ones. Tiny stripes are where confidence goes to learn humility.
Way 3: Paint Cornhole Boards with Stencils, Logos, or Vinyl Decals
The third method is for boards with personality: family names, team logos, lake house signs, wedding initials, company branding, mascot shapes, or themed graphics. This approach can be done with paint stencils, vinyl decals, or a combination of both.
Stencil vs. Vinyl Decal: Which Is Better?
A stencil is best when you want the design painted directly onto the board. Painted graphics can look more integrated and may last longer when sealed properly. Vinyl decals are easier for detailed logos, lettering, and complex artwork. A decal is also great if you do not trust your hand lettering, which is wise if your “S” tends to look like a confused snake.
If you use a stencil, choose adhesive stencil film or secure the stencil carefully with painter’s tape. Apply paint with a foam pouncer, stencil brush, or light spray technique. Use very little paint at a time. Too much paint causes bleeding under the stencil. Stenciling rewards restraint, which is unfortunate because dabbing paint is weirdly satisfying.
If you use vinyl decals, paint and seal the board base first with a light clear coat. Then apply the decal to a clean, dry surface. Smooth it from the center outward to avoid bubbles. After the decal adheres, seal the entire board with multiple thin coats of clear finish. Do not flood the decal with a heavy wet coat. Start with light coats to lock it down, then build protection gradually.
How to Center a Design Around the Hole
The hole is the visual boss of the board. Design around it, not against it. For large graphics, keep the most important details below the hole or around it. Avoid placing faces, words, or tiny details where the hole cuts through them. A logo with a missing nose is memorable, but not always in the way you hoped.
Use the board centerline as your guide. Measure 12 inches from each side to mark the center. Use a light pencil line that can be erased or covered. Place the stencil or decal, step back, and look at it from several feet away. Cornhole boards are viewed from a distance, so the design should read clearly from across the yard.
Choosing the Right Finish for Painted Cornhole Boards
The clear coat is what turns painted wood into a playable cornhole surface. Without it, paint may scuff quickly, absorb moisture, or feel inconsistent under the bags. With it, the board becomes smoother, more durable, and easier to clean.
Water-based polyurethane and polycrylic are popular because they dry clear and are easier to clean up. Oil-based polyurethane can be durable, but it may add an amber tone, especially over white or light colors. For bright designs, a water-based clear coat usually keeps colors cleaner. For boards that live outdoors often, look for a protective finish that is suitable for exterior exposure or has UV resistance.
How Many Clear Coats Do You Need?
For casual boards, three coats may be enough. For smoother slide and better durability, many builders apply more coats, sanding lightly between coats after the finish has dried. Use fine-grit sandpaper, wipe away dust, and keep each coat thin. The final surface should feel smooth, not sticky or rubbery.
Let the boards cure before playing. This is the step people hate most because the boards look done. But using them too early can dent the finish or leave bag marks. Give the coating time to harden. Your future self, holding a cold drink and winning 21 to 18, will appreciate it.
Common Mistakes to Avoid When Painting Cornhole Boards
Skipping Sanding
Paint does not hide a rough surface; it highlights it. Sand before primer, between primer and paint, and between clear coats when recommended. Smooth boards play better and look more professional.
Applying Paint Too Thick
Thick paint can drip, wrinkle, or stay soft underneath. Use thin coats and let each layer dry. Cornhole boards are not pancakes. More batter is not the answer.
Using the Wrong Finish
Flat paint may look nice at first, but it can create too much friction for bags. A protected semi-gloss or gloss surface usually plays better. Test the slide with your bags after the finish cures.
Forgetting the Edges and Legs
The top surface gets the glory, but the edges and legs take abuse during storage and transport. Paint and seal them too. A finished board should look complete from every angle.
Extra Experience: What I’ve Learned from Painting Cornhole Boards
The first thing experience teaches you about painting cornhole boards is that prep work is not optional. It is the whole game wearing boring clothes. A board that is sanded, cleaned, primed, painted, and sealed carefully will almost always look better than a board with expensive paint slapped onto dusty plywood. I have seen simple one-color boards look store-bought because the finish was smooth, and I have seen complicated designs look messy because the surface underneath was rough.
Another lesson: choose your design based on your patience level, not your Pinterest confidence level. A clean navy board with a white border can look fantastic. A complex mountain sunset with seven color layers can also look fantastic, but only if you are willing to wait between coats, tape carefully, and fix tiny mistakes. If you are making boards the night before a barbecue, do not choose the seven-layer mountain sunset. Choose sanity. Sanity pairs well with burgers.
Painter’s tape is helpful, but it is not magic. Pressing the tape down firmly matters. Sealing the tape edge with the base color matters even more. When people complain that their lines bled, it is usually because the tape was placed on a dusty surface, not pressed down, or painted over with a heavy coat. A thin coat near the tape line is your friend. A loaded brush is how stripes become abstract art.
Clear coating is where many beginners get nervous, but it is also where the board becomes playable. The best approach is to apply several thin coats instead of trying to create one glassy layer immediately. Keep the board level so the finish can settle evenly. Watch for drips along the sides and around the hole. The hole edge is sneaky; it collects finish and creates little hardened ridges if ignored. A quick pass with the brush around the inside edge can save you from sanding a lumpy surprise later.
One practical tip is to test your bags after the finish has cured. Different bags slide differently. A board that feels perfect with one set may feel fast or slow with another. If the surface is too slick, a very light sanding with fine-grit paper can reduce speed. If it is too slow, another clear coat may help. Do not overcorrect. Cornhole boards can go from “nice slide” to “ice rink for beanbags” faster than expected.
Storage also matters. Even a well-painted board lasts longer when stored in a dry place. Avoid leaving boards in direct rain or sitting on wet grass overnight. Outdoor finishes help, but they are not superhero capes. Wipe boards clean after use, let them dry before storing, and carry them instead of dragging them. Dragging a freshly finished board across concrete is a tiny tragedy with handles.
Finally, do not chase perfection so hard that the project stops being fun. Cornhole boards are meant for laughing, competing, missing easy shots, and pretending the wind was responsible. A small brush mark or tiny tape flaw will not ruin the game. The goal is a smooth, durable, good-looking board that makes people want to play. If your boards do that, congratulations: you painted them right.
Conclusion
There are many ways to paint cornhole boards, but the best method depends on your style, skill level, and patience. A solid-color finish is clean and beginner-friendly. A taped geometric design adds personality without requiring advanced art skills. A stencil or vinyl decal creates a custom look for teams, families, weddings, and events. No matter which method you choose, the winning formula stays the same: sand well, prime properly, paint in thin coats, seal the surface, and let everything cure before the first toss.
Great cornhole boards do two jobs at once. They look good leaning against the patio wall, and they play smoothly when the bags start flying. Get those two things right, and your boards will be ready for backyard parties, tailgates, summer cookouts, and friendly rivalries that are only “friendly” until someone reaches 20 points.