
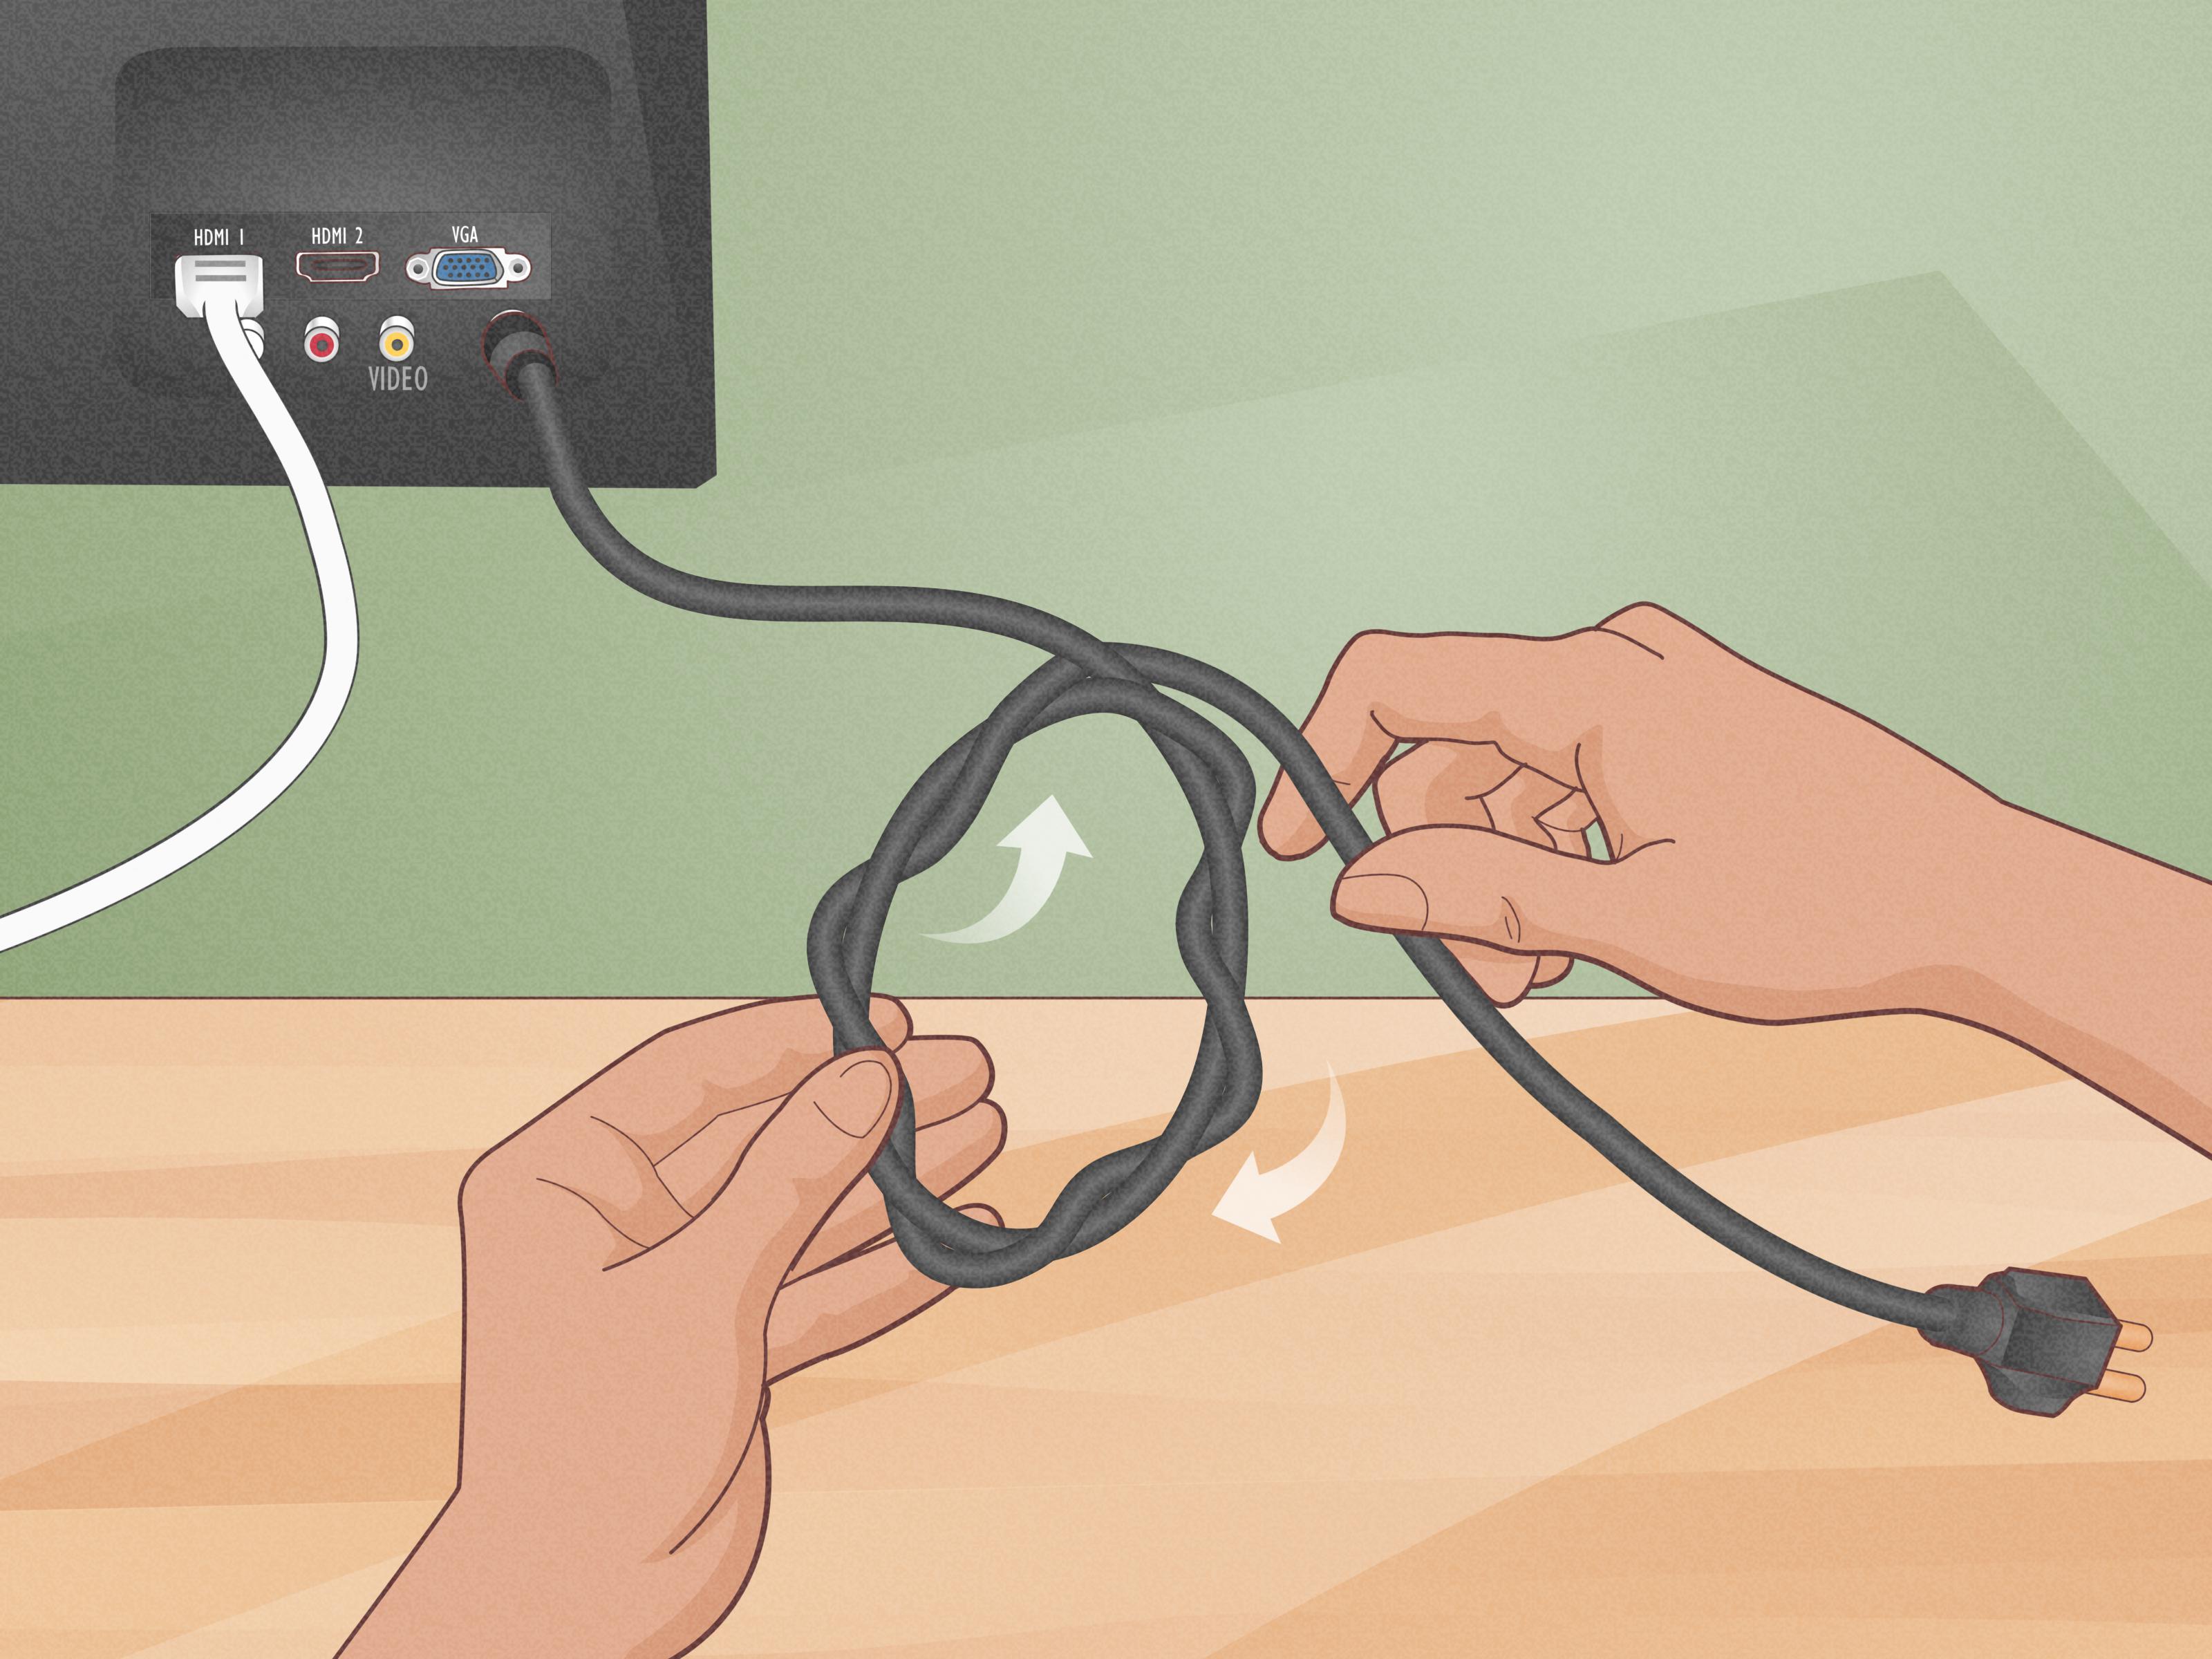
Cables are the quiet heroes of modern life. They charge our phones, power our tools, connect our microphones, keep our monitors glowing, and somehow manage to turn into spaghetti the moment we stop looking. If you have ever opened a drawer and found a USB cable, an extension cord, and a pair of earbuds apparently trying to form a small electrical octopus, you already know why learning how to wrap cables matters.
The good news? Cable wrapping is not complicated once you understand the right method for the right situation. Whether you are storing audio cables after a gig, putting away a long outdoor extension cord, organizing a garage wall, or trying to keep your desk from looking like a robot sneezed, the three methods below will help you keep cords neat, safe, and ready to use.
This guide covers three practical ways to wrap cables: the over-under wrap, the shoulder wrap, and the braid wrap. Each method has a different personality. The over-under wrap is the professional roadie who drinks black coffee and never panics. The shoulder wrap is fast, sturdy, and perfect for thick extension cords. The braid wrap is the neat freak of the group, keeping cords compact without needing a separate tie. Let’s untangle the mystery.
Why Learning to Wrap Cables Properly Matters
Wrapping cables is not just about making your storage bin look respectable. A good cable wrap helps prevent knots, protects the internal conductors, reduces stress on connectors, and makes the cable easier to deploy the next time you need it. Bad wrapping, on the other hand, can twist a cable into a corkscrew, create kinks, weaken insulation, or make the cable fight you like it has personal issues.
Most cables have some form of internal structure. Audio cables may include shields and conductors. Extension cords have insulated wires inside a jacket. Network and video cables may be sensitive to tight bends. When a cable is repeatedly bent too sharply, twisted, pinched, or yanked, its performance and lifespan can suffer. That is why the best cable wrapping methods avoid aggressive bends and unnecessary twisting.
There is also a safety angle. Extension cords should not be overloaded, covered in a way that traps heat, run through walls or doorways as a permanent wiring substitute, or stored in a way that damages the jacket. Before wrapping any power cord, unplug it, check for cuts, melted spots, exposed wire, loose plugs, or crushed areas, and replace damaged cords instead of trying to “fix” them with hope and a suspicious amount of tape.
Before You Start: Basic Cable Wrapping Rules
Before choosing a wrapping method, follow a few simple rules that apply to nearly every cable. First, never force a cable into a coil smaller than it naturally wants to be. If the loop feels tight, make it larger. A relaxed cable is a happy cable, and a happy cable is less likely to kink, crack, or throw a tantrum at the worst possible moment.
Second, protect the ends. Connectors are often the most vulnerable part of a cable. Avoid letting plugs drag across concrete, slam into toolboxes, or dangle under heavy coils. When possible, finish your wrap so both ends are easy to find. Future-you will appreciate not having to excavate a cable end from the middle of a coil like an archaeologist with a deadline.
Third, choose the right securing tool. Hook-and-loop straps are excellent because they are reusable and gentle. Cable reels are useful for long extension cords and garage storage. Avoid cinching zip ties tightly around cables unless the cable is meant to be permanently installed and supported that way. For everyday storage, a reusable strap is usually kinder and more convenient.
Method 1: The Over-Under Wrap
Best For: Audio Cables, Video Cables, XLR Cables, Guitar Cables, Ethernet Cables, and Medium-Length Extension Cords
The over-under wrap is one of the most respected cable wrapping methods because it helps cables lie flat when uncoiled. It is widely used by stage crews, audio engineers, camera operators, and anyone who has learned the hard way that a twisted cable can ruin an otherwise beautiful day.
The idea is simple: one loop goes in the natural direction, and the next loop reverses the twist. This alternating pattern balances the cable’s tension instead of forcing the entire cable to twist in one direction. When done correctly, the cable can be tossed or pulled out smoothly without forming a nest of loops and knots.
How to Do the Over-Under Wrap
- Hold one end of the cable in your non-dominant hand.
- Use your other hand to make a normal loop, placing it into your holding hand. This is the “over” loop.
- For the next loop, slide your hand down the cable, turn your wrist slightly inward, and let the cable form a reverse loop. This is the “under” loop.
- Continue alternating: over, under, over, under.
- Keep the loops the same size and avoid pulling the cable tight.
- Secure the finished coil with a hook-and-loop strap or a built-in cable tie.
At first, the over-under method feels like teaching your wrist to speak a second language. You may produce a few strange loops. You may question your life choices. Keep going. After a little practice, the movement becomes natural, and you will wonder why anyone ever wrapped cables any other way.
Why the Over-Under Wrap Works
Every time you make a regular loop in the same direction, you add twist to the cable. Do that twenty times, and the cable stores that twist. When you unroll it, the cable may curl, spiral, or flip itself into knots. The over-under wrap reduces that problem by alternating the direction of the loops, keeping the cable more neutral.
This is especially useful for microphone cables, instrument cables, camera cables, and other signal cables that need to behave on stage, in a studio, or at a workstation. A cable that uncoils cleanly saves time and lowers frustration. It also looks professional, which is a nice bonus if clients, bandmates, coworkers, or judgmental cats are watching.
Common Mistakes to Avoid
The biggest mistake is making the loops too small. Small loops create tighter bends, which may stress the cable. Another mistake is twisting the cable by force instead of letting it guide you. The cable usually tells you which way it wants to go. Your job is not to dominate it; your job is to negotiate peace.
Also, do not wrap cable around your elbow and hand if you care about the cable’s long-term health. That method is fast, but it often adds twist and can create stubborn cable memory. It is fine for rope in a cartoon pirate scene; it is less ideal for your best XLR cable.
Method 2: The Shoulder Wrap
Best For: Long Extension Cords, Outdoor Power Cords, Garden Cords, and Heavy-Duty Garage Cables
The shoulder wrap is a practical method for long, heavier cords. It is common for extension cords because it allows you to handle a lot of length without dragging the entire cable across the ground. If you work in a garage, yard, workshop, or jobsite, this method can make cord storage faster and cleaner.
Unlike the over-under wrap, the shoulder wrap is less about precision and more about speed and control. It works well when the cable is thick enough to resist delicate coiling and long enough to make small hand coils annoying. Think of it as the pickup truck of cable wrapping methods: not fancy, but highly useful.
How to Do the Shoulder Wrap
- Unplug the cord and inspect it for damage.
- Hold one end of the cord in one hand.
- Bring the cord up and over your shoulder, then down to your hand, forming a large loop.
- Repeat the motion, keeping the loops large and even.
- When only a short length remains, wrap the final section around the middle of the coil a few times.
- Tuck the end through the wrap or secure it with a strap.
The key is loop size. Large loops are easier on thick cords and easier to hang on a wall hook. If the loops are too small, the cord can develop bends or become bulky. If the loops are too loose, the coil may flop around like a sleepy garden hose. Aim for relaxed, even loops.
When to Use the Shoulder Wrap
Use the shoulder wrap when you need to store a long extension cord after mowing, trimming, holiday decorating, pressure washing, or working with power tools. It is also handy when you need to move a cord from one area to another without dragging it through dirt, leaves, sawdust, or whatever mysterious substance lives on garage floors.
This method is especially helpful for cords that will be hung on a hook or stored on a shelf. The large loops make the cord easy to grab and carry. If you label your cords by length or purpose, even better. A small tag that says “Outdoor 50 ft.” or “Holiday Lights” can prevent the annual December tradition of muttering at tangled cords in the cold.
Safety Tips for Extension Cords
Do not wrap a power cord tightly around an appliance, adapter, or sharp object. Tight wrapping can stress the insulation near the plug or strain relief. Also, avoid storing cords where they will be pinched by doors, crushed under heavy items, exposed to moisture, or chewed by pets who apparently believe electricity is a flavor.
When using extension cords, unwind only what you need but avoid leaving energized cords tightly bundled under heavy load. Heat needs room to escape. Never cover an active extension cord with rugs, mats, or furniture, and do not run it through walls, ceilings, floors, or doorways as if it were permanent wiring. Extension cords are temporary helpers, not substitute electricians.
Method 3: The Braid Wrap
Best For: Extension Cords, Light Strings, Rope Lights, Workshop Cords, and Cables That Need Compact Storage
The braid wrap, sometimes called the daisy-chain wrap, is a clever method that turns a cord into a chain of loops. It looks tidy, stores compactly, and can be undone quickly by pulling the end back through the loops. It is especially useful for extension cords and holiday lights because it helps prevent tangles without requiring a separate reel.
The braid wrap is not the best choice for every cable. Avoid using it on delicate signal cables, fiber cables, or anything that should not be bent repeatedly. But for durable extension cords and string lights, it can be a very effective way to keep everything under control.
How to Do the Braid Wrap
- Start with the cord unplugged and fully straightened.
- Bring the two ends together so the cord is folded in half.
- Find the folded middle point and make a small loop.
- Reach through the loop, pull a section of cord through, and create a new loop.
- Repeat this process, pulling one loop through the previous loop like a crochet chain.
- When you reach the end, tuck the plug through the final loop to lock it.
The finished braid should be loose, not tight. If the loops are cinched hard, you may create sharp bends. Keep the braid relaxed enough that the cord can breathe. A good braid wrap should look organized, not strangled.
Why the Braid Wrap Is Useful
The braid wrap shortens the overall length of a cord, making it easier to carry, hang, and store. It is great for cords that come out seasonally, such as holiday lights or outdoor decorations. It can also work well for cords used in a workshop, especially if you want to avoid a loose coil falling apart in a cabinet.
Another advantage is that the braid can be partially undone. If you only need a few feet of cord, you can release part of the chain instead of unwrapping the entire length. That makes it convenient for quick jobs where you do not want a full cable pile forming at your feet.
When Not to Use the Braid Wrap
Do not use the braid wrap on cables that are stiff, fragile, or performance-sensitive. Ethernet cables, coaxial cables, audio snakes, and specialty video cables may have bend-radius requirements that make tight chaining a poor choice. When in doubt, use the over-under wrap or a wide storage reel instead.
Also, do not braid a dirty or wet cord. Wipe it down first and let it dry. Wrapping moisture and grit into a cable is a great way to make storage look neat while secretly inviting corrosion, abrasion, or mildew to the party. Nobody invited mildew. Mildew can leave.
Choosing the Best Cable Wrapping Method
The best way to wrap cables depends on the type of cable, where it will be stored, and how often you use it. For audio, video, and data cables, the over-under wrap is usually the best choice because it minimizes twist and helps the cable deploy cleanly. For long extension cords, the shoulder wrap is fast and easy. For rugged cords and light strings that need compact storage, the braid wrap can be excellent.
If you have many cords, create a small cable management system. Store similar cables together. Use labels. Hang long extension cords on wide hooks. Keep audio and data cables in bins or bags. Use hook-and-loop straps instead of random knots. A few minutes of organization can save an hour of frustration later.
For very long extension cords, a cord reel may be the simplest option. Reels help keep cords organized, make winding easier, and often include handles for transport. Just remember that storage tools do not replace safety habits. Always inspect cords, avoid overloading them, and store them somewhere dry and protected.
Quick Comparison: Which Method Should You Use?
| Method | Best Use | Main Benefit | Watch Out For |
|---|---|---|---|
| Over-Under Wrap | Audio, video, data, and medium cords | Reduces twist and uncoils smoothly | Takes practice to learn |
| Shoulder Wrap | Long outdoor extension cords | Fast and easy for heavy cords | Can add twist if done too tightly |
| Braid Wrap | Extension cords and light strings | Compact storage without a separate tie | Not ideal for delicate cables |
Extra Tips for Longer Cable Life
Keep Loops Wide
A wider loop is gentler than a tight loop. This is especially important for cables that carry signals, such as Ethernet, coaxial, HDMI, and audio cables. A tight bend can affect performance or damage internal parts over time.
Clean Before You Coil
Outdoor cords collect dirt, moisture, grass clippings, and garage dust. Wipe them before storage. A clean cable is easier to inspect and less likely to grind grit into its jacket while wrapped.
Store Cables Off the Floor
Wall hooks, shelves, bins, and reels protect cables from foot traffic, water, pests, and tool clutter. A cable stored under a pile of paint cans is not “organized.” It is being held hostage.
Do Not Tie Cables in Knots
Knots create sharp pressure points. They also make you look like you lost an argument with your own equipment. Use wraps, straps, reels, or bags instead.
Personal Experience: What You Learn After Wrapping a Lot of Cables
The first thing you learn about cable wrapping is that every cable has a mood. A soft microphone cable may fall into perfect loops like it has been waiting all day to cooperate. A cheap extension cord in cold weather may behave like a frozen garden snake. A laptop charger cable may look harmless until it ties itself into three knots inside a backpack during a ten-minute walk. After dealing with enough cords, you stop treating them all the same.
The over-under wrap was the method that changed everything for me. At first, it felt awkward. I could understand the idea, but my hands kept making strange half-loops that looked like modern art. Then one day it clicked. The cable stopped twisting. It landed in clean circles. When I pulled it out, it did not fight back. That was the moment I realized cable wrapping is not about being fussy; it is about working with the cable instead of forcing it.
With extension cords, I learned a different lesson: storage location matters as much as wrapping style. A beautifully wrapped cord tossed into a crowded toolbox will still come out looking offended. Hanging cords on wide hooks or using a reel makes a huge difference. It also prevents the classic “I need the 25-foot cord but grabbed the 100-foot cord” problem, which is how five-minute jobs become small endurance events.
The braid wrap is the method I appreciate most during seasonal chaos. Holiday lights, outdoor decorations, and short utility cords are much easier to manage when chained loosely. The trick is not to make the braid too tight. A tight braid looks tidy for about five seconds, then becomes annoying when you need to undo it. A loose braid, on the other hand, opens smoothly and feels almost magical, like the cord finally decided to become useful instead of dramatic.
Another lesson: never wrap a dirty cord and pretend future-you will clean it later. Future-you will not. Future-you will be in a hurry, wearing the wrong shoes, and looking for the cord while mumbling. Wiping a cord before storage takes a minute and prevents dirt from getting everywhere. It also gives you a chance to spot cuts, hot spots, cracks, or damaged plugs before the next use.
Finally, labeling is underrated. A small label or tag can save real time. Mark cords by length, purpose, or location: “Garage,” “Outdoor,” “Audio,” “Desk,” “Lights.” It sounds overly organized until the day you need one specific cable and find it immediately. That feeling is not just convenience. It is household victory.
Conclusion
Learning the three best ways to wrap cables can turn a frustrating pile of cords into a simple, reliable system. Use the over-under wrap for audio, video, data, and other cables that need to uncoil smoothly. Use the shoulder wrap for long, heavy extension cords that need quick storage. Use the braid wrap for durable cords and light strings when compact storage matters.
The secret is not perfection. The secret is matching the method to the cable, keeping bends gentle, protecting connectors, and storing cords where they will not be crushed, soaked, or forgotten under a suspicious box labeled “miscellaneous.” Wrap your cables well, and they will last longer, work better, and stop turning every drawer into a tiny jungle.












