
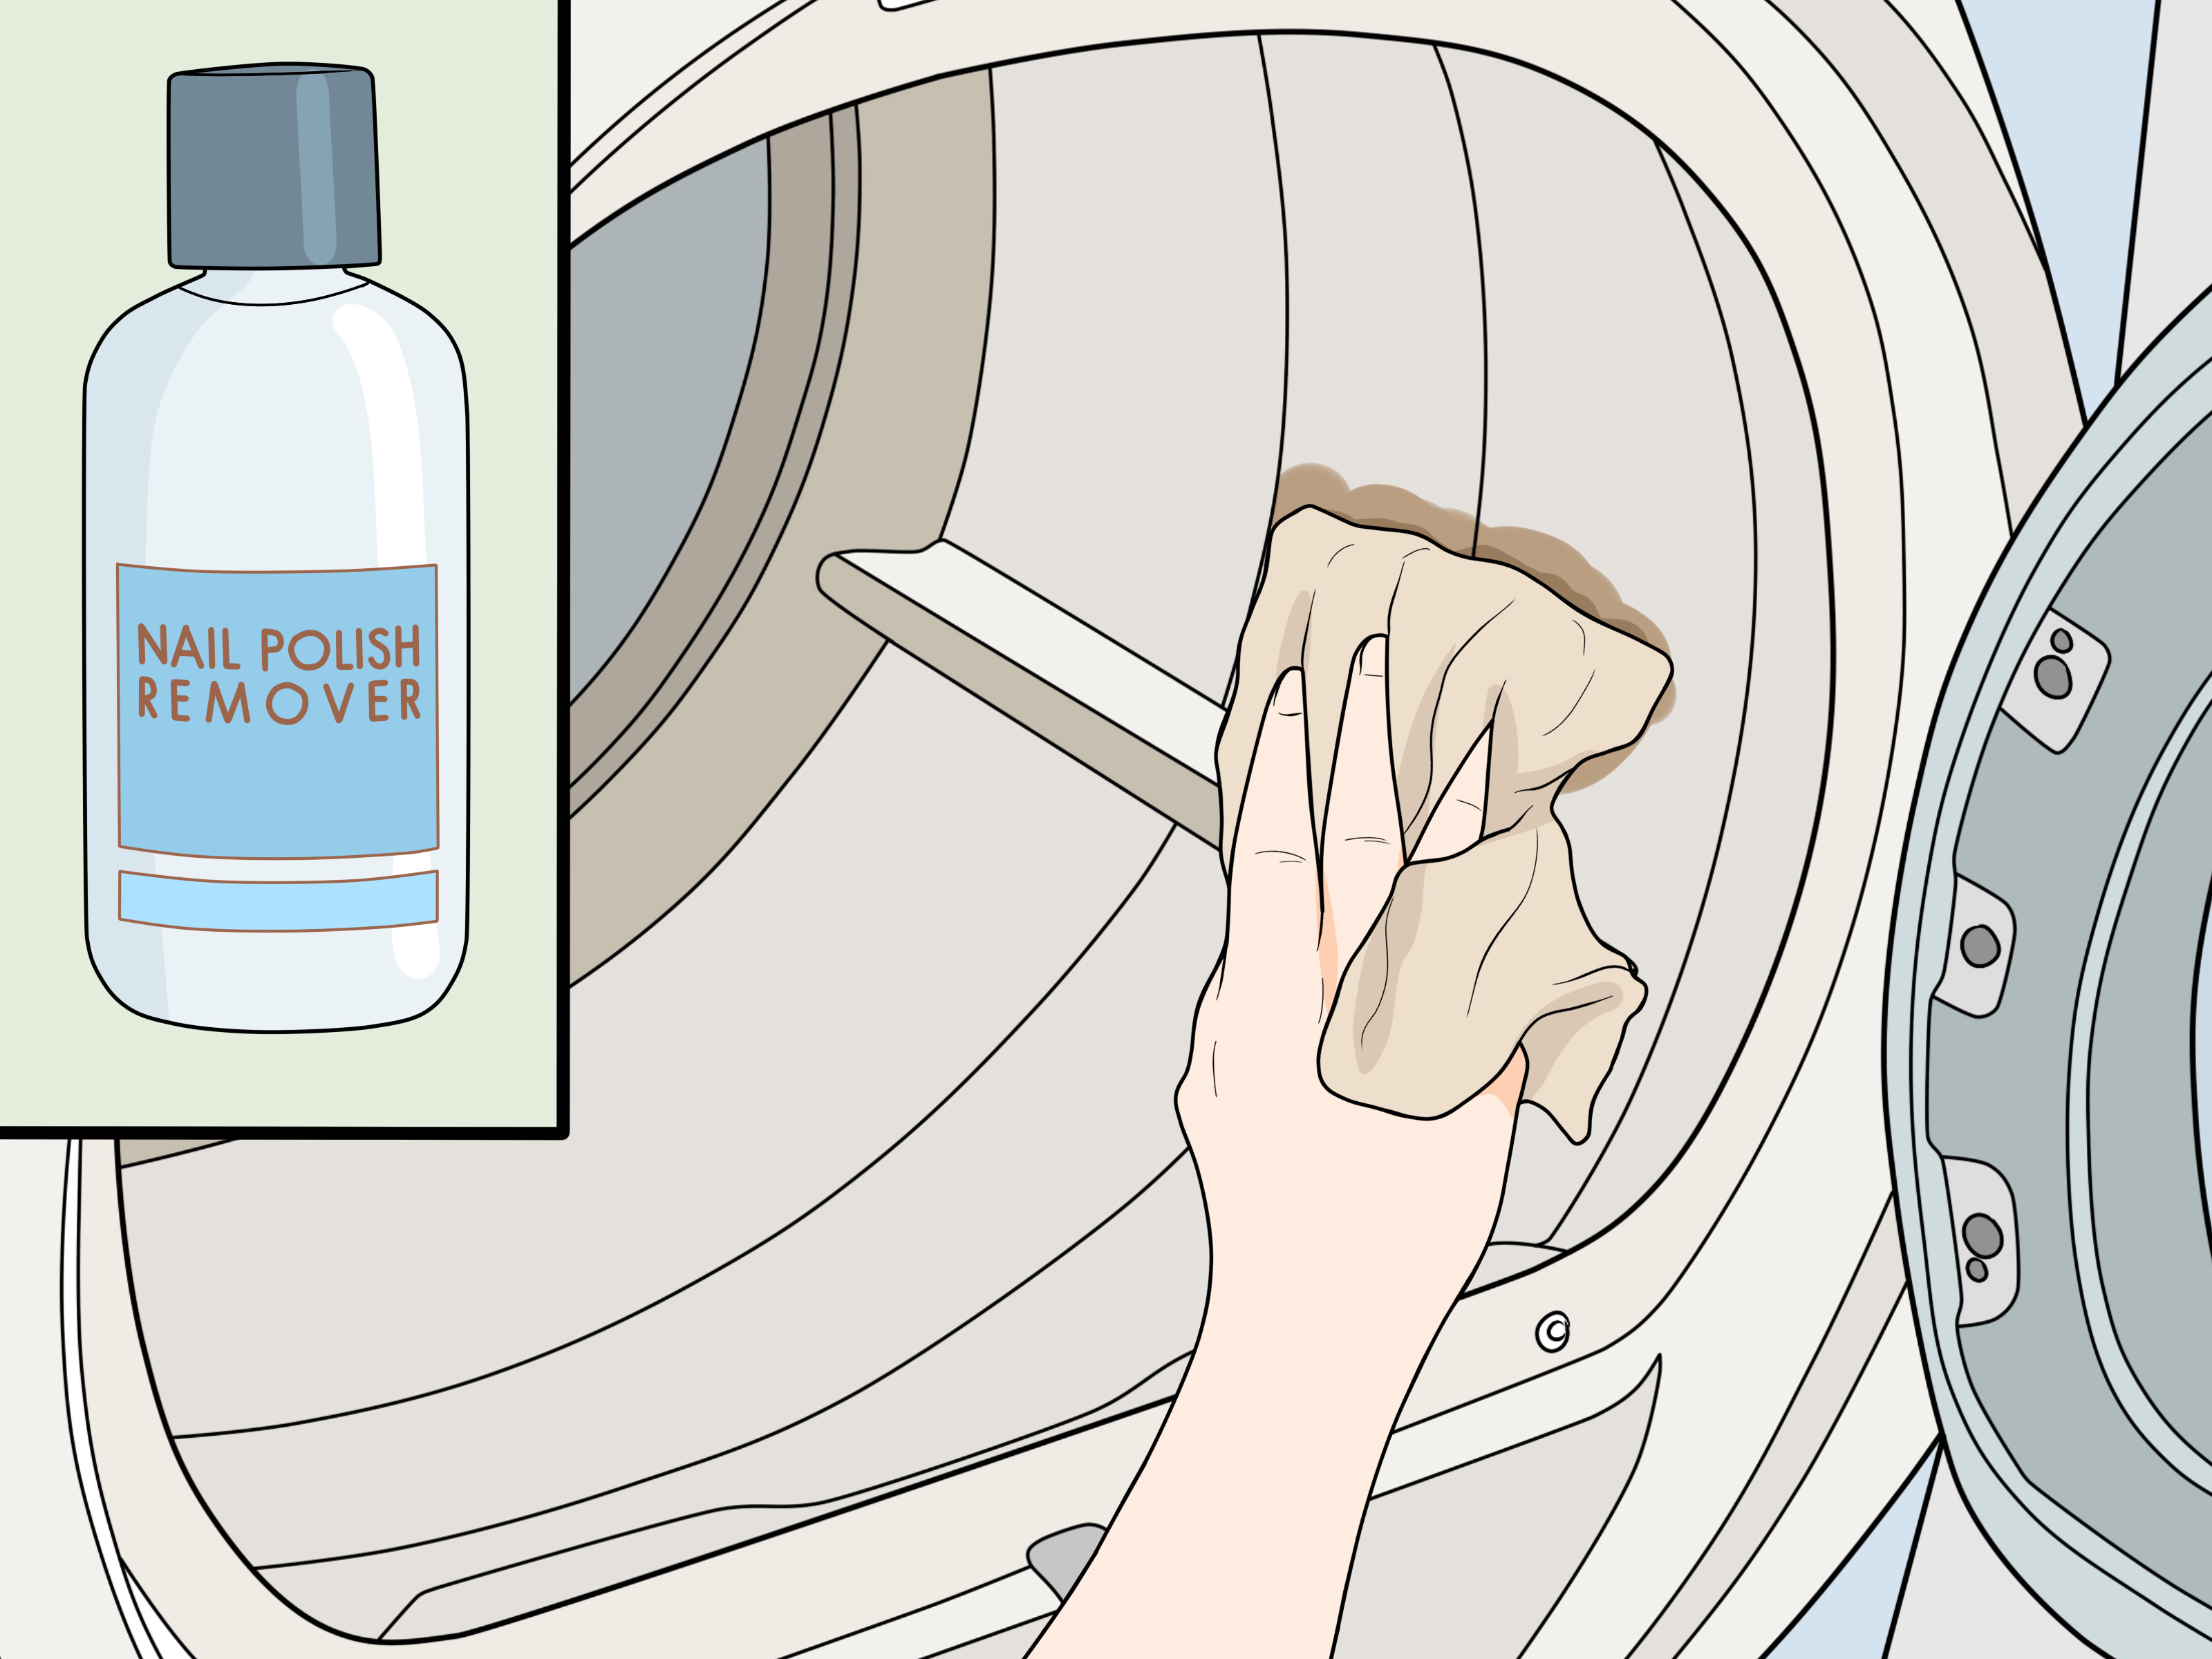
Discovering ink inside your dryer is one of those household surprises that makes you question every decision leading up to laundry day. One forgotten pen can turn an ordinary load of clothes into an abstract art collectionand decorate the dryer drum while it is at it.
The good news is that an ink-stained dryer drum usually can be cleaned without replacing the appliance or pretending the blue streaks are a custom finish. The key is to start with the gentlest method, use only a small amount of cleaner, and remove every trace of residue before operating the dryer again.
This guide explains four practical ways to remove ink from a dryer drum, including mild dish soap, laundry detergent paste, rubbing alcohol, and a manufacturer-approved nonflammable cleaner. It also covers essential safety precautions, cleaners to avoid, and methods for preventing the surviving ink from transferring to your next load.
Why Ink Sticks to the Inside of a Dryer
Most dryer ink disasters begin when a ballpoint pen, permanent marker, or gel pen remains hidden in a pocket. As the dryer heats and tumbles, the pen may crack, leak, or explode dramatically enough to deserve its own tiny action movie.
Ballpoint ink commonly contains dyes or pigments mixed with oils and solvents. Heat softens these ingredients and helps spread them across the warm metal or coated surface of the dryer drum. The tumbling clothes then press the ink against the drum repeatedly, producing streaks, dots, and patches that may become more stubborn as they cool.
Even when the discoloration does not appear severe, remaining ink can transfer onto light-colored sheets, shirts, towels, and other laundry. That is why the drum should be cleaned and tested before another normal load is dried.
What to Do Before Cleaning the Dryer Drum
Do not begin by pouring the strongest solvent you own into the dryer. A dryer produces heat, and some common ink removers are flammable. Careful preparation is more important than aggressive scrubbing.
Follow these safety steps first
- Remove all clothing. Set ink-stained garments aside so they can be treated separately.
- Turn off and unplug the dryer. If it is difficult to reach the plug, switch off the appropriate circuit breaker.
- Allow the drum to cool completely. Never apply alcohol or another cleaner to a hot dryer.
- Open nearby doors or windows. Good ventilation is especially important when using a solvent-based product.
- Read the dryer manual. Drum finishes vary, and the manufacturer may prohibit certain chemicals or abrasive tools.
- Wear household cleaning gloves. Protect your skin and avoid touching your face while working.
If you own a gas dryer, be particularly cautious. A manufacturer-approved nonflammable household cleaner is generally the safest option. Do not use any flammable solvent unless the appliance manufacturer specifically permits it and you can follow all ventilation and drying precautions.
Supplies You May Need
- Microfiber cloths or clean white cotton rags
- Mild liquid dish detergent
- Powdered laundry detergent
- Very warm water
- Rubbing alcohol, when permitted by the manufacturer
- A liquid nonflammable household or appliance cleaner
- A small bowl
- Cleaning gloves
- Several old white towels for testing
White cloths are helpful because they let you see whether ink is being lifted. They also prevent an unstable dye from a colored cleaning rag from creating an entirely new laundry mystery.
Method 1: Clean the Ink with Warm Water and Dish Soap
Mild dish detergent is the best place to start because it is inexpensive, readily available, and less likely to damage the drum finish. Dish soap contains surfactants that help loosen oily residue, including some of the ingredients found in ballpoint ink.
How to use dish soap
- Add a few drops of mild dish detergent to a bowl of very warm water.
- Stir the solution gently. You need lightly soapy water, not a bubble bath for the dryer.
- Dip a microfiber cloth into the mixture and wring it out thoroughly.
- Press the damp cloth against an ink mark for 30 to 60 seconds.
- Rub the stain with small, controlled motions.
- Rotate the cloth frequently so that lifted ink is not spread back over the drum.
- Wipe the area with a separate cloth dampened with clean water.
- Dry the surface with another clean towel.
This approach is most effective on fresh ink, faint smears, and oily residue surrounding a darker mark. Repeat the process several times before moving to a stronger cleaner. Slow progress is still progress, and it is preferable to damaging the protective finish with an unnecessarily harsh product.
Method 2: Apply a Powdered Laundry Detergent Paste
A laundry detergent paste provides more concentrated cleaning power while remaining a common manufacturer-recommended option for stained dryer drums. The paste stays in contact with the mark instead of immediately running down the curved surface.
How to make and apply the paste
- Place two or three tablespoons of powdered laundry detergent in a small bowl.
- Add very warm water a few drops at a time.
- Mix until the detergent forms a spreadable paste similar to thick toothpaste.
- Apply a small amount to a soft cloth rather than pouring it directly into the drum.
- Rub the stained area gently, following the direction of the mark.
- Allow the paste to remain on a stubborn spot for a few minutes, provided your manual does not advise against it.
- Continue rubbing with a clean section of cloth until no additional ink transfers.
- Remove all detergent with a separate damp cloth.
- Rinse the cloth and wipe the drum again until the surface no longer feels slippery or gritty.
Avoid aggressive scrubbing pads, steel wool, razor blades, and stiff wire brushes. Dryer drums may look indestructible, but scratching or dulling the finish can make future residue easier to collect. The detergent particles should provide enough mild cleaning action without turning the project into a metalworking exercise.
Method 3: Spot-Treat Stubborn Ink with Rubbing Alcohol
Rubbing alcohol can dissolve or loosen many ink formulations, particularly ballpoint ink. It is often effective when soap and detergent have removed the oily film but left behind blue or black shadows.
However, rubbing alcohol is flammable. Check the dryer manual before using it, keep it away from heat and ignition sources, and never pour it directly into the appliance. This method should be avoided when the manufacturer instructs owners to use only nonflammable cleaners.
How to use rubbing alcohol carefully
- Confirm that the dryer is unplugged and completely cool.
- Ventilate the laundry area by opening a door or window.
- Place a small amount of rubbing alcohol on a white cloth. The cloth should be damp, not dripping.
- Test it on a small, inconspicuous part of the drum.
- Blot the outside edge of the ink stain first.
- Work toward the center to reduce spreading.
- Switch to clean sections of the cloth as the ink transfers.
- Wash the treated area thoroughly with warm water and dish soap.
- Wipe it several times with a clean, water-dampened cloth.
- Dry the drum and leave the door fully open until there is no alcohol odor.
Do not reconnect or operate the dryer while solvent odor remains. The surface must be completely dry, and all vapors must be allowed to dissipate. Using more alcohol does not necessarily produce a better result; it mainly produces more residue and fumes to remove.
Method 4: Use a Manufacturer-Approved Nonflammable Cleaner
If household detergent does not remove the stainor if you have a gas dryera liquid nonflammable household or appliance cleaner may be the most appropriate choice. The label should clearly state that the product is nonflammable and suitable for the drum material.
How to use a nonflammable cleaner
- Read both the dryer manual and the cleaner label.
- Test the cleaner on a hidden section of the drum.
- Apply a small quantity to a soft cloth, not directly to the appliance.
- Rub the stained area gently.
- Allow the product to work only for the time specified on its label.
- Wipe away the cleaner with a damp microfiber cloth.
- Rinse repeatedly with clean water.
- Dry the surface completely.
A damp melamine sponge may help with a remaining shadow, but it should be used only if the dryer manufacturer permits it. Melamine foam is mildly abrasive and may dull certain coated surfaces. Test first, apply very light pressure, and stop immediately if the finish changes.
How to Rinse and Test the Drum After Cleaning
Removing the visible stain is only part of the job. Soap, solvent, ink, and commercial cleaner residue must also be removed so they cannot transfer to clothing or react with heat.
- Wipe the entire drum with a clean cloth dampened with warm water.
- Rinse and wring out the cloth frequently.
- Repeat until no cleaner, ink, foam, or odor remains.
- Dry the drum manually with a clean towel.
- Leave the dryer door open for additional ventilation.
- Rub a clean white cloth over every previously stained area.
If the white cloth picks up color, the drum is not ready for laundry. Repeat the gentlest effective cleaning method and test again.
Once the dryer is clean, odor-free, and fully dry, consult the manual regarding the final testing procedure. Many manufacturers recommend tumbling a load of clean, damp, old towels. Use white or light-colored towels you do not mind sacrificing to the laundry gods. Inspect them after the cycle for ink or cleaner residue before drying regular clothes.
Cleaning Products and Methods to Avoid
Do not mix household chemicals
Never combine chlorine bleach with ammonia, vinegar, rubbing alcohol, hydrogen peroxide, or another cleaning product. Chemical mixtures may release dangerous gases, create irritating vapors, or cause unpredictable reactions.
Do not pour solvents into the dryer
Acetone, paint thinner, gasoline, lighter fluid, and similar solvents are inappropriate for casual dryer cleaning. Their vapors can ignite, and strong solvents may damage paint, plastic parts, seals, or drum coatings.
Do not rely on hairspray
Older hairsprays sometimes removed ink because they contained substantial amounts of alcohol. Modern formulas vary and may leave behind fragrance, oils, conditioners, and sticky polymers. Rubbing alcohol, when approved and used safely, is more predictable.
Do not start the dryer to “burn off” residue
Heat is not a shortcut for evaporating an unknown chemical. The dryer should remain off until all residue has been rinsed away, the drum is dry, the room is ventilated, and no solvent odor remains.
What About the Ink-Stained Clothes?
Do not place stained garments back in the dryer until the ink has been removed as completely as possible. Dryer heat may make an existing fabric stain more difficult to treat.
Place the stained side of the garment facedown on clean paper towels or an old white cloth. After checking the care label and performing a hidden-area test, blot the back of the stain with an appropriate ink remover. Replace the absorbent material as it collects ink. Rinse the garment, apply laundry detergent or a commercial stain treatment, and wash it according to the care label.
Inspect the fabric before machine drying. If the mark remains, repeat the treatment and air-dry the garment. Delicate, vintage, acetate, silk, wool, or dry-clean-only clothing may require professional care.
How to Prevent Another Pen Explosion
- Check every pocket before starting the washer.
- Turn pants, jackets, uniforms, and work shirts inside out while checking them.
- Keep a small container near the washer for pens, coins, screws, receipts, and other pocket discoveries.
- Ask family members to empty their pockets before placing clothes in the hamper.
- Inspect the washer drum when a load finishes. A loose pen found there is easier to manage than one that has completed a heated dryer cycle.
- Store pens with their caps secured and avoid carrying uncapped markers in clothing pockets.
A pocket-checking routine takes less than a minute. That minute feels impressively efficient when compared with spending an afternoon scrubbing blue spirals from a dryer.
When to Call an Appliance Professional
Contact the dryer manufacturer or a qualified appliance technician if the stain covers a large portion of the drum, cleaner has entered a vent or internal opening, the drum coating is peeling, or a strong chemical odor remains after repeated rinsing and ventilation.
Professional advice is also appropriate if ink has reached the door seal, blower area, lint-screen housing, drum gaps, or internal components that cannot be safely accessed. Do not disassemble a gas or electric dryer without the necessary training.
Conclusion
An ink stain inside a dryer may look alarming, but it is often manageable. Begin with warm water and mild dish detergent, progress to a powdered laundry detergent paste, and reserve rubbing alcohol for stubborn marks when the manufacturer permits it. A labeled nonflammable appliance cleaner is another useful option, particularly when cleaning a gas dryer.
The most important part of the process is not brute strength. It is careful rinsing, complete drying, proper ventilation, and a white-towel test before normal laundry resumes. Once the drum passes that test, you can return to drying clothesand perhaps begin treating pocket inspections as a highly competitive household sport.
Practical Experiences and Lessons from Real-World Dryer Ink Cleanup
Common cleanup experiences show that the first reaction to a dryer ink stain is usually excessive panic followed by excessive cleaner. Neither is especially useful. People often assume that a large blue streak requires a large puddle of solvent. In practice, controlled applications with a cloth tend to work better because they keep dissolved ink from running into drum seams and other inaccessible areas.
One frequent scenario involves a pen that leaks only during the final portion of a heated cycle. The result may be a handful of dark spots rather than a completely colored drum. These fresh spots often respond surprisingly well to concentrated dish soap and warm water. Holding the damp cloth against each mark before rubbing usually works better than immediately scrubbing. The contact time gives the detergent an opportunity to loosen the oily ink binder.
Another common experience is the “almost clean” drum. After several minutes of work, the obvious ink disappears, but a pale blue haze remains. This is where people are tempted to reach for abrasive powder, steel wool, or a scraping blade. That decision can turn a removable stain into permanent surface damage. Repeating a detergent paste treatment or carefully spot-treating the shadow is slower but considerably safer.
White cleaning cloths provide one of the most useful forms of feedback. A drum can appear clean under the dim light inside the appliance while still releasing ink when touched. Wiping the area with a fresh white cloth makes remaining transfer easy to identify. If the cloth develops even a faint blue or black mark, another rinse or treatment is necessary.
Cleanup experiences also demonstrate why ventilation should not be treated as an optional final step. Rubbing alcohol may evaporate quickly from an open countertop, but the curved interior of a dryer is a semi-enclosed space. Solvent can collect in seams, on the back wall, or beneath the drum edge. Leaving the door open and waiting until no odor remains is safer than assuming the surface is ready because it looks dry.
The test-towel stage has saved many loads of good clothing. Old damp white towels act as an inexpensive inspection system, collecting any remaining traces before they reach work shirts, bedding, or school uniforms. A towel that emerges with a blue streak is disappointing, but it is much less disappointing than discovering the same streak across a new white comforter.
People who experience repeated pen accidents often solve the problem with a simple container near the washer. Every object removed from a pocket goes into the container before the garment is loaded. Pens can be returned to their owners, coins gradually become coffee money, and mysterious screws can wait there until someone remembers which piece of furniture is becoming unstable.
The larger lesson is that successful dryer ink removal depends on patience and sequence. Start mild, work in small sections, rinse thoroughly, inspect with a white cloth, ventilate, and test with old towels. Skipping directly to a powerful chemical may feel decisive, but methodical cleaning usually produces a safer and more reliable result.













