
If there is one holiday craft that can instantly turn an ordinary human into a festive woodland legend, it is a pair of reindeer antlers. Put them on a toddler, and you get adorable chaos. Put them on an adult, and suddenly everyone is willing to pose by the snack table like they belong in a department-store holiday window. Reindeer antlers are cheap to make, easy to customize, and surprisingly versatile whether you need a classroom craft, a Christmas party accessory, a deer costume piece, or a last-minute photo prop that says, “Yes, I did make this myself, and yes, I am very proud.”
The beauty of this project is that there is no single “correct” way to make reindeer antlers. Some versions are all about speed. Some are better for small kids. Some are sturdier and more costume-friendly. And some look far fancier than their humble supply list would suggest. That is exactly why this guide breaks the project into four practical methods, each with its own strengths, supplies, steps, and styling tips.
So grab your brown paper, felt, pipe cleaners, or cardboard. We are about to build antlers that are festive, wearable, and much less expensive than buying a novelty headband that sheds glitter in your car until Valentine’s Day.
Before You Start: Choose the Right Antler Style
Before you cut a single branch-like shape, think about where these antlers are headed. A preschool classroom craft needs something lightweight, forgiving, and safe. A holiday party accessory should be quick and comfortable. A costume piece needs more structure. A photo-booth prop can get away with being dramatic, oversized, and gloriously impractical for long-term wear.
It also helps to choose kid-friendly supplies when children are involved. Washable glue, safety scissors, and non-toxic art materials make the project much easier to manage. If hot glue is needed for structure, keep that part in adult hands. Your goal is festive antlers, not a dramatic retelling of “The Glue Gun Incident” at next year’s family dinner.
1. Handprint Paper Reindeer Antlers
This is the classic option for kids, classrooms, and holiday parties. It is simple, charming, and has one huge advantage: those handprint shapes instantly look like little branching antlers without requiring advanced drawing skills.
What you’ll need
- Brown construction paper or cardstock
- A strip of brown paper for the headband
- Pencil
- Safety scissors
- Glue stick or school glue
- Tape or a stapler
- Optional: red pom-pom nose, googly eyes, crayons, glitter
How to make them
- Cut a long strip of brown paper to fit around the wearer’s head. If one strip is too short, tape or staple two together.
- Trace both hands on brown paper. For fuller antlers, trace each hand twice.
- Cut out the handprints carefully. The fingers become the antler branches, which is delightfully convenient.
- Glue the handprints to the inside or top edge of the headband so they stick upward.
- Close the band with tape, glue, or staples once you confirm the fit.
- Add decorations if you want a more playful Rudolph vibe.
Why this method works
Handprint antlers are fast, light, and impossible not to love. They are especially good for young children because the shape already has the right “branchy” feel. Even when the cutting is a little wobbly, the finished result still looks festive. In fact, slightly uneven antlers often look more charming than perfectly trimmed ones. Reindeer are not out there in the wild comparing symmetry anyway.
Best use cases
This version shines at school events, holiday story time, family craft afternoons, and quick Christmas morning photos. If you need a whole herd of antlers in under an hour, this is your winner.
2. Cardstock or Printable Headband Antlers
If you want something cleaner and a bit more polished than handprints, cardstock antlers are a smart upgrade. This method is still easy, but it gives you more control over the shape, size, and overall look. It is perfect when you want your antlers to look cute rather than cheerfully chaotic.
What you’ll need
- Brown cardstock or thick construction paper
- Printer and printable template, or a hand-drawn antler pattern
- Scissors
- Glue or tape
- Hole punch, brads, or elastic if you want an adjustable fit
- Optional: paint, markers, white dots, red nose cutout
How to make them
- Print or draw two matching antler shapes on cardstock.
- Cut two headband strips sized for the wearer’s head.
- Glue the antlers to the inside edge of the band so they rise from the top.
- If you want more support, glue a straw, popsicle stick, or pipe cleaner behind each antler.
- Join the band ends with tape, staples, or an adjustable elastic closure.
- Decorate with paint or markers once the structure is secure.
Why this method works
Cardstock gives you sharper lines and better durability than regular paper. It also stands up more cleanly in photos, which matters if you are making these for a classroom performance, holiday concert, or office party where cameras will appear the second someone says, “Let’s do one candid.”
This method also scales beautifully. You can make tiny antlers for toddlers, dramatic antlers for adults, or matching sets for a whole group. It is one of the easiest ways to create a coordinated look without spending a fortune on store-bought accessories.
Pro tip
If the antlers flop forward, reinforce the back with an extra layer of cardstock or attach a support strip behind the main trunk of each antler. It is not glamorous, but it works.
3. Felt Reindeer Antlers on a Headband
If comfort matters most, felt antlers are the cozy MVP. They are soft, lightweight, and ideal for little kids, holiday parties, and anyone who dislikes scratchy costume pieces. Felt also photographs well because it has a warm, finished texture that reads as handmade in the best possible way.
What you’ll need
- A plain sturdy headband
- Brown felt
- Optional pink or tan felt for ears
- Scissors
- Hot glue or strong craft glue
- Optional stuffing, extra felt layers, or interfacing for stiffness
How to make them
- Draw two antler shapes on felt and cut out two matching pairs so each antler has a front and back.
- If you want thicker antlers, sandwich a second layer of felt, interfacing, or light stuffing between the two pieces.
- Glue the layers together, leaving the bottom ends free enough to attach to the headband.
- Wrap or glue the base of each antler around the headband.
- Add felt ears beside the antlers for a deer-costume look.
- Let everything dry completely before wearing.
Why this method works
Felt is forgiving. It cuts cleanly, hides small mistakes, and does not fray the way some fabrics do. It is also a strong choice for younger children because the finished antlers are softer and less pokey than cardboard or heavily wired designs.
This is also the best method when you want something cute enough to pair with a holiday dress, a brown sweatshirt, or a simple deer costume. Add soft ears, a white shirt oval, and a little nose makeup, and suddenly you are not just wearing antlers. You are a full woodland character with main-character energy.
Best use cases
Choose felt if the antlers need to be worn for more than fifteen minutes, if comfort is the top priority, or if you are making them for a child who treats every accessory like a possible nap companion.
4. Pipe Cleaner and Wrapped Paper Antlers
This is the best option when you want antlers that look more sculpted and realistic. It takes a little more effort, but the payoff is worth it. Pipe cleaners create a flexible frame, while paper wrapping adds volume so the antlers look more like actual branches and less like suspiciously festive spaghetti.
What you’ll need
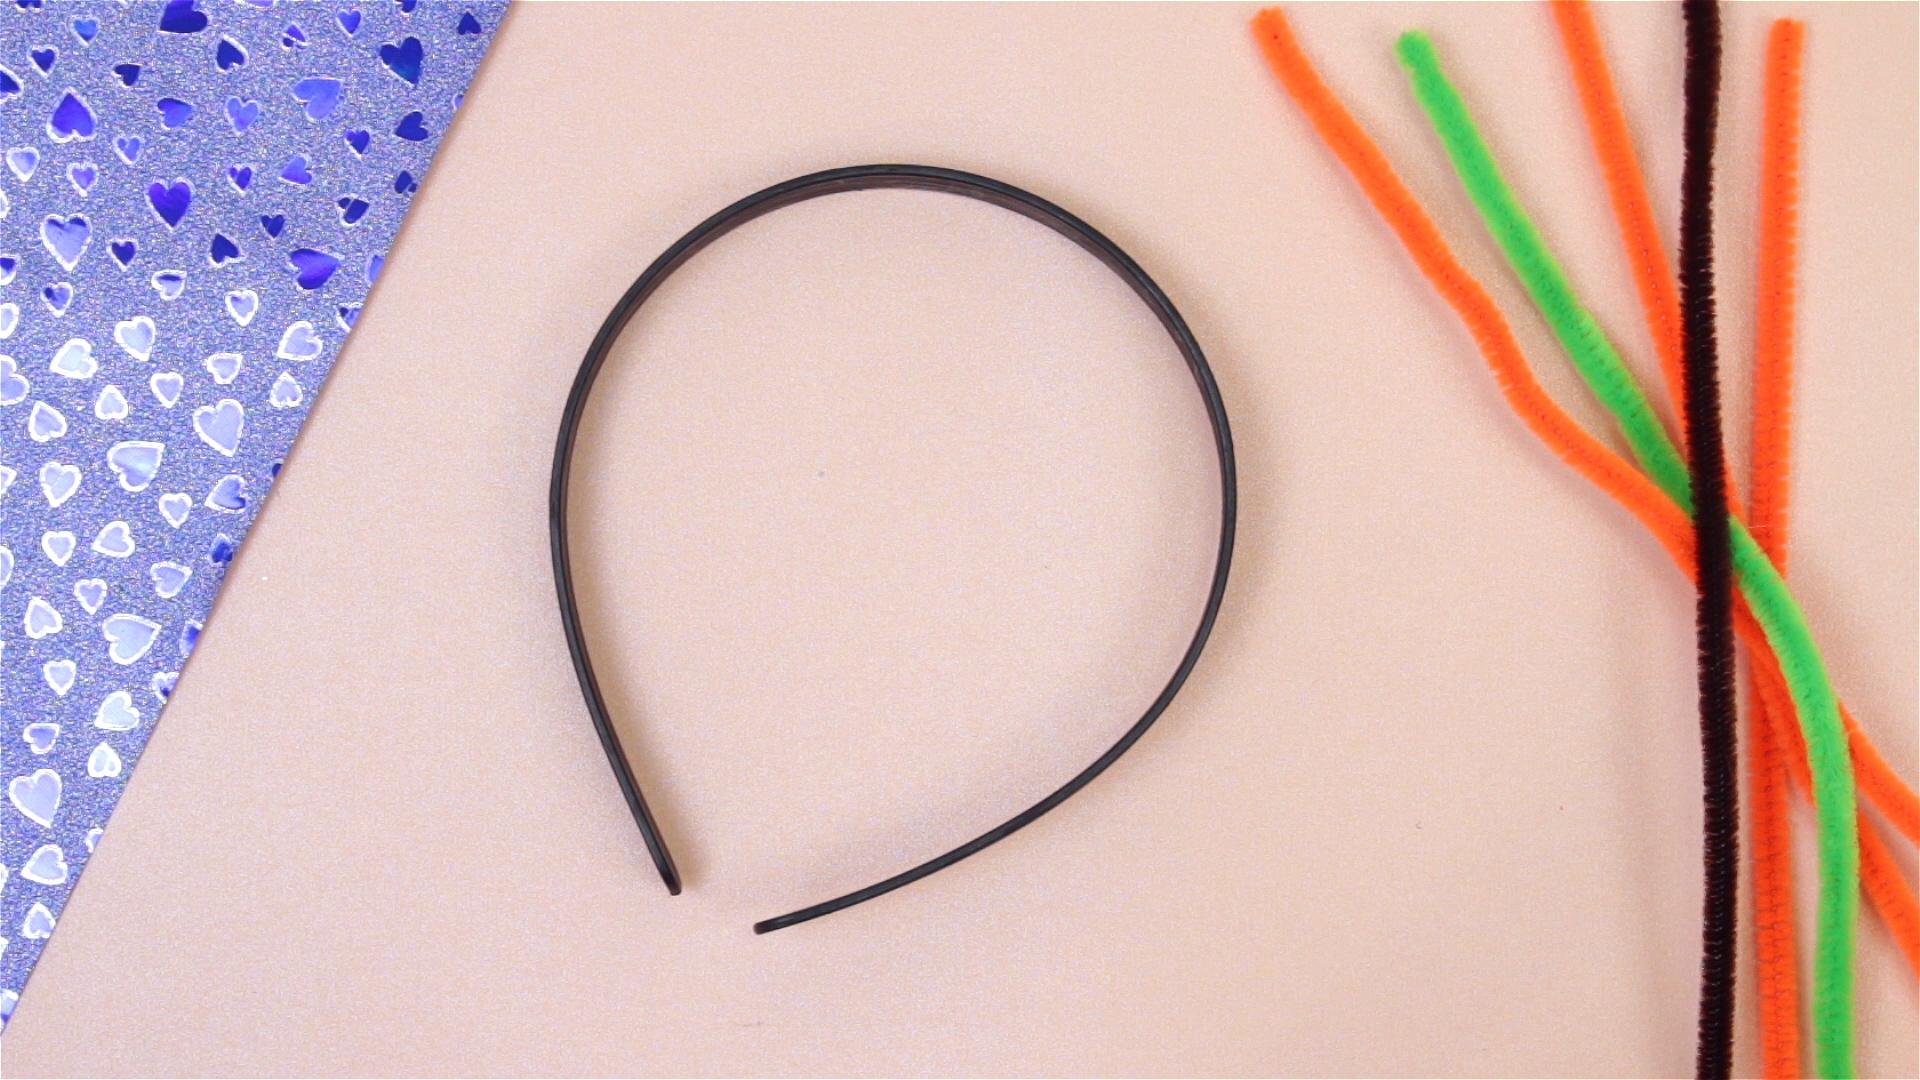
- A sturdy headband
- Brown pipe cleaners
- Brown paper bag or newspaper strips
- Masking tape or decoupage glue
- Craft paint in tan, brown, or off-white
- Paintbrush
- Scissors
- Optional felt ears
How to make them
- Twist pipe cleaners together into two antler shapes, making the bottoms long enough to wrap around the headband.
- Attach the antler bases firmly to the headband by twisting them around it.
- Wrap brown paper or newspaper strips around the pipe cleaner frame to build volume.
- Use masking tape or decoupage glue to hold the wrapped paper in place.
- Taper the antlers so the base is thicker and the tips are thinner.
- Paint the antlers once dry for a more finished, natural look.
- Add ears if desired and wrap visible headband sections with brown pipe cleaners for a cleaner finish.
Why this method works
This style gives you shape control, dimension, and texture. You can make the antlers elegant and delicate or bold and dramatic. Since pipe cleaners bend easily, you can also tweak the angle after assembly. That is very helpful when one antler suddenly starts leaning like it stayed up too late at the office holiday party.
Because this version has more structure, it works especially well for costume parties, theater, holiday pageants, or themed photo shoots. It is still affordable, but it looks much more custom than the average quick craft.
How to Make Your Reindeer Antlers Look Better
No matter which method you choose, a few design tricks can instantly improve the final result.
Keep the base thick
Realistic antlers are thicker near the base and narrower toward the tips. If your antlers are the same width all the way through, they can look flat. Tapering fixes that fast.
Do not chase perfect symmetry
Perfectly mirrored antlers can look stiff. Slight variation makes them feel more natural. This is good news for crafters and excellent news for everyone who cut one antler beautifully and the other one while distracted by holiday cookies.
Use texture wisely
Paint, layered felt, tissue, or wrapped paper adds depth. Even a few quick brush strokes in a slightly darker shade can make plain antlers feel more polished.
Think about comfort
The cutest antlers in the world are useless if they pinch, slide, or wobble every time the wearer laughs. Test the fit, distribute the weight evenly, and keep decorations light enough that the headband stays put.
Common Mistakes to Avoid
- Using paper that is too flimsy: Regular copy paper folds fast. Cardstock or felt holds up better.
- Making the antlers too tall for the base: Giant antlers on a weak headband usually end in sadness.
- Skipping dry time: Wet glue and eager children are not a peaceful combination.
- Overdecorating: A few details are festive. Too many extras can turn antlers into a small collapsing chandelier.
- Ignoring age level: Preschoolers can help paint and glue, but adults should handle the more complicated cutting or hot-glue steps.
Which Reindeer Antler Method Is Best?
If you need the fastest option, go with handprint paper antlers. If you want something neater for a group event, choose cardstock headband antlers. If comfort is the priority, felt antlers are your best bet. And if you want the most costume-worthy result, pipe cleaner and wrapped paper antlers are the clear winner.
In other words, the best method depends on whether your reindeer is headed to preschool, a Christmas pageant, a holiday brunch, or an aggressively competitive family photo session.
Experiences From Making Reindeer Antlers in Real Life
One thing I have learned about reindeer antlers is that they look like a tiny craft project, but they behave like a full social event. The moment you bring out brown paper, felt, or pipe cleaners, people who were “just watching” somehow drift over and start giving antler opinions. Suddenly everyone becomes an expert in branch geometry. Someone wants bigger antlers. Someone insists on glitter. Someone else asks whether the reindeer can also have earrings. It becomes less of a tutorial and more of a festive design committee with cookies.
The easiest group I ever made antlers with was a classroom-sized bunch of kids using paper handprints. That method was almost magically forgiving. Some children traced neat fingers. Some traced mitten-like blobs that looked more like enthusiastic sea creatures than antlers. It did not matter. Once the handprints were glued to headbands, every child looked delighted, and every set of antlers somehow worked. That is the beauty of simple crafts for kids: success is not about precision. It is about the moment they put the headband on and instantly turn into a reindeer in their own mind.
Adults, on the other hand, tend to overthink antlers immediately. Give grown-ups pipe cleaners and a headband, and they act like they are building museum-quality wildlife sculpture. They start discussing asymmetry, silhouette, and whether the branching pattern should suggest a younger buck or a “more mature woodland presence.” It is both hilarious and weirdly impressive. The finished results are usually great, but the journey is full of dramatic statements like, “No, no, the right antler is telling a different story than the left one.”
Felt antlers have been the surprise favorite in situations where comfort matters. Children wear them longer, adults forget they still have them on, and no one complains that the headband feels scratchy. Soft materials really do make a difference when you are trying to survive a full holiday event instead of just taking one photo and tossing the accessory onto a chair. If the goal is “cute and wearable,” felt wins a lot of points.
The most satisfying version to make has probably been the pipe-cleaner-and-paper style because it gives you the most room to play. You can bend the branches, adjust the height, add ears, wrap the base, and paint the whole thing until it looks surprisingly polished. It is the version that earns the best reaction from people who assume it came from a costume shop. Of course, it is also the version most likely to leave your table looking like a tiny brown tornado passed through, but that is part of the charm.
If I had to give one practical lesson from all these reindeer-antler adventures, it would be this: match the craft to the moment. Do not build elaborate sculpted antlers for a preschool snack party. Do not settle for floppy copy-paper antlers if you want a costume piece that lasts all evening. And always, always test the headband fit before declaring victory. A perfect set of antlers that launches off someone’s head during the first family photo is still funny, but it is not ideal.
That said, even the imperfect versions usually become the most memorable. Crooked antlers, lopsided branches, too-big ears, and a suspicious amount of glitter somehow make the whole thing better. Reindeer antlers are not supposed to look sterile or factory-made. They are supposed to feel festive, playful, and just handmade enough that someone asks, “Wait, you made those?” That is when you smile, adjust your antlers, and say, “Naturally.”
Final Thoughts
Making reindeer antlers is one of those rare crafts that checks every box: inexpensive, flexible, easy to personalize, and genuinely fun to wear. Whether you go with paper handprints, printable cardstock, cozy felt, or sculpted pipe cleaners, the best version is the one that suits your occasion and your patience level. There is no wrong choice here. There is only the delightful moment when the antlers go on and the room suddenly contains more reindeer than expected.
So make them simple, make them fancy, make them with kids, or make them five minutes before the party starts. Either way, you will end up with a holiday craft that earns smiles, photos, and at least one person saying, “Okay, now I need a pair too.”













