
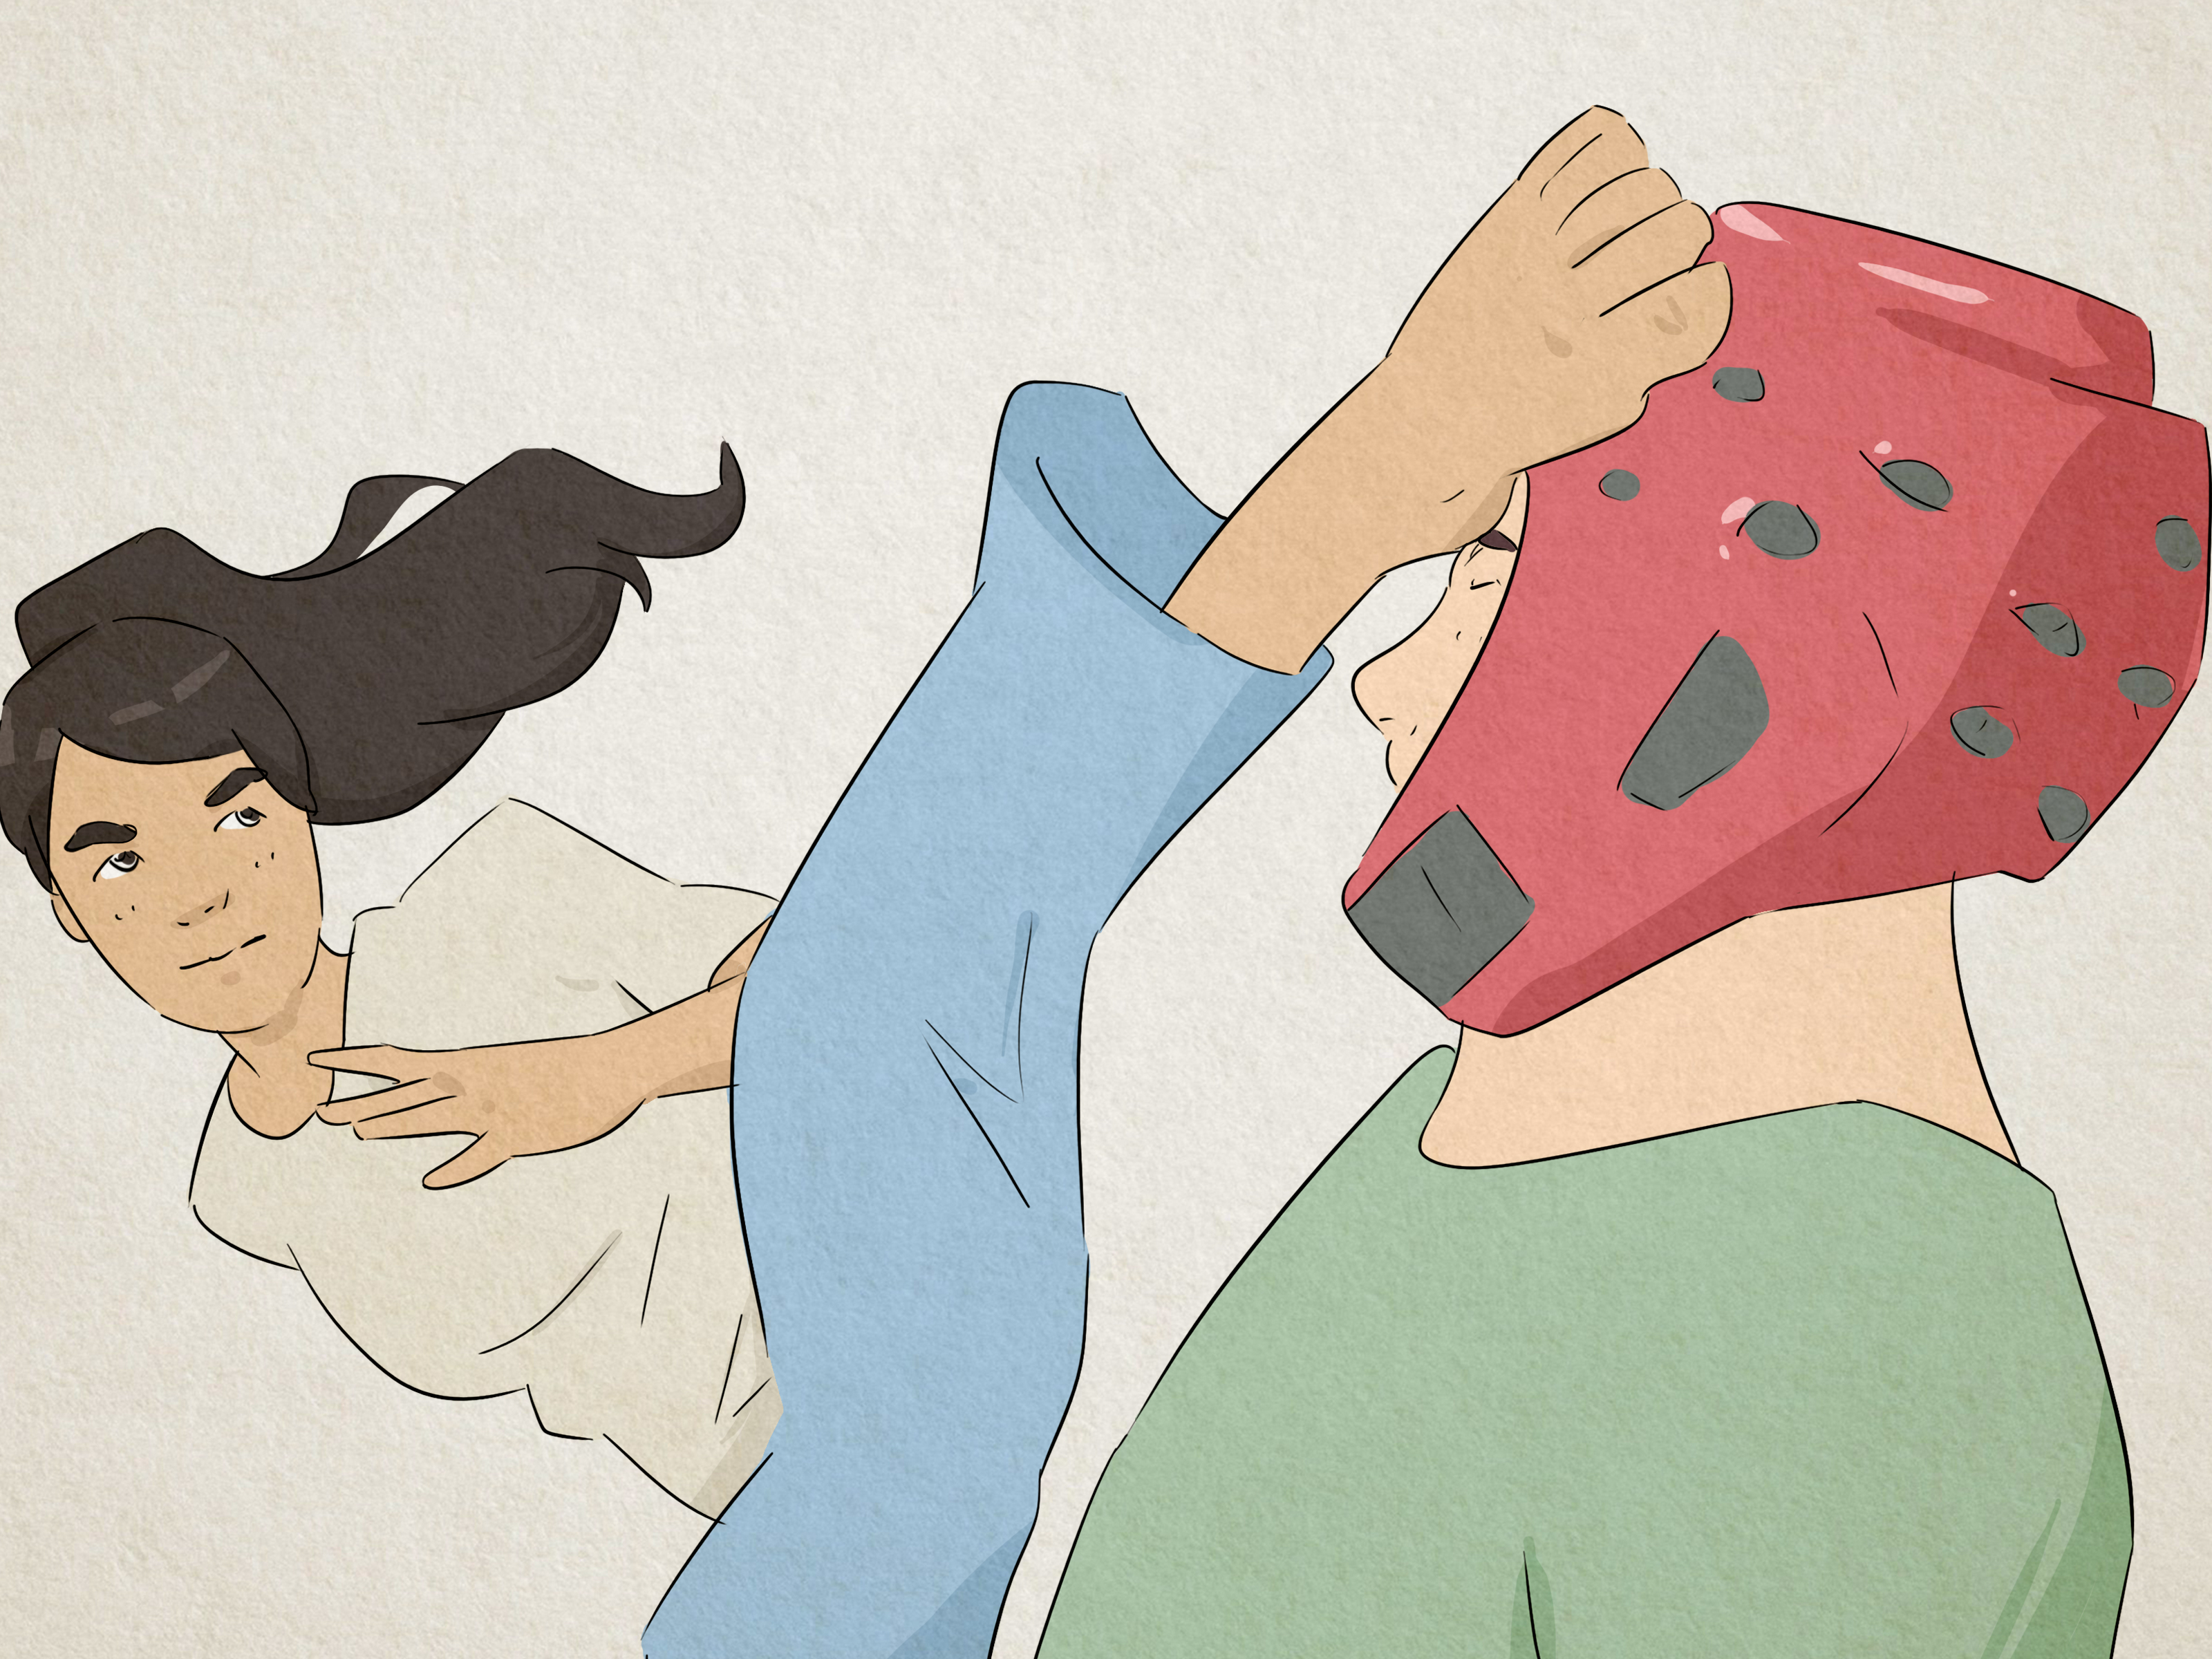
A back kick looks simple from the outside: turn, lift, kick, return. Easy, right? In the same way that making perfect pancakes is “just batter in a pan.” The truth is that a powerful, clean, and safe back kick depends on timing, balance, hip alignment, foot position, and the humble ability to look where you are going before your leg tries to mail itself backward.
Whether you train taekwondo, karate, kickboxing, fitness martial arts, or you are simply learning basic kicking mechanics, the back kick is one of the most useful techniques to understand. It can build glute strength, improve coordination, teach better balance, and sharpen body awareness. When practiced responsibly with a pad, bag, or qualified instructor, it is also a satisfying skill because you can feel the difference between “random leg swing” and “proper back kick technique” almost immediately.
This guide breaks down 7 ways to perform a back kick, from beginner-friendly drills to more advanced variations. The goal is not to turn your living room into an action movie set. The goal is to help you train smarter, move better, and avoid the classic beginner mistakes: spinning too far, leaning like a tired street sign, kicking sideways instead of backward, or forgetting to rechamber the leg after impact.
What Is a Back Kick?
A back kick is a rear-directed kick in which the practitioner turns or pivots enough to look behind, chambers the kicking leg, drives the heel backward toward a target, then retracts the leg and returns to stance. In many taekwondo schools, it is known as dwi chagi. In karate and other martial arts, similar rear thrusting kicks appear under different names and slight style variations.
The key idea is simple: the kick travels mostly in a straight line behind you. It is not a spinning crescent kick wearing a fake mustache. It is not a side kick that got lost. A strong back kick usually uses the heel as the striking surface, with the hips driving power backward like a piston. The upper body stays controlled, the eyes check the target, and the standing foot pivots enough to let the hips align safely.
Before You Kick: Safety First
Back kicks demand balance, hip mobility, and control. Before practicing, warm up with light movement and dynamic mobility drills. A smart warm-up might include marching in place, easy jogging, hip circles, bodyweight squats, leg swings, and gentle torso rotations. Cold muscles are not famous for making great decisions, so give your body a few minutes to wake up before asking it to behave like a martial arts highlight reel.
Practice on a clear floor with enough space. Use a heavy bag, kick shield, paddle target, or imaginary target at first. If training with another person, keep it supervised and controlled. Never practice full-power kicks on an unprotected partner. Good training should build skill, not create dramatic stories for the urgent care waiting room.
1. The Basic Standing Back Kick
The basic standing back kick is the foundation. If you can perform this version cleanly, every other variation becomes easier. Start in a natural fighting stance with your knees slightly bent, hands up, and weight balanced. Your feet should feel ready to move, not glued to the floor like you are waiting in line at the DMV.
How to Do It
Begin by turning your head over the shoulder on the same side as your kicking leg. This visual check matters. If your right leg will kick, look over your right shoulder. Next, pivot your standing foot so your hips can face the direction of the kick. Bring the kicking knee up close to your body in a tight chamber. Then drive your heel straight backward into the target, keeping the toes pulled back and the sole of the foot mostly facing the floor or slightly angled depending on your style.
After the extension, rechamber the leg by pulling the knee back in. Set the foot down with control and return to your stance. The rechamber is not decoration. It protects your balance, improves speed, and teaches your body that every kick has a clean exit plan.
Common Mistakes
The most common mistake is turning the back kick into a side kick. If your leg swings wide, your hips may be opening too much. Another mistake is leaning forward excessively, which may feel powerful but usually steals balance. Keep your torso controlled and your kick direct. Think “heel through the target,” not “leg wandering through the neighborhood.”
2. The Wall-Line Back Kick Drill
The wall-line drill is excellent for learning direction. It teaches you to kick backward instead of letting the leg drift out to the side. You do not need to kick the wall. In fact, please do not. The wall is your coach today, not your enemy.
How to Do It
Stand near a wall with your body facing away from it, leaving enough space to move safely. Practice the motion slowly: look over the kicking-side shoulder, chamber the knee, and extend the heel straight back along the imaginary line behind you. The wall helps you notice whether your leg is swinging outward. If your knee or foot keeps drifting sideways, slow down and reduce the height of the kick.
This drill is best done at low speed. The purpose is alignment, not power. Train the path first. Once your body understands the straight-line movement, power can be added later with pad work.
Why It Works
A clean back kick depends on efficient mechanics. The shorter and straighter the path, the easier it is to keep balance and deliver force. The wall-line drill gives immediate feedback without needing fancy equipment. It is simple, slightly humbling, and very usefulbasically the broccoli of back kick training.
3. The Chamber-and-Hold Back Kick
The chamber-and-hold method builds balance and leg control. Many beginners rush from stance to kick without owning the middle position. That is like trying to write a sentence while skipping all the vowels. The chamber is where the kick gets organized.
How to Do It
Start in fighting stance. Turn your head, pivot your base foot, and lift the kicking knee into chamber. Hold that position for two to three seconds. Keep your hands up, core engaged, and standing knee slightly bent. Then extend the heel slowly, pause briefly, pull the knee back, and set the foot down.
At first, you may wobble. That is normal. Wobbling is your nervous system downloading the “balance update.” Keep the kick low until you can control it. A low back kick with clean structure is far better than a high kick that looks like a lawn chair collapsing in slow motion.
Training Tip
Try three sets of five slow reps on each leg. Focus on posture, eye line, and steady breathing. If your standing foot cramps or your hip feels pinched, stop, reset, and reduce range of motion. Quality beats quantity every time.
4. The Heavy-Bag Back Kick
Once the basic form feels stable, the heavy bag helps you understand contact. A back kick is a thrusting motion, so the bag teaches whether your heel is driving through the target or merely tapping it like you are checking whether a melon is ripe.
How to Do It
Stand close enough that your heel can reach the bag after you pivot and chamber, but not so close that you jam your knee. Look over your shoulder, pivot, chamber tightly, and drive the heel into the bag. Keep your upper body controlled. The moment your heel connects, pull the leg back and return to stance.
Start with light contact. Listen to the bag and feel your balance. If the bag swings wildly but you nearly fall over, the bag did not applaud; it filed a complaint. Reduce power and rebuild structure. The best back kicks feel rooted, direct, and repeatable.
Power Without Chaos
Power comes from hip drive, leg extension, and body alignmentnot from throwing your entire body backward and hoping physics is feeling generous. Keep your base foot planted, your knee aligned, and your heel driving in a straight path. Use your core to control the rotation.
5. The Paddle Target Back Kick
A paddle target or kick mitt is useful for speed and accuracy. It gives a crisp sound when hit correctly, which is wonderfully motivating. It is also honest. If your kick lands with the side of the foot, misses the center, or arrives late after your body has over-rotated, the target will tell on you.
How to Do It
Have a trained partner or instructor hold the paddle at a comfortable mid-level height. Begin slowly. Look first, pivot second, chamber third, kick fourth. Touch the paddle with the heel, then rechamber and return to stance. Once you can hit the center consistently, gradually increase speed.
Do not chase height. Many people want a dramatic high back kick immediately, but the body usually prefers to learn the alphabet before writing poetry. Aim around waist to midsection height while developing control. Height can come later through mobility, strength, and patient practice.
Accuracy Drill
Ask the holder to move the paddle slightly left or right between repetitions. Your job is to look, adjust, and kick only when you can see the target. This improves target recognition and reduces blind kicking. In martial arts practice, seeing the target is not optional. It is the difference between technique and enthusiastic guessing.
6. The Step-Behind Back Kick
The step-behind version helps you learn distance. It is especially useful when the target is slightly farther away. Instead of kicking from a fixed position, you step or shift first, then deliver the back kick. This variation adds movement while still keeping the core mechanics familiar.
How to Do It
Start in fighting stance. Step your rear foot slightly behind or across depending on your style and spacing. As your body turns, look over the kicking-side shoulder. Chamber the kicking leg and drive the heel backward into the target. Rechamber immediately and land in a balanced stance.
The step should be small and purposeful. A giant step can make your kick late and your balance messy. Imagine you are adjusting distance, not beginning a tap dance audition. Keep the rhythm compact: step, look, chamber, kick, recover.
When to Practice It
Use the step-behind back kick after you have reliable standing form. It is a bridge between stationary practice and more dynamic martial arts movement. Work it slowly first, then add a target. If your kick loses accuracy, return to the basic standing version for a few reps.
7. The Jump Back Kick Progression
The jump back kick is the flashiest variation in this guide, which means it should be treated like dessert: enjoyable, but not the foundation of your diet. It adds a small jump or switch before the kick, demanding more timing, coordination, and landing control.
How to Build It Safely
First, master the basic standing back kick. Next, practice small hops without kicking. Turn your head, pivot, hop lightly, and land balanced. Then add a low chamber. Finally, add a low back kick with minimal power. Keep the jump small. You are training control, not attempting to launch into orbit.
Use mats if available and avoid slippery floors. Do not practice jump kicks when tired, dizzy, or sore. Fatigue makes coordination worse, and jump kicks are not forgiving when your legs decide they have already clocked out for the day.
Best Use
The jump back kick is best for advanced students, demonstrations, forms, or controlled pad drills. For most learners, it should be a later goal. A clean low jump back kick is more impressive than a high, chaotic one that ends with you negotiating with gravity.
How to Improve Your Back Kick Technique
Keep Your Eyes on the Target
Always look before you kick. Turning your head helps align your body and improves accuracy. A back kick should not be blind. Even when performed quickly, the eyes lead the technique.
Use the Heel
The heel is usually the strongest contact point for a back kick. Pull your toes back, keep the ankle firm, and drive the heel straight behind you. Avoid floppy feet. A floppy foot is great for slippers, not for martial arts technique.
Control the Rechamber
Do not let the leg drop immediately after contact. Pull it back first. This builds speed, balance, and clean form. It also helps you avoid landing awkwardly.
Train Both Sides
Your dominant leg may learn faster, but your non-dominant leg deserves attention too. Training both sides improves coordination and helps prevent major strength imbalances. Also, your “bad side” is often just your “needs snacks and patience side.”
Beginner Back Kick Practice Routine
Here is a simple routine for beginners. Start with five to ten minutes of warm-up and dynamic mobility. Then practice ten slow chamber-and-hold reps per leg. Follow with ten basic standing back kicks per leg. Add two rounds of light paddle or bag practice, focusing on accuracy rather than power. Finish with easy stretching and breathing.
Practice two or three times per week if your body feels good. Give yourself rest days. Back kick improvement comes from consistent, mindful repetitionnot from doing 300 kicks on Monday and walking like a confused penguin on Tuesday.
Common Back Kick Problems and Fixes
Problem: You Lose Balance
Lower the kick height, bend the standing knee slightly, and slow the movement. Balance improves when your body has time to understand the position.
Problem: The Kick Goes Sideways
Use the wall-line drill. Focus on driving the heel straight back and keeping the chamber tight. Do not over-rotate your hips.
Problem: You Cannot See the Target
Turn your head earlier. Look over the shoulder on the kicking side before the leg extends. Your eyes should arrive before your heel.
Problem: The Kick Feels Weak
Check your alignment. Power depends on the hips, glutes, hamstrings, and core working together. Slow down, chamber tighter, and drive through the heel.
Experience Notes: What Practicing the Back Kick Teaches You
One of the first things people learn from practicing a back kick is humility. You may watch an experienced martial artist fire a clean kick into a pad and think, “That looks manageable.” Then you try it and discover your leg has submitted a different opinion. The first few attempts often feel awkward because the movement asks your body to coordinate vision, rotation, balance, and power in a direction you do not normally move.
In training, the back kick also teaches patience. Many beginners want to kick higher or harder right away, but the best progress usually comes from making the movement smaller and cleaner. A low back kick practiced with excellent posture builds the foundation for a faster, stronger kick later. This is a useful lesson beyond martial arts: slow practice is not weak practice. It is the workshop where good technique is built.
Another valuable experience is learning how much the eyes matter. The moment you remember to look over the correct shoulder, the kick often feels more organized. Your body follows your vision. Without that visual check, the kick can feel like sending a package without an address. With it, the movement becomes sharper and more confident.
Pad work adds another layer. The sound of a clean heel connection on a paddle or bag is satisfying, but it can also reveal mistakes quickly. If your balance breaks after impact, you may be leaning too much. If the target spins or twists oddly, your heel may not be landing squarely. If you feel strain in the knee or hip, you may be forcing height or rotating poorly. These small lessons are why controlled equipment practice is so helpful.
Over time, students often notice that back kick training strengthens more than the kicking leg. The standing leg becomes steadier. The core learns to brace. The hips become more coordinated. Even posture improves because the kick punishes sloppy alignment. It is difficult to perform a beautiful back kick while folding your torso like a cheap beach chair.
The best training experiences usually come from treating the back kick as a skill, not a trick. A trick is something you throw once for applause. A skill is something you refine, repeat, adjust, and understand. Some days the kick feels sharp. Other days your timing goes on vacation. That is normal. Progress in martial arts is rarely a straight line; it is more like a hiking trail with snacks, sweat, and occasional confusion.
If you are teaching yourself the basics, video feedback can help. Record a few slow reps from the side and rear angles. Look for your head turn, chamber position, heel path, and recovery. You do not need to judge yourself harshly. Just observe. The camera often catches details the body misses. It may also catch your facial expression during balance drills, which is a separate form of entertainment.
Finally, practicing the back kick teaches respect for control. A strong kick is not just about force. It is about knowing when to move, where to aim, how to recover, and how to train safely. In a good martial arts environment, power and responsibility grow together. That is what makes the back kick worth learning: it is not only a technique for the leg, but a full-body lesson in focus, timing, and discipline.
Conclusion
The back kick is one of the most rewarding martial arts techniques because it combines simplicity and depth. The basic idea is easy to understand: look, chamber, drive the heel backward, rechamber, and recover. But making it smooth, accurate, and powerful takes practice. Start with the standing back kick, build alignment with the wall-line drill, strengthen balance with chamber holds, then progress to bag work, paddle targets, step-behind movement, and eventually the jump back kick if your skill level supports it.
Train with patience, warm up properly, use safe targets, and prioritize clean mechanics over dramatic height. A back kick should feel direct, controlled, and repeatable. Do that consistently, and your technique will improve without needing movie magic, mysterious secret scrolls, or a soundtrack with too many drums.














