
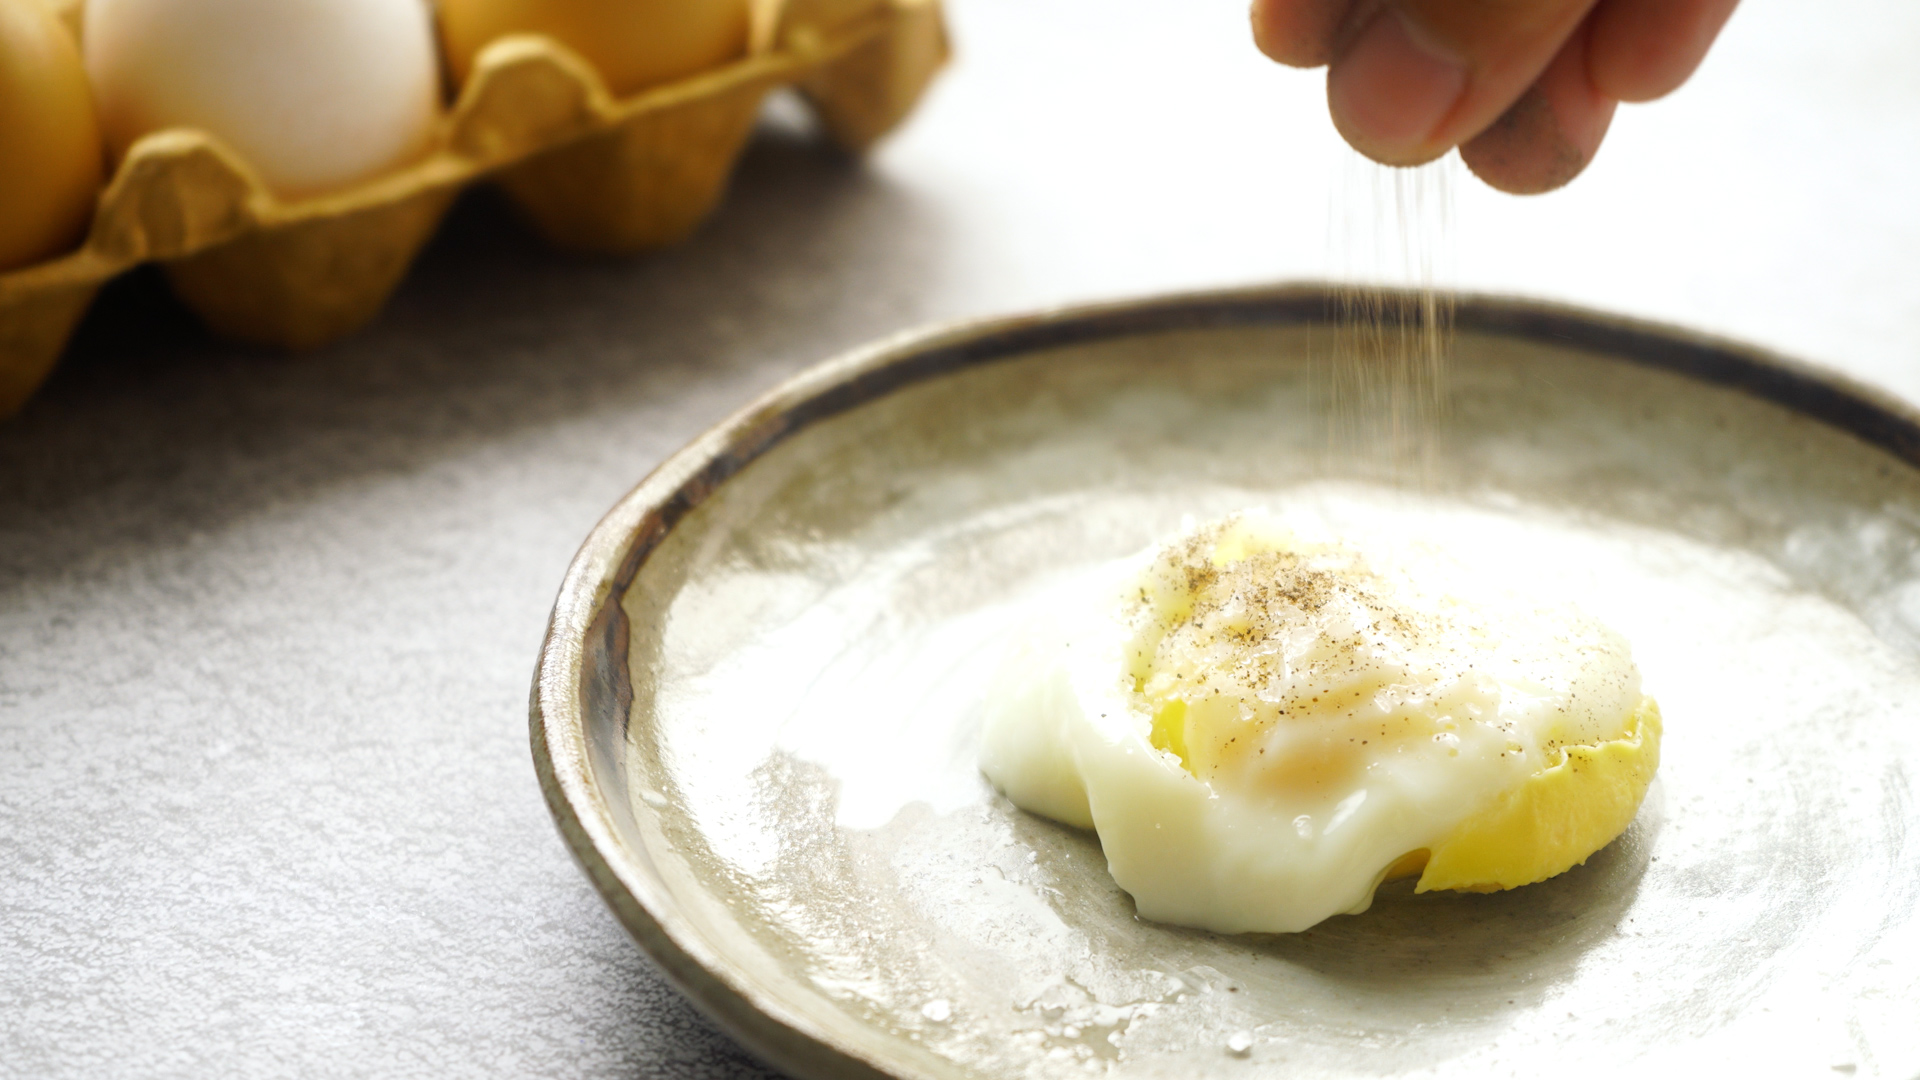
Poached eggs have a reputation for being the divas of breakfast. Traditional recipes ask you to simmer water, create a whirlpool, add vinegaere is a faster route. Learning how to poach an egg using a microwave gives you a tender white and creamy yolk in about a minute, using one mug and almost no cleanup.
Microwave cooking is fast but unforgiving: ten seconds can separate a silky yolk from a yellow hockey puck. Use enough water, cover loosely, cook conservatively, and finish in short intervals. Once you calibrate your microwave, this becomes an easy breakfast shortcut.
Why Microwave-Poached Eggs Work
Microwave poaching uses the same principle as stovetop poaching: hot water transfers heat gently into the egg. The water helps the white cook around the yolk instead of drying at the edges.
The result may be more compact than a cloudlike restaurant egg, but the method delivers speed, convenience, and repeatability after a little testing. For weekday toast, an office lunch, or an emergency grain bowl, that trade-off is easy to accept.
Research basis: microwave poaching methods and texture expectations.
What You Need
- 1 large, fresh egg
- About 1/2 cup water, plus more if needed to cover the egg
- 1 microwave-safe mug, ramekin, or small bowl
- 1 microwave-safe plate or vented cover
- A slotted spoon
- Paper towels or a clean kitchen towel
- Salt, black pepper, and optional toppings
- Optional: 1/2 teaspoon vinegar
A clear mug lets you see whether the white has set. Leave room for bubbling water, never microwave an egg in its shell, and do not seal the cover tightly. It should contain splashes while allowing steam to escape.
Research basis: microwave-safe vessels, loose covering, and avoiding eggs cooked in the shell.
How to Poach an Egg Using a Microwave in 8 Steps
-
Step 1: Choose a Microwave-Safe Container
Use a sturdy 10- to 12-ounce mug, ramekin, or small bowl labeled microwave-safe. Wider bowls create flatter eggs; narrower mugs encourage a rounder shape. Breakfast is not a geometry exam, so either works. Check for cracks and place the container near the center of the turntable.
-
Step 2: Add the Water
Pour about 1/2 cup of water into the container, enough to submerge or nearly submerge the egg. Room-temperature water provides a controllable start. Preheated water works faster but narrows the window between undercooked and overcooked. Record your successful time for repeatable results.
-
Step 3: Add Vinegar if Desired
For a slightly neater white, stir in 1/2 teaspoon of white vinegar. It is optional; egg freshness and container shape often matter more. Skip salt in the water and season after draining.
-
Step 4: Crack the Egg into the Water
Crack the egg into a small cup, remove any shell, then slide it gently into the water. Add a tablespoon or two more water if the top remains exposed. Fresh eggs hold a tighter shape; older eggs may produce harmless wispy strands instead of a brunch-photo finish.
Research basis: fresh eggs retain a neater poached shape.
-
Step 5: Vent the Yolk and Cover Loosely
Use a toothpick or knife tip to make one shallow prick in the yolk membrane. The goal is a tiny vent, not yolk soup. Cover with a microwave-safe plate or vented lid, leaving space for steam to escape.
Research basis: venting the yolk, covering, and retaining moisture.
-
Step 6: Microwave Conservatively
Microwave one egg on high for 30 seconds. If the white remains mostly transparent, continue in 10-second intervals. Total time often lands around 40 to 70 seconds, but wattage, water temperature, egg size, and container shape all matter. Start short: you can add time, but you cannot negotiate a firm yolk back into runny condition.
Research basis: short starting time, wattage variation, and incremental cooking.
-
Step 7: Let the Egg Rest
When the white is mostly opaque, leave the covered egg in the hot water for 30 to 60 seconds. Carryover heat gently firms the center. Open away from your face; if the white remains clear, microwave another 5 to 10 seconds.
-
Step 8: Drain, Season, and Serve
Lift the egg out with a slotted spoon, drain, and blot the underside. Serve immediately on toast, salad, beans, noodles, vegetables, or a grain bowl. Add salt, pepper, herbs, paprika, hot sauce, Parmesan, or everything-bagel seasoning. The microwave did the work; the toppings get the applause.
How to Tell When a Microwave-Poached Egg Is Done
A properly poached egg should have an opaque, set white. The yolk can remain soft if that is your preference, but the white should not look clear or watery. Gently press the top with a spoon: the white should feel firm enough to hold together, while the yolk may still give slightly.
For people at higher risk of foodborne illness, including pregnant people, young children, older adults, and those with weakened immune systems, use pasteurized eggs when serving a soft yolk or cook the egg more thoroughly. U.S. food-safety guidance for microwave egg dishes emphasizes thorough, even heating; a food thermometer is the most reliable way to verify temperature when full doneness is important.
Research basis: egg safety, pasteurized eggs, and microwave heating guidance.
Microwave Wattage and Timing Guide
Microwave power explains why 45 seconds produces perfection in one kitchen and a rubber ball in another. For one large egg in about 1/2 cup room-temperature water, begin here:
- 600 to 800 watts: Start with 45 seconds, then add 10-second intervals.
- 900 to 1,000 watts: Start with 35 to 40 seconds, then add 10-second intervals.
- 1,100 to 1,250 watts: Start with 30 seconds, then add 5- to 10-second intervals.
These are starting points, not guarantees. Stop early, inspect, and record the winning time inside a cabinet door. Future-you will appreciate it before coffee.
Common Problems and Easy Fixes
The Egg White Is Still Runny
Return the covered mug to the microwave for 5 to 10 seconds, then let it rest. Large eggs, cold water, and low-wattage microwaves often require more time. Do not add a full extra minute unless you are deliberately making a stress ball.
The Yolk Turned Hard
Reduce the first cooking cycle by 10 seconds and rely more on the resting period. You can also use slightly cooler water or a lower power setting. Incremental cooking gives you much better control than one long blast.
The Egg Spread into Wispy Strands
Use a fresher egg, choose a narrower container, and lower the egg into the water from a small cup. A little vinegar may also help the white gather more neatly. Even if the shape is rustic, the flavor will still be excellent.
The Egg Popped or Splattered
Make sure the egg is surrounded by water, prick the yolk membrane once, and use a loose cover. Avoid overcooking and never microwave an intact egg in its shell. Let the mug stand briefly before uncovering, and keep your face away from escaping steam.
Best Ways to Serve a Microwave-Poached Egg
Beyond buttered toast, add the egg to avocado, sautéed spinach, brown rice, roasted vegetables, black beans, ramen, lentils, or salad. The yolk becomes an instant sauce. For shortcut eggs Benedict, layer an English muffin with Canadian bacon or spinach, the egg, and warm hollandaise. It may not impress a French examiner, but Tuesday morning will feel more civilized.
Research basis: poached eggs as toppings for toast, beans, salads, vegetables, and grain-based meals.
Practical Experience: What I Learned While Testing Microwave-Poached Eggs
The first lesson is that a microwave-poached egg recipe is really a calibration exercise. The written method gets you close, but your appliance decides the final number. A test in a powerful microwave can finish surprisingly fast, while the same egg in a compact office model may need several extra bursts. The most useful habit is starting conservatively and writing down the successful combination of container, water temperature, power, and time.
My most consistent setup is a wide, 12-ounce ceramic mug with about 1/2 cup of room-temperature water. A large egg sits comfortably below the surface, and the mug has enough headroom to prevent an enthusiastic boil from redecorating the microwave. I cover it with a small plate, cook briefly, then let the egg rest. The rest matters more than it seems. On several attempts, a white that looked slightly loose immediately after cooking became properly set after sitting in the hot water for less than a minute.
Short bursts also produce a better texture than one heroic cooking cycle. When I pushed the full time at once, the outer white became tough before the layer nearest the yolk had finished. Breaking the final cooking into 5- or 10-second intervals gave the heat time to redistribute. It felt slower because I was checking repeatedly, but the entire process still took only a couple of minutes from cracking the egg to washing the mug.
Egg freshness was visible. A fresh egg formed a compact oval with a neat white hugging the yolk. An older egg created feathery strands that floated around the mug. The older egg tasted fine, but it looked as though it had been startled. For a casual breakfast, that does not matter. For a photograph, brunch tray, or eggs Benedict, the freshest egg in the carton is worth selecting.
I also tested the temptation to cook two eggs together. It can work in a larger bowl, but the results are less predictable because the eggs may sit at different depths and absorb heat unevenly. Cooking one egg per container is easier to control. When serving two people, using two matching mugs and heating them separately adds little time and greatly reduces the risk that one yolk becomes firm while the other white remains loose.
The best serving strategy is to prepare everything else first. Toast the bread, season the avocado, warm the beans, or dress the salad before the egg goes into the microwave. A poached egg cools quickly, and its soft texture is at its best immediately after draining. Having the plate ready turns the process into a smooth landing rather than a kitchen scavenger hunt conducted while the yolk waits.
Finally, microwave poaching is not a replacement for every traditional method. A stovetop poached egg can be more delicate and visually elegant, especially when making several servings. The microwave wins when speed, cleanup, and convenience matter most. It is ideal for a single breakfast, a dorm room, an office kitchen, or a late-night meal when washing a saucepan feels like an unreasonable request from the universe.
Frequently Asked Questions
Can You Poach Two Eggs at Once in the Microwave?
You can, but one egg per container is more reliable. Two eggs need more water and time, increasing the chance of uneven whites and yolks.
Do You Have to Use Vinegar?
No. It may tidy the white, but fresh eggs, enough water, and careful timing matter more.
Should the Water Be Hot or Cold?
Both work. Room-temperature water is easier for beginners; preheated water cooks faster but can overcook quickly.
Why Should You Cover the Mug?
A loose cover reduces splashing, retains moisture, and lets steam escape.
Can You Reheat a Poached Egg?
Yes, but the yolk may firm up. Warm it briefly in hot water; fresh is still best.
Conclusion
Knowing how to poach an egg using a microwave turns a famously fussy breakfast technique into an eight-step routine: choose a safe container, add water, use optional vinegar, lower in the egg, vent and cover, microwave briefly, rest, then drain and season. The biggest variable is your microwave, so begin with a short cooking time and make small adjustments.
Once calibrated, the method delivers a warm, tender egg with minimal equipment and almost no cleanup. Keep the white fully set, handle the hot water and steam carefully, and serve the egg right away. Your toast will never again have to face the morning alone.












