
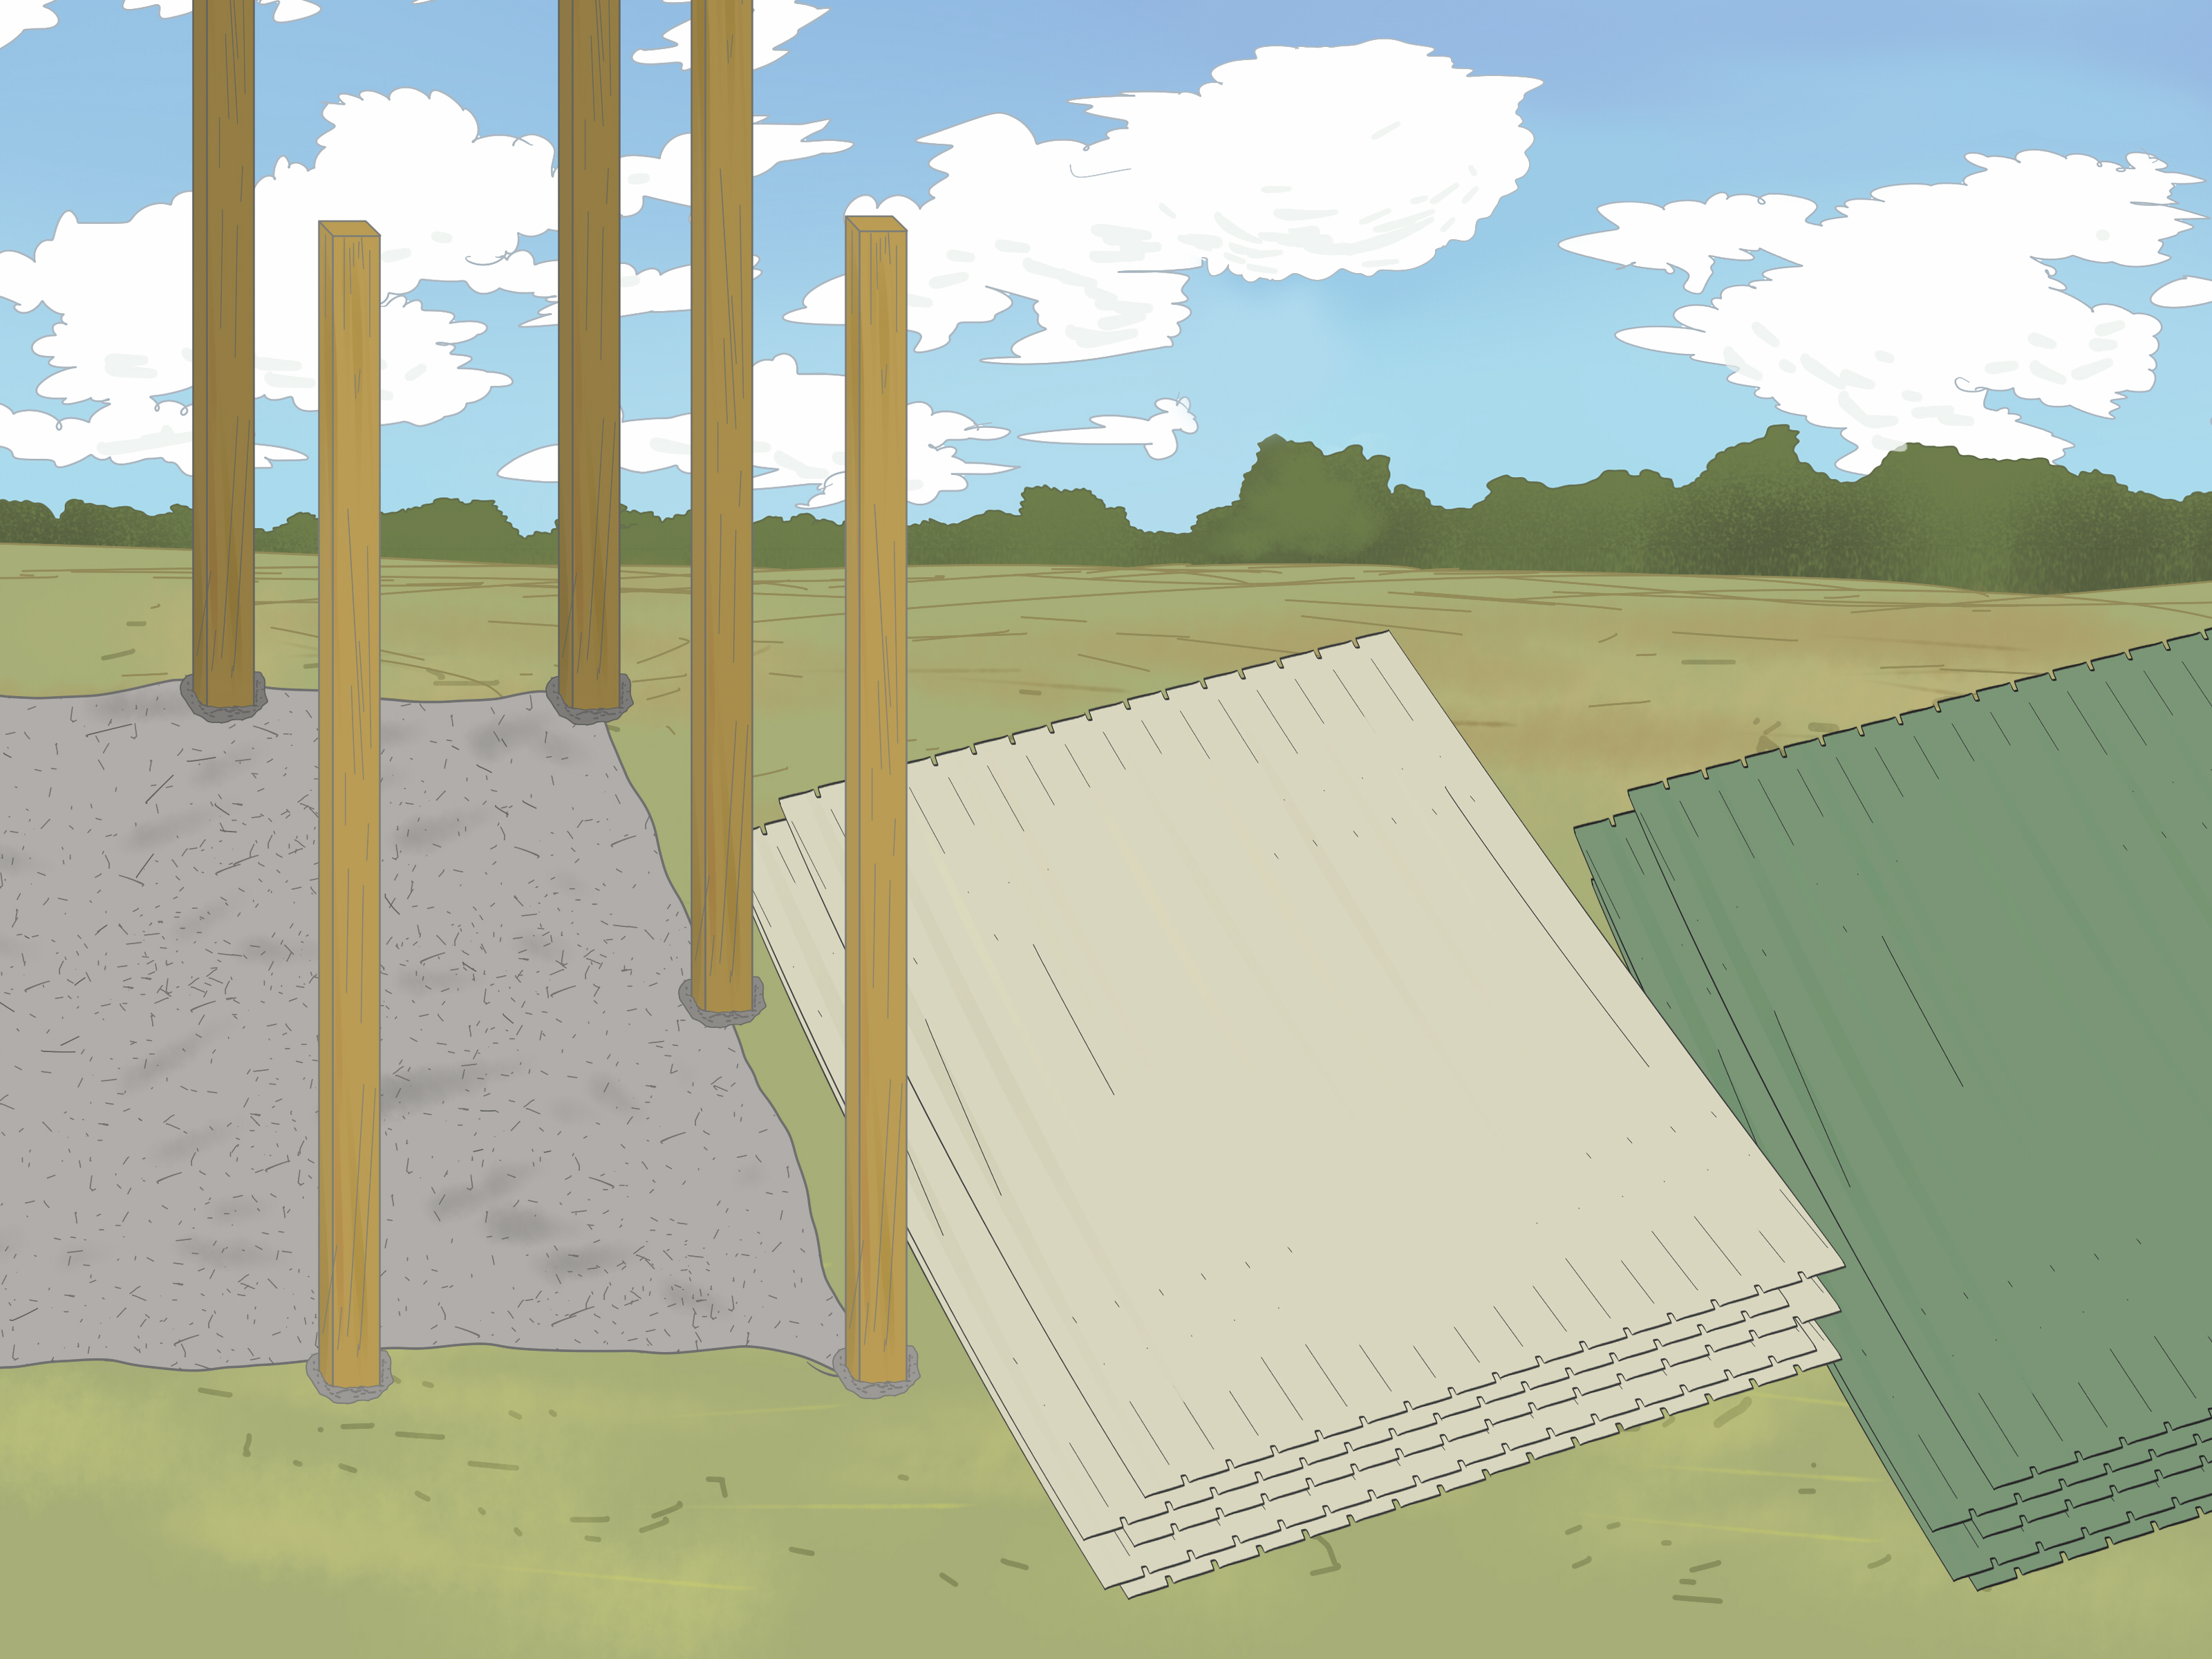
Laying out a pole barn is the moment your dream building stops being a sketch on graph paper and starts becoming a real footprint in the dirt. It is also the moment when small mistakes become large, expensive, “why is that wall wandering like a lost goat?” problems. The good news is that a clean pole barn layout is not mysterious. It is a careful process of choosing the right site, checking local requirements, marking straight lines, squaring corners, and placing posts exactly where the building plan says they belong.
A pole barn, also called a post-frame building, uses large structural posts or columns to carry roof and wall loads. Because those posts are the backbone of the building, their layout matters. If the posts are misaligned, everything that followstrusses, girts, siding, doors, windows, and concretegets harder. A barn that starts square tends to stay friendly. A barn that starts crooked spends the rest of the project arguing with you.
This guide walks through how to lay out a pole barn in 11 practical steps, from planning the building pad to marking post holes. Whether you are building a farm storage barn, garage, workshop, equipment shed, horse barn, or hobby shop, these steps will help you create a more accurate, buildable layout. Always follow your engineered plans, local code, and permit requirements. A tape measure is powerful, but it is not a building inspector.
Before You Begin: Gather the Right Tools and Information
Before you drive the first stake, gather your plans, site information, and layout tools. At minimum, you will need a long tape measure, string line, stakes, batter boards, marking paint, a level or laser level, a framing square, a hammer, nails or screws, flags, and a calculator. For larger buildings, a transit, rotary laser, or layout laser can save time and reduce measuring errors.
You should also know your building dimensions, post spacing, door locations, roof overhangs, setback requirements, grade elevations, frost depth, and drainage direction. If your plans show a 30-by-40-foot pole barn, confirm what those dimensions mean. Many post-frame plans measure from outside of corner column to outside of corner column, not from finished siding to finished siding. That difference may sound tiny now, but it can become a cranky little gremlin once framing starts.
How to Lay Out a Pole Barn in 11 Steps
1. Check Zoning, Permits, and Setback Rules
Start at the local building or zoning office, not at the lumberyard. Most U.S. jurisdictions have rules about where a pole barn can sit on a property. These may include setbacks from property lines, roads, septic systems, wells, easements, wetlands, overhead utilities, and existing buildings. Agricultural exemptions may apply in some areas, but never assume your barn is exempt just because it smells faintly like hay in your imagination.
Ask whether you need a zoning permit, building permit, engineered drawings, site plan, stormwater approval, or driveway access permit. If the pole barn will have plumbing, electrical service, heating, living space, animals, commercial use, or public access, expect additional requirements. Getting this settled first prevents the worst layout mistake of all: building a perfect rectangle in the wrong legal location.
2. Choose the Best Building Site
The best pole barn site is accessible, well-drained, buildable, and suited to the barn’s purpose. Think about how trucks, trailers, tractors, horses, or daily foot traffic will enter and exit. A beautiful barn site is less beautiful if backing a trailer into it requires the steering skills of a circus performer.
Look for high ground where water naturally drains away. Avoid low spots, soft soils, old fill areas, and places where roof runoff from nearby structures will dump water near your posts. Consider prevailing winds, sun exposure, snow drifting, and the direction doors should face. For a shop or garage, easy driveway access may be the priority. For a livestock barn, ventilation, shade, and manure handling may matter more. For equipment storage, door height, turning radius, and apron space are critical.
3. Call 811 Before Any Digging
Before you dig post holes, trench utilities, or scrape the site, contact 811 or your state’s one-call center. This free service helps locate public underground utilities such as electric, gas, water, communications, and sewer lines. Give the utilities time to respond before breaking ground, and protect the markings once they appear.
Remember that 811 typically marks public utility lines, not every private line on your property. Private electric lines to outbuildings, irrigation lines, propane lines, low-voltage lighting, drain tile, and old mystery pipes may require a private locator. Old farms, in particular, can hide underground surprises. Some properties contain pipes whose original installer has long since retired, moved away, or become local legend.
4. Prepare the Building Pad
A solid layout starts with a stable pad. Remove vegetation, roots, topsoil, and organic material from the building footprint and several feet beyond it. Topsoil is great for tomatoes, not for supporting a pole barn. It holds moisture, compresses unevenly, and decomposes over time.
Build up low areas with clean, compactable fill such as crushed stone, gravel, or suitable structural fill. Compact the fill in thin lifts rather than dumping a mountain of material and hoping gravity becomes your subcontractor. A raised pad with positive drainage helps protect posts, splash boards, slab edges, and stored equipment. Plan the finished grade so water moves away from the barn on all sides.
5. Establish a Baseline
The baseline is the first straight reference line for your pole barn layout. It often represents the front wall or one side wall. Choose a baseline that aligns with something important: a driveway, existing building, fence line, road, property line, or preferred view. Do not rely on your eyeballs alone. Human eyeballs are excellent for admiring sunsets and terrible for creating square buildings.
Drive two temporary stakes beyond the building corners and stretch a tight string between them. This string should represent one outside wall line according to the plans. Use a long tape and adjust the line until it is straight, properly located, and parallel to any reference feature you care about. Mark the first corner point on this line, then measure the building length along the baseline and mark the second corner.
6. Set Batter Boards Outside the Corners
Batter boards are temporary wooden boards placed outside the building footprint. They hold string lines in position while you mark corners, square the layout, and dig holes. Set batter boards several feet away from each corner so they will not be disturbed by augers, skid steers, concrete trucks, or enthusiastic helpers carrying things they cannot see over.
Install two stakes at each corner location and fasten a horizontal board between them. Keep the tops level with each other or establish a consistent reference elevation. The goal is to create stable points where strings can be moved, tightened, and adjusted without losing the layout. Good batter boards are like bookmarks for your building footprint: they let you return to the exact lines even after the ground gets messy.
7. Create the Full Rectangle With String Lines
Once the baseline is set, run perpendicular strings from the first two corners to form the remaining sides of the pole barn. Use your plans to measure the building width. At this stage, you are creating a rectangle that represents the outside column lines or other specified plan reference points.
Do not rush. Keep string lines tight, visible, and high enough to work with. A sagging line can shift your post layout. A string kicked by a boot can turn your clean rectangle into abstract art. Mark each corner with a nail, screw, or flag so the layout is easy to recheck. Label corners if needed, especially on larger barns with multiple overhead doors, lean-tos, porches, or interior divisions.
8. Square the Corners Using Diagonal Measurements
To square a pole barn layout, measure diagonally from one corner to the opposite corner, then measure the other diagonal. If the building is square, both diagonal measurements will match. If they do not match, adjust the strings until the diagonals are equal while keeping the side lengths correct.
You can also use the 3-4-5 method for smaller reference checks. For example, measure 3 feet along one string and 4 feet along the perpendicular string; the diagonal between those marks should be 5 feet if the corner is square. For larger buildings, scale it up to 6-8-10, 9-12-15, or 12-16-20. However, matching full diagonal measurements is usually the most reliable method for the complete building footprint.
Take your time here. A difference of even an inch or two in diagonals can create trouble when trusses, metal panels, sliding doors, or overhead doors are installed. Steel siding is wonderfully durable, but it is not a magician. It will reveal crooked framing with the honesty of a toddler pointing at your haircut.
9. Mark Post Locations Along the Layout Lines
With the rectangle square, mark each post location according to the plans. Common post spacing is often 8 feet on center, but spacing varies by design, building size, load requirements, door openings, truss spacing, wall height, and local engineering. Never guess. The post layout must match the engineered design because posts carry loads from the roof and walls down into the ground.
Measure from a consistent reference point, such as the outside of the corner column or the centerline specified in the plans. Mark each post hole with paint, flags, stakes, or a combination. Identify special locations such as large door openings, corner posts, end-wall posts, partition walls, porch posts, and lean-to posts. Double-check that door openings have the correct clear width and that posts do not accidentally land in the middle of where your future garage door wants to live.
10. Verify Elevation, Drainage, and Finished Floor Height
Before drilling holes, confirm the elevation of the building pad and future finished floor. A laser level or transit is extremely useful here. Establish a benchmark that will not move, such as a stake outside the work area, a nearby slab, or another fixed reference point. From there, check whether the site is level enough and whether the final grade will drain properly.
If you plan to pour a concrete slab later, think about slab thickness, gravel base, vapor barrier, door thresholds, apron slope, and how water will move away from large openings. Many pole barns are framed before the slab is poured, with treated skirt boards helping define the slab edge. If plumbing or electrical conduits must run under the slab, lay them out early. Adding a floor drain after the concrete is poured is like trying to install a basement under a finished house: technically imaginable, emotionally expensive.
11. Recheck Everything Before Drilling Post Holes
Before the auger touches soil, recheck the entire layout. Confirm side lengths, diagonal measurements, post spacing, door locations, setbacks, utility markings, and elevation. Walk around the site with the plans in hand. Compare what is on paper with what is marked on the ground.
This final review may feel repetitive, but it is much easier to move a flag than to move a concrete-set post. Once post holes are drilled, keep the layout strings in place as long as possible. They help align posts during setting and backfilling. If strings must be removed temporarily, mark reference points clearly on batter boards so they can be restored.
Common Pole Barn Layout Mistakes to Avoid
Ignoring Drainage
Water is one of the biggest enemies of post-frame buildings. A barn placed in a low, soggy area may suffer from frost movement, muddy approaches, slab moisture, post deterioration, and general misery. Plan drainage before construction. Raise the pad if needed, slope grade away from the barn, and consider gutters, downspouts, gravel aprons, swales, or perimeter drains where appropriate.
Measuring From the Wrong Point
Pole barn plans may reference outside column faces, centerlines, finished dimensions, or framing dimensions. Mixing these up can throw off the entire layout. Read the plan notes carefully. If a dimension is unclear, ask the building supplier, designer, or engineer before marking holes.
Forgetting Door Swing and Access Space
A barn layout is not just a rectangle; it is a working space. Overhead doors need approach room. Sliding doors need wall space beside the opening. Entry doors need safe steps, landings, and clear paths. Livestock doors need durable traffic areas. Equipment barns need enough turning space to avoid playing bumper cars with a hay rake.
Moving Stakes After Squaring
Once the layout is square, protect your stakes, strings, and batter boards. Bright paint, flags, and caution tape can help. Tell helpers what the lines mean. Otherwise, someone may remove “that random string in the way,” and suddenly your geometry has gone on vacation.
Practical Example: Laying Out a 30-by-40-Foot Pole Barn
Imagine you are laying out a 30-by-40-foot equipment barn with posts at 8-foot spacing along the length and a 12-foot overhead door on one gable end. First, you confirm setbacks and permits. Then you choose a pad that gives trucks a straight approach to the door. After calling 811 and clearing topsoil, you establish the 40-foot front baseline parallel to the driveway.
You set batter boards outside each corner, stretch string lines, and measure 30 feet for the building width. Next, you measure both diagonals. A 30-by-40 rectangle should have diagonals of 50 feet because 30 squared plus 40 squared equals 50 squared. If one diagonal is 50 feet 2 inches and the other is 49 feet 10 inches, the layout is not square yet. Adjust the strings until both diagonals match.
Then you mark post locations according to the plan. Along the 40-foot sides, your posts might fall at 0, 8, 16, 24, 32, and 40 feet, depending on the engineered layout. Around the overhead door, the plan may call for specific jamb posts and header details. Finally, you recheck door placement, diagonals, and pad elevation before drilling.
Extra Experience: Field-Tested Advice for a Better Pole Barn Layout
Experience has a way of teaching lessons that no shiny brochure can quite capture. One of the biggest lessons in laying out a pole barn is this: slow work at the beginning makes fast work possible later. The layout stage is not where you want to “eyeball it and fix it in framing.” That phrase has caused more headaches than dull drill bits and surprise rainstorms combined.
A useful habit is to create a written layout checklist before you go outside. Include building length, width, diagonal measurement, post spacing, door sizes, overhangs, finished floor elevation, and setback distances. Keep this checklist on a clipboard or in a clear plastic sleeve. Job sites have a special talent for eating paperwork, especially when wind and mud join forces.
Another practical tip is to use more markings than you think you need. Mark corners with stakes, paint, and labels. Mark post holes with paint circles and flags. Write “door,” “corner,” or “lean-to” on stakes when the layout is complicated. You may understand the marks perfectly at 9 a.m., but by late afternoon, after moving gravel, answering phone calls, and wondering where your tape measure went for the third time, extra labels feel like a gift from your past self.
For long walls, keep your tape measure straight and level when measuring post spacing. A tape that bows around weeds, slopes through a rut, or catches on a rock can introduce small errors. Those errors stack up. Instead of measuring each post from the previous post only, measure from a fixed corner whenever possible. This reduces cumulative mistakes. For example, if posts are 8 feet on center, mark 8, 16, 24, 32, and 40 feet from the same corner rather than hopping along one bay at a time.
It also helps to have one person read measurements and another repeat them out loud. This sounds a little dramatic until someone mistakes 30 feet 6 inches for 36 feet. On construction sites, numbers deserve confirmation. Use clear phrases like “outside face of corner post” or “center of post hole” so everyone knows what is being measured.
Weather matters, too. Layout on a calm day if you can. Wind turns string lines into jump ropes. Rain turns paint marks into modern art. Frozen ground, tall grass, and deep mud all make accuracy harder. If the site is rough, mow or scrape it before final layout. A clean pad is easier to measure, easier to see, and less likely to hide ankle-twisting surprises.
Finally, do not be embarrassed to recheck the layout multiple times. Professional builders do it because they know mistakes are cheaper before concrete. Check the rectangle after lunch. Check it again before drilling. Check it after equipment moves across the site. The best builders are not the ones who never make mistakes; they are the ones who catch them while they are still small, movable, and not encased in 3,500 PSI regret.
Conclusion
Learning how to lay out a pole barn is mostly about patience, accuracy, and respect for the plan. Choose a well-drained site, confirm permits and setbacks, call 811, prepare a stable pad, establish a baseline, use batter boards and strings, square the layout with diagonals, mark post locations carefully, and recheck everything before drilling. These steps may not be glamorous, but they are the foundation of a straight, strong, useful building.
A pole barn layout is where the project’s future is quietly decided. Get it right, and the rest of the build feels smoother. Get it wrong, and every board, truss, panel, and door may remind you. Take the time now. Your future selfthe one standing inside a square, dry, sturdy barnwill be very grateful.
Note: This article is for general educational guidance. Always follow engineered plans, local building codes, permit requirements, manufacturer instructions, and professional advice for your specific site and building design.














