
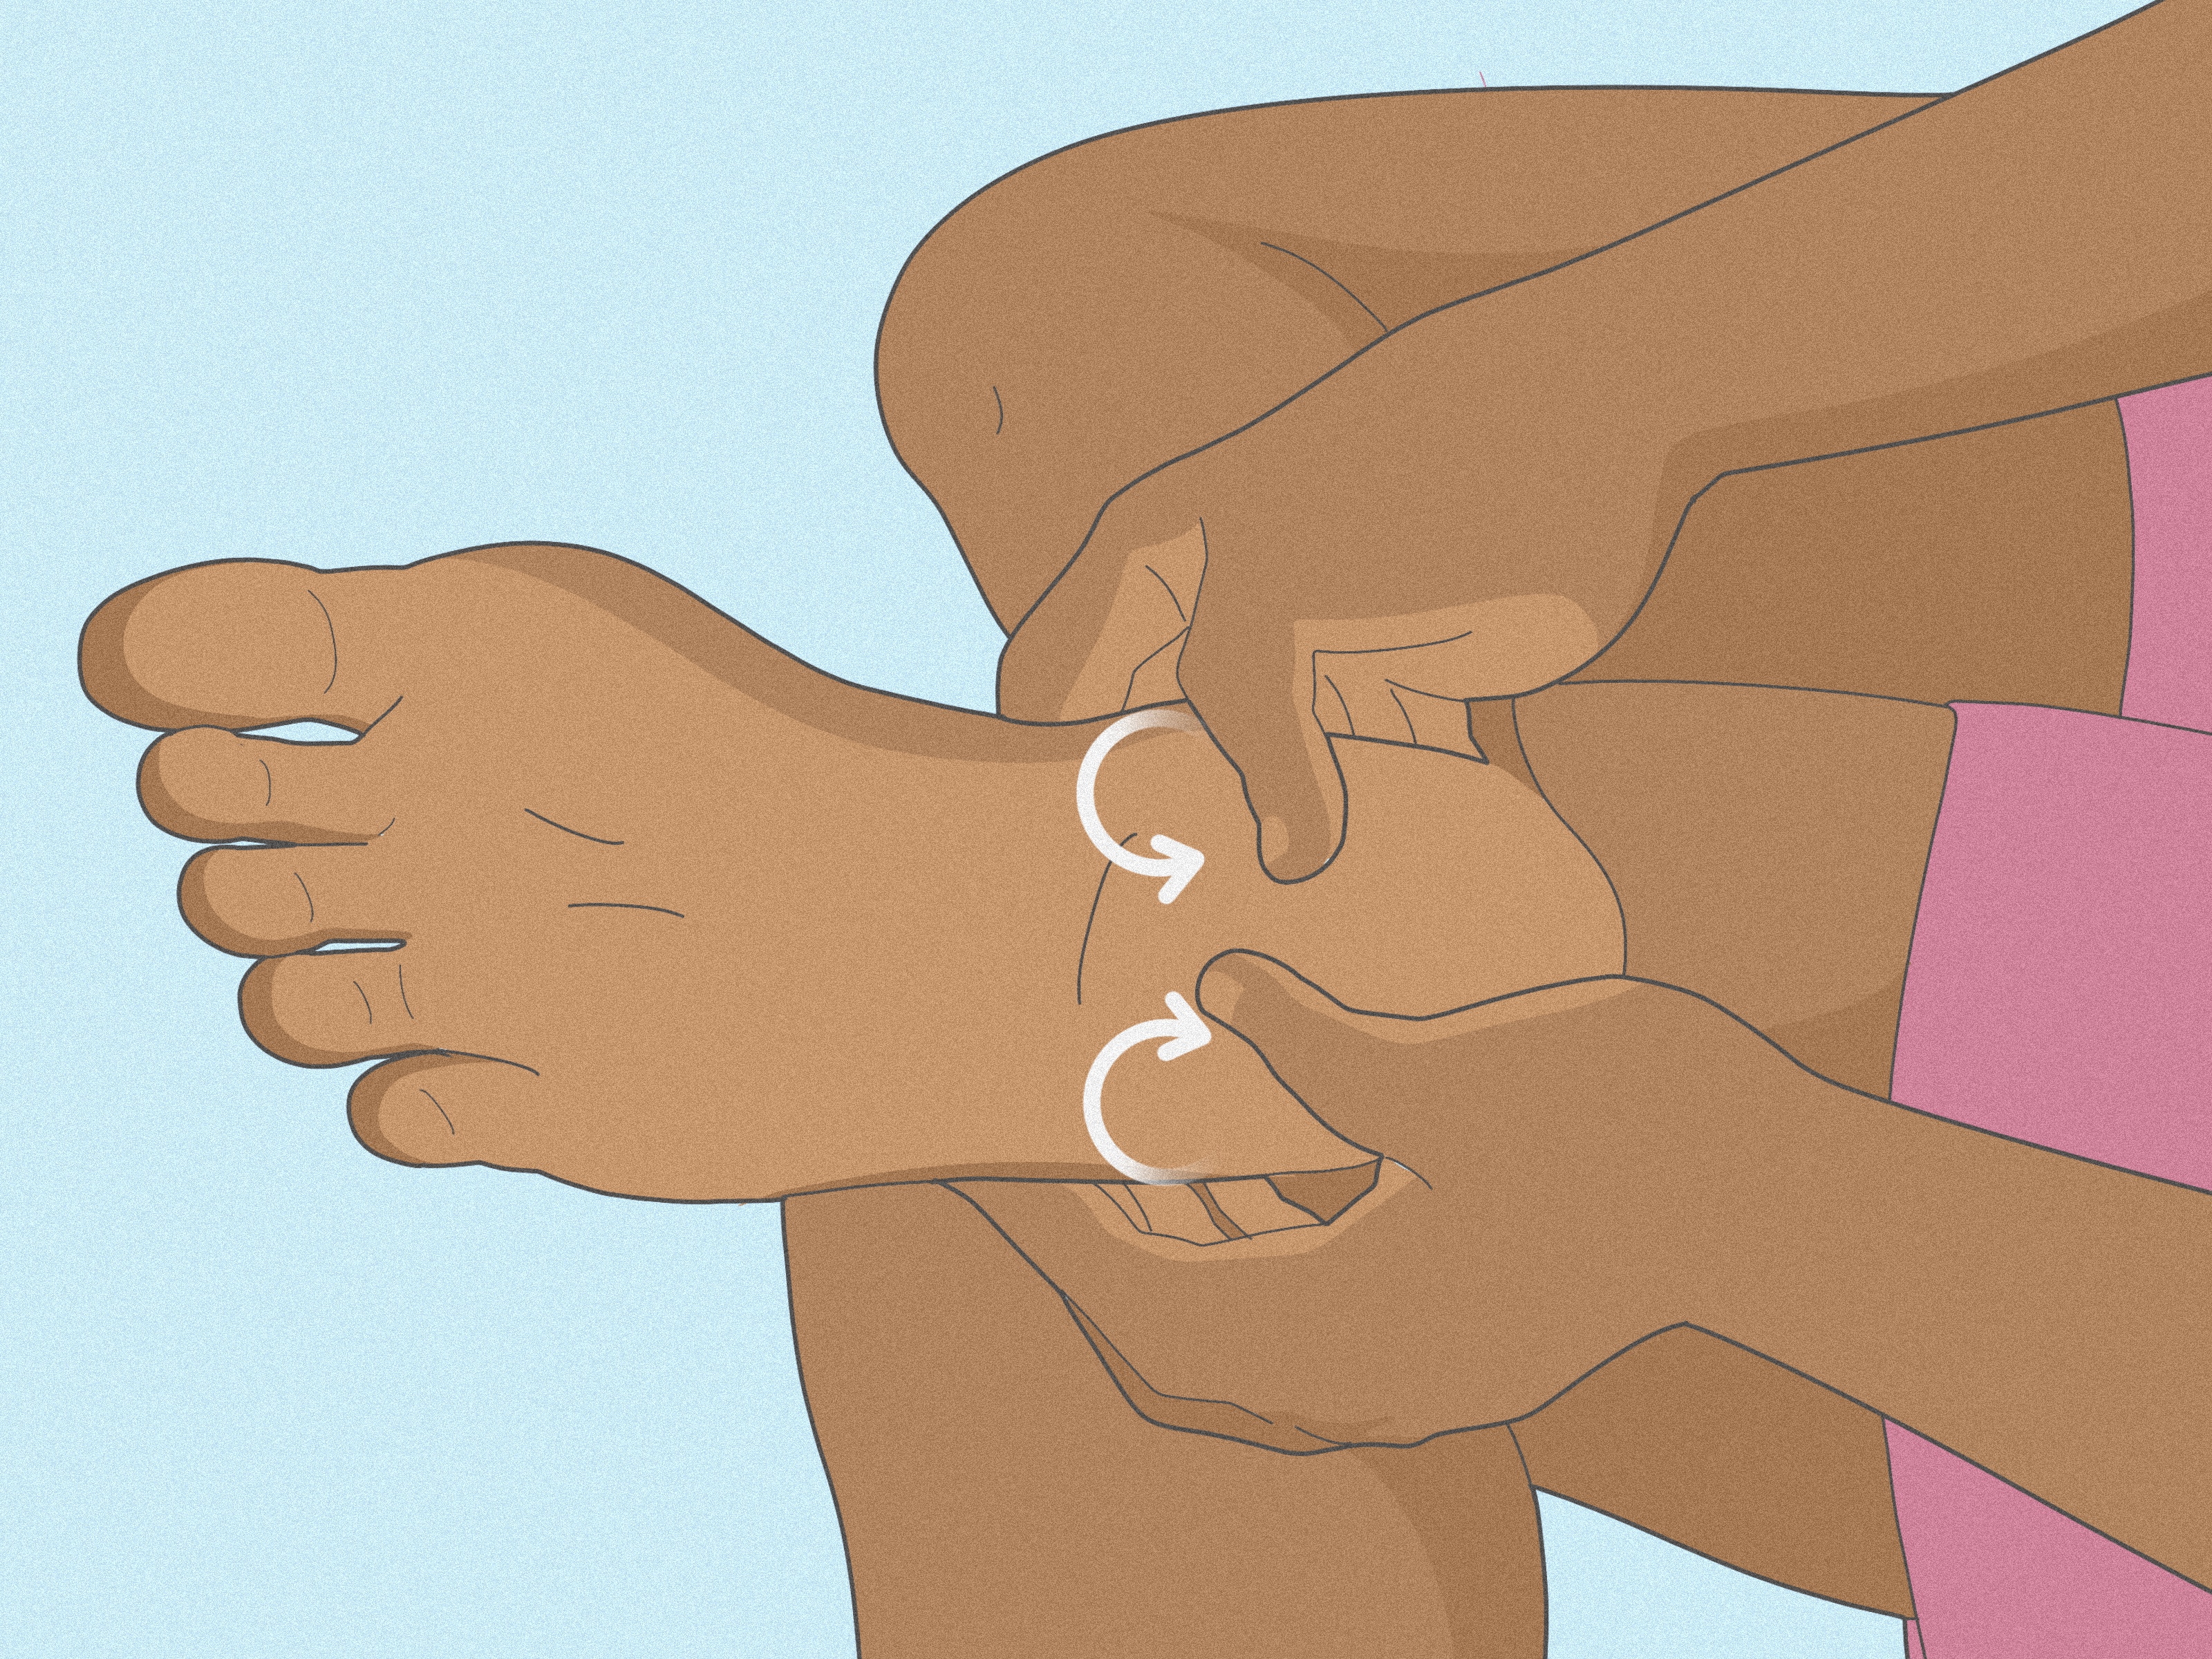
Your feet do a ridiculous amount of work for body parts that rarely get a thank-you card. They carry you through grocery runs, workouts, school halls, long shifts, airport sprints, and those moments when you swear you are “just going to stand for a minute” and somehow end up standing for an hour. So when your arches ache, your heels complain, or your ankles feel as stable as a folding chair on ice, foot physical therapy exercises can be a smart, low-drama way to rebuild comfort, strength, and mobility.
The good news is that you do not need a fancy rehab lab to start. Many of the most effective foot and ankle exercises are simple, gentle, and home-friendly. Think towel stretches, toe curls, calf raises, ankle alphabet drills, and balance work. Physical therapists often use these movements to improve flexibility in the plantar fascia and calf, restore ankle range of motion, strengthen the small muscles in the feet, and support better walking mechanics. In plain English: they help your feet stop acting like they are personally offended by every step.
This guide breaks the process into four practical ways to do physical therapy exercises for the feet. Each way focuses on a different goal, from loosening stiff tissue to building strength and improving balance. You will also find tips for form, common mistakes to avoid, and a longer section at the end about the real-world experience of doing these exercises consistently. Because the truth is, rehab is not just about knowing what to do. It is about knowing what it feels like while you are doing it.
Important note: This article is for general education, not a diagnosis. If you cannot bear weight, have significant swelling, numbness, a recent injury, or pain that keeps getting worse, check in with a qualified healthcare professional or physical therapist before starting.
Why Foot Physical Therapy Exercises Matter
When people think about movement problems, they usually blame the knees, hips, or back first. The feet, meanwhile, get treated like quiet employees who never ask for anything. But your feet and ankles are the foundation of everything above them. If the joints are stiff, the calf is tight, or the small stabilizing muscles are weak, your gait can change. That can increase strain on the arches, heels, Achilles tendon, ankles, knees, and even the lower back.
That is why a smart foot rehab routine usually does more than one thing. It improves mobility, reduces tension, strengthens the muscles that support the arch, and teaches your ankle and foot to control movement better. Whether you are dealing with plantar fasciitis, general foot fatigue, a mild sprain recovery, stiffness from inactivity, or just feet that feel older than the rest of you, these exercises can be helpful when used consistently and sensibly.
Way 1: Improve Flexibility and Ease Morning Stiffness
The first way to do foot physical therapy exercises is to focus on flexibility. This is especially helpful if your feet feel tight when you get out of bed, your calves are stiff, or your heel pain is worse after rest. Flexibility work targets the plantar fascia, Achilles tendon, and calf muscles, which often pull on each other like a tiny, grumpy tug-of-war team.
1. Towel Stretch
Sit on the floor or in a sturdy chair with one leg extended. Loop a towel around the ball of your foot and gently pull the towel toward you while keeping the knee mostly straight. Hold for about 20 to 30 seconds, then relax. Repeat 2 to 4 times on each side.
Why it helps: This stretch targets the calf and Achilles area, which can reduce tension that travels down into the heel and arch.
2. Plantar Fascia Toe Pull
Sit down and cross one foot over the opposite knee. Grab your toes and gently pull them back toward your shin until you feel a stretch through the arch. Hold for 20 to 30 seconds. Repeat 2 to 4 times.
Why it helps: This directly stretches the tissue along the bottom of the foot. It is especially popular for heel pain and arch tightness.
3. Wall Calf Stretch
Stand facing a wall. Put one foot forward and the other behind you. Keep the back heel flat and the back leg straight while leaning forward. Hold for 20 to 30 seconds, then switch sides. For a slightly different stretch, bend the back knee a little to target the deeper calf muscle.
Why it helps: Tight calves often increase stress on the foot. Looser calves can make walking feel smoother and less cranky.
4. Ball Roll
Sit in a chair and roll a tennis ball, massage ball, or even a frozen water bottle under the arch of your foot for 1 to 2 minutes.
Why it helps: This can ease soreness, improve tissue mobility, and feel surprisingly satisfying after a long day.
Common mistake: Stretching to the point of sharp pain. A therapeutic stretch should feel noticeable, not like your foot is filing a formal complaint.
Way 2: Strengthen the Arch, Toes, and Small Foot Muscles
The second way to do physical therapy exercises for the feet is to build strength from the ground up. This part is easy to underestimate because the movements look small. Very small. Borderline unimpressive. But the intrinsic foot muscles, toe flexors, and arch-supporting muscles are important for stability, shock absorption, and everyday walking.
1. Towel Scrunches
Place a small towel flat on the floor. Sit in a chair with your foot on the towel. Use your toes to bunch the towel toward you. Repeat for 1 to 2 minutes, then switch feet.
Why it helps: Towel scrunches strengthen the muscles on the bottom of the foot and can help support the arch.
2. Marble Pickups
Place 10 to 20 marbles, cotton balls, or small objects on the floor. Pick them up one at a time with your toes and drop them into a bowl.
Why it helps: This improves toe control, fine motor strength, and foot engagement. It also makes you feel oddly accomplished for moving marbles with your toes like a determined raccoon.
3. Short Foot or Arch Doming
Stand or sit with your foot flat on the floor. Without curling your toes, gently draw the ball of your foot toward your heel to lift the arch slightly. Hold for 5 seconds, then relax. Repeat 8 to 12 times.
Why it helps: This teaches the foot to create a more active, supportive arch without excessive gripping.
4. Toe Spreads
Sit or stand with your foot flat. Try to spread your toes apart as much as you can, then relax. Hold for 3 to 5 seconds and repeat 10 times.
Why it helps: Toe spreading promotes control and awareness in muscles that often get lazy inside tight shoes.
Common mistake: Curling the toes too aggressively during every exercise. Strength work should feel controlled, not like your foot is trying to grab the floor and carry it home.
Way 3: Build Ankle and Calf Strength for Better Support
The third way to do foot physical therapy exercises is to strengthen the muscles above the foot that support every step. Many foot problems are not just “foot problems.” They are part foot, part ankle, part calf, and part “I ignored this for six months and hoped it would go away.” Stronger calves and ankles can improve push-off, reduce overload on irritated tissues, and make the entire lower leg more resilient.
1. Calf Raises
Stand with your feet hip-width apart, holding a wall or chair for balance. Lift your heels as high as you can, then lower slowly. Start with 2 sets of 8 to 10 repetitions. Progress to single-leg calf raises when ready.
Why it helps: Calf raises strengthen the calf-Achilles-foot chain, which is essential for walking, climbing stairs, and maintaining proper foot loading.
2. Heel Raises with Pause
Do the same movement, but pause at the top for 2 to 3 seconds before lowering. This improves control instead of just bouncing up and down like a caffeinated pogo stick.
3. Resistance Band Ankle Work
Sit with your leg extended and loop a resistance band around your forefoot. Pull the foot up against resistance for dorsiflexion, point it down for plantarflexion, or move inward and outward for inversion and eversion. Do 8 to 12 reps for each direction.
Why it helps: These drills strengthen the muscles that protect the ankle and improve overall foot-ankle control.
4. Ankle Alphabet
Sit in a chair and lift one foot off the floor. Use your big toe like a pencil and “write” the alphabet in the air. Keep the movement controlled and let the ankle do the work.
Why it helps: This is a classic physical therapy move for ankle mobility and gentle activation. It is simple, effective, and makes your foot feel unexpectedly literate.
Common mistake: Rushing the lowering phase of calf raises. The way down matters. Slow lowering helps build control and tendon tolerance.
Way 4: Improve Balance, Coordination, and Walking Mechanics
The fourth way to do physical therapy exercises for the feet is balance training. This is the part many people skip because it does not look dramatic. But balance work matters. A foot can be flexible and strong in isolation, yet still struggle during real life if it cannot stabilize the body during standing, walking, turning, and stepping on uneven surfaces.
1. Single-Leg Stand
Stand near a wall or counter for safety. Lift one foot and balance on the other for 10 to 30 seconds. Repeat 3 to 5 times per side.
Why it helps: This trains the foot and ankle to make tiny adjustments that improve stability and coordination.
2. Tandem Stand
Stand with one foot directly in front of the other, heel to toe, as if you are standing on an imaginary balance beam. Hold for 20 to 30 seconds, then switch sides.
Why it helps: This challenges balance in a safe, accessible way and wakes up muscles that regular standing ignores.
3. Weight Shifts
Stand with your feet hip-width apart and slowly shift your weight forward, backward, side to side, and diagonally without lifting your feet.
Why it helps: Weight shifts retrain foot loading and body awareness. They are great for people easing back into movement after soreness or mild injury.
4. Heel-to-Toe Walking
Walk slowly in a straight line, placing the heel of one foot directly in front of the toes of the other. Take 10 to 20 careful steps.
Why it helps: This reinforces coordination, postural control, and more deliberate foot placement.
Common mistake: Doing balance drills far from support. Be brave, but not dramatic. Use a wall, countertop, or sturdy chair nearby.
How to Put These 4 Ways Into a Simple Weekly Routine
If you are new to foot rehab, keep it simple. Try 10 to 15 minutes, 4 to 6 days a week. A sample routine might look like this:
- Mobility: towel stretch, calf stretch, ball roll
- Foot strength: towel scrunches, marble pickups, short foot
- Ankle/calf strength: calf raises, ankle alphabet, band work
- Balance: single-leg stand or tandem stand
Start with low volume. Progress slowly. If pain rises sharply and stays worse the next day, back off. A little post-exercise soreness can be normal. Lingering pain that escalates is your sign to adjust the plan.
What People Commonly Experience While Doing Foot Physical Therapy Exercises
One of the most interesting things about foot rehab is how unglamorous it looks at first. People often begin these exercises expecting some dramatic, cinematic breakthrough. Instead, what they usually get is a towel, a wall, a chair, a few marbles, and the humbling realization that balancing on one foot is somehow harder than answering emails while hungry. That is normal.
In the first week, many people notice awareness before improvement. Suddenly they realize one foot is stiffer, one ankle is wobblier, or one calf is tighter than expected. The exercises can feel tiny, but the feedback is immediate. Towel scrunches may cause the arch to fatigue quickly. Calf raises may reveal a weaker side. The ankle alphabet often starts out looking less like handwriting and more like a foot trying to solve a geometry problem. None of that means you are doing badly. It means your body is finally paying attention.
During the second and third weeks, consistency usually matters more than intensity. People often report that the foot begins to feel less “stuck,” especially in the morning. Standing up after sitting may become less dramatic. The first steps of the day can feel smoother. Balance work also starts to improve in a sneaky way. At first, the standing leg shakes like it had three espressos. Later, it steadies. That small change is encouraging because it shows the foot and ankle are learning to coordinate better, not just get stronger.
Another common experience is discovering that supportive footwear and exercise work better together than either one alone. Many people do their exercises faithfully, then spend the rest of the day in floppy shoes with zero support and wonder why progress is slow. The foot appreciates teamwork. Stretching, strengthening, smart loading, and decent shoes usually make a stronger combination than any single trick on its own.
People also learn that progress is rarely perfectly linear. Some days the foot feels better. Other days it feels irritated because of a long walk, an intense workout, a day of standing, or simply doing too much too soon because the pain was improving and optimism got a little carried away. That up-and-down pattern is common in rehabilitation. The goal is not perfection. The goal is trend direction. If the overall pattern across several weeks is better mobility, less pain, and more confidence, the program is probably doing its job.
Perhaps the biggest experience people describe is renewed trust in the foot. Before rehab, every step can feel uncertain or annoying. After a few weeks of steady work, people often say the foot feels more reliable. Not magical. Not brand-new. Just more dependable. And honestly, dependable is underrated. A foot that lets you walk the dog, get through work, climb stairs, or enjoy a workout without staging a protest is a beautiful thing.
Conclusion
If you want a practical way to do physical therapy exercises for the feet, think in four categories: improve flexibility, strengthen the foot, build ankle and calf support, and train balance. That approach keeps the routine focused and effective. It also reflects how real rehab works. You do not just stretch. You do not just strengthen. You help the whole foot-and-ankle system move better together.
The best routine is usually the one you can actually stick with. Keep it simple, stay consistent, and progress gradually. Your feet may never send a thank-you note, but they can repay you by making every step feel less like a negotiation.














