Waxing eyebrows at home sounds simple until you remember that eyebrows sit directly above your eyes, have strong opinions, and do not always forgive mistakes quickly. The good news? With a careful plan, a light hand, and a tiny batch of homemade honey-and-salt wax, you can tidy stray brow hairs without turning your bathroom mirror into a dramatic before-and-after documentary.
This guide explains how to wax eyebrows at home using a honey and salt method inspired by traditional sugar-waxing techniques. It is designed for small touch-ups, not full brow redesigns. Think “clean the edges,” not “become your own celebrity brow artist at 11:48 p.m.” The goal is to remove obvious stray hairs safely while keeping your natural eyebrow shape intact.
Before you begin, remember this: facial skin is delicate. Do not wax over irritated, sunburned, peeling, broken, or freshly exfoliated skin. Avoid facial waxing if you are using strong retinoids, acne medications, or have recently had chemical peels, laser treatments, or microdermabrasion unless a licensed professional says it is safe. When in doubt, tweezing is the quieter, less dramatic cousin of waxingand sometimes the better choice.
What Is the Honey and Salt Eyebrow Wax Method?
The honey and salt method is a DIY hair-removal approach that uses a sticky, warm mixture to grip fine brow hairs so they can be lifted from the root with a small cloth or paper strip. Honey adds tackiness, sugar gives the mixture structure, water helps melt everything smoothly, and a tiny pinch of fine salt can add light texture. The keyword here is tiny. Your brows are not a soft pretzel.
This method works best on small areas such as the space between the brows, a few hairs above the brow line, or obvious strays near the tail. It is not ideal for heavy reshaping, very coarse hair, or anyone who has sensitive skin that reacts easily. If your skin often gets red, itchy, or bumpy after skincare products, patch testing is not optionalit is the boss.
Ingredients and Tools You Need
Honey and Salt Wax Ingredients
- 2 teaspoons granulated sugar
- 1 teaspoon honey
- 1/4 teaspoon water
- 1 tiny pinch of fine salt
Eyebrow Waxing Tools
- Small microwave-safe bowl or heat-safe spoon
- Wooden applicator, popsicle stick, or clean angled spatula
- Small cotton strips, muslin strips, or clean paper waxing strips
- Clean spoolie brush
- Eyebrow pencil or white eyeliner pencil for mapping
- Tweezers for final cleanup
- Gentle cleanser
- Clean towel
- Aloe vera gel or fragrance-free moisturizer
How to Wax Eyebrows at Home: 11 Steps
Step 1: Make Sure Your Skin Is Ready
Start with a quick skin check. Do not wax if the area around your brows is sunburned, irritated, scratched, broken out, freshly exfoliated, or unusually sensitive. Skip waxing if you have recently used strong acids, retinol, prescription retinoids, or acne treatments that make skin fragile. Waxing removes hair, but it can also pull at the top layer of skin, which is why preparation matters.
If you are taking acne medication, using prescription skincare, or have a skin condition, ask a dermatologist or licensed esthetician before waxing. The safest brow is the one still attached to calm, healthy skin.
Step 2: Clean Your Brow Area
Wash your face with a gentle cleanser and pat the brow area completely dry. Oil, sweat, sunscreen, and moisturizer can prevent the wax from gripping the hair properly. If the wax cannot grab the hair, it may cling to the skin instead, which is not the plot twist anyone ordered.
Do not scrub right before waxing. Exfoliation plus waxing can be too much for facial skin in one session. Keep your prep boring and gentle. Boring is underrated when your eyebrows are involved.
Step 3: Map Your Eyebrow Shape
Brush your brows upward and outward with a clean spoolie. Then use an eyebrow pencil or white eyeliner pencil to lightly mark the areas you want to keep. A simple rule: remove less than you think you should. You can always wax or tweeze one more hair, but you cannot politely ask a missing brow patch to come back by dinner.
For beginners, focus on the center area between the brows and a few obvious stray hairs above the brow. Be extra cautious under the brow, especially near the eyelid. The skin there is thin, mobile, and easy to irritate. Tweezers are usually safer for close detail work under the arch.
Step 4: Prepare the Honey and Salt Wax
In a small heat-safe bowl, combine the sugar, honey, water, and tiny pinch of salt. Stir until the ingredients are mixed. Heat the mixture in very short bursts of 5 to 8 seconds in the microwave, stirring between each burst. You can also warm it gently in a spoon held above hot water, but do not place it over an open flame.
The texture should become syrupy and sticky, similar to warm honey. It should not be boiling, smoking, bubbling aggressively, or turning dark brown. If it smells burnt, toss it and start over. Burnt wax belongs in the trash, not near your face.
Step 5: Let the Wax Cool and Test the Temperature
This step is non-negotiable. Let the wax cool until it is warm, not hot. Test a small amount on the inside of your wrist. If it feels uncomfortable there, it is too hot for your face. The brow area is more sensitive than your wrist, so be patient.
The wax should spread easily but not run. If it drips, it is too thin or too warm. If it hardens into candy, it has cooked too long. Aim for a soft, sticky consistency that can be applied in a tiny controlled line.
Step 6: Do a Patch Test
Before putting the mixture near your brows, test a small amount on a discreet area of facial skin, such as near the jawline. Apply, remove, and wait. If you notice stinging, swelling, rash-like bumps, or strong redness, do not use the mixture on your eyebrows.
Honey, salt, and sugar may sound kitchen-friendly, but skin does not care how natural something is. Natural ingredients can still irritate. Your face is not required to approve every recipe from the pantry.
Step 7: Apply a Thin Layer in the Direction of Hair Growth
Dip a clean wooden applicator into the wax and remove excess. Apply a very thin layer only where you want hair removed. For most brow hairs, apply in the direction the hair grows. Keep the layer narrow and controlled. Avoid placing wax directly on the main brow shape you want to keep.
Work on one small section at a time. Do not coat the entire eyebrow area. Precision is the secret sauce here, and unfortunately, sauce should not be poured over eyebrows.
Step 8: Press the Strip Firmly
Place a small strip of cotton, muslin, or waxing paper over the wax. Press it down in the same direction as hair growth so the wax grips the hairs. Rub gently two or three times. Keep one hand ready to hold the skin taut.
Using small strips gives you more control. Oversized strips can remove hairs you did not plan to touch. For eyebrow waxing at home, smaller is usually smarter.
Step 9: Pull the Strip Quickly and Keep Skin Taut
Hold the skin firmly with one hand. With the other hand, pull the strip back quickly in the opposite direction of hair growth, keeping the strip close and parallel to the skin. Do not yank upward. Pulling upward can cause more irritation and may not remove the hair cleanly.
Right after removing the strip, press a clean finger or cool cloth over the area for a few seconds. This helps calm the sting. Yes, waxing can pinch. No, you do not need to pretend it felt like a spa nap.
Step 10: Tweeze Leftover Hairs
After waxing a small section, stop and check your work. If a few hairs remain, use clean tweezers rather than waxing the same area repeatedly. Going over the same facial skin again and again increases the chance of redness, tenderness, and skin lifting.
Tweezing is perfect for final detail work. It also gives you time to pause and avoid the classic “just one more hair” mistake, which often ends with two surprised eyebrows living on different continents.
Step 11: Soothe and Protect the Skin
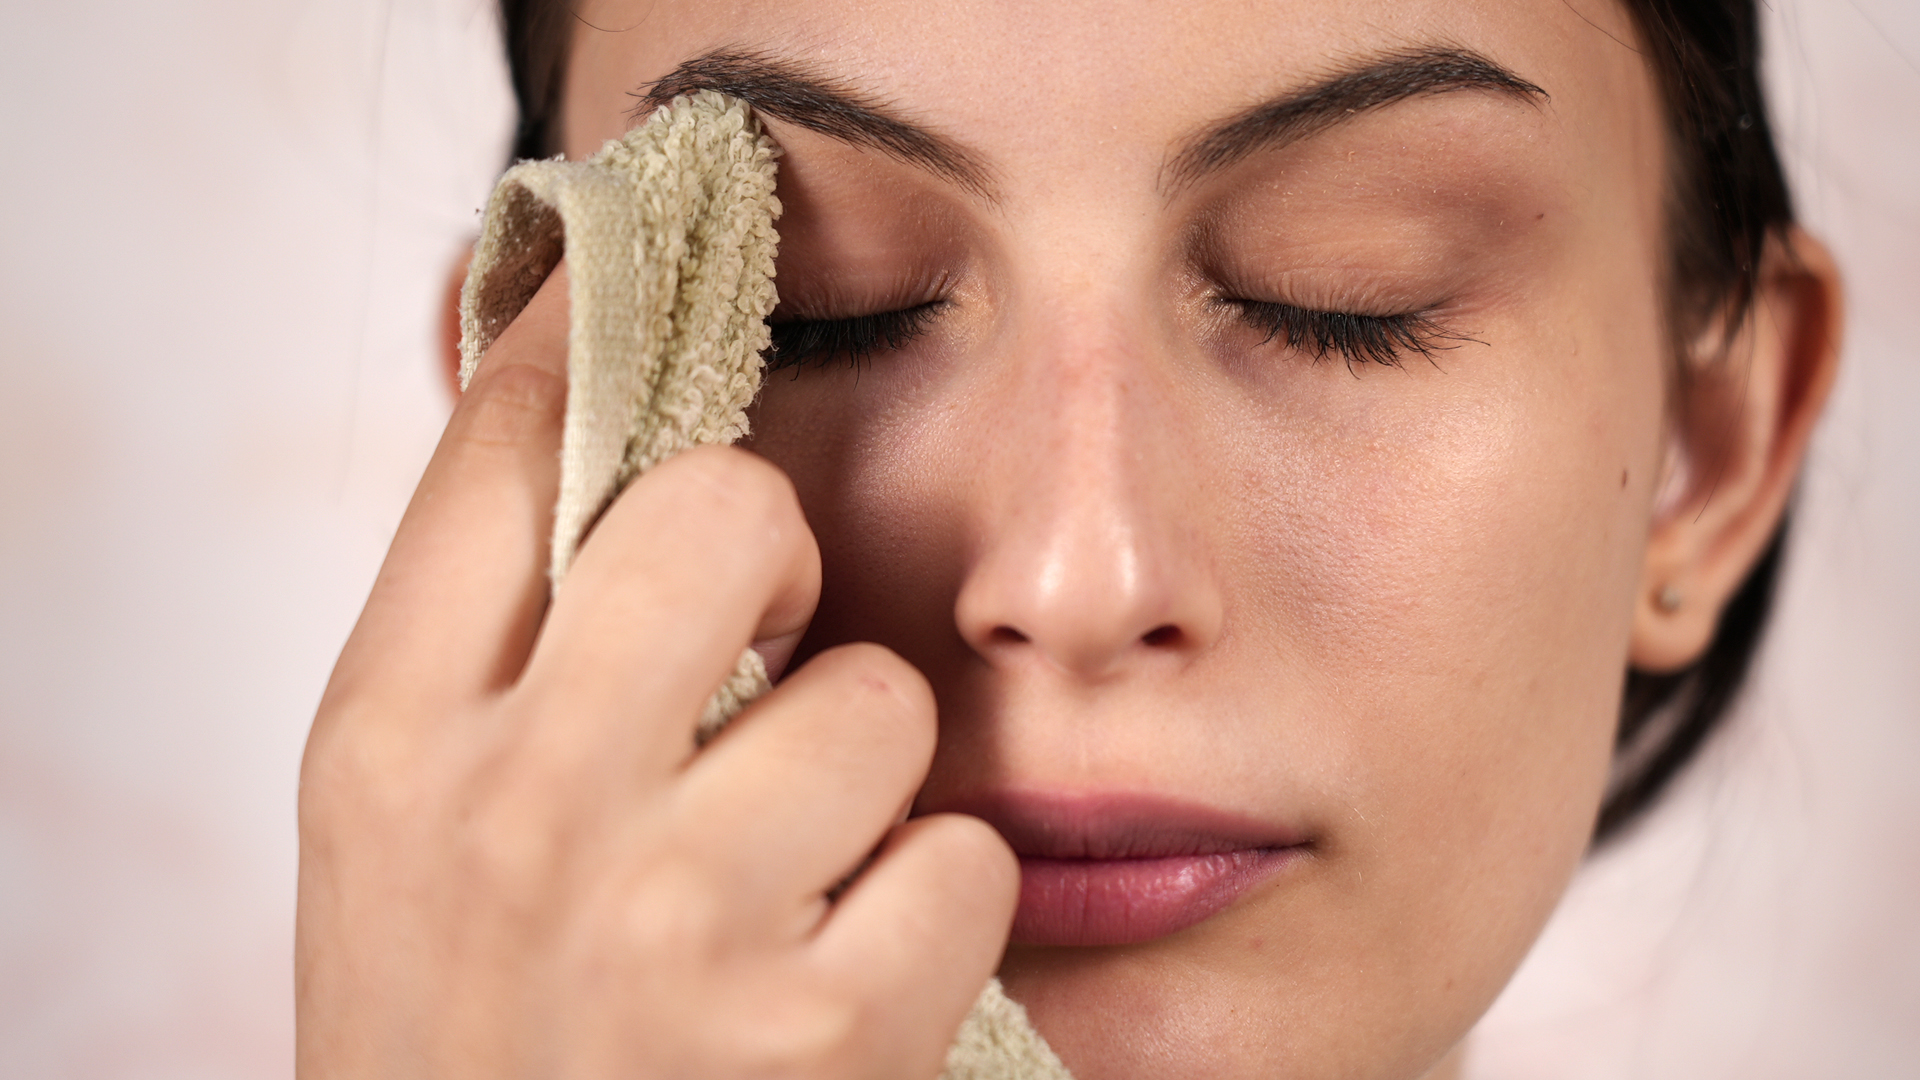
Remove any sticky residue with a damp cloth. Do not scrub. Apply a thin layer of aloe vera gel or a fragrance-free moisturizer. Avoid makeup, strong skincare acids, retinol, exfoliating scrubs, tanning products, and heavy sweating around the brow area for at least 24 hours.
If the area stays very red, swollen, painful, blistered, or irritated, stop waxing and speak with a healthcare professional. Mild redness can happen, but intense discomfort is your skin waving a tiny red flag.
Pro Tips for Better At-Home Eyebrow Waxing
Use the “Less Is More” Rule
At-home eyebrow waxing is best for maintenance. Remove only obvious stray hairs and keep your natural brow shape. A clean brow does not need to look identical to anyone else’s brow. Brows are sisters, cousins, neighbors, or occasionally two strangers who met on a busand that is normal.
Do Not Wax Too Often
Give your skin and hair time to recover between sessions. Many people wait several weeks between brow waxes, depending on hair growth. Waxing too frequently may irritate the skin and can make shaping harder because the hairs are too short for the wax to grip.
Keep the Wax Away From Your Eyes
This sounds obvious, but warm sticky mixtures have a talent for traveling. Use a tiny amount, keep your hand steady, and never apply wax where it could drip into the eye. If wax gets near your eye, stop immediately and rinse carefully with clean water.
Avoid Lemon Juice Near the Brow Area
Many homemade sugar wax recipes include lemon juice, but the eyebrow area is delicate. Lemon can sting, irritate, and make skin more sensitive. For this honey and salt eyebrow wax method, water is the gentler choice.
Common Mistakes to Avoid
Using wax that is too hot: This can burn the skin. Always test first.
Applying too much wax: Thick wax spreads beyond the target area and makes removal messier.
Waxing over skincare actives: Retinol, strong acids, and certain acne treatments can make skin more vulnerable.
Pulling upward: Pull the strip close to the skin, not away from it.
Repeating passes: If one pass does not remove everything, tweeze the leftovers.
Trying a full reshaping as a beginner: Start small. Your future self will appreciate your restraint.
Aftercare: What to Do After Waxing Your Eyebrows
For the first day after waxing, treat your brow area like it just survived a tiny workout. Keep it clean, cool, and calm. Avoid touching the area with unwashed hands. Skip heavy foundation or brow makeup immediately after waxing, especially if your skin looks pink or tender.
If you need to go outside, use sun protection around the face, but avoid rubbing sunscreen directly into irritated brow skin until it settles. A hat or shade can help. Do not exfoliate the waxed area for at least 24 to 48 hours. Once the skin feels normal again, gentle skincare can resume.
When You Should Not Wax Your Eyebrows at Home
Do not wax at home if you have very sensitive skin, active eczema, open cuts, fresh sunburn, a rash, swelling, or an infection near the brows. Avoid waxing if you are unsure how your skincare or medication affects your skin. Professional help is also better if you want a major brow transformation, have uneven brows you are trying to balance, or feel nervous about removing too much.
There is no shame in choosing tweezers, threading, trimming, or a licensed brow specialist. At-home waxing is a tool, not a personality test.
Experience Notes: What Usually Happens When People Try the Honey and Salt Method
The first thing many people notice when trying honey and salt eyebrow waxing at home is that the mixture is fussier than expected. It can go from “perfectly sticky” to “why did I make eyebrow caramel?” very quickly. That is why small batches are better. A tiny recipe gives you more control, wastes less, and reduces the temptation to keep reheating the same mixture until it becomes a science fair project.
Another common experience is overconfidence after the first successful strip. You remove a few hairs between the brows, the skin looks clean, and suddenly you feel like opening a luxury brow studio next to your toothbrush holder. Pause. This is the moment to slow down. Most at-home brow mishaps happen after the first good result, when people keep chasing extra symmetry. Brows do not need to be mathematically identical. In fact, trying to force them into perfect twins often makes them look less natural.
People with fine brow hairs often get better results from the honey and salt method than people with coarse or very short hairs. The mixture needs enough hair length to grip. If your brow hairs are too short, the wax may stick more to the skin than the hair. That leads to frustration, redness, and possibly a dramatic speech in the mirror. Waiting a little longer between touch-ups usually works better.
Skin reaction also varies. Some people experience only mild pinkness that fades quickly. Others notice tenderness, small bumps, or lingering redness. This does not always mean the method was “bad”; it may simply mean your skin dislikes waxing. Sensitive skin is allowed to have boundaries. If your skin reacts strongly, switch to tweezing or visit a professional instead of repeatedly testing your face’s patience.
The most helpful habit is to take a before photo and mark your shape before waxing. A photo gives you perspective because mirrors can trick you into focusing on one tiny hair like it owes you money. Mapping your brows first also prevents accidental over-removal near the arch or tail, where one missing patch can change the entire expression of your face.
Many beginners also learn that aftercare matters as much as the waxing itself. Applying makeup immediately after waxing can make the area feel irritated. Using exfoliating toner the same night can turn mild redness into an angry little eyebrow halo. A simple aftercare routinecool compress, gentle moisturizer, no harsh productsusually gives the best result.
Finally, the best experience comes from treating at-home eyebrow waxing as maintenance, not reinvention. Use the honey and salt method for obvious strays. Use tweezers for precision. Use patience for everything else. Your brows are part of your face, not a craft project that needs to be finished in one sitting.
Conclusion
Learning how to wax eyebrows at home with the honey and salt method can be useful when you want a quick, budget-friendly cleanup. The secret is not bravery; it is preparation. Check your skin, make a tiny batch, test the temperature, map your shape, apply the wax carefully, and stop before enthusiasm becomes eyebrow history.
This DIY method is best for small touch-ups around the brows, especially between the brows and above the natural brow line. For close work under the arch, tweezing is often safer. For sensitive skin, major reshaping, or uncertainty about skincare ingredients and medications, a licensed professional is the smarter route.
Note: This article is for educational beauty-care guidance only. If you have a skin condition, use prescription skincare, or experience strong irritation after waxing, ask a dermatologist or licensed esthetician for advice.