The French twist is the hairstyle equivalent of saying, “Yes, I have my life together,” even if you created it in the bathroom mirror five minutes before leaving. Sleek, elegant, and surprisingly forgiving, this classic updo can work for weddings, school events, job interviews, date nights, dinner parties, and those mysterious mornings when your hair wakes up with its own political agenda.
The best part? A French twist hairstyle does not require a professional stylist, a drawer full of expensive tools, or the arm strength of an Olympic rower. With the right prep, a few pins, and a little patience, you can create a polished twist, a soft romantic roll, a quick claw clip version, or a modern French pin updo at home.
This guide breaks down 4 ways to French twist hair, with easy step-by-step instructions, styling tips for different hair types, common mistakes to avoid, and real-world experience notes to help you make the look last. Think of it as your friendly French twist coachminus the intimidating salon mirror lighting.
What Is a French Twist?
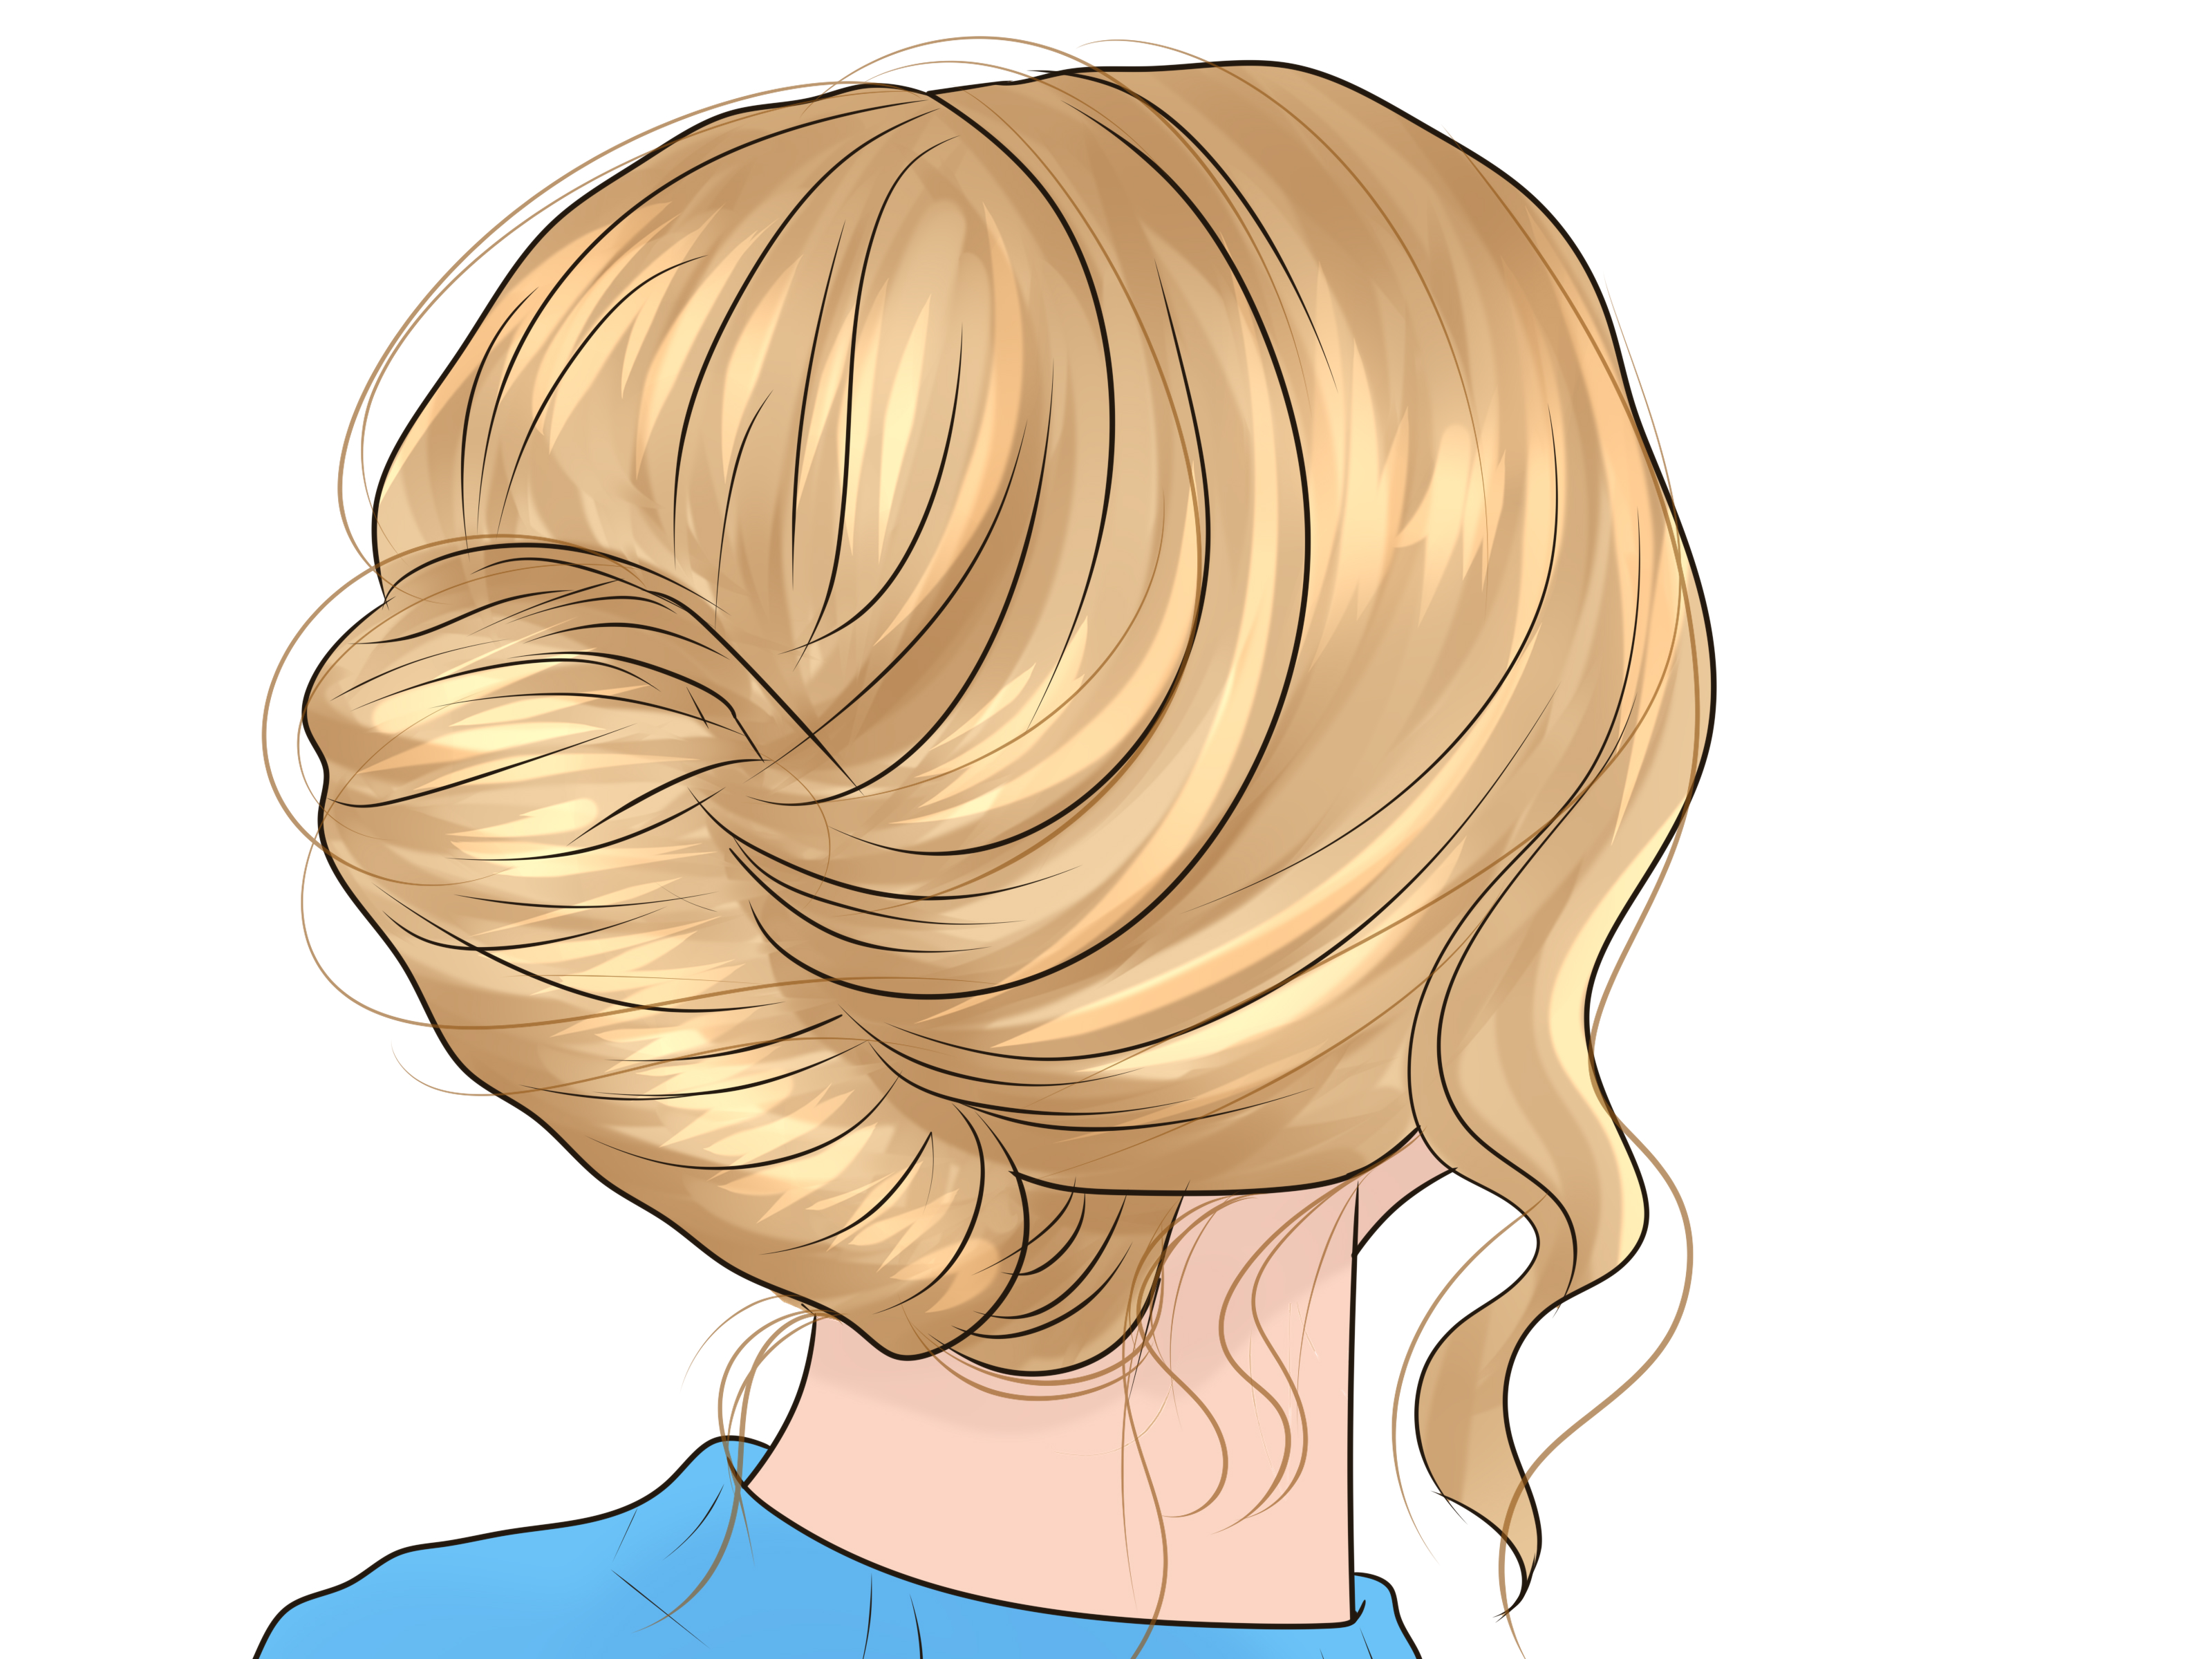
A French twist is a classic updo where the hair is gathered, twisted upward, tucked inward, and secured vertically against the back of the head. The finished shape usually looks like a smooth roll or folded pleat. It can be sleek and formal, soft and romantic, messy and modern, or fast and casual depending on how tightly you twist and what accessories you use.
The traditional version relies on bobby pins or U-shaped hairpins. Modern versions often use French hair pins, claw clips, decorative combs, or even a hidden elastic for extra control. The basic idea stays the same: gather, twist, tuck, secure, and finish.
Before You Start: Tools and Hair Prep
A French twist usually works best on hair with a little grip. Freshly washed, super silky hair can slip out faster than a phone charger at a family gathering. If your hair is clean, add texture before styling.
Helpful Tools
- Brush or wide-tooth comb
- Fine-tooth comb for teasing
- Bobby pins
- U-shaped hairpins
- French hair pin or decorative pin
- Claw clip, if using the quick method
- Texturizing spray, dry shampoo, mousse, or light hairspray
- Shine serum or smoothing cream for sleek styles
Prep Tips by Hair Type
Fine hair: Add dry shampoo or texturizing spray at the roots and mid-lengths. Light teasing at the crown gives the twist more volume and prevents it from collapsing.
Thick hair: Use larger pins, stronger bobby pins, or a French pin with enough length to anchor the twist. You may need to divide the hair slightly as you roll and pin.
Curly or wavy hair: Work with the texture instead of fighting it. A soft French twist with face-framing curls often looks more natural than an ultra-slick finish.
Layered hair: Use a little styling cream or flexible hairspray before twisting. Shorter pieces may pop out, but that can create a relaxed, modern look.
Very long hair: Fold the ends down into the roll before pinning. If the ends keep escaping, twist the ponytail first, fold it upward, then tuck the remaining length inside.
Way 1: The Classic Bobby Pin French Twist
This is the timeless method: elegant, secure, and perfect for formal events. It is the version most people imagine when they hear “French twist hair.”
Step-by-Step Instructions
- Brush and prep your hair. Detangle your hair and apply a small amount of texturizing spray or dry shampoo if your hair feels slippery.
- Create volume at the crown. Lift a small section of hair at the top of your head and gently backcomb underneath it. Smooth the top layer with your brush so the teasing is hidden.
- Sweep hair to one side. Gather all your hair toward one side of the back of your head, as if you are making a low side ponytail.
- Build a vertical pin line. Insert bobby pins vertically up the center-back of your head. Crisscross a few pins for extra hold. This hidden “pin wall” gives the twist something to grip.
- Twist upward. Hold your loose hair and roll it inward toward the pin line. Twist the hair upward so it forms a long vertical roll.
- Tuck the ends. Fold the ends into the roll. If your hair is long, tuck the ends down inside the twist before securing.
- Pin the twist. Insert bobby pins horizontally into the roll, catching a little hair from the twist and a little from the base underneath.
- Finish with hairspray. Mist lightly with flexible hairspray. Avoid soaking the style; crunchy hair is not the goal unless you are auditioning to be a decorative lampshade.
Best For
Formal occasions, weddings, business events, medium to long hair, and anyone who wants a smooth, classic updo.
Pro Tip
Use bobby pins with the wavy side facing the scalp. That side grips better. Also, do not open the pins too wide, or they lose tension and slide out.
Way 2: The French Pin Twist
The French pin twist is chic, minimalist, and currently having a major style moment. It uses one large U-shaped French hair pin instead of a whole army of bobby pins. The result is relaxed but elegantlike you casually read fashion magazines in a sunlit Paris apartment, even if you are actually standing beside a laundry basket.
Step-by-Step Instructions
- Add grip. Spray dry shampoo, mousse, or texturizing spray through the roots and lengths. French pins need texture to hold well.
- Gather hair at the nape. Pull your hair into a low ponytail shape, but do not secure it with an elastic unless your hair is very slippery.
- Twist upward. Twist the ponytail upward against the back of your head. Keep the base snug but not painfully tight.
- Fold or tuck the ends. For short or medium hair, tuck the ends into the roll. For long hair, fold the excess length downward and hide it inside the twist.
- Insert the French pin. Place the pin at the outer edge of the twist, scoop a small amount of hair, rotate the pin toward the scalp, then push it through the twist and into the base hair.
- Check the hold. Gently shake your head. If the twist feels loose, remove the pin and reinsert it with a deeper scoop-and-rotate motion.
- Soften the finish. Pull out a few face-framing pieces or smooth the sides with a touch of styling cream.
Best For
Medium-length hair, long hair, fine to medium textures, second-day hair, minimalist styling, and everyday elegance.
Pro Tip
Pin size matters. If your hair is thick or long, choose a longer, sturdier French pin. If your hair is fine, a smaller pin may hold better without dragging the twist downward.
Way 3: The Claw Clip French Twist
This is the fastest version and the most beginner-friendly. It is ideal when you want the French twist shape without spending ten minutes negotiating with bobby pins. The claw clip French twist is great for casual days, errands, studying, working from home, or making “I tried” look stylish.
Step-by-Step Instructions
- Gather your hair low. Pull your hair into a low ponytail at the nape of your neck.
- Twist upward. Twist the ponytail upward along the back of your head.
- Fold the ends. If your hair is long, fold the ends back downward. If your hair is medium-length, tuck the ends under the twist.
- Clip the center. Open the claw clip and place it over the center of the twist, catching both the rolled hair and some hair close to your scalp.
- Adjust the shape. Fan the top slightly for volume or keep it tight for a cleaner look.
- Polish the front. Smooth flyaways with a brush, or leave soft pieces around your face for a relaxed effect.
Best For
Quick styling, casual outfits, long hair, thick hair, work-from-home days, and anyone who wants a French twist in under two minutes.
Pro Tip
Choose a claw clip that matches your hair density. A tiny clip may look cute, but if you have thick hair, it will surrender immediately.
Way 4: The Soft Messy French Twist
The messy French twist is less “black-tie gala” and more “effortless cool.” It is perfect for curly hair, layered hair, highlighted hair, or anyone who prefers texture over perfection. This style looks intentional even when a few pieces fall loose, which makes it wonderfully human.
Step-by-Step Instructions
- Start with texture. Use a curl cream, mousse, or texturizing spray depending on your hair type. Scrunch waves or curls before styling.
- Leave out face-framing pieces. Pull out a few small sections near the temples or bangs area before you twist.
- Gather hair loosely. Bring your hair to the nape without brushing it too flat. Keep some natural volume.
- Twist and roll. Twist the hair upward, but do not make it too tight. Let the roll look soft and slightly undone.
- Pin in sections. Use U-shaped pins or bobby pins to secure the twist at the bottom, middle, and top.
- Pull gently for shape. Use your fingers to loosen the crown and sides. This creates softness and prevents the style from looking stiff.
- Set lightly. Finish with flexible hairspray. For curls, avoid heavy spray that makes the hair feel hard.
Best For
Curly hair, wavy hair, layered cuts, romantic looks, casual events, brunch, date nights, and modern wedding guest hairstyles.
Pro Tip
Do not panic if pieces escape. In a messy French twist, a few loose strands are not mistakes; they are personality.
How to Make a French Twist Stay All Day
A French twist usually falls apart for one of three reasons: the hair is too clean, the pins are placed incorrectly, or the twist is too loose at the base. Here is how to fix that.
Use Texture Before You Pin
Texture gives pins something to hold. If your hair is freshly washed, add dry shampoo, mousse, or texturizing spray before twisting. Smooth, slippery strands may look beautiful, but they behave like tiny escape artists.
Anchor Pins Into the Base Hair
When pinning, do not only pin the outer roll. Catch a little hair from the twist and a little hair from the scalp area underneath. This locks the style in place.
Crisscross Bobby Pins
For extra security, cross two bobby pins in an X shape. This works especially well near the bottom of the twist, where gravity likes to start drama.
Avoid Pulling Too Tight
A French twist should feel secure, not painful. Tight hairstyles worn repeatedly can stress the scalp and hairline, so loosen the style if you feel pulling, soreness, or tension.
French Twist Mistakes to Avoid
Using Too Much Product
A little product helps. Too much product turns the twist heavy and greasy. Start small and build only if needed.
Skipping the Prep
If your hair is slippery, the twist may slide down. Add grip first, especially if your hair is fine, straight, or freshly washed.
Pinning Only the Surface
Pins need to connect the twist to the base hair. Surface pinning looks good for about six seconds, then begins a slow emotional collapse.
Trying to Make It Too Perfect
A French twist does not have to be flawless. A soft curve, a little volume, and a few loose pieces can make it look more modern.
When to Wear a French Twist
The French twist is one of the most versatile updo hairstyles because it can be dressed up or down. Wear a sleek version with pearl earrings and a dress for a formal event. Try a claw clip version with jeans and a button-down shirt. Choose a messy French twist with curls for a romantic, relaxed look. Add a decorative pin, ribbon, or comb if you want the hairstyle to feel more special.
It also works well when you want to show off earrings, a high neckline, a blazer, a wedding guest outfit, or a bold lip color. Basically, if your outfit says “main character,” the French twist knows how to support the plot.
Experience Notes: What It Is Really Like to Learn the French Twist
The first time many people try a French twist, it does not look like a French twist. It looks like a confused vertical bun, a sleepy croissant, or a hairstyle that had a plan but lost the meeting notes. That is completely normal. The French twist is simple in theory, but your hands need to learn the motion.
One helpful experience-based tip is to practice when you are not in a hurry. Do not attempt your first French twist twelve minutes before an important event while wearing eyeliner and panic. Practice on a regular evening with a mirror, a few pins, and no pressure. After two or three tries, you will start to understand how tightly to twist, where to place your pins, and how much hair needs to be tucked.
Another lesson: your hair texture decides the rules. Fine hair often needs more prep than expected. Without dry shampoo or texture spray, the style may slowly slide down the back of your head like it is trying to leave the party early. Thick hair, on the other hand, may need stronger pins and a firmer twist. If you have thick hair, do not be surprised if tiny bobby pins seem personally offended by the assignment. Use larger pins, U-shaped pins, or a sturdy French pin.
Curly and wavy hair can be wonderful for a French twist because the texture naturally helps the style hold. The challenge is shaping the twist without flattening the curls. Instead of brushing everything smooth, use your fingers to gather the hair. Let the front pieces stay soft. A curly French twist often looks best when it is not overly controlled.
Layered hair teaches patience. Shorter pieces may stick out around the roll, especially near the nape or crown. Instead of fighting every strand, decide what kind of finish you want. For a polished style, use smoothing cream and extra pins. For a modern style, let a few pieces show. Sometimes the “imperfect” version looks more expensive than the perfect one.
The claw clip method is usually the easiest confidence builder. It gives you the shape of a French twist without making you master pin placement right away. Once you understand how the hair folds upward, the bobby pin and French pin versions become much easier.
The French pin method feels tricky at first because the motion is not obvious. The secret is the scoop, rotate, and push technique. You scoop a little hair from the twist, rotate the pin back toward the scalp, then push it through the twist while catching base hair underneath. Once that clicks, the style feels almost magical.
The biggest personal styling lesson is this: a French twist does not need to be perfect to be beautiful. A sleek twist looks elegant, but a soft twist looks approachable. A few loose strands can make the style more flattering. A little crown volume can change the whole silhouette. The best French twist is the one that feels secure, comfortable, and like younot like you are wearing a borrowed hairstyle from a mannequin with excellent posture.
If your first attempt falls out, you did not fail. You simply collected data. Add more texture, change your pin angle, loosen the front, or try a different method. Hair styling is part technique, part experimentation, and part convincing your arms to cooperate behind your head.
Conclusion
Learning how to French twist hair is easier when you stop treating it like a mysterious salon secret. The style comes down to a few repeatable steps: prep the hair, gather it low, twist upward, tuck the ends, secure the shape, and finish with a light touch. Whether you choose the classic bobby pin method, the chic French pin version, the quick claw clip twist, or the soft messy French twist, you can create an updo that looks polished without feeling outdated.
Start with the method that matches your hair type and comfort level. Use texture when your hair is slippery, stronger pins when your hair is thick, and a lighter hand when your hair is curly or layered. Most importantly, remember that the modern French twist does not have to look frozen in place. A little softness can make it feel fresh, wearable, and effortlessly stylish.