Wallpaper can make a room feel polished, cozy, dramatic, vintage, or delightfully “I found this pattern and refused to be boring.” But unlike painted walls, wallpaper needs a little extra care when dust, fingerprints, grease, mystery smudges, or crayon masterpieces show up. The good news? Learning how to clean wallpaper is not difficult. The trick is knowing what kind of wallpaper you have before you start scrubbing like you are training for a home-improvement Olympics.
Some modern vinyl and peel-and-stick wallpapers can handle gentle soap and water. Traditional paper, grasscloth, silk, fabric, and older wallcoverings are much more delicate and may need dry cleaning methods only. Use too much water, and you can loosen adhesive, stain natural fibers, or create bubbling. Use a harsh cleaner, and your beautiful botanical print may suddenly look like it survived a science experiment.
This guide explains how to clean wallpaper in 10 simple steps, from dusting to stain removal, with practical examples and safe techniques for washable and non-washable wallpaper. Put down the abrasive sponge, take a deep breath, and let’s rescue those walls without starting a decorating emergency.
Before You Begin: Know Your Wallpaper Type
The safest way to clean wallpaper starts with identification. Wallpaper is not one single material. It can be vinyl, coated paper, uncoated paper, peel-and-stick, grasscloth, fabric, foil, flocked, textured, or antique. Each one reacts differently to moisture and pressure.
Washable Wallpaper
Washable wallpaper usually includes vinyl, coated, and many peel-and-stick products. These can often be cleaned with a soft sponge or microfiber cloth dampened with warm water and a small amount of mild dish soap. “Damp” is the key word. Your cloth should not be dripping. Wallpaper likes a spa day, not a swimming pool.
Non-Washable Wallpaper
Non-washable wallpaper includes many traditional paper wallpapers, grasscloth, silk, linen, fabric, flocked, and some older or handmade wallcoverings. These should usually be cleaned with dry methods such as a soft duster, vacuum brush attachment, dry cleaning sponge, or kneadable cleaning eraser.
Vintage or Damaged Wallpaper
If the wallpaper is peeling, bubbling, stained from water, or historically valuable, avoid wet cleaning. Old adhesives can soften quickly, and fragile papers can tear. In these cases, dry dusting or help from a wallpaper restoration professional may be the better option.
Supplies You May Need
- Microfiber cloths
- Soft sponge
- Vacuum with soft brush attachment
- Bucket of warm water
- Mild, dye-free dish soap
- Dry cleaning sponge for delicate wallpaper
- White vinyl eraser or kneadable eraser
- Soft lint-free towel
- Cotton swabs for tiny spots
- Step stool or ladder
- Old towels to protect floors and baseboards
Avoid abrasive scrub pads, bleach, ammonia-based cleaners, powdered cleansers, heavy-duty degreasers, solvent sprays, and anything with strong fragrance or dye unless your wallpaper manufacturer specifically approves it. Wallpaper has feelings. Mostly adhesive-related feelings, but still.
How to Clean Wallpaper: 10 Steps
Step 1: Check the Manufacturer’s Care Instructions
Before cleaning, look for the wallpaper label, product listing, installation guide, or leftover roll information. Many wallpaper products include care symbols such as washable, scrubbable, spongeable, or dry clean only. If you recently bought peel-and-stick wallpaper, the brand’s website may list specific cleaning instructions.
If you cannot find the original information, inspect the surface. Vinyl often feels slightly plastic-like and smooth. Grasscloth has natural fibers and visible texture. Flocked wallpaper has raised velvet-like details. Paper wallpaper may feel matte and absorbent. When in doubt, treat the wallpaper as delicate and use the mildest method first.
Step 2: Dust the Wallpaper From Top to Bottom
Always remove dust before using moisture. If you skip this step, damp cleaning can turn dust into gray streaks, which is not the home decor trend anyone asked for.
Use a microfiber cloth, long-handled duster, or vacuum with a soft brush attachment. Work from the ceiling line downward in gentle vertical sections. Pay attention to corners, seams, behind furniture, and areas near vents where dust collects. For textured wallpaper, a soft vacuum brush is especially useful because it can lift dust from grooves without pressing hard.
Step 3: Protect Floors, Outlets, and Trim
Place towels along the baseboards before washing washable wallpaper. If you are cleaning near electrical outlets or switches, turn off power to that area when possible and avoid excess moisture. Remove outlet covers only if you can do so safely, and never spray cleaning solution directly onto the wall.
The goal is controlled cleaning. A damp cloth gives you control. A spray bottle aimed at wallpaper does not. Overspray can seep into seams, drip behind paper, and loosen adhesive.
Step 4: Test a Hidden Spot
Choose an inconspicuous area behind a door, near a baseboard, or behind furniture. Lightly wipe the test spot with your planned cleaning method, then wait until it dries. Check for color transfer, fading, bubbling, staining, seam lifting, or texture changes.
If the test area looks different after drying, stop. Switch to dry cleaning methods or contact the wallpaper manufacturer. A small hidden test is much better than discovering halfway across the dining room that your wallpaper does not appreciate soap.
Step 5: Mix a Gentle Cleaning Solution for Washable Wallpaper
For washable vinyl or coated wallpaper, mix warm water with a few drops of mild dish soap. The water should feel warm, not hot. Hot water can soften adhesive or make some inks more vulnerable.
Dip a soft sponge or microfiber cloth into the solution and wring it out thoroughly. It should be damp enough to clean but not wet enough to drip. If you can wring water from it like a tiny laundry day, it is too wet.
Step 6: Wipe Gently in Small Sections
Start at the top of the wall and work downward. Clean in small sections using light pressure and smooth strokes. Avoid scrubbing across seams, because seams are the most vulnerable areas. If the wallpaper has a printed pattern or texture, follow the direction of the design when possible.
For general grime, fingerprints, and light smudges, gentle wiping is usually enough. Rinse your cloth often and change the water when it becomes cloudy. Dirty water does not clean; it simply relocates the problem with confidence.
Step 7: Rinse With a Clean Damp Cloth
After washing a section, wipe it again with a separate cloth dampened with clean water. This removes soap residue, which can attract more dirt later. Again, keep the cloth barely damp.
Never soak wallpaper. Even washable wallpaper has limits. Too much water can sneak into seams, soften paste, and create bubbles or peeling. If you see edges lifting, stop immediately and dry the area with a towel.
Step 8: Dry Immediately With a Soft Towel
Once the section is rinsed, blot it dry with a soft lint-free towel. Do not rub aggressively. Blotting removes moisture without stressing the wallpaper surface.
Keep the room ventilated while the wall dries, but avoid blasting the wall with high heat. Open a window, run a fan across the room, or turn on ventilation. The goal is steady drying, not a wind tunnel.
Step 9: Treat Stains Carefully
Stains need patience. Different stains require different strategies, and wallpaper is not the place for dramatic chemical experiments. Start mild, repeat gently, and stop if the surface changes.
| Stain Type | Best First Method | Important Warning |
|---|---|---|
| Fingerprints | Damp microfiber cloth with mild soap | Use only on washable wallpaper |
| Dusty marks | Dry microfiber cloth or vacuum brush | Do not wet delicate paper or grasscloth |
| Crayon | White eraser or dry cleaning sponge | Test first; avoid oily removers |
| Grease | Mild dish soap solution on washable wallpaper | Blot, do not scrub |
| Food splatter | Damp cloth, then dry towel | Clean quickly before staining sets |
| Ink | Professional advice recommended | Solvents may remove print or color |
| Mold or mildew | Fix moisture source first | Porous wallpaper may need removal |
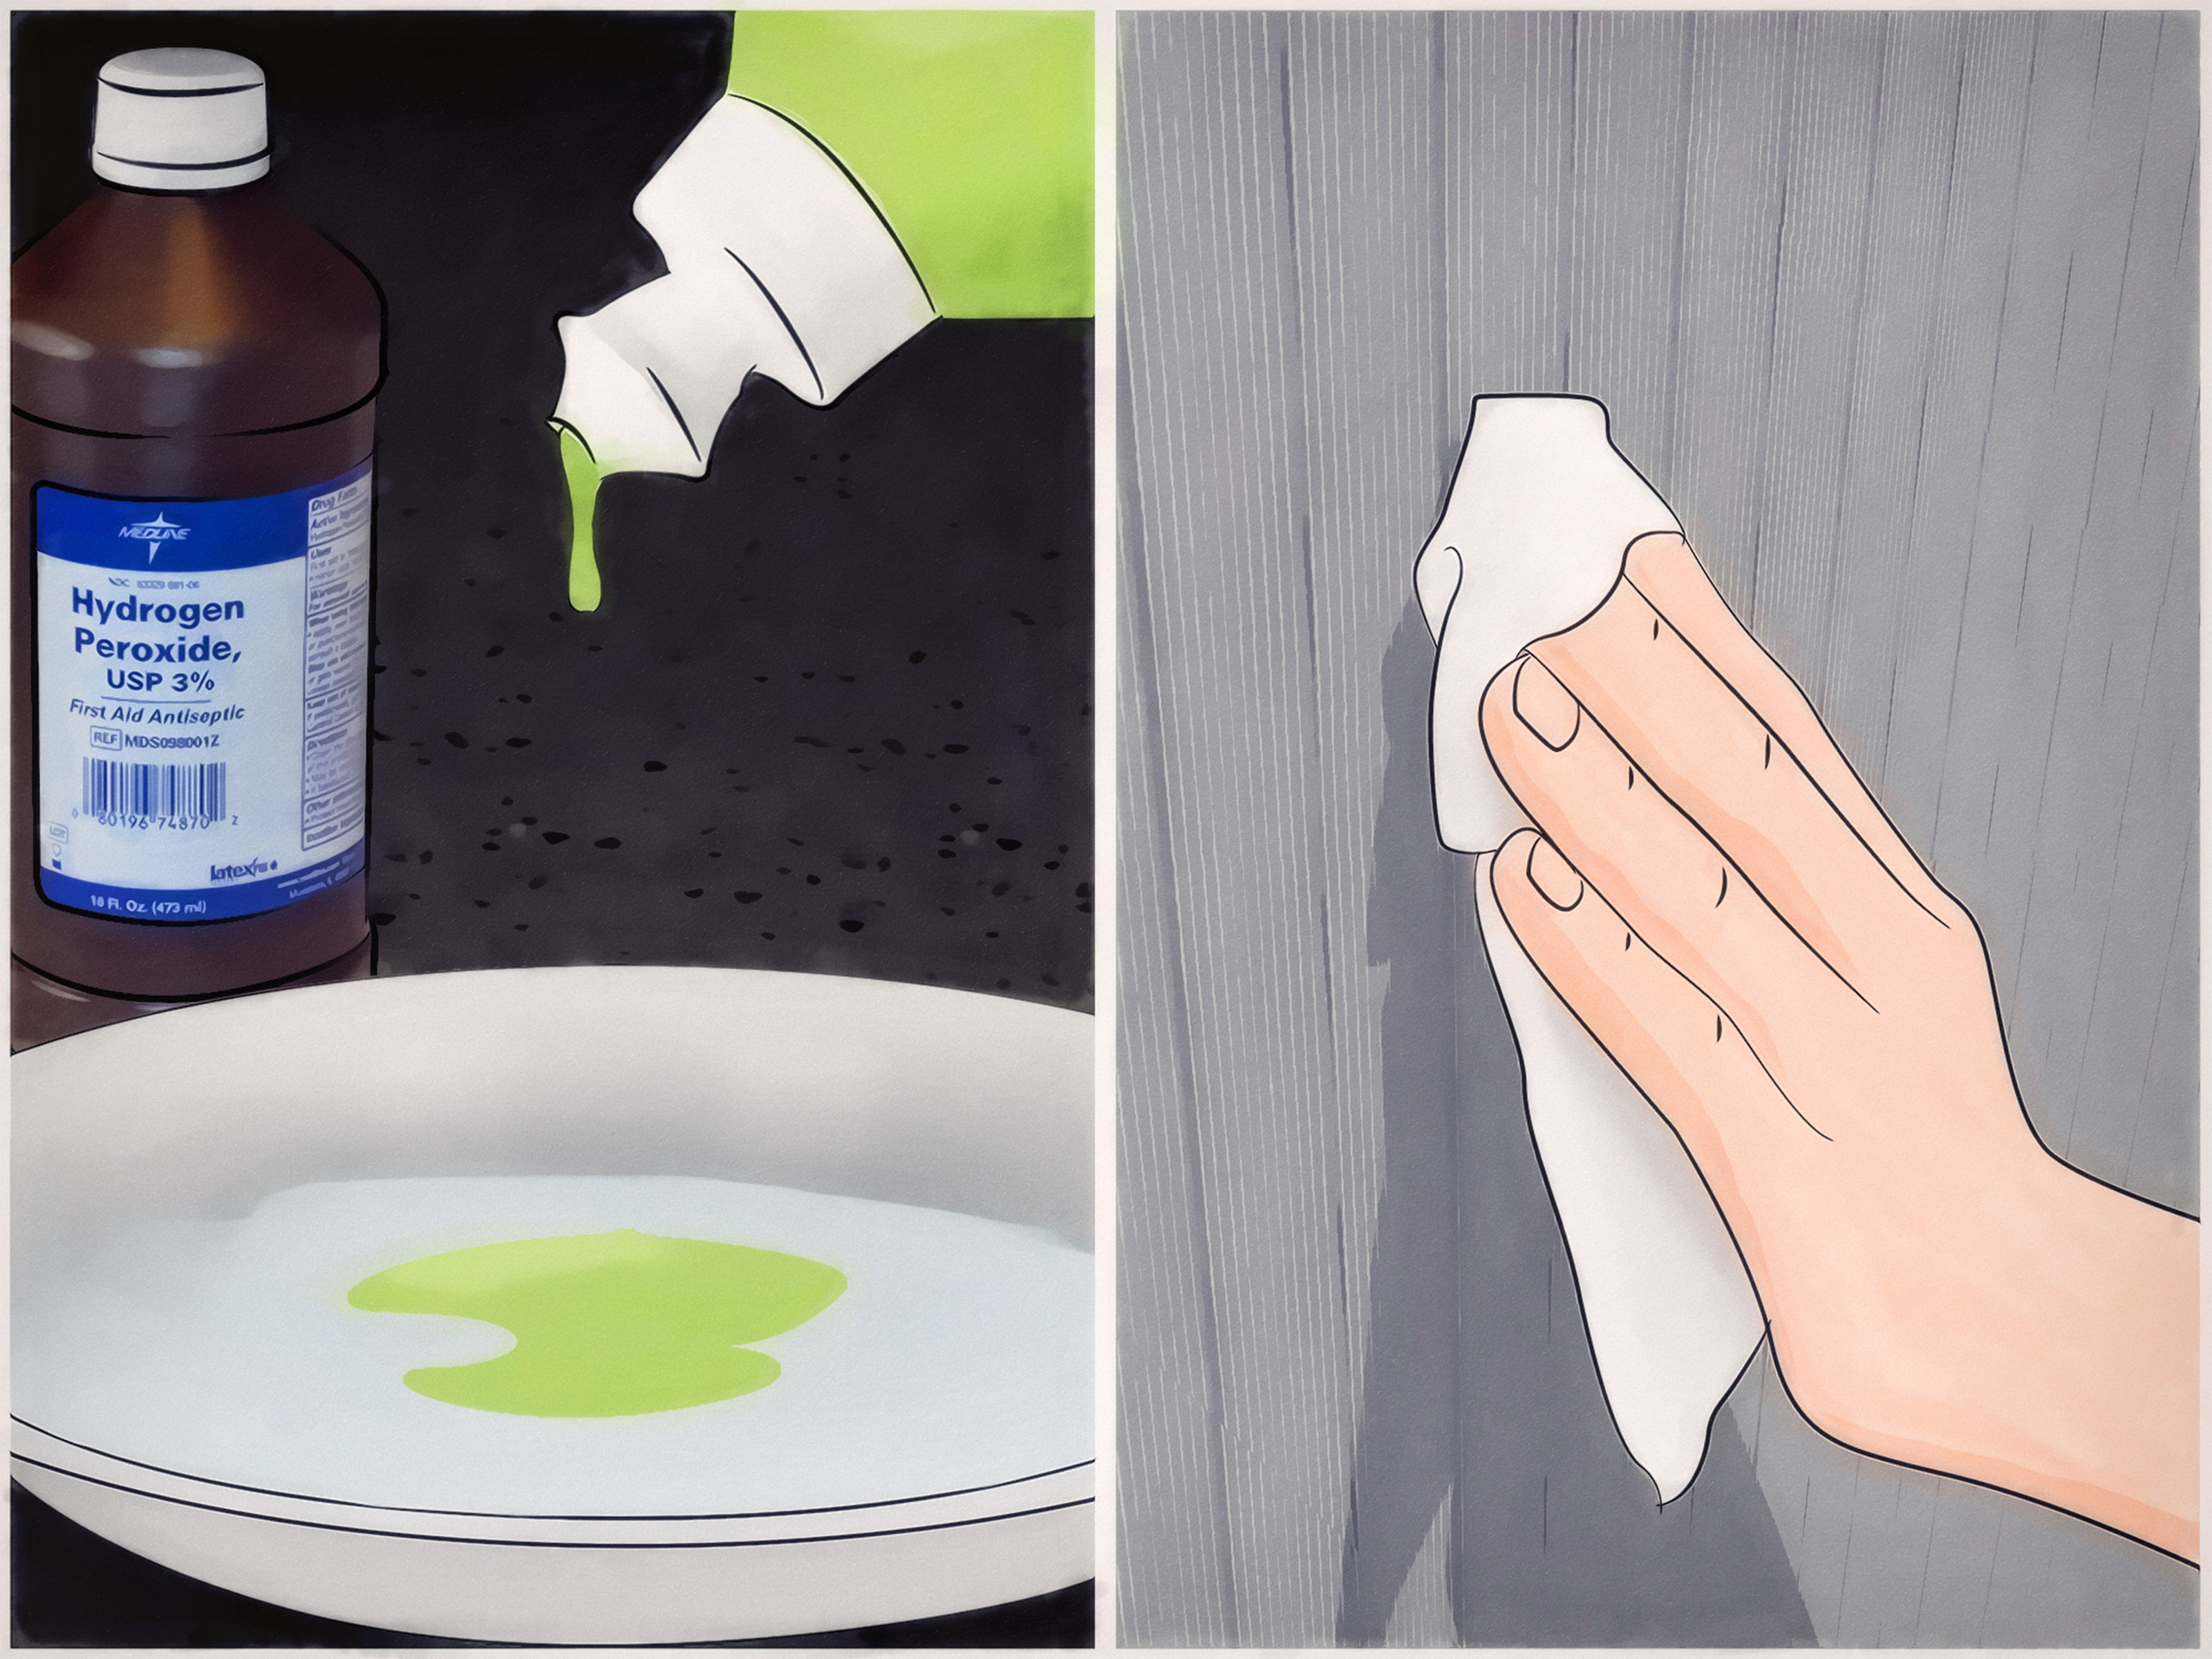
For grease spots on washable wallpaper, try warm water with mild dish soap and blot gently. For scuffs on non-washable wallpaper, a dry cleaning sponge or white eraser may help. Avoid colored erasers because they can transfer dye. For mold, the most important step is fixing the moisture problem. If mold appears behind wallpaper, the paper and possibly the wall surface underneath may need professional evaluation.
Step 10: Create a Maintenance Routine
Wallpaper stays cleaner when it receives light regular care. Dust high-traffic rooms every month or two. Kitchens, bathrooms, hallways, kids’ rooms, and entryways may need more frequent attention. Wipe washable wallpaper quickly after splashes, especially near sinks, stoves, trash cans, and pet feeding areas.
Keep furniture slightly away from wallpapered walls to reduce rubbing and dust lines. Use exhaust fans in humid rooms. Repair small seam lifts early before they become full curling edges. A little maintenance now can prevent a bigger repair later.
How Often Should You Clean Wallpaper?
For most homes, dusting wallpaper every one to two months is enough. Washable wallpaper in busy areas may need gentle spot cleaning whenever marks appear. Deep cleaning an entire washable wall can be done seasonally or as needed, but it should not become a weekly ritual. The less moisture and friction you use, the longer the wallpaper will look fresh.
Delicate wallpaper should be handled even more carefully. Grasscloth, silk, linen, and flocked wallpaper may only need vacuuming with a soft brush attachment. Moisture can stain natural fibers permanently, so do not test your luck unless the care instructions specifically allow it.
Common Wallpaper Cleaning Mistakes to Avoid
Using Too Much Water
Water is the number one troublemaker in wallpaper cleaning. Even washable wallpaper should not be soaked. Excess moisture can weaken adhesive and cause bubbling, curling, or staining.
Scrubbing Seams
Seams are delicate. Scrubbing them can lift edges and invite water underneath. Always wipe gently along seams rather than pushing against them.
Using Harsh Cleaners
Bleach, ammonia, solvents, abrasive powders, and strong degreasers can damage wallpaper finishes, remove color, or leave stains. Mild dish soap and water are usually the safest wet-cleaning combination for washable wallpaper.
Skipping the Spot Test
Wallpaper can surprise you. A pattern that looks durable may bleed color. A smooth surface may bubble. A hidden test spot is your best insurance policy.
Cleaning Mold Without Fixing Moisture
If wallpaper has mold, cleaning the surface is not enough. Mold problems are moisture problems. Look for leaks, condensation, poor ventilation, or damp walls. If mold is widespread or growing beneath wallpaper, professional help may be necessary.
Room-by-Room Wallpaper Cleaning Tips
Kitchen Wallpaper
Kitchen wallpaper often collects grease, steam, and food splatter. Washable vinyl or coated wallpaper is best in this room. Clean splashes quickly with a damp cloth and mild soap, then dry immediately. Avoid installing delicate paper or grasscloth behind stoves or sinks unless it is protected.
Bathroom Wallpaper
Bathrooms are humid, so ventilation matters. Run the exhaust fan during and after showers. Wipe condensation from nearby surfaces, and watch for peeling seams. If wallpaper near a shower or sink stays damp, it may not be the right material for that location.
Bedroom Wallpaper
Bedroom wallpaper usually needs dusting more than washing. Focus on corners, headboard areas, and spots near vents. If handprints appear near light switches, use a barely damp cloth only if the wallpaper is washable.
Kids’ Room Wallpaper
Children are creative. Unfortunately, walls are often their largest canvas. For washable wallpaper, mild soap and water can handle many smudges. For crayon, try a white eraser or dry cleaning sponge first. If the wallpaper is delicate, accept that some “art installations” may require professional advice or strategic furniture placement.
When Should You Call a Professional?
Call a professional if your wallpaper is antique, hand-painted, silk, heavily textured, peeling, water-damaged, moldy, or expensive enough to make you nervous. Also consider expert help if stains are large, dark, oily, or caused by ink, smoke, or water intrusion.
Professional cleaners and wallpaper restorers have specialized tools and experience. Sometimes the smartest DIY move is knowing when not to DIY. That is not defeat; that is wisdom wearing practical shoes.
Extra Experience: What Cleaning Wallpaper Teaches You in Real Homes
One of the biggest lessons from cleaning wallpaper is that walls tell stories. Not dramatic mystery-novel stories, usually, but very human ones: the greasy handprint near the pantry, the dusty rectangle behind the sofa, the tiny splash behind the bathroom sink, the mysterious mark at toddler height that no one in the house can identify. Wallpaper cleaning is less about making a wall perfect and more about helping a room feel cared for again.
In many homes, the easiest wins come from dusting. People often jump straight to wet cleaning because they assume grime needs soap. But wallpaper, especially textured wallpaper, can look dull simply because fine dust has settled into the surface. A soft vacuum brush or microfiber duster can brighten the wall quickly without any risk from moisture. It is the cleaning equivalent of drinking water before deciding you need a full life reset.
Another useful experience is learning to treat stains early. A small kitchen splatter is usually manageable when fresh. Leave it for months, and it can become part of the wallpaper’s personality. The same goes for fingerprints around light switches. If the wallpaper is washable, a quick wipe with a barely damp cloth can prevent buildup. If it is not washable, regular dry cleaning helps keep marks from becoming stubborn.
Peel-and-stick wallpaper has its own personality. It is often easier to clean than traditional paper, but the adhesive matters. Too much moisture near seams can weaken the bond, especially in humid rooms or on walls that were not properly cleaned before installation. When cleaning removable wallpaper, it helps to use a cloth rather than spraying the wall directly. A cloth lets you control exactly where the moisture goes.
Grasscloth is the wallpaper that teaches humility. It looks gorgeous, warm, and expensive because it is made with natural fibers, but it does not enjoy being washed. Water can darken it, stain it, or change the texture. The best experience-based advice for grasscloth is simple: dust regularly, avoid wet cleaning, and keep it away from splash zones. If you love grasscloth in a dining room, wonderful. If you love it behind a spaghetti-sauce-prone stove, your future self may file a complaint.
Wallpaper cleaning also teaches the value of good lighting. Marks that look invisible in the morning may appear under evening lamps. Before deep cleaning, look at the wall from different angles. This helps you focus on actual problem areas instead of washing an entire wall unnecessarily. It also helps you avoid over-cleaning one spot until it becomes cleaner, shinier, or more faded than the surrounding area.
Finally, the best wallpaper care habit is prevention. Use ventilation in humid rooms. Keep pets’ beds and food bowls a little away from wallpapered walls. Add a washable backsplash in messy kitchen zones. Put felt pads behind furniture that rubs the wall. Clean small marks gently and quickly. Wallpaper can last beautifully for years, but it rewards gentle hands, mild products, and a little common sense. In other words, treat it like a fancy shirt: clean it carefully, do not soak it, and never attack it with bleach just because you are feeling brave.
Conclusion
Cleaning wallpaper is simple when you follow the right order: identify the wallpaper, dust first, test a hidden area, use dry methods for delicate materials, and use only gentle soap and water on washable wallpaper. The safest method is rarely the most aggressive one. In fact, wallpaper usually looks best when you clean it with patience instead of power.
Whether you are freshening vinyl wallpaper in a busy hallway, dusting grasscloth in a dining room, or removing fingerprints near a light switch, the same rule applies: go slowly, use light pressure, and dry promptly. Your wallpaper does not need a battle plan. It needs a careful touch, a soft cloth, and maybe a little forgiveness for whatever happened near the snack cabinet.
Note: This article is written for general home-care education. Always follow the care instructions from your specific wallpaper manufacturer when available, especially for specialty, antique, handmade, or delicate wallcoverings.