
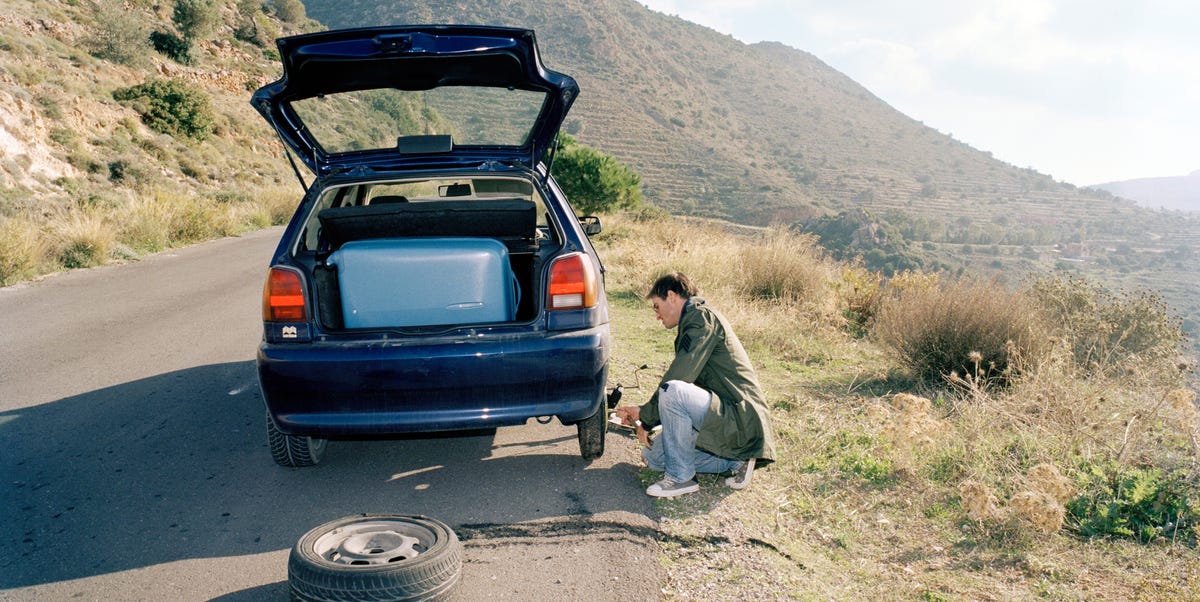
A flat tire has a special talent for showing up at the worst possible time: during a road trip, in the rain, outside a grocery store, or when you are already late and your coffee is doing more emotional support than actual work. The good news is that learning how to change a tire is not some mysterious mechanic-only skill. With the right tools, a safe location, and a calm step-by-step approach, most drivers can replace a flat tire with a spare and get back on the road safely.
This changing a flat tire guide walks you through the full process, from spotting the problem to tightening the lug nuts correctly. It also explains what not to do, when to call roadside assistance, how to use a temporary spare, and how to prevent tire trouble in the first place. Think of it as your calm friend on the shoulder of the roadthe one who knows where the jack goes and will not make fun of you for calling lug nuts “those metal twisty things.”
Before You Change a Tire: Safety Comes First
The most important part of changing a tire is not speed. It is safety. A car can be repaired. A schedule can be rearranged. Your safety and your passengers’ safety come first every time.
If you notice a flat tire while driving, do not slam on the brakes. Grip the steering wheel firmly, slow down gradually, and look for a safe place to pull over. A parking lot, wide shoulder, rest area, or quiet side street is better than a narrow roadside with fast traffic. If you are on a highway and cannot get far away from moving vehicles, it may be safer to call roadside assistance rather than attempt the tire change yourself.
Choose a Safe Location
Park on firm, level ground. Avoid hills, soft dirt, grass, sand, or uneven pavement. A jack needs a stable surface to support the vehicle. If the ground is unstable, the car can shift while lifted, and that is not a situation where anyone wins.
Turn on your hazard lights as soon as possible. Set the parking brake. If you have reflective triangles, road flares, or a safety vest, use them according to the instructions and only where it is safe. Ask passengers to stand away from traffic, ideally behind a barrier or well off the road.
Tools You Need to Change a Flat Tire
Most vehicles that include a spare tire also include basic tire-changing tools, but you should confirm this before you need them. A flat tire is already annoying; discovering that your jack is missing turns annoying into a roadside sitcom.
Here are the main tools and supplies you may need:
- Spare tire, temporary spare, or full-size spare
- Vehicle jack
- Lug wrench or tire iron
- Owner’s manual
- Wheel wedges or sturdy blocks
- Flashlight with fresh batteries
- Gloves
- Reflective safety vest or warning triangles
- Tire pressure gauge
- Portable air compressor, if available
Your owner’s manual matters because every vehicle is a little different. It shows where the spare tire is stored, where the jack points are located, and whether your car has special lug nuts, wheel locks, a tire repair kit, or run-flat tires.
How To Change a Tire Step by Step
Once you are parked safely and have gathered your tools, follow these steps carefully. Do not rush. A proper tire change is a controlled process, not a pit stop at the Indy 500.
Step 1: Turn on Hazard Lights and Apply the Parking Brake
Before touching the tire, make your vehicle as visible and stable as possible. Hazard lights warn other drivers that your vehicle is stopped. The parking brake helps prevent the car from rolling while you work.
If you drive an automatic, put the vehicle in park. If you drive a manual, put it in gear according to your owner’s manual. Then place wheel wedges in front of or behind the tires opposite the flat tire. For example, if the rear tire is flat, place wedges near the front tires. If you do not have wheel wedges, a large sturdy rock or block may help, but only use objects that are stable and safe.
Step 2: Remove the Hubcap or Wheel Cover
If your vehicle has a hubcap or wheel cover hiding the lug nuts, remove it before lifting the vehicle. Many hubcaps can be removed with the flat end of a lug wrench, but some require a specific tool or technique. Check your owner’s manual if you are unsure.
Place the hubcap somewhere safe. A smart trick is to use it like a small tray for the lug nuts later, so they do not roll away into the roadside grass like tiny chrome escape artists.
Step 3: Loosen the Lug Nuts Before Jacking Up the Car
Use the lug wrench to loosen the lug nuts by turning them counterclockwise. Do not remove them completely yet. You only want to break their resistance while the tire is still touching the ground. The ground keeps the wheel from spinning while you apply force.
If the lug nuts are tight, position the wrench securely and push downward with controlled pressure. Avoid sudden jerks. Never jump on the wrench, because that can damage the tool, strip the lug nut, or cause you to lose balance.
Step 4: Position the Jack Correctly
This is the step where the owner’s manual earns its keep. Place the jack under the proper jacking point near the flat tire. Many vehicles have reinforced metal areas along the frame or pinch welds designed for lifting. Using the wrong spot can damage the vehicle or make the jack unstable.
Make sure the jack is straight, firmly planted, and sitting on solid ground. If anything feels unstable, lower the jack and reposition it before continuing.
Step 5: Raise the Vehicle
Raise the vehicle until the flat tire is several inches off the ground. You need enough clearance to remove the flat tire and install the inflated spare. Remember, the spare may be larger in diameter than the flat tire because it is full of air.
Never place any part of your body under the vehicle while it is supported only by a jack. A tire change does not require going under the car, and you should not do it.
Step 6: Remove the Lug Nuts and Flat Tire
Now remove the loosened lug nuts completely. Put them somewhere safe, such as inside the hubcap or in your pocket. Then grip the tire firmly with both hands and pull it straight toward you.
If the wheel seems stuck, do not panic. Rust, dirt, or pressure can make it cling to the hub. Try gently rocking it from side to side. Keep your feet clear so the tire does not drop onto them when it comes loose.
Step 7: Mount the Spare Tire
Lift the spare tire and align its holes with the wheel studs. Slide it onto the hub until it sits flat against the mounting surface. This may take a little wiggling, especially if the spare is heavy or you are working at an awkward angle.
Once the spare is in place, put the lug nuts back on by hand. Tighten them clockwise until they are snug, but do not fully tighten them while the vehicle is still raised. Heavy wrench force in the air can shift the car on the jack.
Step 8: Lower the Vehicle Partway and Tighten in a Star Pattern
Lower the vehicle until the spare tire touches the ground, but not so much that the full weight of the vehicle is on it. Now tighten the lug nuts with the wrench using a star or crisscross pattern. This helps the wheel seat evenly against the hub.
For a five-lug wheel, tighten one lug nut, then move to the one across from it, continuing around the wheel in a star pattern. For four-lug wheels, tighten opposite corners. The goal is even pressure, not superhero-level torque.
Step 9: Lower the Vehicle Completely
Lower the car all the way to the ground and remove the jack. Once the vehicle is fully supported by the tire, tighten the lug nuts again in the same crisscross pattern. They should be secure, but you should still have a professional check the torque with a torque wrench as soon as possible.
Many manufacturers specify exact lug nut torque settings. Too loose is dangerous. Too tight can damage studs or make future removal difficult. A tire shop or service station can usually verify this quickly.
Step 10: Check the Spare Tire and Stow Your Tools
Before driving away, check the spare tire’s pressure if you have a gauge. Temporary spare tires often require higher pressure than regular tires, and an underinflated spare can create another problem almost immediately.
Put the flat tire, jack, lug wrench, hubcap, wheel wedges, and any other tools back in the vehicle. Do not leave the flat tire behind. It may be repairable, and even if it is not, a tire shop will dispose of it properly.
Important Rules for Driving on a Spare Tire
A spare tire is usually not meant to be a long-term replacement. If your vehicle has a full-size spare in good condition, it may be closer to a normal tire, but it still needs to match the vehicle’s requirements. A compact temporary spare, often called a “donut,” is designed only to get you to a repair shop.
Many temporary spares have speed and distance limits printed on the sidewall or listed in the owner’s manual. A common rule is to stay under 50 mph and drive no farther than necessary. Do not treat a donut spare like a regular tire. It is the emergency granola bar of tires: useful, but not dinner.
Drive carefully after installing the spare. Avoid sudden braking, fast turns, potholes, and highway speeds when possible. Your vehicle may handle differently because the spare can be smaller, narrower, or built differently than your regular tire.
When You Should Not Change the Tire Yourself
Changing a flat tire is a useful skill, but there are times when calling for help is the better choice. Do not attempt the job if your vehicle is too close to traffic, the ground is unstable, visibility is poor, weather conditions are dangerous, or you do not have the proper tools.
You should also call roadside assistance if the lug nuts are damaged, the spare is flat, the jack is missing, the wheel is severely damaged, or the vehicle has been in an accident. Pride is not a safety tool. If the situation feels risky, step back and get professional help.
What If Your Car Does Not Have a Spare Tire?
Many modern vehicles do not include a traditional spare tire. Some come with tire sealant kits, inflator kits, or run-flat tires instead. This is why it is smart to check your vehicle before a flat happens.
If your car has a sealant kit, read the instructions in advance. Sealant may help with small punctures in the tread area, but it usually will not fix sidewall damage, large cuts, blowouts, or severely damaged tires. If your vehicle has run-flat tires, they may allow limited driving after pressure loss, but they still have speed and distance limits.
The key lesson is simple: know what is in your trunk before the roadside drama begins. Five minutes of preparation at home can save a full hour of confusion later.
Common Mistakes to Avoid When Changing a Tire
One common mistake is jacking up the car before loosening the lug nuts. Once the tire is in the air, it may spin, making the lug nuts harder to loosen. Another mistake is using the wrong jack point, which can damage the vehicle or create an unstable lift.
Drivers also sometimes forget to set the parking brake, skip wheel wedges, or tighten lug nuts unevenly. These shortcuts can cause serious problems. Changing a tire is not difficult, but the order of steps matters.
Finally, do not drive for days on a compact spare. The spare is there to get you safely to a repair location, not to become your new lifestyle. Visit a tire shop as soon as possible to repair or replace the damaged tire.
How to Prevent Flat Tires
You cannot prevent every nail, pothole, or mystery object on the road, but you can lower your risk. Check tire pressure at least monthly and before long trips. Underinflated tires can overheat, wear unevenly, reduce fuel economy, and increase the chance of failure.
Inspect tread depth and look for cracks, bulges, embedded objects, or uneven wear. If the tread is worn down to the wear bars, the tire should be replaced. Rotate your tires according to your vehicle’s maintenance schedule and keep the wheels properly aligned.
Also, check your spare tire. A spare that has been ignored for years may be low on air, cracked, or too old to rely on. The worst time to discover a useless spare is when you are already standing next to a flat tire holding a lug wrench and questioning your life choices.
Flat Tire Emergency Kit Checklist
A small roadside emergency kit can turn a stressful flat tire into a manageable inconvenience. Keep these items in your vehicle:
- Properly inflated spare tire or working tire repair kit
- Jack and lug wrench
- Owner’s manual
- Wheel wedges
- Flashlight or headlamp
- Gloves and a small towel
- Reflective triangles or safety vest
- Tire pressure gauge
- Portable compressor
- Phone charger or power bank
Practice locating these items before you need them. You do not have to perform a full tire change in your driveway, but you should know where the spare is, how the jack works, and whether the lug wrench fits your wheels.
Real-World Experience: What Changing a Tire Actually Feels Like
Reading a changing a flat tire guide is one thing. Doing it on the side of the road is another. The first thing most people notice is that the situation feels more stressful than the steps look on paper. Cars pass by. The flat tire looks sad. The jack suddenly seems like a puzzle designed by someone who enjoys testing patience. That is normal.
The best experience-based advice is to slow everything down. Take a breath before starting. Look around and decide whether the location is truly safe. If traffic is too close, do not force the job. Call for help. Many drivers make poor decisions because they feel embarrassed or rushed, but there is nothing embarrassing about choosing safety.
Another practical lesson is that lug nuts can be stubborn. If they were tightened with an impact wrench at a shop, they may require real effort to loosen. Place the lug wrench fully onto the lug nut so it does not slip. Use steady pressure instead of wild force. If a lug nut starts to round off, stop and call for help before making it worse.
It also helps to keep your tools organized. Put lug nuts in one place. Keep the flat tire out of your immediate work area. Lay the hubcap face down if you are using it as a tray. Small organization steps prevent small problems from becoming big frustrations.
In real life, weather matters too. Rain makes tools slippery. Darkness makes everything harder to see. Cold weather makes your hands stiff. A headlamp, gloves, and a reflective vest are not fancy extras; they are the difference between a controlled repair and a miserable roadside guessing game.
Drivers who have changed a tire more than once usually agree on one thing: preparation beats confidence. You do not need to be a car expert. You need the correct tools, a good spare, and a basic understanding of the process. Practicing at home, even just locating the jack points and spare tire, makes the real event much easier.
Another experience-based tip is to check the spare after installation, not later. Many compact spares sit unused for years. They can lose pressure slowly, and some are hidden under cargo floors or beneath vehicles where nobody thinks about them. If you install a soft spare and drive away, you may find yourself dealing with round two of the tire drama a few miles later.
Finally, do not skip the repair shop. After the spare is installed and the car is moving again, it is tempting to celebrate and continue your day. But the flat tire needs inspection, the spare has limits, and the lug nuts should be checked for proper torque. A quick stop at a tire shop can confirm whether the damaged tire can be patched or must be replaced.
The real skill in changing a tire is not just turning a wrench. It is staying calm, making safe decisions, following the right order, and knowing when to ask for help. Once you understand that, a flat tire becomes less of a disaster and more of an inconvenient roadside chorewith slightly dirtier hands.
Conclusion
Knowing how to change a tire is one of those driving skills you hope you rarely need but will be very glad to have when the moment arrives. The process is straightforward: pull over safely, secure the vehicle, loosen the lug nuts, jack up the car at the correct point, remove the flat tire, install the spare, tighten the lug nuts properly, and drive carefully to a repair shop.
The most important lesson is to never trade safety for speed. If the road, weather, tools, or vehicle condition makes the job unsafe, call roadside assistance. A flat tire is inconvenient, but with preparation and patience, it does not have to ruin your day.














