
Plumeria seeds are tiny little promises with built-in wings, which is honestly a pretty bold design choice for a plant best known for tropical flowers and vacation energy. If you have ever stared at a plumeria seed pod and thought, “Can I really grow a whole fragrant tree from this papery thing?” the answer is yeswith patience, warmth, and a little restraint on the watering can. That last part matters more than gardeners like to admit.
This guide walks you through exactly how to plant plumeria seeds in 9 clear steps, from choosing viable seed to transplanting sturdy seedlings. Along the way, you will learn how to avoid soggy soil, how deep to sow, how much light young plants need, and why seedlings are a bit like mystery novels: you know the ending involves flowers, but the color plot twist may surprise you.
Because plumeria is a tropical plant, seed starting works best when you mimic the conditions it likes most: warmth, bright light, airflow, and a fast-draining medium. Do that, and you will be miles ahead of the gardener who plants seeds in dense garden soil and then wonders why nothing happens except regret.
Why grow plumeria from seed?
Most plumeria lovers propagate plants from cuttings, and for good reason: cuttings are faster, and they preserve the parent plant exactly. But growing plumeria from seed has its own charm. Seedlings can produce flowers in a few years, and they often vary from the parent plantespecially if the parent was pink or multicolored. In other words, planting plumeria seeds is part gardening, part surprise party.
Seed-grown plumeria is perfect for gardeners who enjoy experimentation, breeding, collecting unusual flower colors, or simply starting plants from scratch. It is also a satisfying way to use seeds from a mature pod instead of letting them drift off like tiny botanical kites.
What you need before you start
- Fresh plumeria seeds
- A seed tray, small pots, or cell packs with drainage holes
- A sterile, fast-draining seed-starting mix or soilless mix
- Perlite or coarse material for extra aeration if needed
- A spray bottle or gentle watering method
- Clear plastic dome or loose plastic cover
- A warm spot or seed-starting heat mat
- Bright light or grow lights
- Plant labels, because future-you deserves better than “mystery tropical thing”
How to Plant Plumeria Seeds: 9 Steps
Step 1: Start with fresh, viable plumeria seeds
Fresh seed gives you the best chance of success. If you harvested seeds from your own plant, wait until the pod matures and splits open naturally. That is your cue that the seeds are ready. Plumeria seed pods are not common on every plant, and when they do form, they can take months to ripen, so treat them like treasure.
Choose seeds that look intact, dry, and papery, with the wing attached. Avoid seeds that are moldy, crushed, or suspiciously sad-looking. Viability drops with age, so do not let them lounge around forever in a drawer like they are on permanent vacation.
Step 2: Prepare a light, fast-draining seed-starting mix
Plumeria seeds need moisture, but they also need oxygen. That means the planting medium should be airy and well drained, not heavy, muddy, or scooped from your backyard after a rainstorm. A sterile seed-starting mix is the safest choice because it reduces the risk of damping-off disease and other seedling troubles.
If your mix feels too dense, lighten it with perlite. The goal is simple: hold enough moisture for germination, but drain fast enough that the seed never sits in swamp conditions. Plumeria loves tropical weather, not tropical soup.
Step 3: Fill containers and pre-moisten the mix
Fill your trays or pots with the seed-starting mix, then moisten it before sowing. You want the medium evenly damp, not dripping wet. A pre-moistened mix helps seeds make good contact with the medium and prevents them from being blasted out of place by a heavy first watering.
Use containers with drainage holes. This is not optional. If water cannot escape, your plumeria seeds may decide the afterlife is more appealing than germination.
Step 4: Plant the seeds shallowly, wing up
This is the part gardeners overthink, but plumeria seeds are refreshingly straightforward. Sow them shallowly. Insert each seed so the thicker seed body goes into the mix while the papery wing remains sticking up above the surface. Think of it as parking the seed vertically with its little flag still visible.
Do not bury the whole seed deeply. Deep planting can slow germination and increase the chance of rot. If you want a helpful rule of thumb, the seed body should be nestled into the medium while the wing stays out like a tiny shark fin. Dramatic, yes. Effective, also yes.
Step 5: Cover lightly and water gently
After sowing, firm the medium gently around each seed so it has good contact without compacting the mix. Then water lightly with a mist bottle or very gentle stream. The goal is to settle the seed in place, not launch it into the next county.
At this stage, many gardeners use a clear humidity dome or loosely draped plastic cover to hold moisture during germination. That works well, but keep it light and breathable. You are creating a cozy seed-starting environment, not building a tiny rainforest prison.
Step 6: Keep seeds warm and bright
Warmth is one of the biggest factors in successful plumeria seed germination. Place the container in a warm area, ideally around normal indoor warm-seed conditions. A heat mat can help if your home runs cool. Bright light is also useful once seedlings begin to emerge, and strong light afterward helps prevent weak, stretched growth.
A sunny windowsill may work in very bright climates, but grow lights often give more reliable results, especially indoors. Keep the light close enough to encourage sturdy seedlings without overheating them. No seedling wants to spend its first week impersonating spaghetti.
Step 7: Keep the mix lightly moist, never soggy
This is the make-or-break habit. Check the medium daily and keep it evenly moist, especially during germination. But do not overwater. Soggy, poorly aerated conditions invite fungal problems and suffocate seeds. Overwatering is one of the fastest ways to turn a promising tray into a botanical cautionary tale.
If you are using a plastic cover, remove it as soon as germination gets underway. Continuing to trap too much moisture after sprouting can encourage damping off, a disease that causes seedlings to collapse right at the soil line. It is rude, common, and best avoided with cleanliness, drainage, warmth, and moderation.
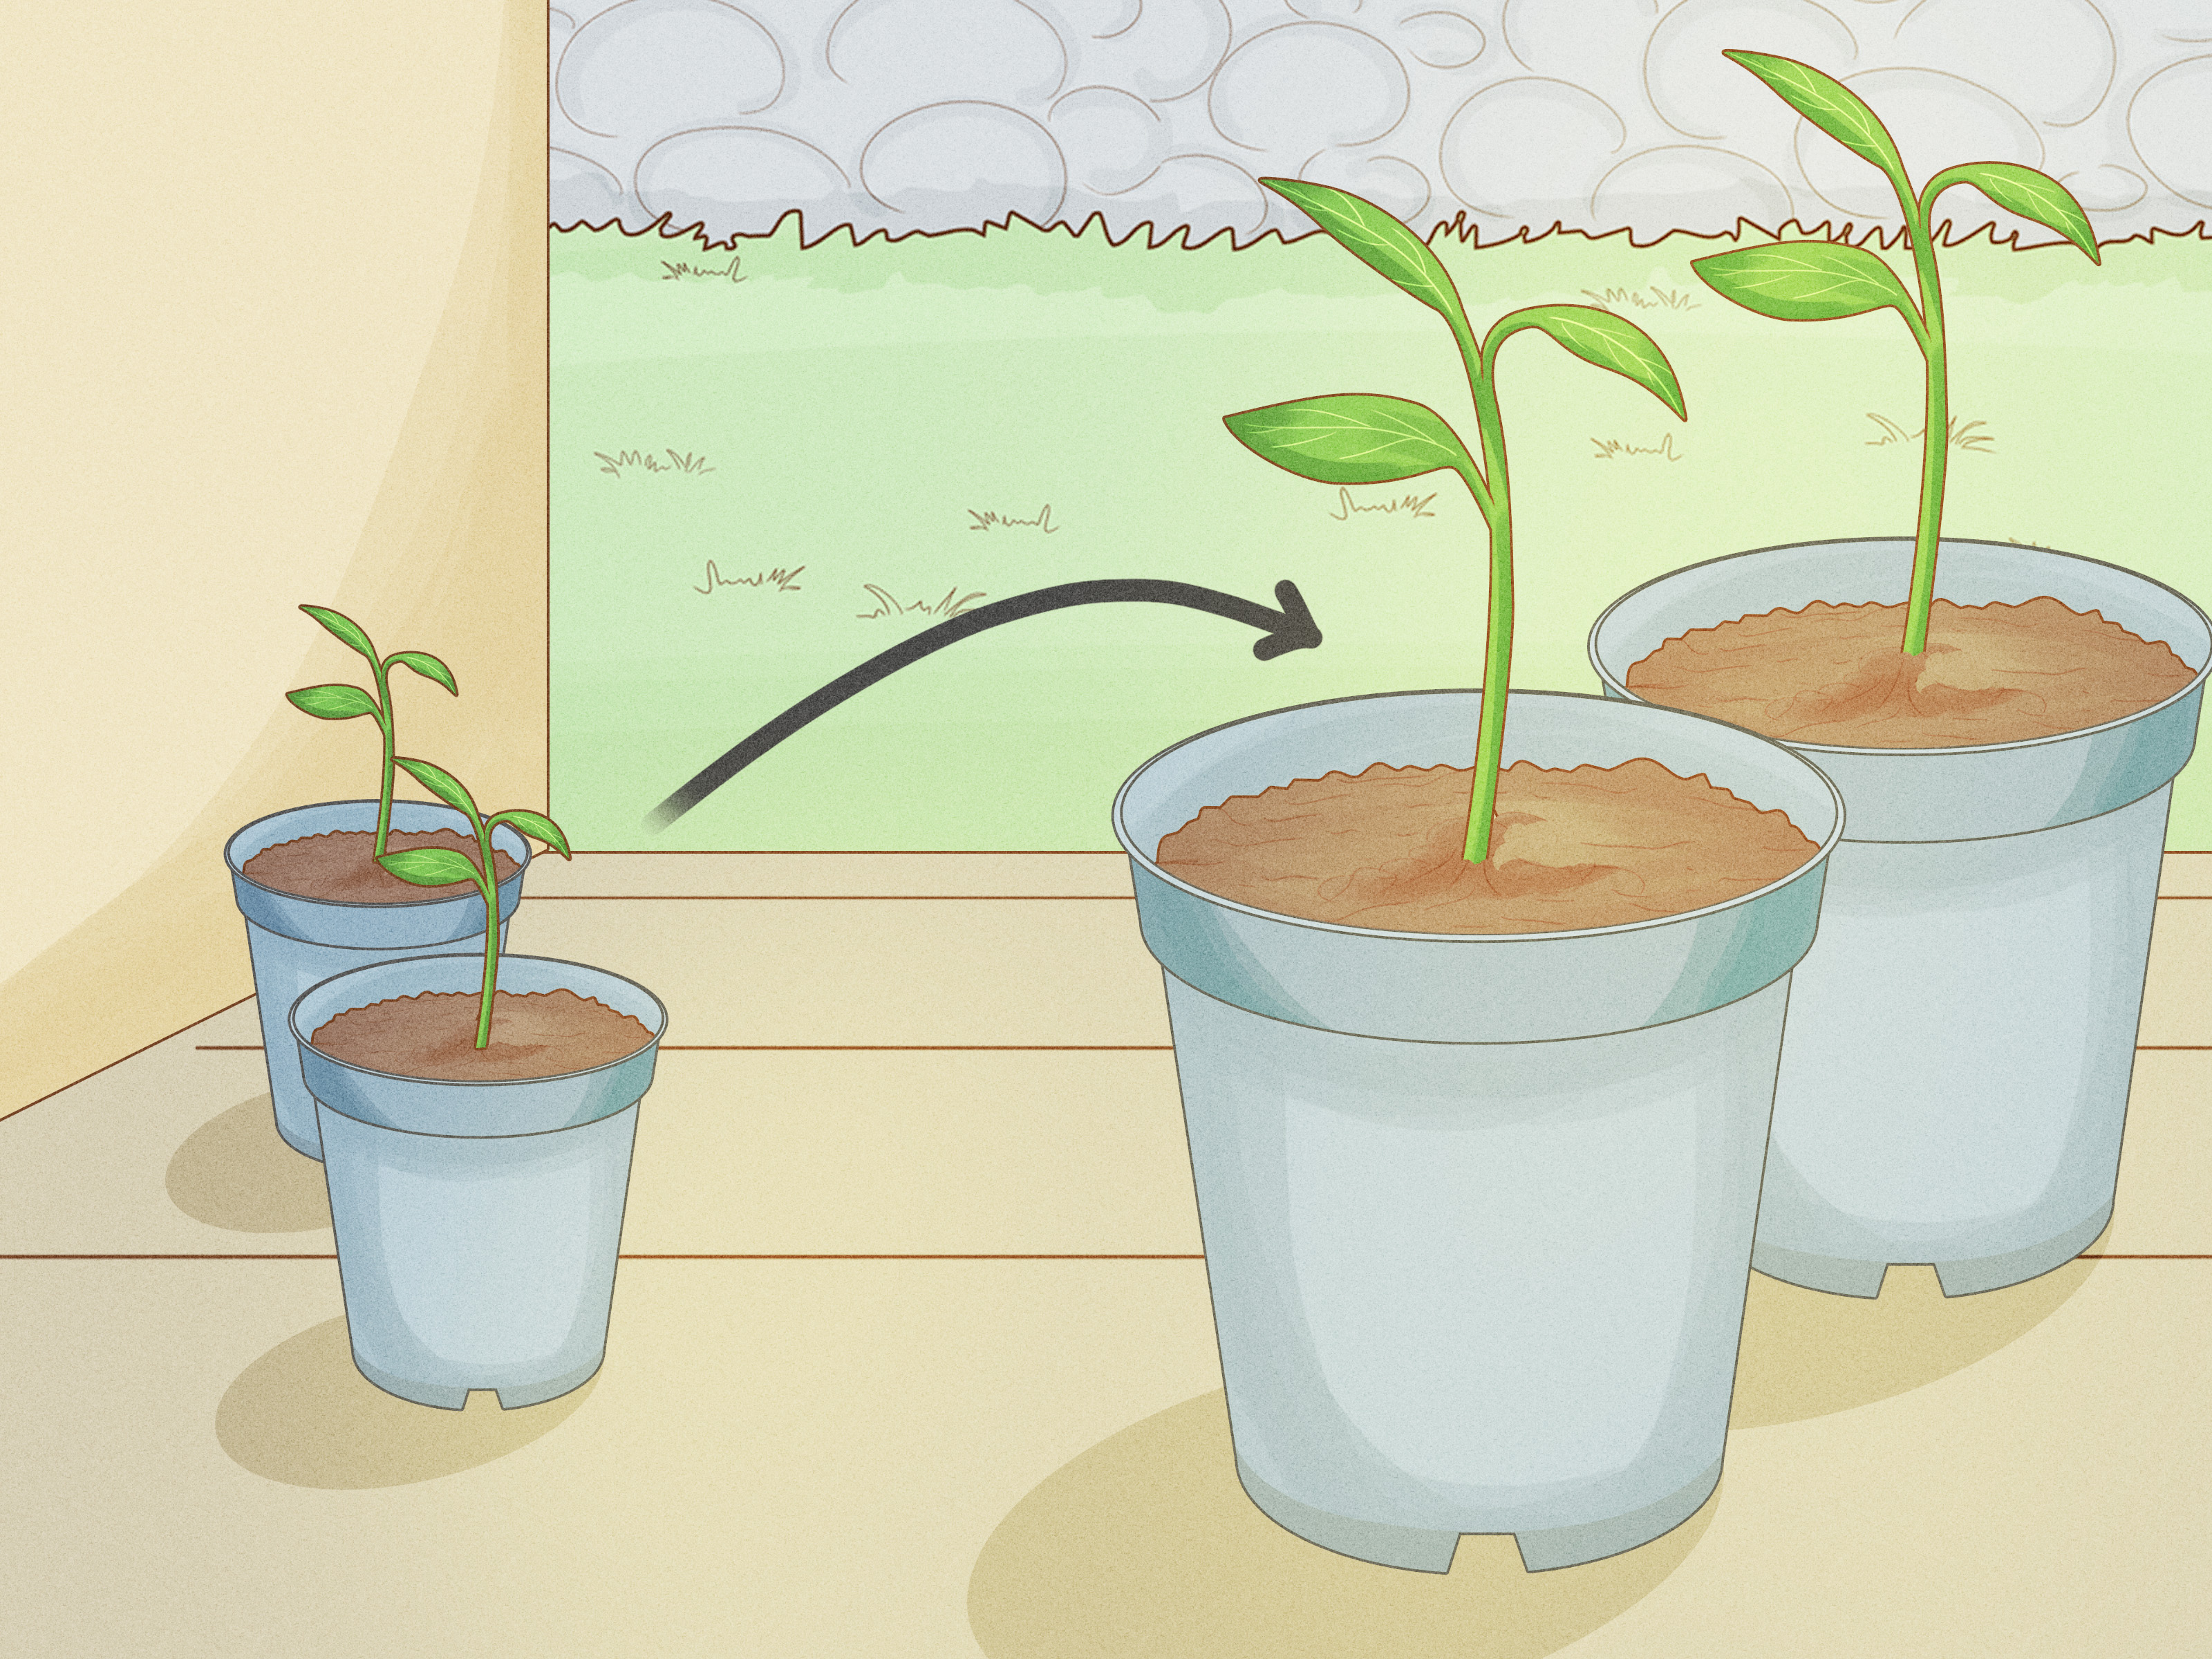
Step 8: Give seedlings room once true leaves appear
Plumeria seeds often germinate in several days to about two weeks, depending on conditions, seed freshness, and method. The first leaves you see are the seed leaves. Once seedlings develop one or two pairs of true leaves, it is time to transplant them into individual pots if they started in a shared tray.
Handle seedlings gently by the leaves rather than the stem. The stem is tender and easy to damage. Move each seedling into its own small pot filled with a well-draining mix, then water lightly to settle the roots. This step gives the roots more oxygen, more room, and far fewer reasons to compete with neighboring seedlings like they are on a reality show.
Step 9: Grow them on with patience
Once your seedlings are potted up, place them in bright light and continue watering carefully. Let the top of the mix dry slightly between waterings rather than keeping it constantly wet. As the plants grow, move them into larger containers as needed. Feed lightly only after they are established and actively growing.
And yes, this is the part where patience enters the chat. Seed-grown plumeria usually takes several years to bloom. That can feel slow if you are used to instant gratification, but the payoff is a one-of-a-kind plant that may surprise you with flower color, fragrance, and form.
Common mistakes when planting plumeria seeds
Using old seeds
Older seeds can still germinate, but success rates often drop. Fresh seed is your friend.
Burying the seed too deep
Plumeria seeds are better sown shallowly. Deep burial increases the risk of rot and slows emergence.
Overwatering
This is the classic error. Wet, compacted media invites damping off and oxygen-starved seeds.
Using dense soil
Garden soil is too heavy for indoor seed starting and may carry disease organisms. Stick with sterile, airy media.
Keeping humidity too long
Humidity helps at the beginning, but once seedlings emerge, too much trapped moisture can do more harm than good.
Expecting a clone of the parent plant
Seedlings can vary, especially from pink or multicolored plumerias. That is not a problem. That is part of the fun.
How long does it take plumeria seedlings to flower?
Plumeria grown from cuttings usually flowers sooner, but seed-grown plants typically take around three years or more to bloom. Some may flower earlier under excellent conditions, while others take longer. That sounds like a long wait, but plumeria is not a microwave plant. It is more of a “slow vacation planning with a glorious finale” plant.
During that wait, focus on building healthy plants: bright light, warm temperatures, sharp drainage, and careful watering. Healthy seedlings become healthy young plants, and healthy young plants are much more likely to reward your patience.
Can you grow plumeria from seed outdoors?
In tropical or frost-free climates, yes, but starting plumeria seeds in containers still gives you more control. In cooler regions, indoor or protected seed starting is the smarter route. Once young plants are sturdy and weather is warm, they can be moved outside gradually. If your climate dips into cold weather, container growing makes winter protection much easier.
Conclusion
If you want a gardening project that is equal parts practical and magical, planting plumeria seeds is hard to beat. The process is simple: use fresh seeds, sow them shallowly in a sterile fast-draining mix, keep them warm, water with restraint, and transplant them once true leaves appear. The emotional process, however, is delightfully less simple. You will inspect trays too often, celebrate every sprout like it won an award, and probably start planning where to put future blooms long before the plant is tall enough to justify your optimism.
That is the beauty of growing plumeria from seed. It teaches patience without being boring, precision without being fussy, and hope without requiring a greenhouse the size of a small airport. Follow these 9 steps, avoid the swampy-soil trap, and you will give your plumeria seedlings an excellent start.
Experience: What growing plumeria from seed really feels like
The first time I planted plumeria seeds, I treated the tray like a tiny casino. Every morning, I checked for signs of life with the kind of intensity usually reserved for tracking packages and waiting for text replies. Nothing happened for a few days, and I immediately assumed I had ruined everything. Then one morning, there it was: a seedling pushing upward, wing still attached, looking equal parts fragile and determined. If you have never watched plumeria germinate, it is oddly charming. The seed does not just sprout; it seems to arrive with flair.
What surprised me most was how much seed starting with plumeria is a lesson in restraint. The hardest part was not planting the seed correctly. That is easy. The hard part was not messing with it afterward. Not adding extra water because I felt nervous. Not moving the tray from place to place because I wanted faster results. Not poking at the medium like a detective in a gardening mystery. Plumeria seedlings reward steady conditions, and steady conditions are not always a gardener’s favorite hobby.
I also learned that plumeria from seed invites you to embrace uncertainty in a good way. With a cutting, you know what you are getting. With a seedling, you are raising a plant whose future flower color may be familiar, or may veer off into its own dramatic plotline. That unpredictability becomes part of the charm. Every healthy leaf feels like progress toward a reveal you cannot rush.
Another very real experience: seedlings can look amazing one week and slightly offended the next if your watering habits swing too far. Too dry, and they sulk. Too wet, and they threaten collapse. Once I understood that plumeria likes moisture with excellent drainagenot endless dampnessthe whole process got easier. The seedlings became sturdier, the stems thickened, and the leaves started looking like they had actual plans for the future.
Perhaps the best part is that plumeria seedlings make you pay attention in a useful way. You start noticing light quality, warmth, airflow, and timing. You begin to understand that “tropical plant” does not mean “pour water on it until your conscience feels better.” It means giving the roots air, warmth, and consistency. And when you finally have a tray of healthy little plants that made it through germination, transplanting, and early growth, the feeling is ridiculously satisfying.
So yes, planting plumeria seeds is slower than rooting a cutting. It is less predictable. It asks for more patience. But it is also more personal. You are not just duplicating a plant; you are raising a new one from the very beginning. That makes every successful seedling feel earned, and every future flower feel a little more special.














