
Maybe your lenses look darker than you expected. Maybe an old sunglass overlay is clinging to life like a movie villain who refuses to leave in the final scene. Or maybe you bought glasses secondhand and now you are staring through a tint that makes every room feel like late afternoon. Whatever brought you here, the big question is simple: can you remove tint from glasses?
The honest answer is: sometimes. If the “tint” is a removable add-on, adhesive film, magnetic sunglass front, clip-on shield, or leftover residue, you may be able to remove it safely at home. But if the tint is built into the lens material, added as a factory lens treatment, or part of a photochromic or polarized design, you usually should not try to strip it off yourself. At that point, removing the tint is less of a cleaning project and more of a “let’s not destroy the lenses we paid for” situation.
This guide walks you through a smart, safe, step-by-step process. It covers what kind of tint can come off, what supplies to use, what to avoid, and when replacement lenses make more sense than a DIY experiment gone sideways. In other words, it is the practical version of “measure twice, peel once.”
Can You Actually Remove Tint From Glasses?
Before you do anything, identify what kind of tint you are dealing with. This matters because not all dark lenses are created equal.
Tint that may be removable
- Clip-on or magnetic sunglass attachments
- Adhesive sun shields or temporary lens film
- Surface residue from sprays, cleaners, stickers, or DIY products
- A damaged coating that only looks like tint in spots
Tint that usually is not removable at home
- Factory-tinted prescription or non-prescription sunglass lenses
- Photochromic lenses that darken in sunlight
- Polarized lenses
- Specialty sport, medical, or contrast-enhancing tints
- Many coatings bonded to the lens surface
If your glasses were sold as sunglasses, Transitions-style lenses, polarized eyewear, or specialty tinted prescription lenses, the color is often part of the lens design. That means there is no magical peel-and-reveal moment waiting for you underneath. In many cases, the safest fix is replacing the lenses with clear ones.
What You Will Need
Gather your supplies before you begin. This is not a job for kitchen improvisation, mystery cleaners, or a nail polish remover bottle that has been lurking under the sink since the last presidential administration.
- Clean microfiber cloth
- Lukewarm water
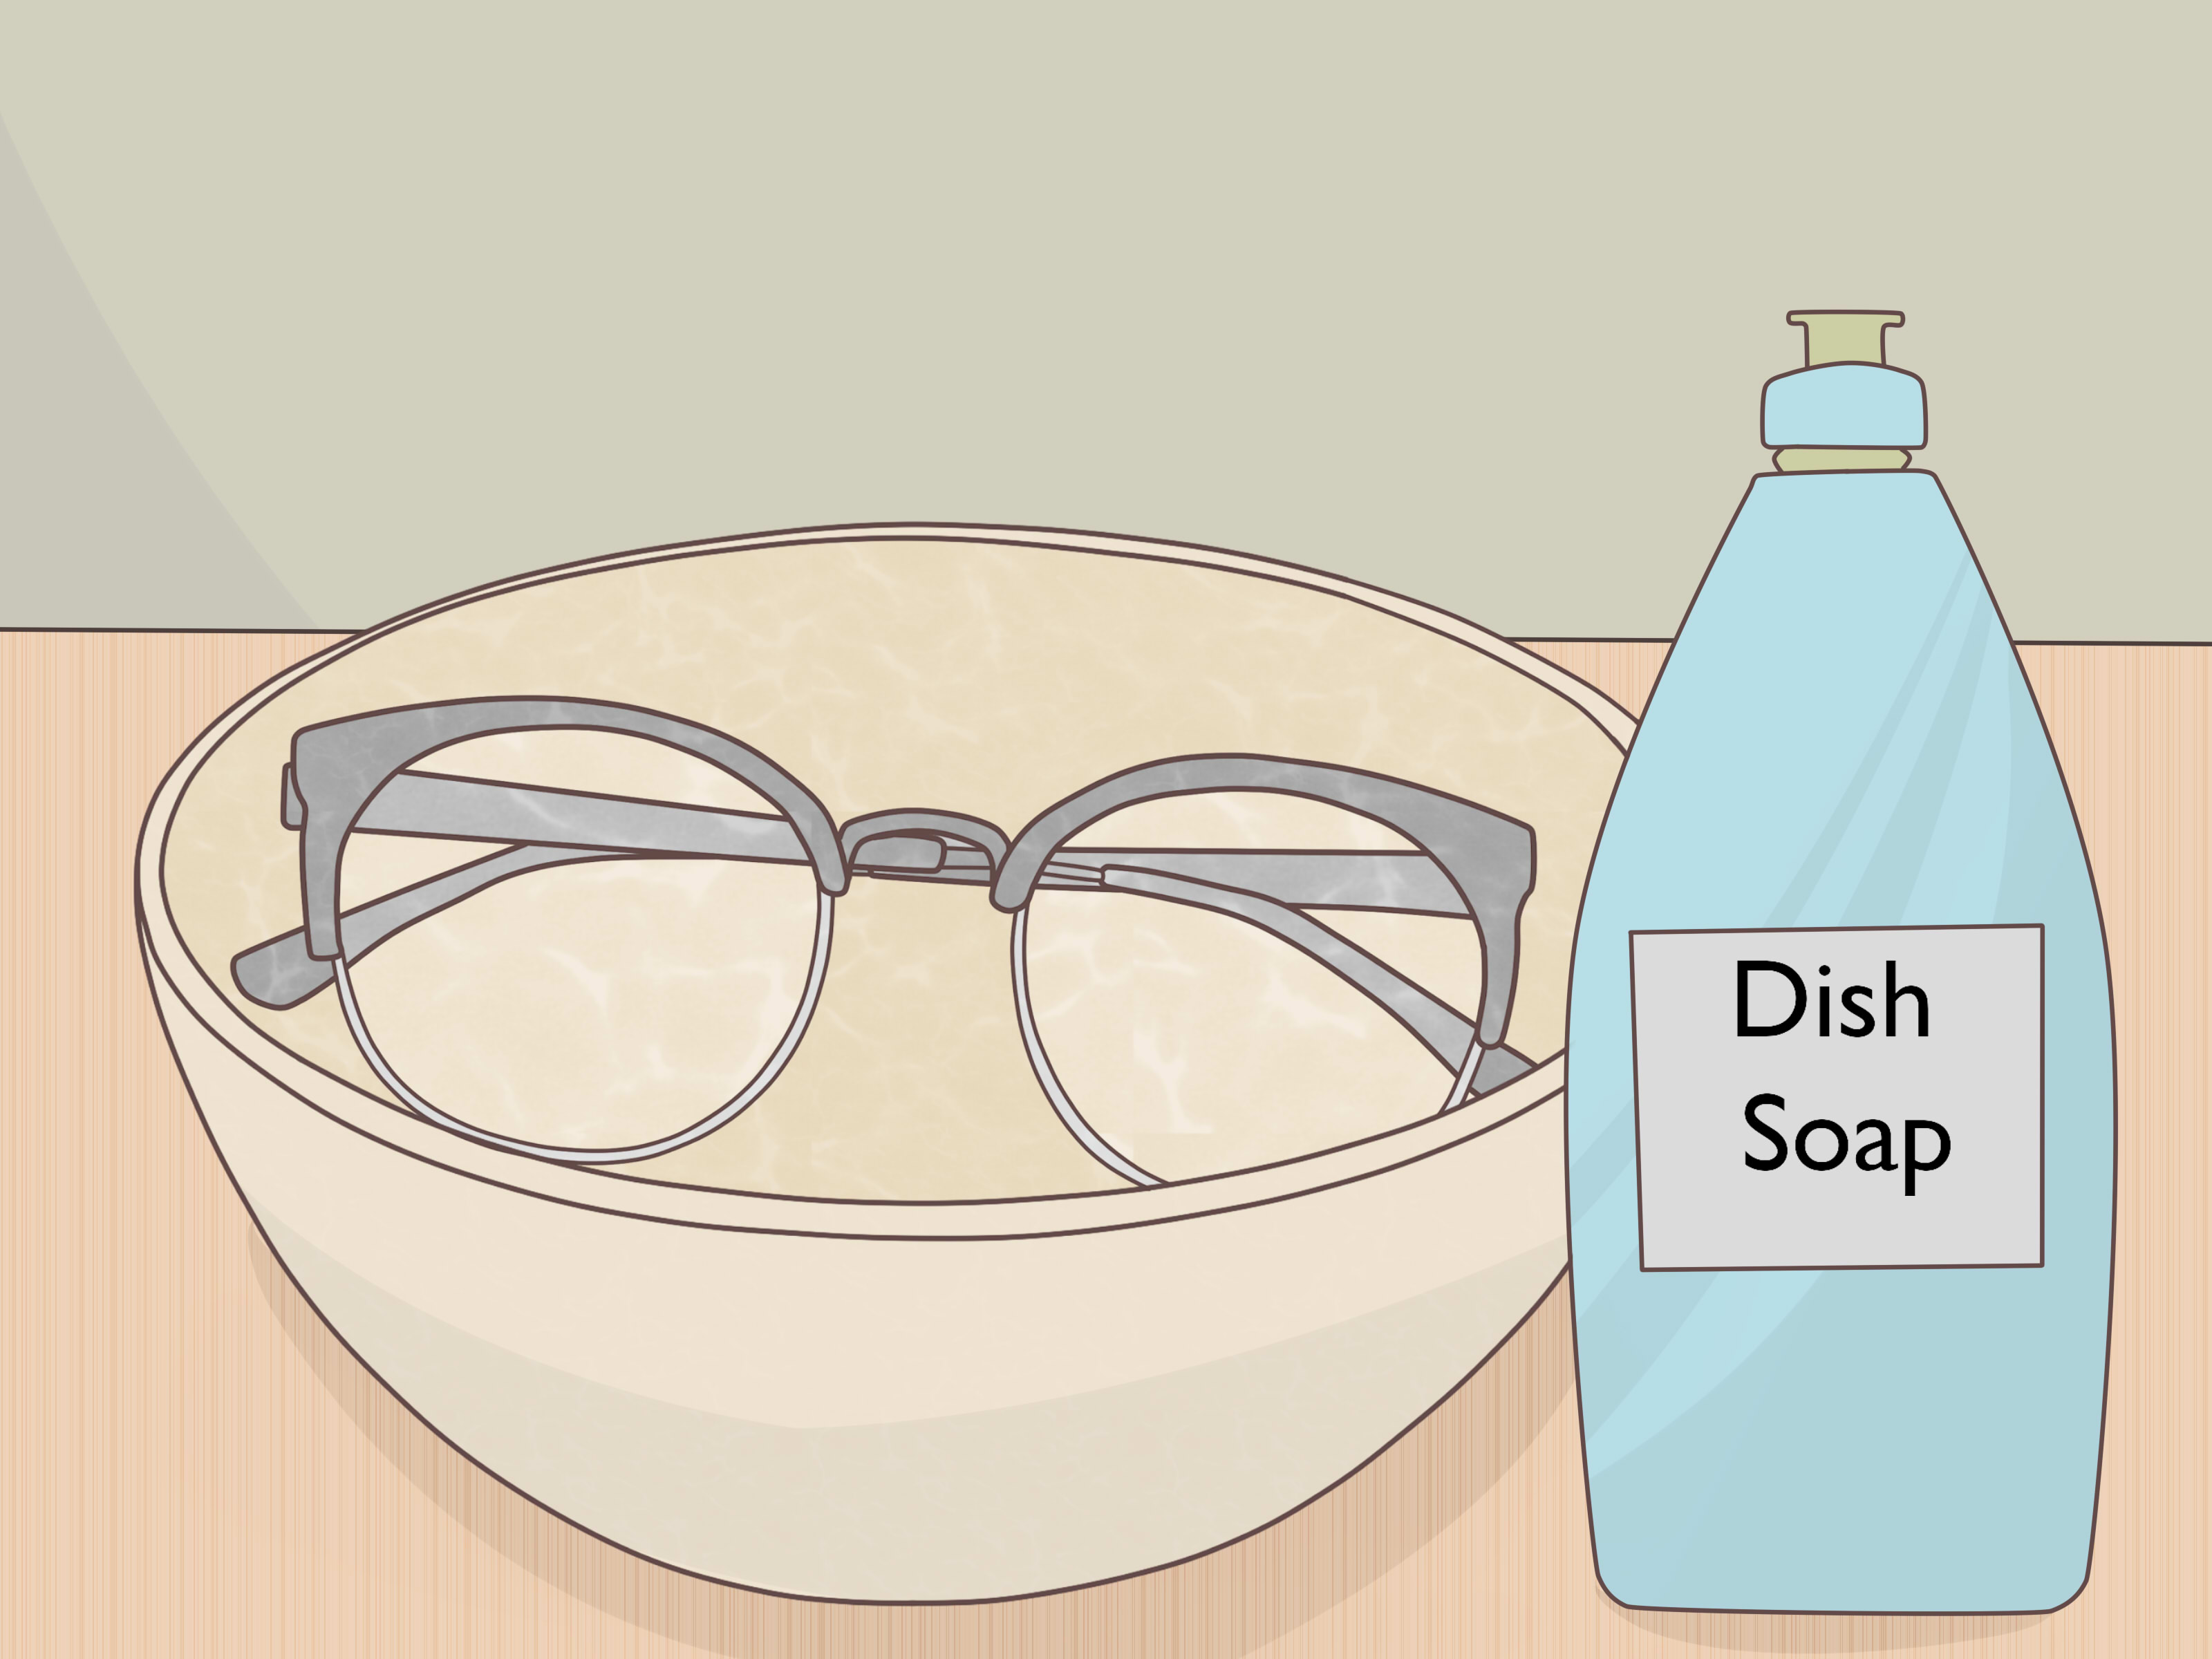
- Mild, lotion-free dish soap
- Lens-safe eyeglass cleaner
- Cotton swabs for tight corners
- A lint-free towel
- A hard glasses case for safe storage afterward
Do not use: acetone, ammonia-based glass cleaner, bleach, paper towels, tissues, razor blades, abrasive pads, toothpaste, baking soda paste, or very hot water. Those hacks may sound dramatic on the internet, but they can scratch lenses, damage coatings, warp frames, or turn a minor tint issue into a full-on replacement bill.
How to Remove Tint from Glasses: 11 Steps
-
Step 1: Figure out what kind of tint you have
Start by asking one simple question: is the tint on top of the lens, or is it part of the lens? Look closely under bright light. If you can see an edge, bubbling, peeling, a layered look, or an added front piece, you may be dealing with something removable. If the entire lens is evenly dark and looks uniform from edge to edge, it is probably built in.
-
Step 2: Check for coatings and lens material
If your lenses have anti-reflective coating, mirror coating, scratch-resistant treatment, or are made from polycarbonate or high-index material, be extra cautious. These lenses can be more vulnerable to damage from heat, harsh chemicals, and aggressive rubbing. If the glasses are expensive, prescription, or medically necessary, do not treat them like a science fair experiment.
-
Step 3: Remove any obvious add-ons first
Take off clip-ons, magnetic sunglass fronts, snap-on shields, or side shields before you do anything else. Sometimes the “tint” problem is not the lens at all. It is just an attachment doing exactly what it was designed to do. Remove the easy stuff first and celebrate the small wins.
-
Step 4: Wash and dry your hands
Clean hands matter more than most people realize. Oils, lotion, sunscreen, and dirt on your fingers can smear the lenses or grind grit across the surface while you work. Wash with plain soap, rinse well, and dry with a lint-free towel.
-
Step 5: Rinse the glasses with lukewarm water
Hold the glasses under a gentle stream of lukewarm water. This loosens dust and debris so you do not rub grit into the lenses. Avoid hot water. Heat can damage coatings and, in some cases, affect the fit of plastic frames. Lukewarm is the sweet spot: effective, boring, and exactly what you want.
-
Step 6: Clean both lenses with mild soap
Place a tiny drop of lotion-free dish soap on each lens and gently rub with your fingertips. Clean the whole frame too, especially around the nose pads and the edges where the lens meets the frame. Sometimes what looks like a light tint is actually a film of oil, hairspray, makeup, sunscreen, or old cleaner residue. Rinse thoroughly afterward.
-
Step 7: Inspect the edges for a film or lifting point
Dry the glasses lightly and inspect the lens edges under bright light. If a removable film is present, you may notice a tiny seam, wrinkle, lifted corner, or uneven edge. Use a cotton swab to clean around the perimeter first. Do not dig at the lens with fingernails or metal tools. That is how “quick fixes” become “why does everything look blurry now?”
-
Step 8: Soften residue gently, not aggressively
If you suspect adhesive residue or a stuck-on film, apply a little lens-safe eyeglass cleaner and let it sit briefly. You can also re-rinse with lukewarm water to soften buildup. The goal is to loosen the material, not bully it into submission. Skip hair dryers, boiling water, and strong solvents. They are far more likely to damage the lens than help you win this battle.
-
Step 9: Peel or lift only if the layer is clearly removable
If a film corner is visibly raised, gently lift it with your fingertips and peel slowly while supporting the lens from behind. Move with even pressure. If it resists strongly, stop. Resistance is your glasses telling you, in the only language they know, “Please do not do this.” A removable film should come off gradually without grinding, scraping, or cracking noises. If it does not, it may not be removable after all.
-
Step 10: Remove leftover residue the safe way
After peeling away any removable layer, use lens-safe cleaner and a microfiber cloth to wipe off remaining residue. For stubborn spots near the frame edge, a cotton swab can help. Work gently and use light pressure. Then rinse again with lukewarm water and dry with a clean microfiber cloth. At this point, the lenses should look clear, not foggy, sticky, or rainbow-streaked.
-
Step 11: Know when to stop and replace the lenses
If the tint is still there after cleaning and removing obvious attachments or film, it is probably not a removable surface layer. That means your next move should not be stronger chemicals. It should be contacting an optician or replacing the lenses. If you love the frames, many optical services can fit new clear lenses into them. That is usually safer, cleaner, and cheaper than ruining the pair you already have.
What Not to Do When Removing Tint from Glasses
Some bad lens advice survives online with the stamina of a cockroach in a disaster movie. Here are the most common mistakes to avoid:
- Do not use acetone or nail polish remover. It can damage lens coatings and plastic frames.
- Do not use ammonia-based window cleaner. Household glass products are not made for eyewear.
- Do not scrape with razors, knives, or metal tools. Unless you enjoy permanent scratches, skip it.
- Do not use paper towels or tissues. They may look soft, but they can scratch lenses and leave lint.
- Do not use very hot water. Heat can damage coatings and warp some frames.
- Do not keep rubbing a stubborn lens. More force is rarely more helpful.
When You Should See an Optician Instead
Call a professional if any of the following apply:
- The glasses are prescription lenses you wear every day
- The tint appears built into the lens material
- The lenses are photochromic, polarized, mirrored, or specialty sports lenses
- The coating is crazed, patchy, bubbling, or rainbow-colored
- The frame is old, brittle, or expensive
- You already tried cleaning and the tint did not change
In some cases, optical labs can strip certain coatings, but results vary by material and treatment. Even then, professional help is a better bet than experimenting at home. If the tint is part of the lens itself, replacement is usually the cleaner solution.
Can You Remove Tint From Transition or Photochromic Lenses?
Usually, no. Photochromic lenses are designed to darken when exposed to sunlight and become clearer indoors. That light-reactive behavior is part of the lens technology, not a temporary film you can scrub away. If your photochromic lenses are staying darker than expected, the issue may be age, damage, temperature, or the specific lens product. But it is not something you should try to strip with solvent, scraping, or heat.
If you no longer want light-adaptive lenses, the practical option is to order clear replacement lenses for your frame. It is less dramatic than a home chemistry project, but your glasses will appreciate the stability.
Can You Remove Tint From Sunglass Lenses?
If the glasses were manufactured as sunglasses, the tint is usually intentional and permanent. That includes many prescription sunglasses, fashion sunglasses, polarized designs, and contrast-enhancing lenses. If you want them clear, the answer is generally not “remove the tint.” The answer is “replace the lenses.”
This is especially true for high-quality sunglass lenses, where tint, UV protection, polarization, and coatings may all work together. Removing one part is not like peeling a sticker off a laptop. It is more like trying to remove the chocolate from a brownie after it has been baked. Technically interesting. Practically terrible.
Real-World Experiences: What People Learn the Hard Way
One of the most common experiences with “tinted” glasses is discovering that the lenses were not actually tinted at all. They were just filthy. It sounds funny, but it happens all the time. Sunscreen, facial oil, hairspray, makeup, and old lens cleaner can leave a hazy cast that darkens vision and makes clear lenses look smoky. A careful wash with lukewarm water, mild dish soap, and microfiber fixes the issue in minutes. People often assume they need a more dramatic solution when what they really need is a better cleaning routine.
Another very common experience is confusing photochromic lenses with removable tint. Someone buys glasses that darken outdoors, then later decides they want a fully clear pair all the time. The natural instinct is to wonder whether the tint can be removed, polished off, or stripped away. In practice, that almost never ends well. These lenses are made to react to light, so the darkening effect is part of how they were built. People who accept that early save themselves frustration. People who do not sometimes end up with scratched, cloudy, or coating-damaged lenses and still need replacements anyway.
There is also the classic “I found a hack online” experience. Maybe it involves acetone. Maybe toothpaste. Maybe a paste made from something that belongs in a kitchen, not on prescription eyewear. At first, the method seems clever because it appears to remove something. Unfortunately, the something is often a protective coating. The result can be uneven glare, smudging that never quite goes away, or a patchy surface that looks worse than the original tint. Many people do not realize that lenses are not just pieces of plain plastic. They are layered optical products with treatments designed to improve vision, reduce glare, and protect the surface.
Then there is the best-case experience: realizing the frame is still great even if the lens is not. This is where lens replacement shines. If the tint is permanent, outdated, or just not what you want anymore, keeping the frame and swapping in new clear lenses is often the most satisfying fix. You keep the fit, keep the style, and avoid gambling with the lenses you already have. For prescription wearers, this is especially valuable because vision quality matters more than winning a DIY challenge.
The biggest lesson from real-world experiences is simple: the safest approach is usually the least dramatic one. Clean first. Inspect carefully. Remove only what is obviously removable. Stop when resistance shows up. And if the tint is built in, let a professional handle it or replace the lenses. Your glasses are tools for seeing better, not contestants on a survival show.
Final Thoughts
If you want to remove tint from glasses, success depends on what the “tint” actually is. Removable overlays, clip-ons, films, and residue can often be handled at home with careful cleaning and gentle technique. But permanent sunglass tint, photochromic technology, polarization, and many bonded coatings are not safe DIY projects. In those cases, trying harder usually just means damaging the lenses faster.
The smartest approach is to start mild, stay patient, and know when to stop. If the layer is removable, great. If not, new lenses are usually the better answer. Either way, your future self will appreciate choosing clear vision over questionable chemistry.














