
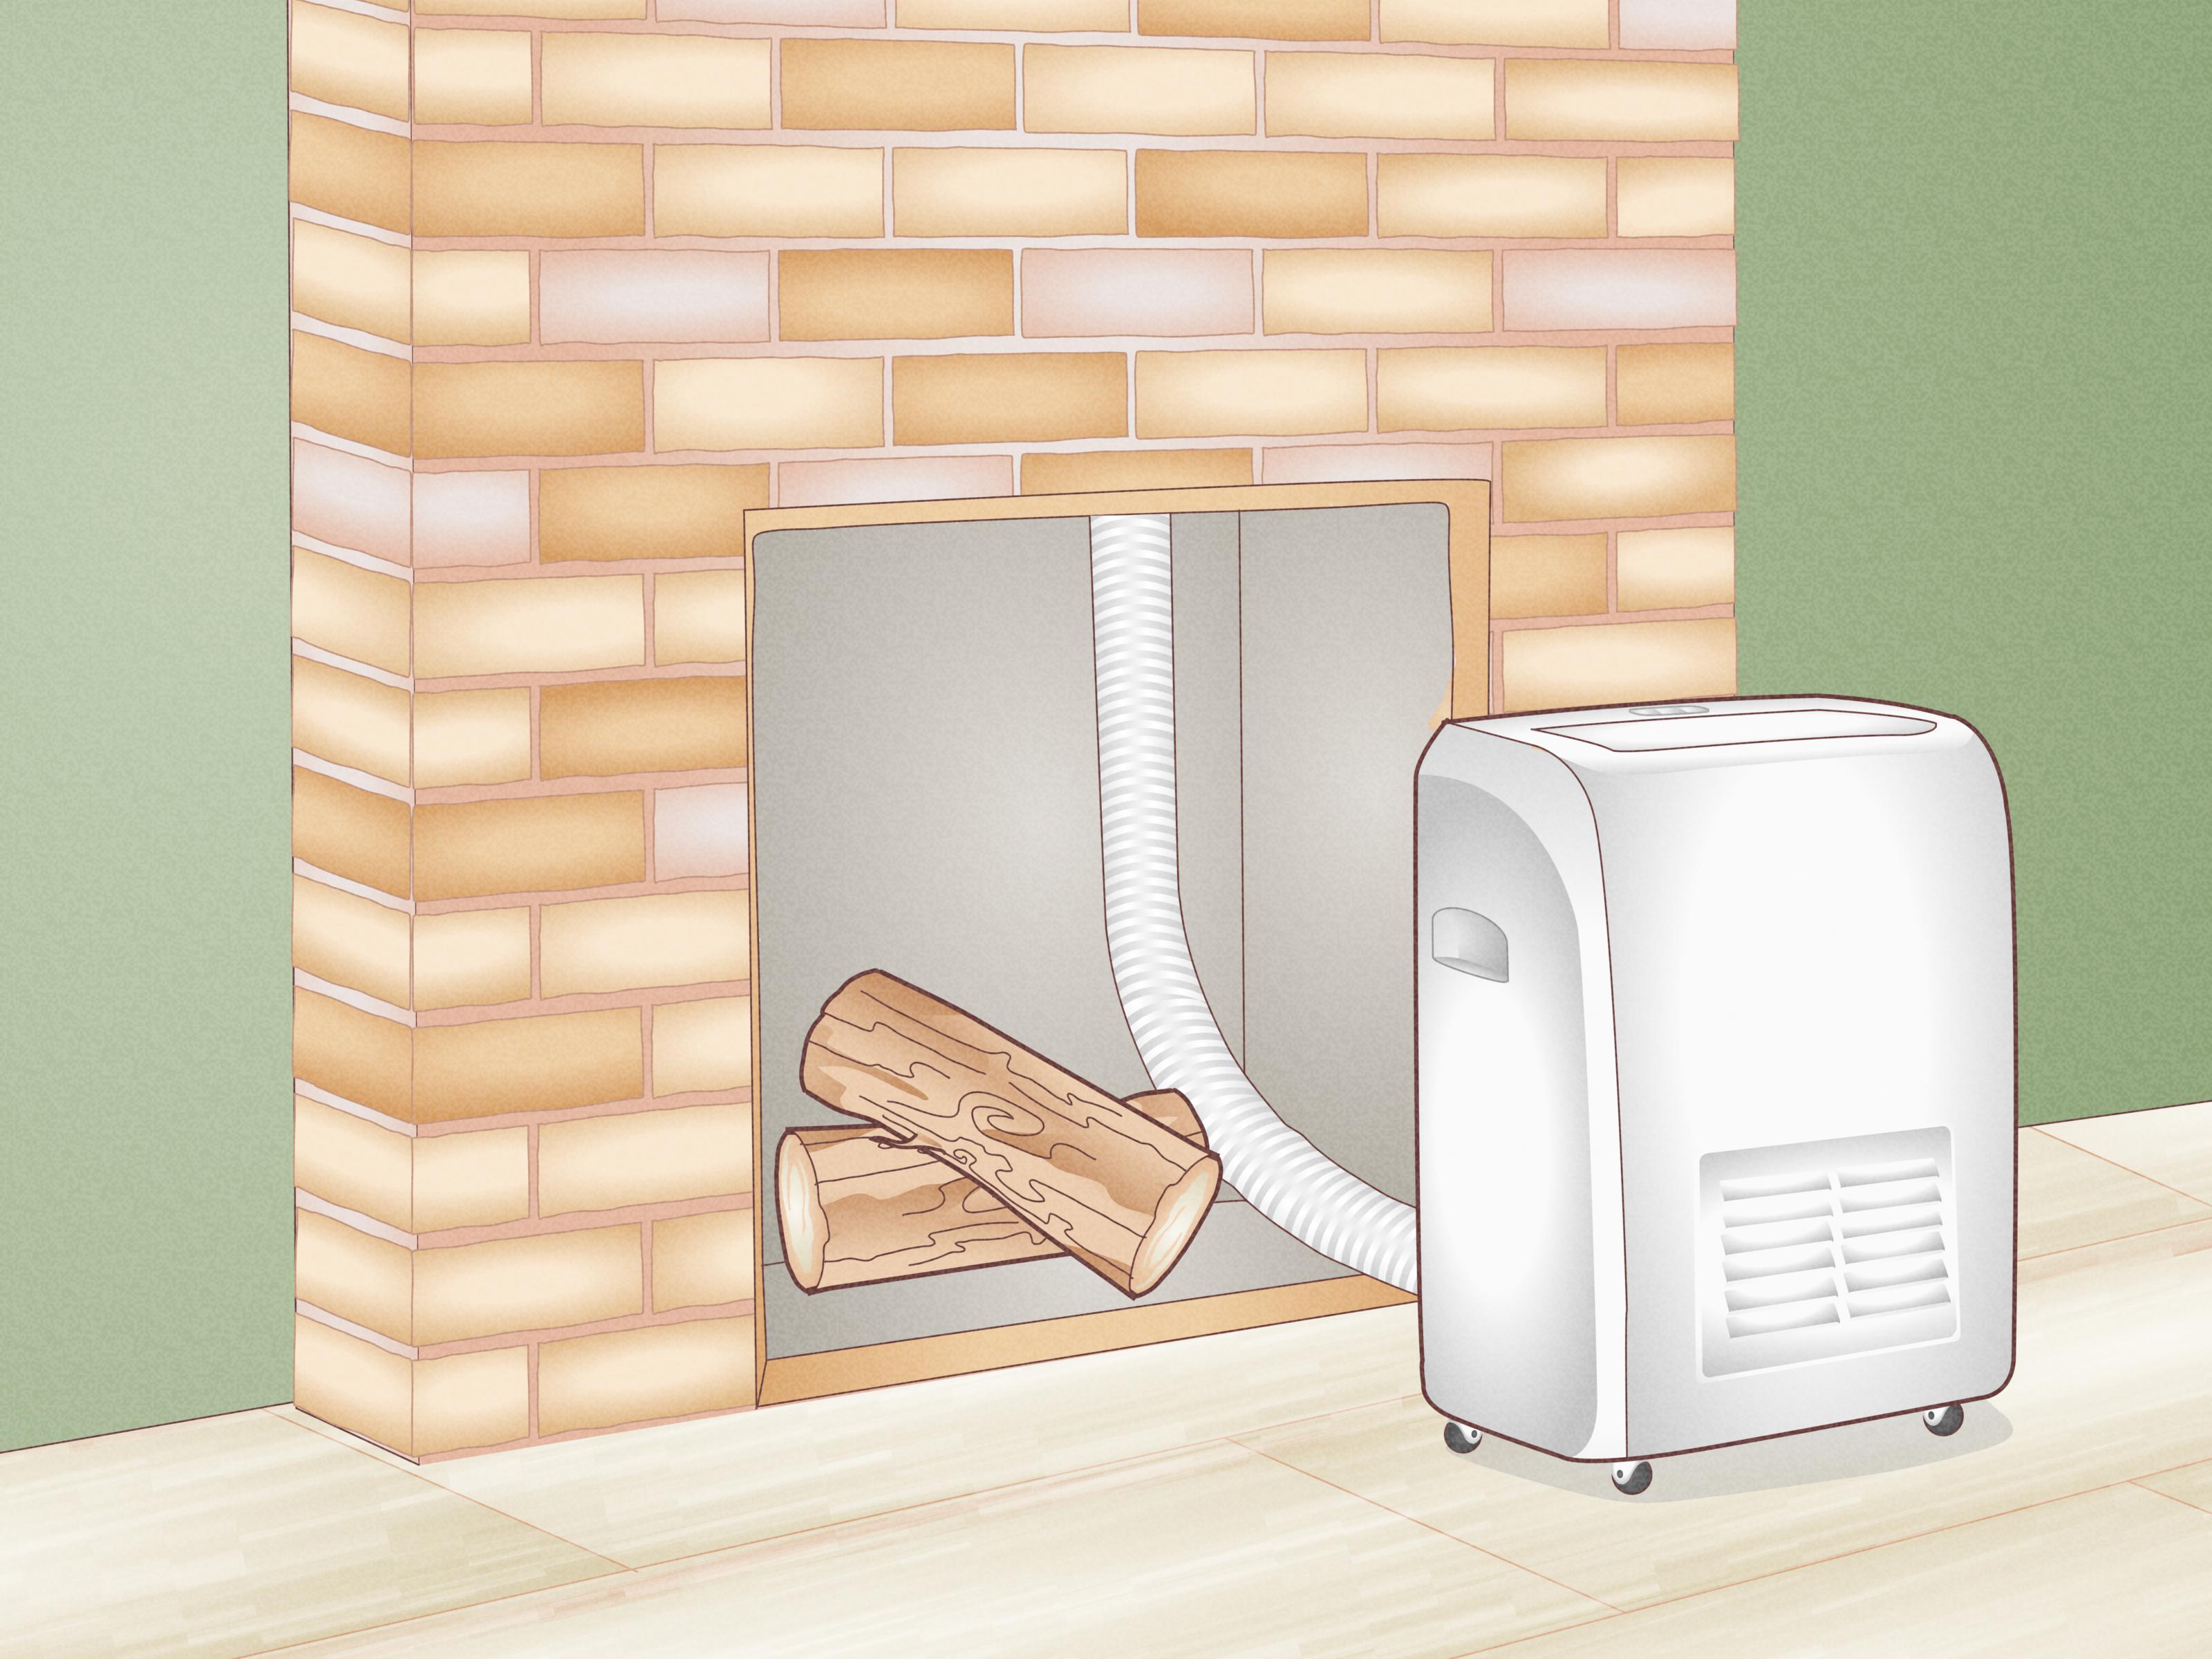
When summer turns your bedroom into a toasted marshmallow, a portable air conditioner can feel like a small rolling miracle. Unlike a window unit, it does not require lifting a heavy metal box onto a sill while questioning every life choice that led you there. But “portable” does not mean “park it anywhere and hope for the best.”
A portable AC still needs a route to send hot air outside. That is where the exhaust hose, window kit, foam seals, and a little patience come in. The good news: installing a portable air conditioner is usually a manageable DIY project. With the correct placement, a properly sealed window panel, and a hose that is not bent into a pretzel, you can cool your room efficiently without turning your setup into an indoor science experiment.
This guide explains how to install a portable air conditioner in 10 straightforward steps. The process applies to most single-hose and dual-hose portable AC units, although your model’s owner’s manual should always have the final word.
Before You Start: Understand How a Portable AC Works
A portable air conditioner pulls warm room air into the unit, removes heat and moisture, then blows cooler air back into the room. The heat has to go somewhere, which is why the exhaust hose connects to a window panel or another approved venting location.
Without proper venting, the machine may still blow cool air from the front, but it will also release warm exhaust into the same room. That is a little like trying to cool your kitchen while leaving the oven door open. Technically, something is happening. Practically, nobody wins.
What You Will Need
- Your portable air conditioner and included exhaust hose or hoses
- Window slider panel or window vent kit
- Foam weather stripping or insulation strips
- A screwdriver, if your kit includes brackets or screws
- Measuring tape
- Optional: scissors, utility knife, or saw for trimming a panel if the manufacturer allows it
- Optional: a drain hose for humid climates or continuous drainage models
Important note: Use the installation kit designed for your specific portable AC whenever possible. Exhaust hose diameters, connector styles, window panels, electrical requirements, and drainage instructions vary by model. Avoid improvising with dryer duct, random tubing, cardboard, or the sort of tape arrangement that makes future-you nervous.
How to Install a Portable Air Conditioner in 10 Steps
Step 1: Choose the Right Location
Pick a flat, sturdy floor near a window and a properly grounded wall outlet. The portable AC needs enough room around it for airflow, so do not wedge it between a dresser, curtain, laundry basket, and a chair that has been holding clothes since Tuesday.
Keep the unit close enough to the window that the exhaust hose can reach without being stretched tight. The shorter and straighter the hose path, the easier it is for hot air to leave the room.
Step 2: Let the Unit Stand Upright
If the portable air conditioner was transported on its side, tilted heavily, or delivered after an adventurous trip through several delivery trucks, let it stand upright before turning it on. This gives the internal refrigerant system time to settle.
Check your owner’s manual for the recommended waiting period. Some models may require a short rest, while others may require several hours after being laid down. Starting too soon can affect performance or potentially damage the unit.
Step 3: Measure Your Window Opening
Open the window and measure the width or height of the opening, depending on whether you have a double-hung window, sliding window, or casement window. Most portable AC window kits are adjustable, but they are not magical. Measure first so you know whether the included panel fits your window.
For a vertical sliding window, the panel usually installs vertically. For a traditional double-hung window, it usually sits horizontally along the lower opening. Casement windows may require a special panel, acrylic insert, or manufacturer-approved accessory.
Step 4: Assemble the Window Panel
Adjust the window slider panel to match your measured opening. Many kits use one main panel plus an extension section that slides into place. Secure the sections with the included pins, screws, or locking parts.
If your kit includes a panel that can be cut to size, follow the manual carefully before trimming anything. Measure twice, cut once, then admire your ability to avoid buying a replacement panel at the worst possible moment.
Step 5: Add Foam Seals Around the Window
Apply the included foam insulation strips around the window frame or panel edges. This prevents warm outdoor air, humidity, dust, and enthusiastic insects from sneaking through the gaps.
A good seal improves cooling performance because the AC is not forced to fight a constant stream of hot air coming through the window. It also helps reduce rattling and keeps the room quieter.
Step 6: Install the Window Kit
Place the assembled window panel into the open window. Close the window gently against the panel until it fits snugly. The panel should sit securely without major gaps, bowing, or loose sections.
Some models include a security bracket or screws to help keep the window from opening farther. Use them when provided, especially on ground-floor windows or windows that are easy to access from outside. A portable AC should cool your room, not become an accidental invitation for burglars or curious raccoons.
Step 7: Connect the Exhaust Hose
Attach one end of the exhaust hose to the back of the portable AC and the other end to the opening in the window panel. Depending on the brand, the connectors may twist, snap, slide, or lock into place.
Make sure both ends are secure. A loose hose connection can leak hot air back into the room, reducing cooling efficiency and making the unit work harder than it should.
If you have a dual-hose portable air conditioner, connect both hoses exactly as labeled. One hose pulls outside air in, while the other sends hot air out. Mixing them up is not likely to create a portal to another dimension, but it can definitely make the unit less effective.
Step 8: Keep the Hose Short, Straight, and Unblocked
Gently extend the exhaust hose only as much as needed. Avoid sharp bends, crushed sections, tight coils, or routing it behind heavy furniture. The hose should have a gradual curve rather than a dramatic roller-coaster shape.
Do not extend the hose with an unapproved add-on. Longer exhaust paths can trap heat, restrict airflow, reduce cooling capacity, and put extra strain on the appliance. If your room layout makes the included hose too short, consider moving the unit closer to the window instead.
Step 9: Set Up Drainage if Your Model Requires It
Many portable air conditioners evaporate and exhaust much of the moisture they collect, especially in cooling mode. However, very humid weather can fill the internal tank more quickly. Some models display a warning light or shut off when the tank needs to be emptied.
Check whether your unit supports continuous drainage. If it does, attach the proper drain hose and run it downward to a suitable drain location. The hose must slope downward so gravity can do its job. Water does not climb uphill simply because you are having a difficult day.
Step 10: Plug In, Test, and Adjust the Settings
Plug the portable air conditioner directly into a compatible wall outlet unless your owner’s manual specifically says otherwise. Avoid using an extension cord or power strip if the manufacturer warns against it.
Turn the unit on, select Cool mode, set your target temperature, and choose a fan speed. Give the system several minutes to begin cooling. Then inspect the window kit and hose connections for air leaks, unusual vibration, or warm exhaust escaping into the room.
Once everything is secure, close interior doors, pull curtains or blinds during peak sun, and let the AC work in a reasonably contained space. Your portable unit is powerful, but it is not expected to refrigerate your entire house like a very determined penguin.
Common Portable Air Conditioner Installation Mistakes
Leaving Gaps Around the Window Panel
Even small gaps can let in hot outdoor air and make your portable AC seem weaker than it really is. Add foam weather stripping, adjust the panel, and make sure the window closes firmly against the kit.
Using a Long or Kinked Exhaust Hose
A hose that is overly stretched, crushed, sharply bent, or coiled behind furniture can restrict hot-air exhaust. Keep it as short and smooth as possible for better cooling performance.
Putting the Unit Too Far From the Window
Portable does not mean it should live across the room from its vent. The farther the unit sits from the window, the longer the hose must be, and the harder the machine has to work.
Blocking the Air Intake or Outlet
Portable air conditioners need breathing room. Keep curtains, furniture, pet beds, boxes, and decorative baskets away from intake vents and exhaust areas. A stylish AC enclosure is not stylish when it causes overheating.
Ignoring Condensate Drainage
If your room is humid, inspect the water tank or drainage system regularly. A full tank can stop the unit from running just when the heat feels personal.
Quick Troubleshooting After Installation
If your portable air conditioner is not cooling well, start with the basics. Confirm that the exhaust hose is connected securely, the window panel is sealed, and the unit is in cooling mode rather than fan or dry mode. Clean the air filter if it looks dusty, and make sure the room is not receiving a daily blast of sunlight through uncovered windows.
If the unit turns off and displays a water-related warning, empty the internal tank or inspect the continuous drain hose for kinks. If you notice unusual smells, repeated error messages, electrical issues, or water leaking from unexpected areas, turn off the unit and consult the manufacturer’s troubleshooting guide or customer support.
Final Thoughts: A Cool Room Starts With Smart Venting
Installing a portable air conditioner is less complicated than it first appears. The main job is simple: place the unit correctly, seal the window kit well, connect the exhaust hose securely, and give the machine room to breathe. Spend an extra ten minutes getting the venting right, and your portable AC will reward you with better cooling, lower frustration, and fewer arguments with the thermostat.
Real-World Experiences With Installing a Portable Air Conditioner
Most portable AC installation problems are not dramatic failures. They are small details that quietly steal comfort. A homeowner may set up the window panel in five minutes, turn on the AC, feel a cool breeze, and assume the job is finished. Then, an hour later, the room is still warm because a one-inch gap beside the panel is letting in a steady stream of outdoor heat.
One of the most useful lessons from real-world portable AC setups is that sealing matters nearly as much as the machine itself. Foam strips can look unimportant when they come out of the box, especially compared with the large shiny appliance. Yet those small strips often make the difference between a room that gets pleasantly cool and a room that remains “less sweaty than before.”
Another common experience is discovering that hose placement matters more than expected. Many people initially place the unit wherever there is empty floor space, then stretch the exhaust hose across half the room. The setup may technically work, but the hose becomes longer, hotter, and more likely to bend. Moving the AC two or three feet closer to the window can noticeably improve airflow and make the room cool faster.
Humid climates create their own surprises. In dry areas, some portable air conditioners can run for long periods without needing water removal. In humid weather, though, the tank may fill much faster than expected. Users often learn this during the hottest part of the afternoon, when the unit suddenly stops and displays a water-full message. Checking drainage instructions early can prevent that unwelcome interruption.
There is also the curtain problem. A portable AC may be installed perfectly, but long curtains can block the intake vent, cover the exhaust connection, or trap warm air around the hose. Pulling curtains to the side, using tiebacks, or switching to blinds can improve the setup without buying a single new accessory.
Noise is another practical consideration. Portable ACs are usually louder than central air because the compressor is inside the room with you. Placing the unit on a level surface, making sure the hose is not vibrating against the wall, and securing the window panel can reduce rattling. A thin anti-vibration mat may also help when the floor transmits sound.
Finally, many people discover that portable ACs perform best when expectations are realistic. They are excellent for bedrooms, home offices, apartments, rentals, garages, and rooms where a window unit is not practical. But they work most efficiently when doors are closed, sunlight is reduced, filters are clean, and the unit is matched to the room size. Treat your portable air conditioner like a focused little cooling specialist, not a superhero expected to chill an entire open-plan house.












