Your front porch does not need a demolition crew, a designer with dramatic glasses, or a budget large enough to makto a clean, welcoming focal point that looks better from the street and feels better every time you come home.
The secret is not adding more stuff. It is improving what people notice first: cleanliness, condition, color, lighting, plants, and the path leading to the front door. When these elements work together, even a small porch can make the entire house look more polished.
Why a Simple Porch Update Makes Such a Big Difference
The porch is the visual handshake of a home. Visitors may not consciously analyze the door color, light fixture, house numbers, and planters, but they notice whether the entrance feels cared for. A well-maintained front porch suggests that the rest of the property is also in good condition.
Curb appeal is often discussed in connection with selling a house, but homeowners do not need a “For Sale” sign to benefit. An attractive entrance creates a more pleasant daily arrival, improves neighborhood appearance, and turns an overlooked transition area into a usable outdoor space.
The best part is that an effective porch makeover can be completed in stages. Start with repairs and cleaning, add one strong focal point, and finish with a few coordinated details. Your porch should look intentional, not as though the seasonal décor aisle exploded during transport.
Start With a Porch Inspection
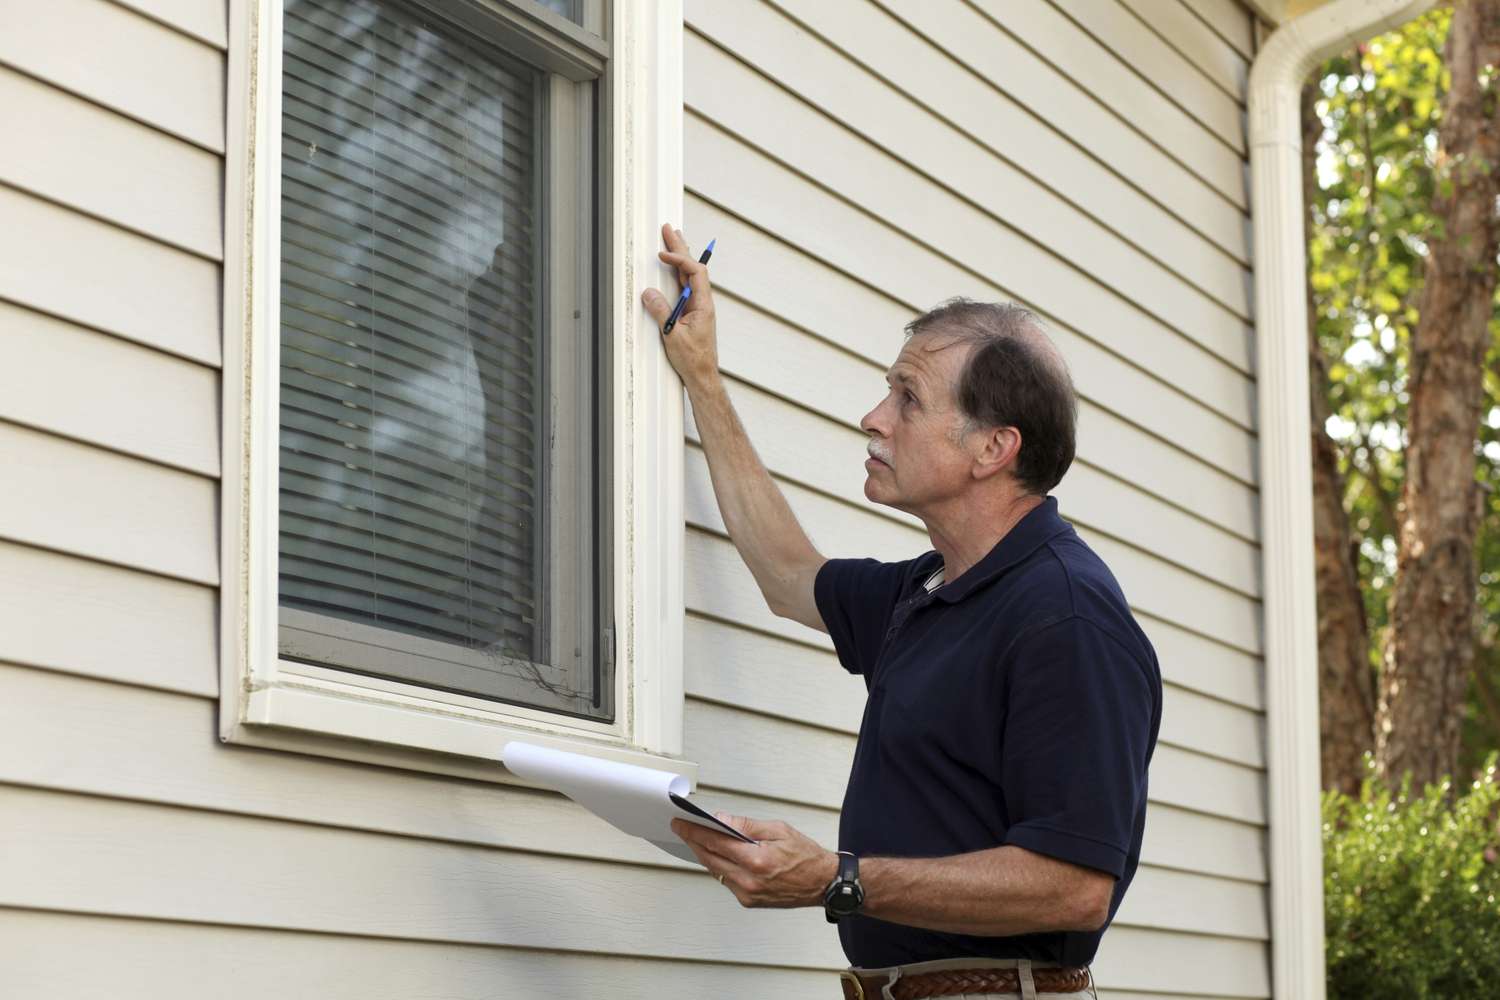
Before selecting paint colors or falling in love with an enormous ceramic planter, inspect the porch carefully. Cosmetic updates will not hide loose railings, rotting boards, damaged steps, or peeling surfaces for long.
Check the Floor, Steps, and Railings
Walk across the porch and pay attention to movement, squeaks, soft spots, and uneven boards. Examine wooden surfaces for cracking, moisture damage, and decay. A screwdriver can help identify questionable wood; material that feels soft or crumbles easily may need replacement.
Confirm that handrails, balusters, columns, and steps are secure. Repairing structural or safety problems should always come before decorating. A stylish porch loses some of its charm when a guest must approach it like an obstacle course.
Look Up as Well as Down
Check the porch ceiling, roof edge, gutters, trim, and light fixture. Water stains may indicate drainage or roof problems. Remove cobwebs, abandoned insect nests, and debris around corners. Clean gutters and downspouts so rainwater moves away from the entrance instead of creating muddy splashes or damaging porch materials.
View the Porch From the Street
Stand near the curb and look at the house as though you have never seen it before. Is the front door easy to identify? Are shrubs blocking the steps? Do the house numbers disappear into the wall? Does the porch look empty, crowded, or visually disconnected from the rest of the exterior?
A quick photograph can be surprisingly helpful. Photos flatten the scene and make awkward proportions, clutter, and mismatched colors easier to notice.
Clean Before You Decorate
Cleaning is the least glamorous part of a front porch update, but it often creates the most immediate improvement. Dirt dulls paint, darkens concrete, hides the natural color of brick, and makes even expensive furniture look neglected.
Remove furniture, pots, mats, packages, and decorations. Sweep from the ceiling downward so you do not clean the floor twice. Wash the door, trim, railings, siding, windows, and porch floor with products appropriate for each surface. Rinse thoroughly and allow everything to dry.
Use caution with pressure washing. Excessive pressure can damage soft wood, force water behind siding, strip paint, or scar concrete. A garden hose, scrub brush, mild cleaner, and strategic elbow grease may be all that a small porch needs.
Clean the glass in the door and nearby windows from both sides. Replace torn screens, wipe down the mailbox, and polish or clean the door hardware. These tiny jobs rarely appear in glamorous makeover photographs, but they are responsible for much of the finished effect.
Make the Front Door the Main Attraction
For an easy porch update, concentrate the strongest color and personality at the front door. This gives the entrance a clear focal point without requiring a complete exterior repaint.
Choose a Color That Works With the House
A door color should complement permanent exterior materials such as brick, stone, roofing, and siding. Warm red brick often pairs well with deep green, navy, muted blue, warm black, or natural wood tones. White and gray exteriors can support a broader range of colors, including terracotta, burgundy, yellow, and saturated blue.
Test samples on the door or on large movable boards. View them in morning light, afternoon sun, shade, and under the porch light. A sophisticated charcoal in the store can become an unexpected shade of grape once it meets your siding.
For a timeless appearance, select a color with some visual weight rather than choosing the brightest possible option. Bold does not have to mean loud. A deep, slightly muted color can make the door noticeable while keeping the exterior balanced.
Prepare the Door Properly
A lasting finish depends on preparation. Clean the door to remove grease, dust, and residue. Scrape loose paint, sand rough areas, wipe away dust, and apply primer where needed. Remove or carefully mask locks, handles, windows, hinges, and weatherstripping.
Use an exterior-grade coating suitable for the door material. Follow the manufacturer’s temperature, humidity, recoating, and drying instructions. Avoid painting immediately before rain or late in the day when moisture may settle on the surface before it cures.
Apply thin, even coats and inspect recessed panels for drips or pooled paint. Reinstall the hardware only after the finish is sufficiently dry. Patience is less exciting than peeling tape from a finished door, but it prevents fingerprints from becoming a permanent design feature.
Upgrade the Porch Lighting
Outdoor lighting contributes to safety, visibility, and nighttime curb appeal. An undersized, faded, or outdated fixture can make the entire entrance look older, while a well-proportioned light gives the porch an immediate visual lift.
Select the Right Size and Style
Choose a fixture that relates to the scale of the door and surrounding wall. A tiny sconce beside a tall entry can look accidental. Two matching fixtures can create symmetry around a wide door, while one larger fixture may work better when wall space is limited.
Match the general architecture of the home. Clean geometric fixtures suit many contemporary houses, while lantern-inspired designs can complement traditional, Colonial, farmhouse, and Craftsman exteriors. The finish does not need to match every metal on the property, but repeating it in the door hardware, mailbox, or house numbers creates cohesion.
Use a Welcoming Bulb
Select an outdoor-rated bulb with enough brightness to illuminate the entry without creating the ambiance of a convenience-store parking lot. Warm or soft white light is generally inviting around residential entrances. Frosted bulbs can reduce glare in fixtures with clear glass.
Consider motion sensors, dusk-to-dawn controls, or smart bulbs when they make daily use more convenient. Electrical work should be completed with the power disconnected, and uncertain wiring conditions should be evaluated by a qualified professional.
Replace Small Details That Look Tired
Once the door and lighting are improved, update the supporting details. House numbers, door hardware, the mailbox, doorbell, and welcome mat are inexpensive compared with major construction, yet they occupy highly visible positions.
Install Readable House Numbers
House numbers should be easy to read from the street and should contrast with their background. Choose a size appropriate for the viewing distance. Modern black numbers can look sharp on a light wall, while brass, bronze, stainless steel, or painted wood may work better with other exterior finishes.
Position the numbers where plants, wreaths, open doors, and seasonal decorations will not cover them. Visibility is not merely decorative; it also helps guests, delivery drivers, and emergency responders locate the home.
Coordinate the Hardware
A new handle set or freshly cleaned hardware can make a painted door look complete. When replacing hardware, measure the existing holes and backset before shopping. This small step prevents the classic home-improvement tradition of buying the right object in the wrong size.
Do not worry about creating a perfect metal match across the entire exterior. Instead, repeat one dominant finish two or three times. For example, black house numbers, a black light fixture, and a black planter stand can visually connect the entrance.
Finish With a Fresh Mat
Choose a doormat wide enough to relate to the door. A tiny mat can make the entrance feel under-scaled. For greater depth, layer a durable patterned outdoor rug beneath a simpler mat, provided the combination does not create a tripping hazard or interfere with the door swing.
Add Plants Without Creating a Jungle
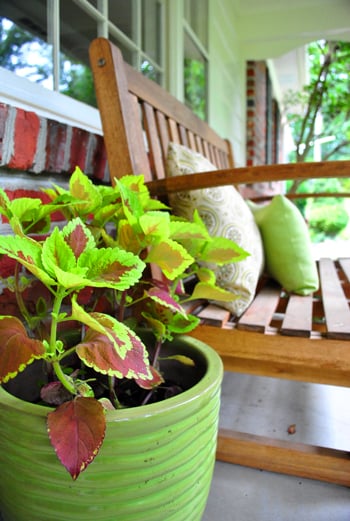
Plants soften hard porch surfaces and create a gentle transition between the yard and the front door. The most successful container displays are sized correctly for the space and selected for actual growing conditions.
Choose Plants for the Available Light
A covered north-facing porch has very different conditions from an exposed south-facing entry. Observe how many hours of direct sunlight the space receives before buying plants. Also consider local temperatures, wind, watering needs, and whether containers will remain outdoors year-round.
For a low-maintenance arrangement, use one strong evergreen, ornamental grass, or architectural foliage plant as the foundation. Seasonal flowers can be added in smaller containers or replaced throughout the year. This approach maintains structure even when the flowers are between performances.
Use Scale and Repetition
Two substantial planters often make a stronger impression than seven tiny pots scattered around the steps. Matching containers on each side of the door create formality and symmetry. An asymmetrical arrangement can feel more casual, but it should still have balance through repeated colors, materials, or plant shapes.
Leave enough clear walking space. Plants should frame the entrance, not force visitors to turn sideways while being slapped by a fern.
Connect the Porch to the Yard
Repeat a color from the front garden in the porch containers, or use planters that relate to the walkway, brick, trim, or roof. Trim shrubs that block windows, steps, or house numbers. Refresh mulch and define planting-bed edges so the approach looks as considered as the porch itself.
Create a Small Seating Moment
Seating signals that the porch is part of the home rather than merely a covered route to the door. A large porch may accommodate a pair of chairs and a side table. A narrow porch may need only one compact chair, stool, or bench.
Measure before purchasing furniture. Maintain a comfortable path to the entrance and confirm that doors can open fully. Choose outdoor-rated materials and fabrics that can tolerate local weather.
Keep accessories limited. One weather-resistant pillow or a small table can add personality. Twelve pillows, three signs, four lanterns, and a decorative wooden ladder may leave guests wondering whether they have reached your home or entered a highly competitive craft fair.
A Practical Weekend Porch Update Plan
Day One: Repair, Remove, and Clean
Begin by removing everything from the porch. Inspect the structure and complete minor repairs. Tighten hardware, fill small holes, replace damaged caulk, clean gutters, and trim nearby vegetation. Wash the ceiling, walls, door, windows, floor, steps, railings, and existing fixtures.
Once the surfaces are dry, scrape and sand areas that will be painted. Apply primer as needed. Prepare the door and any trim or railings receiving a new finish.
Day Two: Paint and Install
Apply the appropriate paint or stain according to product instructions. While coatings dry, assemble planters, clean furniture, and organize new accessories. Install the light fixture, house numbers, hardware, mailbox, or doorbell only when it is safe and practical to do so.
Return furniture and planters after painted surfaces have cured sufficiently. Add the doormat last so it remains clean. Step back to the street and make final adjustments. Removing one unnecessary object is often the finishing touch that makes the entire design feel calmer.
Common Porch Makeover Mistakes
One common mistake is decorating before repairing. Fresh flowers cannot distract from a loose railing, and a new rug should not be used to conceal damaged flooring.
Another mistake is choosing everything independently. A light fixture, planter, mat, wreath, and chair may each look attractive alone but compete when placed together. Establish a simple palette of two or three exterior colors and repeat a limited selection of materials.
A third mistake is ignoring scale. Small accessories disappear on a broad porch, while oversized furniture can overwhelm a narrow stoop. Measure the space, photograph it, and consider how each item will look from both the doorway and the curb.
Finally, avoid chasing every seasonal trend. Use permanent elements such as paint, hardware, lighting, and planters to establish a strong foundation. Seasonal decorations should be the garnish, not the entire meal.
How to Keep the Porch Looking Fresh
A successful curb appeal update should be maintainable. Sweep regularly, remove cobwebs, wipe down the door, clean glass, water plants, and remove dead foliage. Wash the light fixture periodically so dust and insects do not reduce its brightness.
Inspect painted wood and caulked joints at least seasonally, especially after severe weather. Address peeling paint, water intrusion, rust, and loose components early. Small repairs remain small only when homeowners resist the powerful temptation to say, “I’ll deal with that next year.”
Rotate seasonal items instead of continually adding new ones. Store off-season décor together, discard damaged pieces, and keep only items that fit the porch comfortably. A clean, edited entrance usually looks more expensive than an overcrowded one.
A Weekend Porch Makeover Experience: What the Process Teaches
Consider a typical small porch attached to a light-gray house. The structure is sound, but the entrance feels forgotten. The door is faded brown, the brass light has lost its shine, several small plastic pots crowd the steps, and a narrow welcome mat seems to have survived three presidents and at least one territorial dispute with a raccoon.
The first surprise during a weekend update is how much difference removal makes. Once the pots, mat, decorations, and old chair are taken away, the porch looks larger. More importantly, hidden problems become visible: a loose railing screw, cracked caulk beside the door, and mildew along the lower trim. None of these repairs is dramatic, but completing them changes the project from temporary decoration to genuine home maintenance.
Cleaning produces the first major transformation. The gray porch floor is not actually gray; beneath the dirt, it is a warmer concrete color that works nicely with the siding. The white trim becomes brighter, the windows reflect more light, and the entire entrance begins looking cared for before a single decorative purchase is added.
The next lesson is that color testing matters. A bright blue sample that looked cheerful online appears almost electric in direct afternoon sun. A deeper blue-green works better with the gray siding and nearby brick walkway. After proper cleaning, sanding, priming, and two thin finish coats, the door becomes the focal point without overpowering the house.
Replacing the light and house numbers creates another unexpectedly large improvement. A medium-size black lantern-style fixture gives the door better visual balance, while simple black numbers become readable from the street. Repeating the same finish in the door handle makes the separate updates feel like one plan.
The planting stage offers an important reminder: fewer, larger containers often look better than a collection of small ones. Two medium planters are placed near the entrance, each containing a structured evergreen with trailing foliage. The plants add softness without reducing the walking path. The mismatched plastic pots move to the backyard, where they may continue their careers away from public scrutiny.
A compact bench is considered but rejected after measuring the porch. Instead, one outdoor chair and a narrow side table fit comfortably beside the door. A textured pillow introduces a small amount of pattern, and a generously sized doormat visually anchors the entry.
From the curb, the finished porch looks dramatically different even though the architecture has not changed. The improvement comes from a sequence of modest decisions: remove clutter, repair damage, clean thoroughly, establish a focal point, repeat finishes, use appropriately scaled plants, and leave open space.
The most useful experience is learning when to stop. After the door, lighting, numbers, planters, chair, and mat are in place, another sign or lantern would not improve the porch. It would simply be another object to clean. Good curb appeal often depends as much on restraint as it does on creativity.
This kind of makeover also changes how the porch is used. A space that previously functioned only as an entrance becomes a pleasant place to sit with coffee, open a package, or talk with a neighbor. The update improves the view from the street, but its greatest value may be the small daily satisfaction of arriving at a home that feels welcoming.
Conclusion
An easy porch update for curb appeal does not require rebuilding the entrance. Begin with safety, repairs, and cleaning. Use the front door as the focal point, improve the lighting, install visible house numbers, coordinate the hardware, and add a restrained combination of plants and seating.
The strongest porch designs are clear, functional, and connected to the architecture of the house. They guide visitors naturally toward the door and communicate that the property is maintained. Choose improvements that can survive changing trends, local weather, and real daily use.
Most importantly, update the porch for the people who live there. Buyers and neighbors may appreciate the result, but you are the person who gets to enjoy that welcoming first impression every time you return home.