
If your kitchen windowsill currently looks like a tiny science fair sponsored by pothos, philodendron, and one suspiciously dramatic cutting that may or may not be alive, a DIY plant propagation tiered stand might be your new favorite weekend project. It is practical, good-looking, and just organized enough to make you feel like the kind of person who labels jars instead of mysteriously reusing salsa containers. No judgment either way.
A tiered stand gives your propagation setup height instead of sprawl. That matters more than people think. Plant cuttings need light, visibility, and a stable place to sit while they work on growing roots like tiny overachievers. A smart stand also helps you group jars by plant type, keep leaves from getting crushed behind other containers, and turn your cuttings into decor instead of clutter. In other words, it helps your plants look intentional instead of like they are waiting in line at the sink.
This guide walks through how to build a simple wooden propagation stand, how to set it up for real rooting success, which plants work best, and what mistakes to avoid. By the end, you will have a functional display that looks charming in a bright corner, on a kitchen counter, or near a window with indirect light. Better yet, you will have a stand that supports both the DIY side of your brain and the “I should absolutely make twelve more baby plants” side.
Why a Tiered Plant Propagation Stand Is Worth Building
A propagation station is not just about aesthetics, though a well-styled one does make your home look like you know what you are doing. A tiered stand solves several very real plant-parent problems.
It saves space
Instead of spreading jars across a wide shelf or table, a tiered stand stacks them vertically. That makes it ideal for apartments, kitchen corners, narrow window ledges, and desks where every inch counts.
It improves light access
When jars are arranged in rows on one flat surface, the back row often gets cheated out of light. Tiered levels help each cutting receive more even exposure. That is especially helpful for common houseplants that root best in bright, indirect light.
It keeps cuttings organized
One tier can hold fresh cuttings, another can hold rooted cuttings waiting to be potted up, and a third can hold tools, labels, or backup jars. Suddenly your propagation hobby looks less like chaos and more like a tiny botanical lab with better taste.
It doubles as decor
Clear glass jars, clean wood lines, and fresh green stems have a simple, modern look. A propagation stand can act like living decor, especially if you use matching vessels or place it where natural light catches the glass. It is the rare DIY project that is both useful and quietly smug in the best possible way.
Before You Build: Pick the Right Spot
The best DIY stand in the world cannot save cuttings that are parked in a dark corner beside an air vent. Before measuring wood, choose the right home for your stand.
Look for a location with bright, indirect light. East-facing windows are often excellent. South- or west-facing windows can also work if the light is filtered by a sheer curtain or the stand is placed slightly back from the glass. Too much direct sun can heat the water, stress tender stems, and encourage algae to throw a party you did not invite.
You also want a stable, level surface. A tiered stand holding multiple glass jars full of water is not the place to test your faith in wobbly furniture. If you have pets, kids, or a cat who believes gravity is a personal challenge, choose a spot where the stand will not be bumped easily.
Finally, think about convenience. You will need to change water, trim stems, rinse jars, and occasionally admire your work like a proud plant wizard. Put the stand somewhere that is easy to reach.
Materials for a Simple DIY Plant Propagation Tiered Stand
You can make this project as simple or as fancy as you want, but a beginner-friendly version usually includes the following:
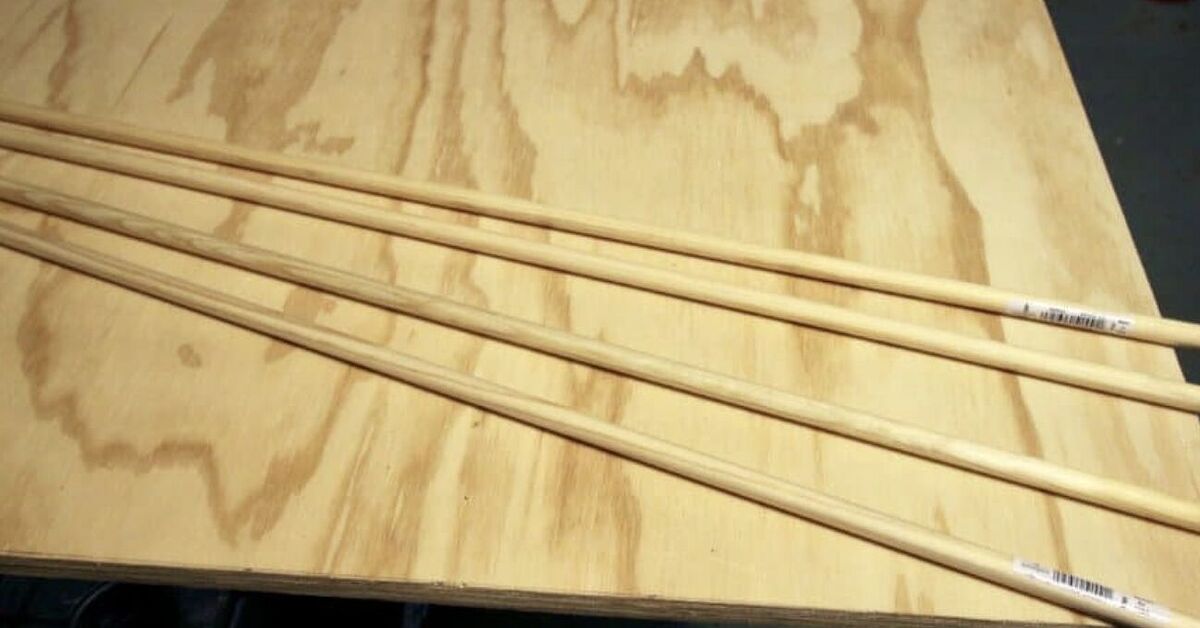
- 1×2 or 1×3 wood boards for the frame and shelves
- Wood screws
- Wood glue
- Sandpaper or a sanding block
- Drill and drill bits
- Saw or pre-cut lumber from a home improvement store
- Measuring tape and pencil
- Clear matte sealer, polyurethane, or another water-resistant finish
- Small trays, cork pads, or waterproof coasters for under jars
- Glass jars, propagation tubes, or narrow-neck bottles
If you want a cleaner, more polished look, add rubber feet to the bottom and use matching glass vessels. If you want the stand to look charmingly handmade, embrace a visible wood grain and a slightly rustic finish. Both are valid. The plants will not file a complaint.
How to Build the Stand
1. Choose your size
A practical starter size is about 24 inches wide, 10 to 12 inches deep, and 24 to 30 inches tall. That is large enough to hold several jars without dominating a room. A three-tier design usually works well for indoor propagation because it gives you vertical interest without becoming top-heavy.
Make the bottom shelf the deepest, the middle shelf slightly shallower, and the top shelf the narrowest. That stair-step shape gives each row enough room for jars and lets light reach the back more easily.
2. Cut your wood pieces
For a basic three-tier stand, you will need two side supports, three shelf pieces, and a few cross braces. If you are new to woodworking, sketch the design first and label every measurement before cutting. Trust me: “I’ll remember which board is which” is how many DIY projects become abstract art.
You can also ask many home improvement stores to cut lumber for you. That makes the build much more approachable if you do not own a saw.
3. Sand everything first
Before assembly, sand every edge and surface. This is the least glamorous step and one of the most important. Smooth wood looks better, feels better, and helps finish coat evenly. It also reduces splinters, which are not the kind of plant cuttings anyone wants to collect.
4. Build the side frames
Create two identical side supports shaped like a stair-step or ladder. These side pieces determine the angle and height of each tier. Dry-fit the shelves first to confirm spacing before you screw anything together. Leave enough vertical space between shelves so jars and foliage fit comfortably.
5. Attach the shelves
Secure the bottom shelf first, then the middle, then the top. Use wood glue at each joint and reinforce with screws. Check for level as you go. If the stand leans or twists, your jars will advertise the problem immediately.
6. Add cross support
A back brace or lower crossbar adds stability, especially if the stand will hold multiple glass containers. This is one of those small details that separates “cute for three days” from “solid enough to trust near a window.”
7. Seal the wood
Because propagation involves water, finish matters. Apply a water-resistant sealer and let it cure fully before adding plants. Even careful plant owners drip. In fact, especially careful plant owners drip, because they are always rearranging something.
8. Protect the shelves
Set small trays, thin acrylic panels, cork pads, or waterproof coasters under jars. This protects the wood finish and makes cleanup easier if a cutting jar tips or overflows during water changes.
How to Set It Up for Propagation Success
Now for the fun part: turning your stand into a rooting headquarters.
Pick easy plants first
If you want satisfying results, start with houseplants that are known for relatively easy propagation. Pothos, heartleaf philodendron, tradescantia, prayer plant, monstera cuttings with nodes, spider plant babies, and some begonias are popular choices. Snake plant can also be propagated, though it often requires more patience than the average person possesses before coffee.
Use healthy cuttings
Take cuttings from vigorous, disease-free growth. Avoid weak, yellowing, or damaged stems. Most soft stem cuttings do best when cut just below a node, because that is where roots are most likely to develop. Remove lower leaves so they do not sit in water and rot.
Choose the right vessel
Clear jars are popular because they let you monitor root growth and water quality. Narrow-neck bottles can help hold stems upright, while small jars work well for leaf or node cuttings. Clean containers matter. A charming vintage jar is still a terrible choice if it is grimy.
Water or soil?
Many common houseplants root happily in water, which makes propagation easy to monitor and very display-friendly. Others do well in a loose, well-draining potting mix. If your stand is designed as a display piece, water propagation usually makes the biggest visual impact. If your goal is faster transition to potting mix, starting some cuttings directly in soil can make sense.
Keep leaves out of the water
Only the node or lower stem should be submerged. Leaves sitting in water can decay quickly, cloud the jar, and create the kind of smell that makes everyone in the room pretend it was not them.
Change the water regularly
Fresh water helps reduce stagnation and keeps oxygen available around the cutting. A good rule is every few days, or sooner if the water looks cloudy. While you are at it, rinse the jar and check the stem for any soft or mushy areas.
Give cuttings light, warmth, and patience
Bright, indirect light is your best friend. Warm indoor temperatures generally help, while cold drafts can slow rooting. Some plants root in a couple of weeks; others act like they are considering your request and will reply in writing. Be patient.
Best Design Features for a Propagation Stand
If you want your DIY plant propagation tiered stand to be both useful and attractive, these features make a real difference:
- Open-back design: improves air circulation and keeps the stand from looking bulky
- Shallow shelves: easier access, better light exposure, less hidden clutter
- Raised edges or lip: helps prevent jars from sliding forward
- Waterproof surface protection: extends the life of the stand
- Room for labels: surprisingly helpful once all your pothos cuttings start looking like cousins
- Optional grow light mount: useful in darker rooms or winter months
Styling Ideas That Still Keep It Functional
The best plant setups look effortless, but most of them are quietly organized. Try these simple styling moves:
- Use matching glass bottles for a clean, modern look
- Mix heights so the arrangement feels layered, not flat
- Add one small potted plant or moss dish to break up all the glass
- Label cuttings with simple wooden tags
- Keep one tier for freshly rooted plants that are ready for potting
- Use neutral wood tones if you want the greenery to stand out
In short, treat the stand like a tiny garden display, not a storage rack. There is a difference, and your room will notice.
Common Mistakes to Avoid
Making the shelves too deep
Deep shelves encourage overcrowding and reduce light to the back row. Keep them compact.
Ignoring weight distribution
Water-filled jars are heavier than they look. Put the heaviest containers on the bottom tier and avoid making the top shelf too crowded.
Skipping the finish
Raw wood and repeated water drips are not a romance story with a happy ending.
Using unhealthy parent plants
Propagation is not magic. A weak cutting from a struggling plant usually becomes a weaker cutting from a struggling plant.
Potting up too early
Some cuttings need a decent root system before they transition well to soil. Rushing the process can stall growth and set the cutting back.
Hands-On Experiences With a DIY Plant Propagation Tiered Stand
One of the most interesting things about building a propagation stand is how quickly it changes the way you interact with your plants. Before a dedicated stand, cuttings often end up scattered everywhere: one on the windowsill, two on the bathroom shelf, another in a coffee mug that was supposed to be temporary but somehow became permanent. Once everything moves onto a tiered stand, the whole hobby feels easier to manage. You can actually see what is rooting, what needs fresh water, and which stems are pretending to thrive while quietly doing absolutely nothing.
A common experience is realizing that the stand becomes part plant station, part visual reminder to slow down. People often start the project because they want a better place for cuttings, but once it is built, they end up using it as a daily checkpoint. In the morning, it is natural to glance at the jars, notice a new white root nub, rotate the stand slightly toward the light, or top off the water in a bottle that evaporated faster than expected. It turns a casual hobby into a small ritual, and that is part of the appeal.
Another real-world lesson is that the stand does not need to be huge to feel satisfying. In fact, smaller stands often work better indoors. A compact three-tier setup can hold a surprising number of cuttings without overwhelming the room. Many people discover that once the stand is too wide or too deep, it becomes harder to clean, harder to light evenly, and much easier to overfill. The best builds usually leave just enough extra room for growth without tempting you to cram every available inch with jars, tubes, and one “experimental” stick you found on the patio.
There is also the experience of learning which vessels are charming in theory and annoying in practice. Tall narrow bottles may look elegant, but some are miserable to clean. Wide jars are easier to rinse, but they can let stems flop around. After using a propagation stand for a while, people often settle into a practical mix: a few narrow-neck bottles for vine cuttings, some short jars for chunkier stems, and maybe one or two glass tubes for display. It becomes less about perfection and more about what makes maintenance painless.
Perhaps the most relatable experience is discovering that a propagation stand invites generosity. Once cuttings are organized and rooting well, it becomes very easy to snip an extra stem for a friend, start a backup plant, or pot up a rooted cutting as a gift. The stand quietly turns one healthy houseplant into many future plants. That is part of the magic. It feels productive, creative, and just thrifty enough to be deeply satisfying. You built the stand, you grew the roots, and now you get to hand someone a new plant like a tiny domestic wizard. Not bad for a project that started with scrap wood and an unreasonable number of glass jars.
Final Thoughts
A DIY plant propagation tiered stand is one of those rare projects that checks every box. It is useful, attractive, beginner-friendly, and flexible enough to adapt to your space and style. It helps your cuttings get better light, keeps your jars organized, and turns plant propagation into something that looks intentional rather than accidental.
Whether you build a sleek modern version, a rustic wood stand, or a compact countertop model, the idea is the same: create a home for your cuttings that supports both plant health and visual appeal. Start simple, use good materials, and design for real life. Your future self, your future plants, and your future cluttered windowsill will all be grateful.











