
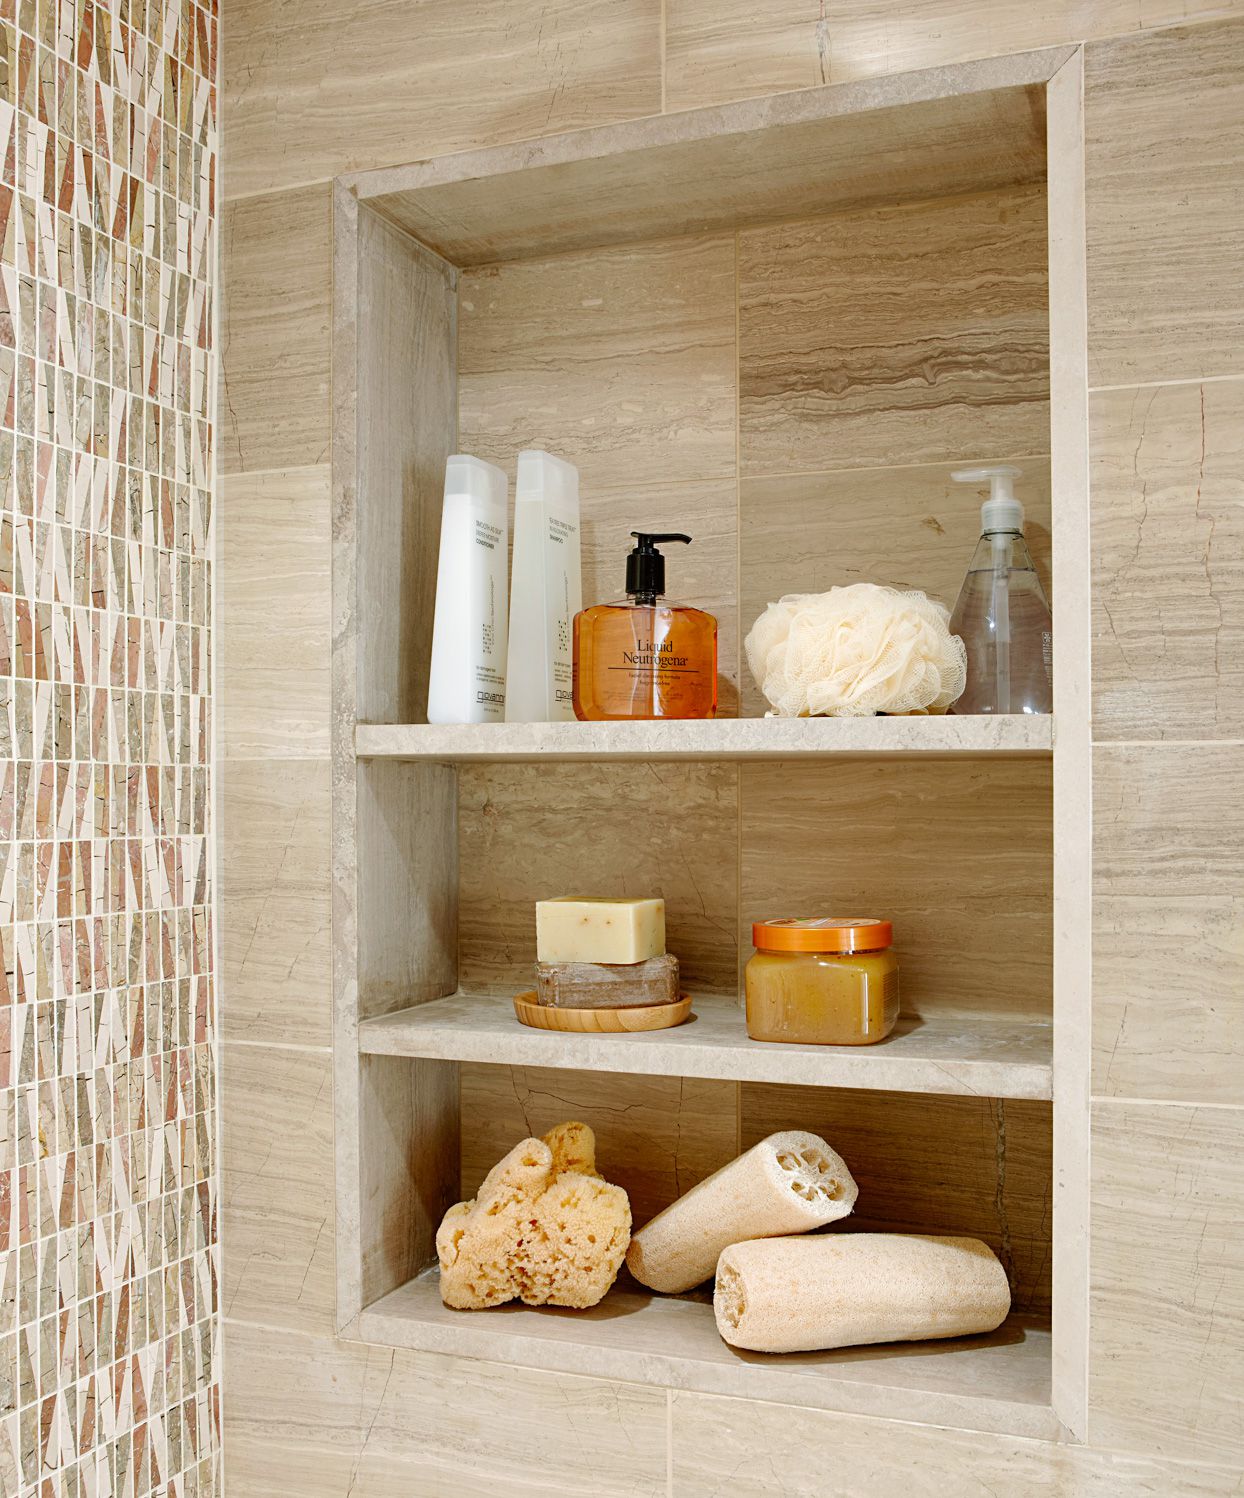
A recessed wall shelf is the rare DIY project that feels like cheating: you gain storage without stealing floor space, your room looks more “custom home tour” and less “I swear I’m organized,” and the wall does half the work by already being there. The only catch? You have to cut into it. (Yes, intentionally. On purpose. With confidence.)
This guide walks you through planning, cutting, framing, building the shelf box, and finishing it so it looks like it came with the housewithout turning your wall into a Swiss-cheese situation. We’ll keep it practical, a little funny, and very focused on not hitting hidden plumbing, wiring, or the emotional support stud your home has relied on since 1998.
Why Recessed Shelves Are the Small-Space MVP
Recessed shelves (sometimes called an in-wall shelf, wall niche, or between-stud shelving) tuck into the stud baythe hollow cavity between wall studs. That means they’re ideal when you want “more storage” but you don’t want “more furniture.”
- Bathrooms: rolled towels, skincare, extra TP, or a neat little perfume lineup.
- Hallways: keys, mail, dog leashesaka the “where did I put it?” zone.
- Bedrooms: a nightstand niche that doesn’t eat floor space.
- Kitchens/pantries: narrow storage for spices, cans, or small appliances (in the right wall).
- Living rooms: a display niche for books, plants, and that one candle you never light but always keep.
Before You Cut Anything: Pick the Right Wall and the Right Spot
1) Load-bearing vs. non-load-bearing (aka: “Can I cut studs?”)
The simplest recessed shelf lives between two studs without cutting them. That’s the sweet spot for most DIYers. If you start cutting studs in a load-bearing wall, you may need proper structural framing (headers, jack studs, etc.) and local code requirements may apply. If you’re not 100% sure, keep the project between studs or consult a pro.
2) Find studs, then confirm what’s inside the wall
Use a stud finder and mark both stud edges. Then do the “trust but verify” step: pick a small area where the shelf will go and cut a tiny inspection hole (or remove a small rectangle of drywall) to peek inside with a flashlight. This is where you avoid the classic DIY plot twist: “Surprise! A pipe!”
Helpful clues: outlets and switches often sit near studs, and wires may run horizontally through holes in studs. If you’re working near plumbing fixtures (sinks, tubs, showers), assume plumbing is nearby until proven otherwise.
3) Choose realistic dimensions
Many homes use studs spaced 16 inches on-center, which often gives you about 14.5 inches of clear space between studs (but measure yours). Typical interior walls framed with 2x4s end up around 4.5 inches thick including drywall, which limits your shelf depth unless you’re in a thicker wall. That’s why recessed shelves tend to be shallow-and-useful rather than deep-and-bulky.
Tools and Materials
Tools
- Stud finder (and/or strong magnet)
- Tape measure, pencil, level
- Drywall saw or oscillating multi-tool
- Drill/driver and bits
- Hand saw or miter saw
- Clamps (optional but very helpful)
- Utility knife
- Safety gear: eye protection, dust mask/respirator, hearing protection
Materials (typical)
- 1/2-inch plywood (or 3/4-inch if depth allows) for the shelf box
- 1×2 or 1×3 lumber for cleats/blocking (or scrap 2x4s)
- Wood glue
- 1-1/4 inch wood screws (for box assembly; adjust as needed)
- 2-1/2 inch screws (for fastening cleats/blocking into studs)
- Drywall screws (if you’re adding drywall patches)
- Paintable caulk, wood filler/spackle
- Trim (optional): lattice, stop molding, or simple 1×2 face frame
- Primer + paint (or stain + clear coat if you’re staining the shelf)
Step-by-Step: Build a Recessed Shelf Between Studs
Step 1: Plan the shelf like you mean it
Decide what the shelf will hold. Towels need taller spacing; skincare bottles need modest height; books need a little more depth and stronger shelves. Then sketch a quick plan:
- Overall opening: typically fits between studs (width is your stud bay minus a little wiggle room).
- Shelf spacing: 8–12 inches is common for small items; 12–16 inches for taller items.
- Depth: aim for what your wall cavity can actually supportoften around 3 inches usable depth in many 2×4 walls once you account for the box back and face.
Pro move: tape a rectangle on the wall with painter’s tape to visualize size before cutting. Your future self will appreciate not making a “phone-sized shelf in a towel-sized world.”
Step 2: Mark the cut lines carefully
Use a level and measure twice. Mark the rectangle where the shelf will sit, ensuring:
- You’re centered between studs (or aligned intentionally for design)
- You’re not cutting into a stud edge
- You leave enough drywall around the opening to finish cleanly
Step 3: Cut the drywall (slow is smooth, smooth is fast)
Score the outline with a utility knife first. Then cut with a drywall saw or oscillating tool. Remove the drywall piece gentlyyou can use it later as a patch if you change your mind (or if your partner says, “We’re doing what now?”).
Peek inside with a flashlight. If you see wires, pipes, vents, or mysterious tubes that look like they belong in a sci-fi movie, stop and relocate your shelf. Don’t “work around” electrical unless you truly know what you’re doing and follow local code.
Step 4: Add framing support (blocking/cleats)
Even if you’re not cutting studs, you want sturdy attachment points. Add horizontal blocking between studs at the top and bottom of the opening (and at any shelf break points if you want extra strength). A common method:
- Cut 2x lumber to fit snugly between studs.
- Level it, then screw it into the studs from the sides (toe-screwing) or use pocket holes if you prefer.
- Repeat at top and bottom of the opening.
If you’re building a taller shelf unit, consider additional blocking where the shelf box will need fastening points. In wet areas (like a shower niche), materials and waterproofing details changethis guide is focused on standard dry interior walls.
Step 5: Build the shelf box
Think of your shelf as a shallow cabinet without a door: two sides, a top, a bottom, a back, and optional interior shelves. The cleanest approach is to build it as a single box, then slide it into the wall opening.
Basic box-building approach:
- Cut plywood for two sides, top, bottom, and back.
- Dry-fit everything before glue.
- Use wood glue on joints, then screw or nail to hold square.
- Add interior shelves using cleats, dados (if you like woodworking), or simple shelf pins.
Strength tip: If the shelf will hold anything heavier than “decorative vibes,” add a face frame (even a simple 1×2 frame) to stiffen the front edge and keep the shelf from flexing or racking.
Step 6: Test-fit and adjust
Slide the box into the opening. It should fit snugly but not require you to body-check the drywall. If it’s too tight, plane or sand the box edges slightly. If it’s too loose, shims are your friend.
Make sure the shelf face sits flush (or intentionally proud if you’re adding trim). Check for level. This is your “make it look professional” momenttake it.
Step 7: Fasten the shelf box securely
Screw through the inside of the box into the blocking/studs/cleats you installed. Pre-drill to avoid splitting thin plywood edges. Use enough fasteners to prevent wiggle, but don’t overdo it so much you create a constellation of screw heads.
Step 8: Finish the opening (clean edges = built-in look)
You have two popular finishing styles:
Option A: Trim it out (fastest, most forgiving)
- Add a simple frame around the opening using 1×2 or small molding.
- Caulk the edges, fill nail holes, sand, prime, paint.
- This hides tiny drywall imperfections and looks crisp.
Option B: Drywall-mud perfection (sleek, modern)
- Add corner bead or drywall trim as needed.
- Tape, mud, sand, repeat (because drywall finishing is basically a relationship test).
- Prime and paint for a seamless look.
Step 9: Paint, protect, and style
Prime first (especially on raw wood edges), then paint. For bathrooms or humid spaces, use a moisture-resistant primer and a durable semi-gloss or satin finish so it wipes clean. Then style it like you meant to do this all along:
- Group items in odd numbers (it’s a design thing that somehow works).
- Mix tall + short objects so it doesn’t look like a grocery shelf.
- Leave some breathing roomyour shelf isn’t a storage locker.
Simple Upgrades That Make It Feel Custom
Add a picture light or LED strip (carefully)
Lighting can look incredible, but electrical work must be done safely and to local code. If you’re not experienced, keep it simple: use battery-powered puck lights or rechargeable LED strips designed for cabinets.
Turn it into a recessed cabinet
Same concept, but add a door. Great for hiding toiletries, clutter, or the random stuff you swear you’ll organize “soon.” Make sure the cabinet depth and hinge clearance work for your wall thickness.
Make it stronger for heavier items
Use thicker plywood where depth allows, add a face frame, and fasten into solid blocking. If the shelf will hold heavy books or pantry items, treat it like cabinetry, not décor.
Mistakes to Avoid (So You Don’t Invent New Words)
- Skipping the inspection: The wall cavity is not a surprise party you want to attend.
- Assuming studs are perfectly spaced: Measure your actual bay; older homes love improvisation.
- Cutting too big too fast: Start smaller; you can enlarge later.
- Forgetting about finishing thickness: Trim, caulk, and paint need room; plan for a clean face.
- Not adding blocking: A floating shelf box without support will eventually flex and annoy you.
- Going too deep in a thin wall: Shallow-but-neat beats deep-but-bulging every time.
Cost, Time, and Skill Level
Most DIY recessed wall shelves can be built with basic tools and a half-day to a weekend of work (finishing takes longer because paint and drywall compound have their own schedules). Materials are often inexpensive if you already have fasteners, primer, and paint.
Skill-wise, this is a confident beginner project if you stay between studs and keep it straightforward. If you start altering framing, relocating wiring, or building a waterproof shower niche, you’ve stepped into intermediate-to-advanced territory.
FAQ
How do I know if my wall can handle a recessed shelf?
If you can build it between studs, avoid utilities, and fasten to blocking, most interior partition walls can handle a recessed shelf for typical household items. For heavy loads (lots of books, pantry storage), reinforce the box and mounting points.
What if I want a wider niche than the space between studs?
That usually means cutting at least one stud and adding structural framing. In many cases, it’s better to build two between-stud shelves side-by-side with a narrow trim divider, or choose a different wall location.
Can I do this in a bathroom?
Yes, but pick your wall wisely. Bathrooms often have plumbing and electrical. Also use moisture-resistant finishing products. For a true shower niche, waterproofing details matter a lot and should follow approved methods and manufacturer instructions.
Real-World Lessons and “Wish I’d Known” Moments (Experience Section)
Let’s talk about the part most tutorials skip: the very human experience of doing this project in an actual home, with actual walls, and actual surprises. Recessed shelves look simple on paper, but the wall is where reality livesand reality is occasionally held together with old nails, wavy studs, and mystery repairs.
First lesson: your stud bay is almost never the exact “standard” size you expect. Yes, many walls are framed in a way that suggests predictable spacing, but drywallers, remodels, and time can introduce small deviations. A shelf box built to a perfect number (like 14.5 inches) might still fight you because one stud is crowned, bowed, or wearing an extra blob of joint compound like a winter coat. The fix is usually simplesand, plane, or shave tiny amounts off the shelf boxbut it’s way less stressful if you expect it up front.
Second lesson: inspection holes are not a sign of weakness. They’re a sign you enjoy having electricity and running water remain in the pipes and wires where they belong. Even in walls that seem “safe,” you can find odditieslike horizontal blocking, old cable staples, or an unexpected wire running right through the area you wanted. The best DIYers aren’t the ones who never run into obstacles; they’re the ones who catch obstacles early while the wall opening is still manageable.
Third lesson: finishing is where this project becomes either “custom” or “crafty”. A shelf box installed in the wall is only half the job. The magic is the perimeter: clean caulk lines, a crisp face frame or trim, and paint that matches the wall (or intentionally contrasts in a bold, built-in way). If you’re the kind of person who rushes paint because you “just want it done,” this is your gentle reminder: slow down on the last 10%. That’s the 10% everyone sees.
Fourth lesson: depth is both your limitation and your design tool. In thinner walls, you won’t get a deep shelfand that’s okay. Shallow niches are fantastic for items you want accessible without visual clutter: small bottles, rolled washcloths, spices, keys, framed photos. The trick is to style with intention: use trays, small baskets, or matching containers so shallow shelves look curated rather than chaotic. Many people end up loving the shallow look because it naturally prevents overstuffing. Your shelf becomes functional without becoming a junk magnet.
Fifth lesson: the wall will try to trick your level. You can level the opening, level the box, and still feel like something looks slightly off when you step back. That’s often because walls aren’t perfectly plumb, corners aren’t perfectly square, and ceilings sometimes slope a touch. The solution is to reference what your eyes read as “straight” in that space. If your baseboards visually slope, a perfectly level shelf might look weird by comparison. Most of the time, staying truly level is still the right callbut if you’re splitting hairs, trim can help you cheat the eye and make everything look intentionally aligned.
Finally: this project has a morale curve. At first you’re excited. Then you cut drywall and question every life choice. Then you add blocking and feel powerful. Then you sand and paint and wonder why dust exists. And thensuddenlyyou’re standing back looking at a shelf that seems like it has always belonged there. That’s the win: not just storage, but the satisfaction of turning dead wall space into something genuinely useful.
Conclusion
A DIY recessed wall shelf is one of the most satisfying “small change, big impact” upgrades you can make. Keep it between studs, inspect before cutting, add solid blocking, build a square shelf box, and finish the edges with care. Do that, and your wall won’t just hold up your shelfit’ll quietly flex on every floating bookcase in the room.













