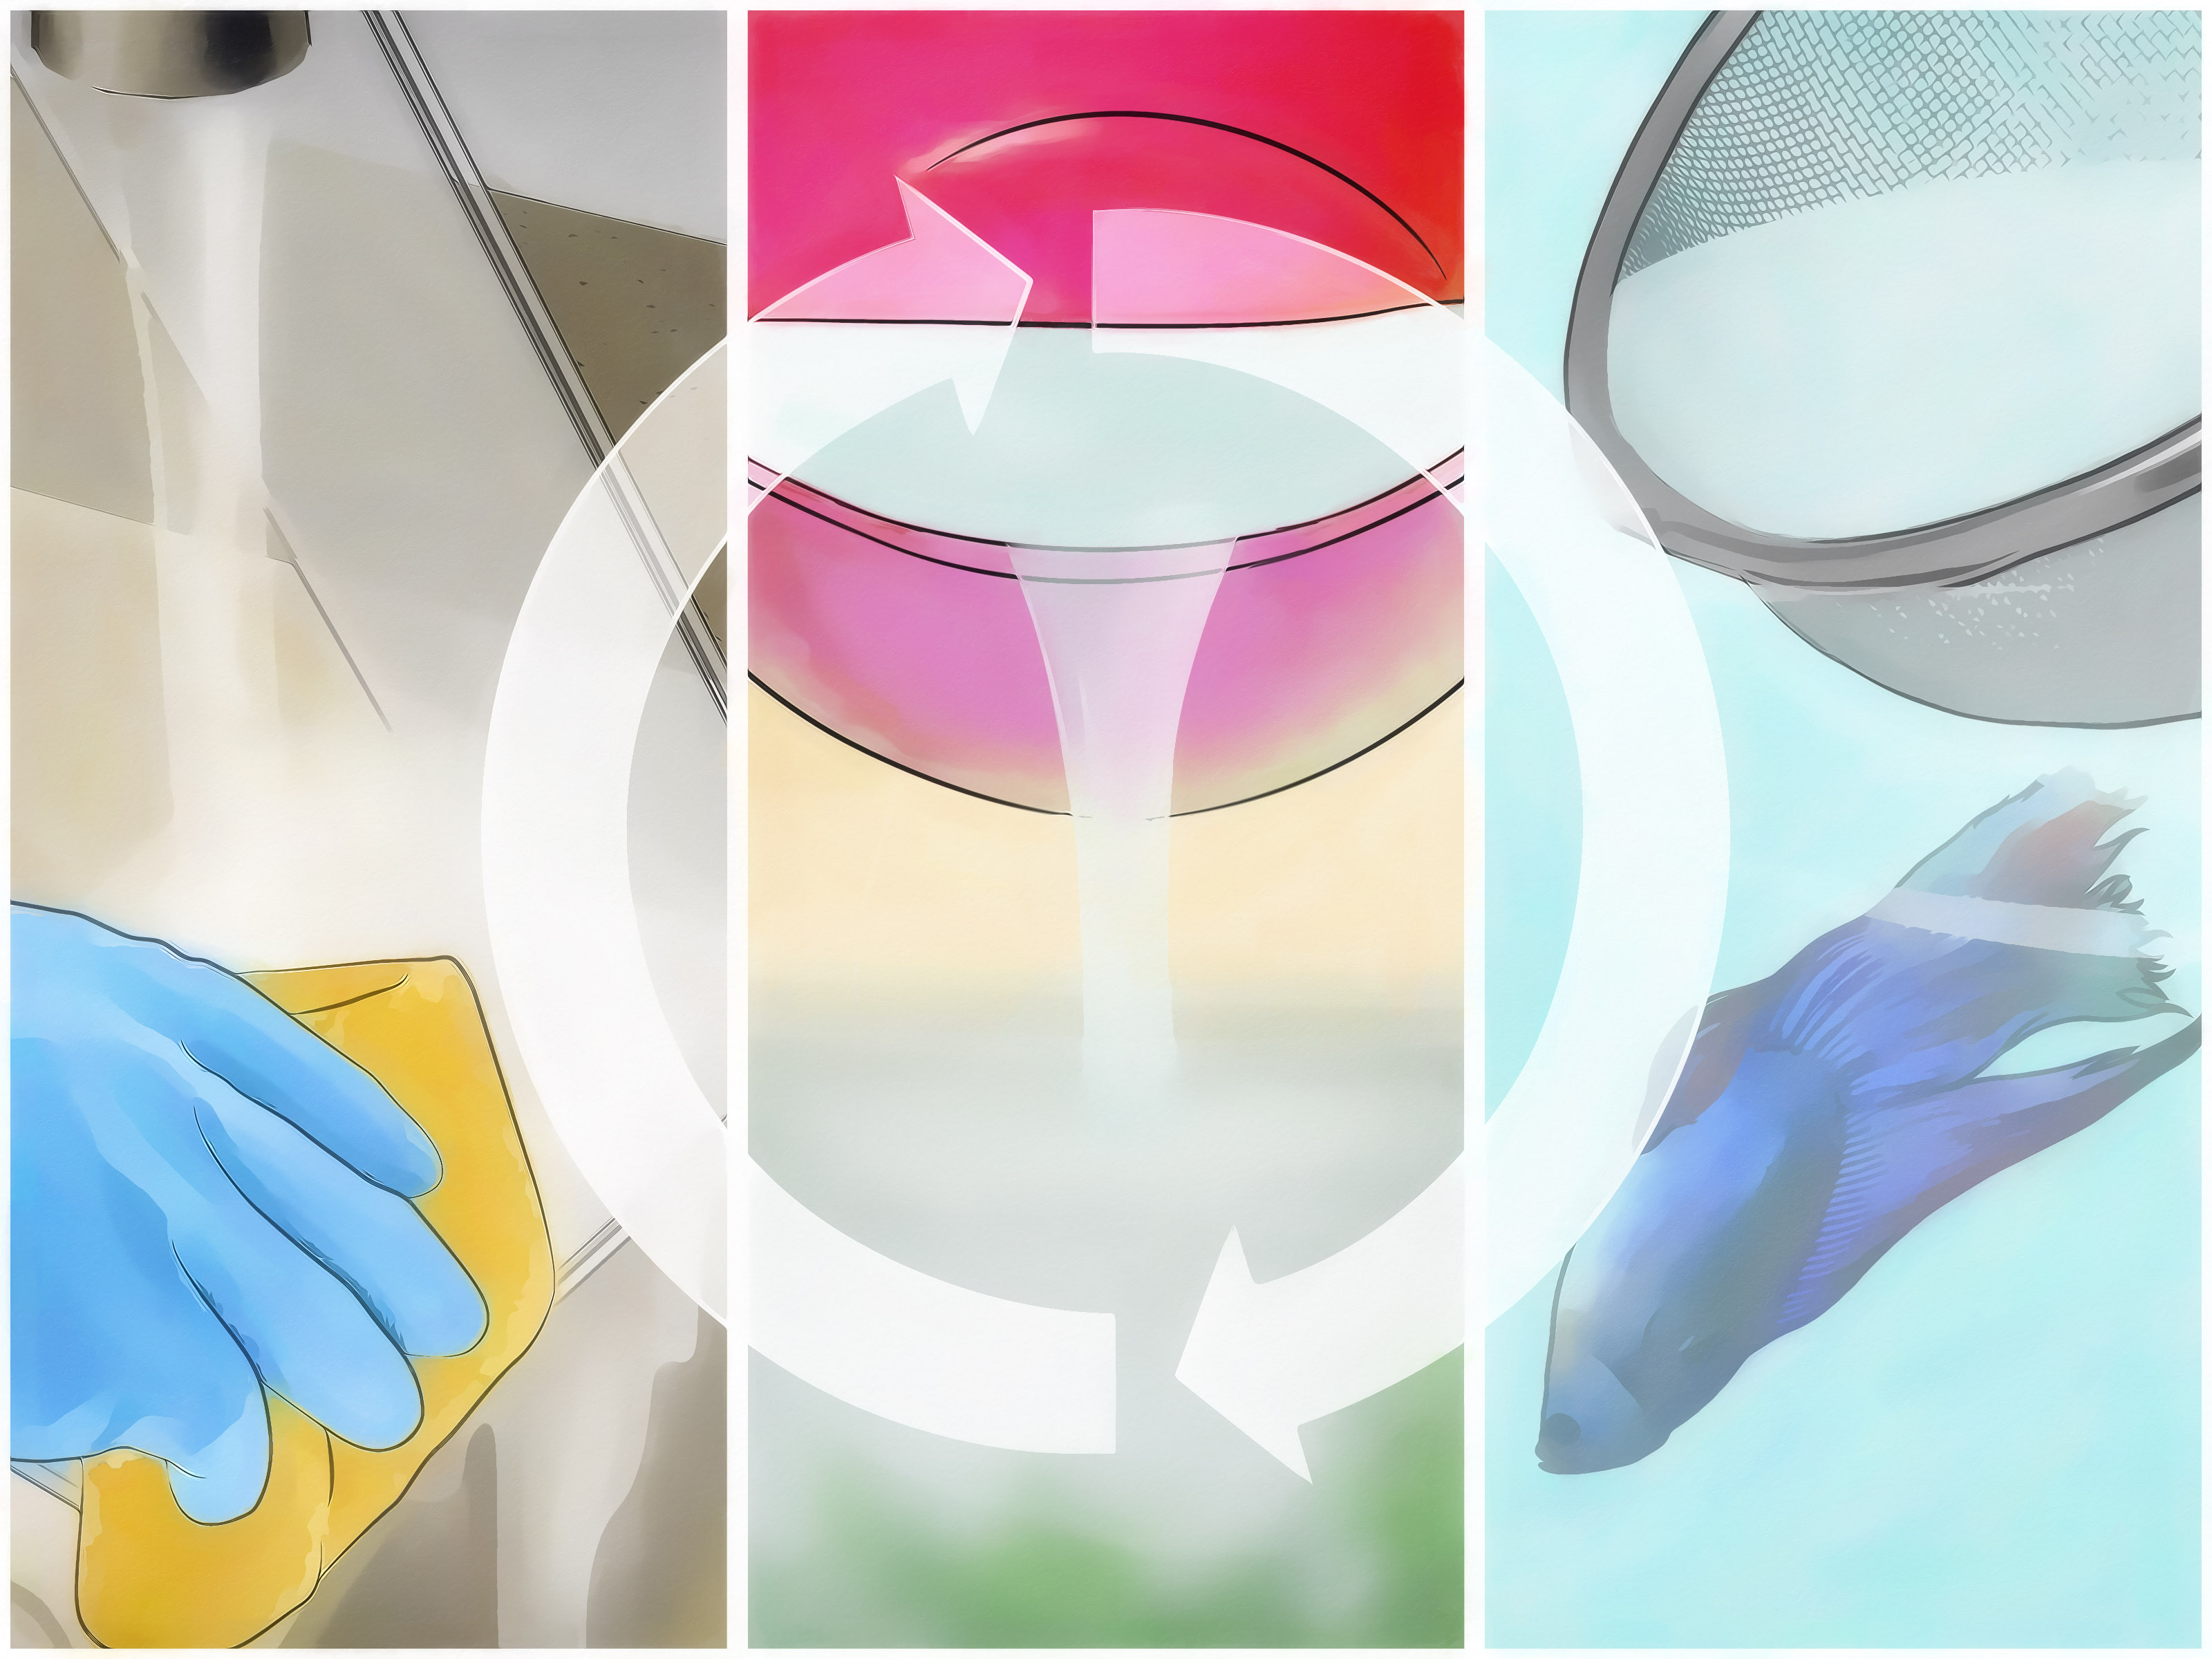
Changing betta fish water sounds simple: scoop out old water, pour in new water, admire your tiny underwater drama king. But bettas are not floating decorations with fins. They are tropical freshwater fish that depend on stable, clean, warm water to stay active, colorful, and healthy. A rushed water change can stress your betta, shock its system, or accidentally wipe out the helpful bacteria that keep the tank safe.
The good news? Once you learn the right method, a betta water change is quick, calm, and oddly satisfyinglike giving your fish a fresh apartment without making it pack boxes. This guide explains how to change your betta fish water in 13 practical steps, including how much water to remove, how to prepare tap water, when to use a gravel vacuum, and what mistakes to avoid.
Whether your betta lives in a filtered 5-gallon tank, a small temporary setup, or a planted aquarium, the goal is the same: replace dirty water with clean, conditioned water while keeping temperature, chemistry, and your betta’s stress level as steady as possible.
Why Betta Fish Water Changes Matter
Betta fish produce waste, uneaten food breaks down, and organic debris settles into the gravel. Over time, this can lead to ammonia, nitrite, and nitrate buildup. Ammonia and nitrite are especially dangerous, even at low levels, while nitrate becomes a problem when it climbs too high. A filter helps, but it does not magically make water immortal. Even the fanciest filter cannot remove every dissolved waste compound forever.
Regular partial water changes keep the tank safer, clearer, and more stable. They also reduce odors, prevent cloudy water, support healthy fins, and help your betta behave like the confident little monarch it was born to be. A betta that lives in clean, warm water is more likely to swim actively, eat well, build bubble nests, and show bright coloration.
How Often Should You Change Betta Fish Water?
The right schedule depends on tank size, filtration, live plants, feeding habits, and water test results. As a general rule, a filtered 5-gallon betta tank often does well with a weekly partial water change of about 20% to 30%. Some larger, lightly stocked, planted tanks may need less frequent changes, while tiny or unfiltered tanks need more frequent maintenance.
For small unfiltered habitats under 2 gallons, water quality can decline quickly, so partial changes may be needed every few days. However, bettas are usually much easier to care for in a heated, filtered tank of at least 5 gallons. More water volume means fewer sudden swings, more swimming room, and less “emergency soup” energy for you.
Basic Betta Water Change Guidelines
- Filtered 5-gallon tank: Change about 20% to 30% weekly.
- Filtered 10-gallon tank: Change about 10% to 25% weekly or every other week, depending on test results.
- Small unfiltered container: Change smaller amounts more often, usually every 2 to 4 days.
- High ammonia or nitrite: Do an immediate partial water change and test again.
- High nitrate: A larger partial water change may be needed.
What You Need Before Changing Betta Fish Water
Preparation prevents panic. Gather your tools before you start so you do not end up holding a siphon in one hand, a bucket in the other, and wondering why your floor is suddenly participating in the aquarium hobby.
Supplies Checklist
- A clean bucket used only for aquarium water
- A gravel vacuum or small siphon
- Water conditioner/dechlorinator
- An aquarium thermometer
- A clean cup or pitcher for adding water slowly
- Water test kit or test strips
- Algae scraper or soft aquarium sponge
- A towel for drips
- Optional: turkey baster for small debris
Never use soap, household cleaners, bleach, scented wipes, or kitchen sponges on aquarium items. Even tiny chemical residues can harm fish. Your aquarium bucket should be a dedicated fish-only bucketnot the bucket that once hosted floor cleaner, driveway grime, or your ambitious attempt at home improvement.
How to Change Your Betta Fish Water: 13 Steps
Step 1: Decide How Much Water to Change
Before touching the tank, decide how much water you plan to remove. For routine maintenance in a healthy filtered tank, remove about 20% to 30% of the water. Avoid changing 100% of the water unless there is a serious emergency or you are working with a temporary unfiltered container under specific conditions.
Large, sudden changes can stress your betta because they may alter temperature, pH, mineral content, and other water parameters too quickly. Partial water changes are safer because they refresh the tank while preserving stability.
Step 2: Test the Water
Testing is the difference between guessing and knowing. Check ammonia, nitrite, nitrate, and pH. In a healthy cycled aquarium, ammonia and nitrite should read 0 ppm. Nitrate should generally stay low, often below 20 to 40 ppm depending on the source and tank setup. A stable pH near your tap water’s natural range is usually better than chasing a “perfect” number with chemicals.
If ammonia or nitrite appears, do a partial water change right away. If nitrate is high, increase the amount or frequency of water changes and check whether you are overfeeding.
Step 3: Unplug Equipment Safely
Turn off or unplug the heater, filter, and any electrical equipment before lowering the water level. Aquarium heaters can crack if left running while exposed to air, and filters may run dry if the intake is uncovered. Give the heater a few minutes to cool before the water drops below it.
This is not the exciting part of fishkeeping, but it is the part that helps you avoid sparks, cracks, and the kind of expensive sound no aquarium owner wants to hear.
Step 4: Leave Your Betta in the Tank If Possible
In most routine water changes, you should leave your betta in the aquarium. Catching and moving a betta can be more stressful than the water change itself. Bettas are curious, but they are not fans of surprise net rides.
Move slowly and keep the siphon away from your fish. If your betta is especially nosy, guide it gently to the other side of the tank with your hand or a clean cup. Only remove your betta if you are doing a major emergency cleaning or moving it for medical reasons.
Step 5: Remove Debris From the Surface and Decorations
Use an aquarium-safe sponge or algae scraper to clean the glass if needed. Wipe only the areas with visible algae. Do not sterilize everything. A healthy aquarium is not supposed to be hospital-clean; it needs beneficial bacteria living on surfaces such as filter media, substrate, decorations, and plants.
If decorations have slime or debris, gently swish them in the old tank water you removenot under untreated tap water. Tap water may contain chlorine or chloramine, which can damage the beneficial bacteria your aquarium depends on.
Step 6: Start the Siphon or Gravel Vacuum
Place one end of the siphon or gravel vacuum in the tank and the other end in your dedicated bucket. Start the flow according to the siphon’s instructions. Keep the bucket lower than the tank so gravity can do its little science trick.
A gravel vacuum is helpful because it removes dirty water and pulls waste from the substrate at the same time. Fish waste, leftover food, and decaying plant bits often settle between gravel pieces. If ignored, that debris can contribute to poor water quality.
Step 7: Vacuum the Gravel Gently
Push the gravel vacuum lightly into one section of substrate and let debris rise into the tube. Move slowly from area to area. You do not need to deep-clean every inch of gravel during every water change, especially in a planted tank where roots and beneficial bacteria are part of the ecosystem.
If you use sand, hover the siphon slightly above the surface instead of plunging it deep. Sand can compact, and aggressive vacuuming may create a cloudy mess. Think gentle housekeeping, not underwater excavation.
Step 8: Remove Only the Planned Amount
Stop siphoning once you have removed the target amount of water. Marking your tank or bucket can help you estimate percentages more accurately. For example, in a 5-gallon tank, a 25% water change equals about 1.25 gallons.
Do not drain the tank until your betta is barely hovering in a puddle. That level of drama belongs in reality television, not aquarium maintenance.
Step 9: Prepare New Water in a Clean Container
Fill your aquarium-only bucket or container with tap water. Add a water conditioner that neutralizes chlorine and chloramine. Follow the product label carefully. More is not always better, and guessing dosage is not a personality trait your fish requested.
Conditioning new water is essential because untreated tap water can harm fish and beneficial bacteria. If your water provider uses chloramine, letting water sit out overnight will not reliably remove it, so conditioner is still necessary.
Step 10: Match the Temperature
Bettas are tropical fish and usually do best around 76°F to 81°F, with many keepers aiming near 78°F to 80°F. The replacement water should be close to the tank’s current temperature. Use a thermometer instead of trusting your hand, because human hands are famously overconfident and not calibrated aquarium instruments.
Sudden temperature changes can shock your betta. If the new water is too cold, your fish may become lethargic. If it is too warm, stress can increase. Stable warmth is one of the biggest secrets to healthy betta care.
Step 11: Add the New Water Slowly
Pour the conditioned, temperature-matched water into the tank slowly. Aim the flow against a decoration, the tank wall, or a small plate to avoid blasting the substrate or pushing your betta around. Bettas have long, delicate fins and often prefer calm water.
If your betta swims over to inspect the process, pause and let it move away. Bettas are bold little creatures, and some act like the tank maintenance supervisor. Unfortunately, they rarely follow safety rules.
Step 12: Restart the Filter and Heater
Once the water level is restored, plug the heater and filter back in. Make sure the filter is running properly and the heater is fully submerged. If the filter makes grinding sounds, it may need to be primed with tank water.
Check that the filter flow is gentle. Bettas are not built for strong currents. If your fish struggles to swim or gets pushed around, use a sponge filter, adjustable flow filter, or baffle to soften the movement.
Step 13: Observe Your Betta After the Water Change
Watch your betta for a few minutes after the water change. Normal behavior includes exploring, flaring at its reflection, checking out the refreshed gravel, or begging for food as though it did not just eat yesterday, today, and possibly in a dream.
Warning signs include clamped fins, gasping, frantic swimming, lying on the bottom, or sudden color loss. If you see these symptoms, check temperature and water parameters immediately. Something may be off with the new water, conditioner dose, or tank chemistry.
Common Betta Water Change Mistakes to Avoid
Changing All the Water Every Time
A full water change can remove too much stability from the aquarium. In a cycled tank, beneficial bacteria live mostly on surfaces, not floating freely in the water, but a full teardown still disrupts the environment. Routine partial water changes are safer and easier.
Cleaning Filter Media Under Tap Water
Filter media holds beneficial bacteria that help process fish waste. Rinsing it under untreated tap water can damage that bacterial colony. If the media is clogged, swish it gently in old tank water removed during the water change.
Forgetting Water Conditioner
This is one of the most common beginner mistakes. Tap water may be safe for people but unsafe for fish. Always treat new water before adding it to the tank.
Using Water That Is Too Cold
Cold water can stress bettas and weaken their immune function. Match the replacement water to the tank temperature before adding it.
Overfeeding After a Water Change
Clean water does not give you a free pass to turn the tank into a buffet. Overfeeding leads to more waste, cloudy water, and higher ammonia risk. Feed only what your betta can eat in a short time, and remove leftovers.
Should You Use Bottled Water for Betta Fish?
In most cases, conditioned tap water is better and more practical than bottled water. Bottled drinking water can vary in mineral content, pH, and treatment method. Distilled or reverse osmosis water lacks minerals unless properly remineralized. Bettas need stable water chemistry, not fancy water with a label that looks like it belongs at a spa.
If your tap water has unusual issues, test it and consider asking an aquarium professional for guidance. The key is consistency. Sudden changes in water source can be stressful, even when the new water seems “cleaner.”
How to Know Your Water Change Routine Is Working
Your betta’s behavior and water test results will tell you a lot. A successful routine usually produces clear water, stable temperature, 0 ppm ammonia, 0 ppm nitrite, controlled nitrate, and an active fish with open fins and a good appetite. You should not smell a strong odor from the tank, and algae should be manageable rather than taking over like a tiny green landlord.
If water quality declines quickly, look at the big picture. Is the tank too small? Are you overfeeding? Is the filter too weak or clogged? Are there dead plant leaves hidden behind decorations? A water change helps, but good aquarium care also depends on prevention.
Best Betta Tank Setup for Easier Water Changes
A heated, filtered tank of at least 5 gallons makes betta care much easier. A low-flow filter supports beneficial bacteria and keeps water moving gently. A heater keeps the temperature stable. Live or silk plants provide resting spots and reduce stress. A lid is also important because bettas can jump.
Small bowls may look cute on a desk, but they are harder to keep stable. Waste builds up faster, temperature swings more easily, and water changes become more frequent. A bigger tank is not more work in the long run; it is often less work because the environment is more forgiving.
Real-Life Experience: What Betta Water Changes Teach You
The first time many people change betta fish water, they treat it like a major operation. Towels everywhere. Buckets lined up. A suspicious betta staring from the corner like it has already contacted its lawyer. After a few rounds, though, the process becomes calm and predictable. You learn how much water your bucket holds, how fast your siphon drains, and exactly where your betta likes to hover while supervising.
One of the most useful lessons is that clean water is not just about appearance. A tank can look clear and still have unsafe ammonia or nitrite. That is why testing matters. Many beginners wait until the water looks cloudy before doing maintenance, but by then the tank may already be stressed. A weekly routine prevents problems before they become visible.
Another experience-based tip: do not chase perfection too aggressively. New betta owners sometimes want to scrub every decoration, replace every filter cartridge, rinse all the gravel, and make the tank sparkle like a showroom. The problem is that aquariums are living systems. A little biofilm and beneficial bacteria are part of a healthy tank. The goal is not sterile water; the goal is balanced water.
Water changes also teach you how individual bettas behave. Some bettas hide behind plants until the commotion ends. Others swim directly toward the siphon like tiny inspectors with no survival instinct. If your betta is bold, work slowly and keep the siphon guarded. If your betta is shy, add floating plants or broad leaves so it has a comfortable place to retreat.
Temperature matching is another skill that improves with practice. At first, you may fiddle with the faucet for several minutes trying to get the new water just right. Eventually, you learn the feel of your setup, but you should still confirm with a thermometer. Stable temperature is one of the easiest ways to reduce stress during a water change.
Many keepers also discover that feeding habits directly affect cleaning day. If you feed too much, the gravel vacuum tells on you. Old pellets, waste, and cloudy debris appear quickly. When you feed modest portions and remove leftovers, water changes become cleaner and faster. Your betta may disagree with portion control, but bettas are not known for their financial planning or nutrition degrees.
The best experience tip is to keep a simple schedule. Choose a day, test the water, change a reasonable amount, and observe your fish afterward. Consistency beats heroic rescue cleaning. A calm 20-minute routine each week can prevent many common problems, including cloudy water, fin damage from poor conditions, and stress-related behavior changes.
Over time, water changes become less of a chore and more of a check-in. You notice whether your betta is active, whether plants are growing, whether the filter flow has slowed, and whether the heater is holding steady. That attention is what turns basic fishkeeping into responsible care. Your betta may never thank you in words, but bright color, curious swimming, and healthy fins are pretty good reviews.
Conclusion
Learning how to change your betta fish water is one of the most important skills in betta care. The safest method is usually a partial water change using conditioned, temperature-matched water. Keep your betta in the tank during routine maintenance, vacuum debris gently, protect beneficial bacteria, and test the water regularly.
A clean betta tank is not about perfection. It is about stability. When you combine a proper tank size, gentle filtration, warm water, careful feeding, and a consistent water change schedule, your betta gets the environment it needs to thrive. And you get the pleasure of watching a healthy fish patrol its kingdom like a tiny aquatic celebrity.
Note: This guide is intended for routine betta fish care. If your betta shows severe lethargy, gasping, bloating, pineconing scales, fin rot, or sudden behavior changes, test the water immediately and consult an aquatic veterinarian or experienced aquarium professional.