
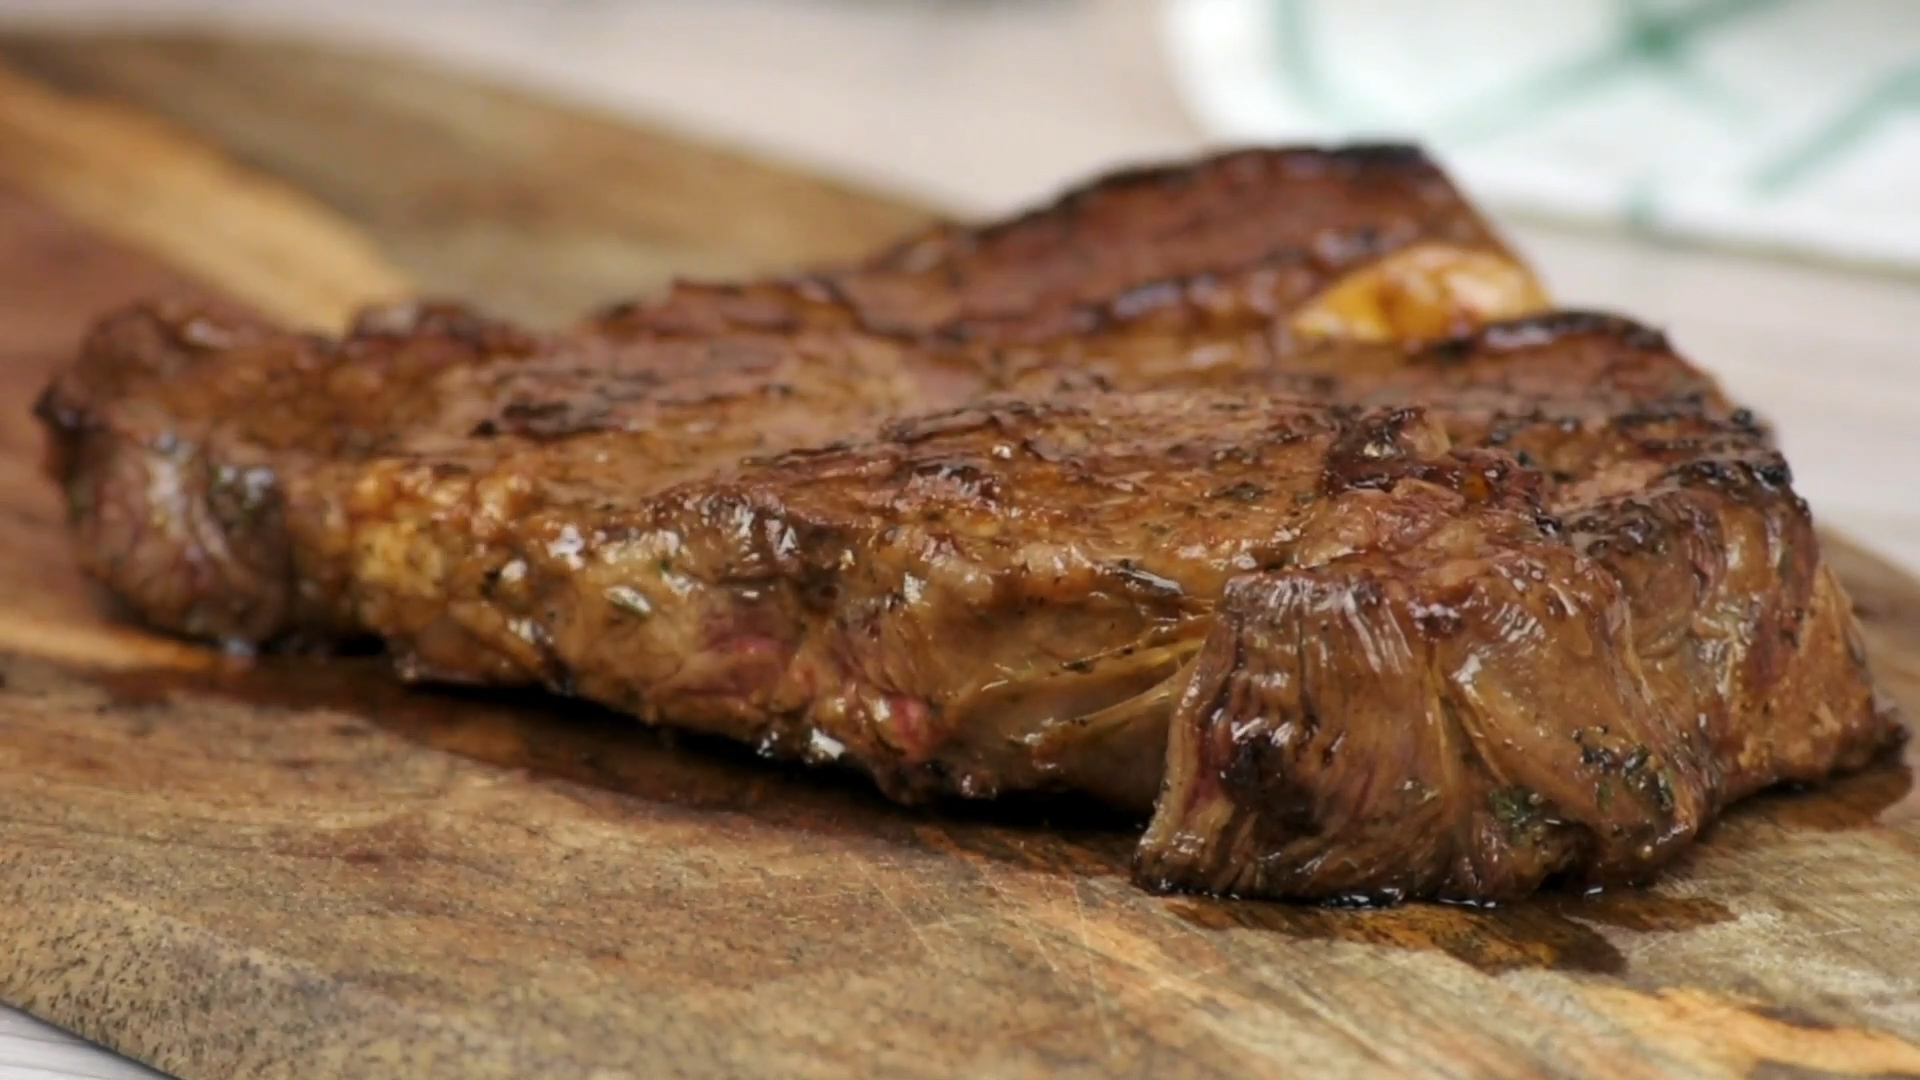
Cooking steak in a frying pan sounds simple until the smoke alarm joins the dinner conversation. The good news: a restaurant-worthy pan-seared steak does not require a grill, a chef’s jacket, or a mysterious talent passed down by meat wizards. It requires a dry steak, a hot heavy pan, a little patience, and the willingness to trust a thermometer more than your inner optimist.
A frying pan can create the same deeply browned crust that makes steakhouse steak so irresistible. The secret is managing heat and moisture. When the steak is dry and the pan is hot, the surface browns instead of steaming. Add a quick butter baste near the end, let the steak rest, and suddenly Tuesday dinner has strong “someone put this on an expense account” energy.
Note: This stovetop steak method works best for boneless steaks about 1 to 1¼ inches thick. Cooking times are useful starting points, but a meat thermometer is more reliable than timing alone.
What You Need for a Perfect Pan-Seared Steak
- 1 or 2 boneless steaks, about 1 to 1¼ inches thick
- Kosher salt and freshly ground black pepper
- 1 tablespoon high-smoke-point oil, such as avocado, grapeseed, canola, or vegetable oil
- 1 to 2 tablespoons unsalted butter
- 2 crushed garlic cloves
- Fresh rosemary, thyme, or both
- A cast-iron skillet or heavy stainless-steel frying pan
- Tongs, paper towels, and an instant-read thermometer
For the best steak in a frying pan, choose a cut with enough thickness and marbling to stay juicy while it develops a crust. Boneless ribeye, New York strip, top sirloin, flat iron, and filet mignon are all solid choices. Ribeye brings buttery richness. Strip steak delivers a beefier chew. Filet is tender enough to make you briefly forget your inbox exists.
How to Cook Steak in a Frying Pan in 8 Easy Steps
Step 1: Choose the Right Steak and Let It Lose the Fridge Chill
Start with a steak that is at least 1 inch thick. Thin steaks can still be delicious, but they move from “beautifully seared” to “why is this chewing like a leather wallet?” with alarming speed. A thicker steak gives you more room to create a brown exterior while keeping the center tender.
Take the steak out of the refrigerator about 15 to 20 minutes before cooking. You are not trying to bring it to full room temperature; that takes longer than most people think. You are simply taking the icy edge off while you prep the rest of dinner. Keep the steak on a plate, away from warm appliances, and do not leave raw meat sitting out for an extended period.
Step 2: Pat the Steak Very Dry
This step is unglamorous, but so is cleaning a smoky kitchen at 10 p.m. Blot both sides of the steak thoroughly with paper towels. Moisture is the enemy of a crisp crust because water must evaporate before browning can begin. A wet steak steams. A dry steak sizzles, browns, and earns applause from people who were previously “just having a small bite.”
Do not skip the edges. Pat those dry too, especially if you plan to sear the fat cap or hold the steak upright with tongs for a few seconds.
Step 3: Season Generously, but Do It Smartly
Season both sides with kosher salt and black pepper. For a quick weeknight steak, salt it immediately before it goes into the pan. For deeper seasoning, salt it 40 minutes to a few hours ahead, refrigerate it uncovered, then pat it dry again before cooking.
Why not salt it 10 minutes ahead? Because that awkward middle period can pull moisture to the surface without giving the meat enough time to reabsorb it. Steak is not dramatic, but it does have timing issues.
Keep the seasoning simple on your first attempt. Salt, pepper, butter, garlic, and herbs can make a steak taste spectacular. Save the eighteen-ingredient spice blend for another night, perhaps when you have a camera crew and a sponsor.
Step 4: Heat a Heavy Frying Pan Until It Is Properly Hot
Set a cast-iron skillet or heavy stainless-steel frying pan over medium-high heat. Let it preheat for several minutes. Cast iron is especially useful because it holds heat well, which helps the steak brown instead of cooling the pan down on contact.
Add the oil only when the pan is hot. Swirl it around the surface. When the oil looks glossy and moves easily, the pan is ready. A faint wisp of smoke is normal with high-heat steak cooking, but a kitchen filled with smoke means the heat is too aggressive, the oil is burning, or both.
Turn on your range hood, crack a window, and keep curious pets away from the action. A pan-seared steak should be exciting, not an emergency drill.
Step 5: Sear the First Side Without Fidgeting
Carefully lay the steak in the hot pan, placing it away from you to reduce oil splatter. You should hear a strong, confident sizzle. If it lands quietly, the pan is not hot enough. If it sounds like a fireworks finale, lower the heat slightly after the first minute.
Leave the steak alone for about 2 to 3 minutes. Do not press it down with a spatula. Pressing does not “seal in juices”; it mostly pushes flavorful fat and moisture into the pan, where they cannot write you a thank-you note.
After a couple of minutes, lift one edge with tongs. If the steak releases easily and has a rich brown crust, it is ready to flip. If it clings stubbornly, give it another 20 to 30 seconds. The crust usually lets go when it is properly formed.
Step 6: Flip, Sear the Other Side, and Brown the Edges
Flip the steak and sear the second side for another 2 to 3 minutes. At this point, you have created the foundation of a classic stovetop steak: a dark, flavorful crust outside and a tender center still waiting to reach its final temperature.
Use tongs to hold the steak on its fatty edge for 20 to 30 seconds if it has a thick strip of exterior fat. Rendering and browning that edge adds serious flavor. It also makes the steak look more impressive, which matters because we eat with our eyes before we eat with a fork.
For a steak closer to 1 inch thick, this may be nearly enough cooking. For thicker steaks, reduce the heat slightly and continue cooking with frequent turns until the center reaches your preferred doneness.
Step 7: Add Butter, Garlic, and Herbs for a Fast Baste
Lower the heat to medium or medium-low. Add the butter, crushed garlic, and rosemary or thyme. As the butter melts and foams, tilt the pan slightly so the butter gathers at one end. Use a spoon to baste the steak repeatedly with the hot butter.
This is where the frying pan steak starts tasting like it has a reservation policy. The butter carries the flavor of garlic and herbs over the meat while adding a roasted, nutty finish. Keep the heat controlled. Butter can burn quickly, especially if you add it before the steak has developed its crust.
Baste for about 30 to 90 seconds, turning the steak once or twice. If the garlic or herbs begin to scorch, move them to the side of the pan or lower the heat. Bitter blackened garlic is not “rustic.” It is simply bitter blackened garlic.
Step 8: Check the Temperature, Rest the Steak, and Slice Correctly
Insert an instant-read thermometer sideways into the thickest part of the steak, avoiding pockets of fat. Pull the steak from the pan a few degrees before your final desired temperature because carryover heat will continue cooking it while it rests.
- Rare: Pull around 120°F to 125°F.
- Medium-rare: Pull around 125°F to 130°F.
- Medium: Pull around 135°F to 140°F.
- Medium-well: Pull around 145°F to 150°F.
- Well-done: Pull around 155°F or higher.
For food safety, the USDA recommends cooking whole cuts of beef such as steaks to a minimum internal temperature of 145°F followed by at least a 3-minute rest. People may have different texture preferences, but food-safety guidance should always be considered, especially for children, older adults, pregnant people, and anyone with a weakened immune system.
Transfer the steak to a clean plate or cutting board. Do not return it to the raw-meat plate unless you enjoy unnecessary food-safety roulette. Rest it loosely tented with foil for 5 to 10 minutes. Then slice against the grain, add a final pinch of flaky salt if you like, and serve immediately.
How Long to Cook Steak in a Frying Pan
The exact time depends on thickness, steak cut, pan material, burner strength, and your preferred doneness. That is why recipes promising “the perfect steak in exactly six minutes” should be treated with the same skepticism as ads claiming you can learn fluent French while sleeping.
For a 1-inch boneless steak, start with about 2 to 3 minutes per side over medium-high heat, then finish with butter basting and temperature checks. A 1½-inch steak may need additional time at a lower heat, frequent flipping, or a brief finish in a 400°F oven if your skillet is oven-safe.
When Should You Finish Steak in the Oven?
For steaks thicker than 1½ inches, the pan-to-oven method can be helpful. Sear both sides in the frying pan, then transfer the skillet to a 375°F to 400°F oven until the steak approaches your target temperature. This gives the center more time to cook without turning the crust into charcoal cosplay.
If you do not want to use the oven, lower the stovetop heat after searing and flip the steak every minute or two. Frequent flipping can help it cook more evenly while preserving the browned exterior.
Common Frying Pan Steak Mistakes to Avoid
Using a Cold or Lightweight Pan
A thin pan loses heat quickly when the steak hits it. The result is pale meat, weak browning, and a disappointing amount of gray. Use cast iron, carbon steel, or a sturdy stainless-steel frying pan whenever possible.
Adding Butter Too Early
Butter tastes wonderful but its milk solids can burn before your steak has a chance to sear. Start with a neutral oil, create the crust first, then add butter near the end.
Cooking Several Steaks in a Crowded Pan
Overcrowding traps steam and lowers the pan temperature. If your skillet cannot comfortably hold the steaks with space between them, cook in batches. Yes, it takes longer. No, your steak will not accept “but I was in a hurry” as an excuse.
Skipping the Rest
Cutting into steak immediately sends a flood of juices across the cutting board. Resting gives the interior time to settle, improving the texture and keeping more of those juices where they belong: inside the steak.
Easy Ways to Serve Pan-Seared Steak
A frying pan steak can be the centerpiece of a full steakhouse-style meal or the star of a very low-effort dinner. Serve it with roasted potatoes, crispy smashed potatoes, garlic green beans, grilled asparagus, a simple arugula salad, creamed spinach, or sautéed mushrooms.
Want an easy pan sauce? Remove the steak to rest, pour off excess fat, then add a splash of beef stock, wine, or water to the hot pan. Scrape up the browned bits, simmer briefly, and whisk in a small knob of butter. Those browned bits are called fond, but you may think of them as the delicious evidence that dinner is going well.
Real-Life Experience: What Cooking Steak in a Frying Pan Teaches You
The first time many people cook steak in a frying pan, they expect a magical transformation. They imagine one flip, a glamorous spoonful of butter, and a plate that looks like it belongs beneath low restaurant lighting. The reality is usually more educational. The pan might be too cool. The steak may stick. Someone may ask, “Is it supposed to smoke like that?” while standing directly beneath the smoke detector.
That is normal. Steak is one of those foods that rewards repetition more than complicated tricks. After a few attempts, you start recognizing the clues. A dry steak sounds different when it hits a hot skillet. The sizzle is immediate and lively rather than timid. The surface begins to brown instead of turning pale and damp. The steak releases from the pan without a wrestling match once the crust has formed.
You also learn that the thermometer is not a sign of weakness. It is the difference between guessing and knowing. Experienced cooks often seem psychic because they have repeated the same method enough times to predict the result. At home, especially with different steak thicknesses and different burners, a thermometer lets you skip the guesswork without sacrificing any culinary dignity.
Another useful lesson is that not every steak needs to be a special-occasion ribeye. A well-cooked top sirloin can be terrific when you give it the same attention: dry surface, proper seasoning, hot pan, controlled heat, and a short rest. A less expensive steak may have a little more chew, but good browning and a flavorful pan sauce can make it feel far more luxurious than its price tag suggests.
There is also a confidence shift that happens after you cook a few successful frying pan steaks. You stop treating steak as an expensive test you might fail and start treating it as a technique. You understand that the crust comes from heat, the juiciness comes from not overcooking it, and the buttery finish comes from timing rather than luck. Suddenly, you can make steak for a date night, a family dinner, or a Tuesday when your week has been particularly rude.
The most satisfying part is that every steak teaches you something. Too gray? Your pan needed more heat. Burnt butter? Add it later. Tough center? Check the temperature sooner. Dry steak? Pull it earlier and rest it longer. Once you view each meal as a small experiment instead of a final exam, cooking steak becomes much more fun. And much less likely to end with cereal for dinner.
Final Thoughts
Learning how to cook steak in a frying pan is less about chasing perfection and more about mastering a few dependable habits. Dry the steak, heat the pan, sear without fussing, baste with butter at the end, and rest before slicing. Do that consistently, and your homemade pan-seared steak can rival plenty of restaurant mealswithout the reservation, the noise, or the tiny dessert menu printed in a font apparently designed for ants.











