
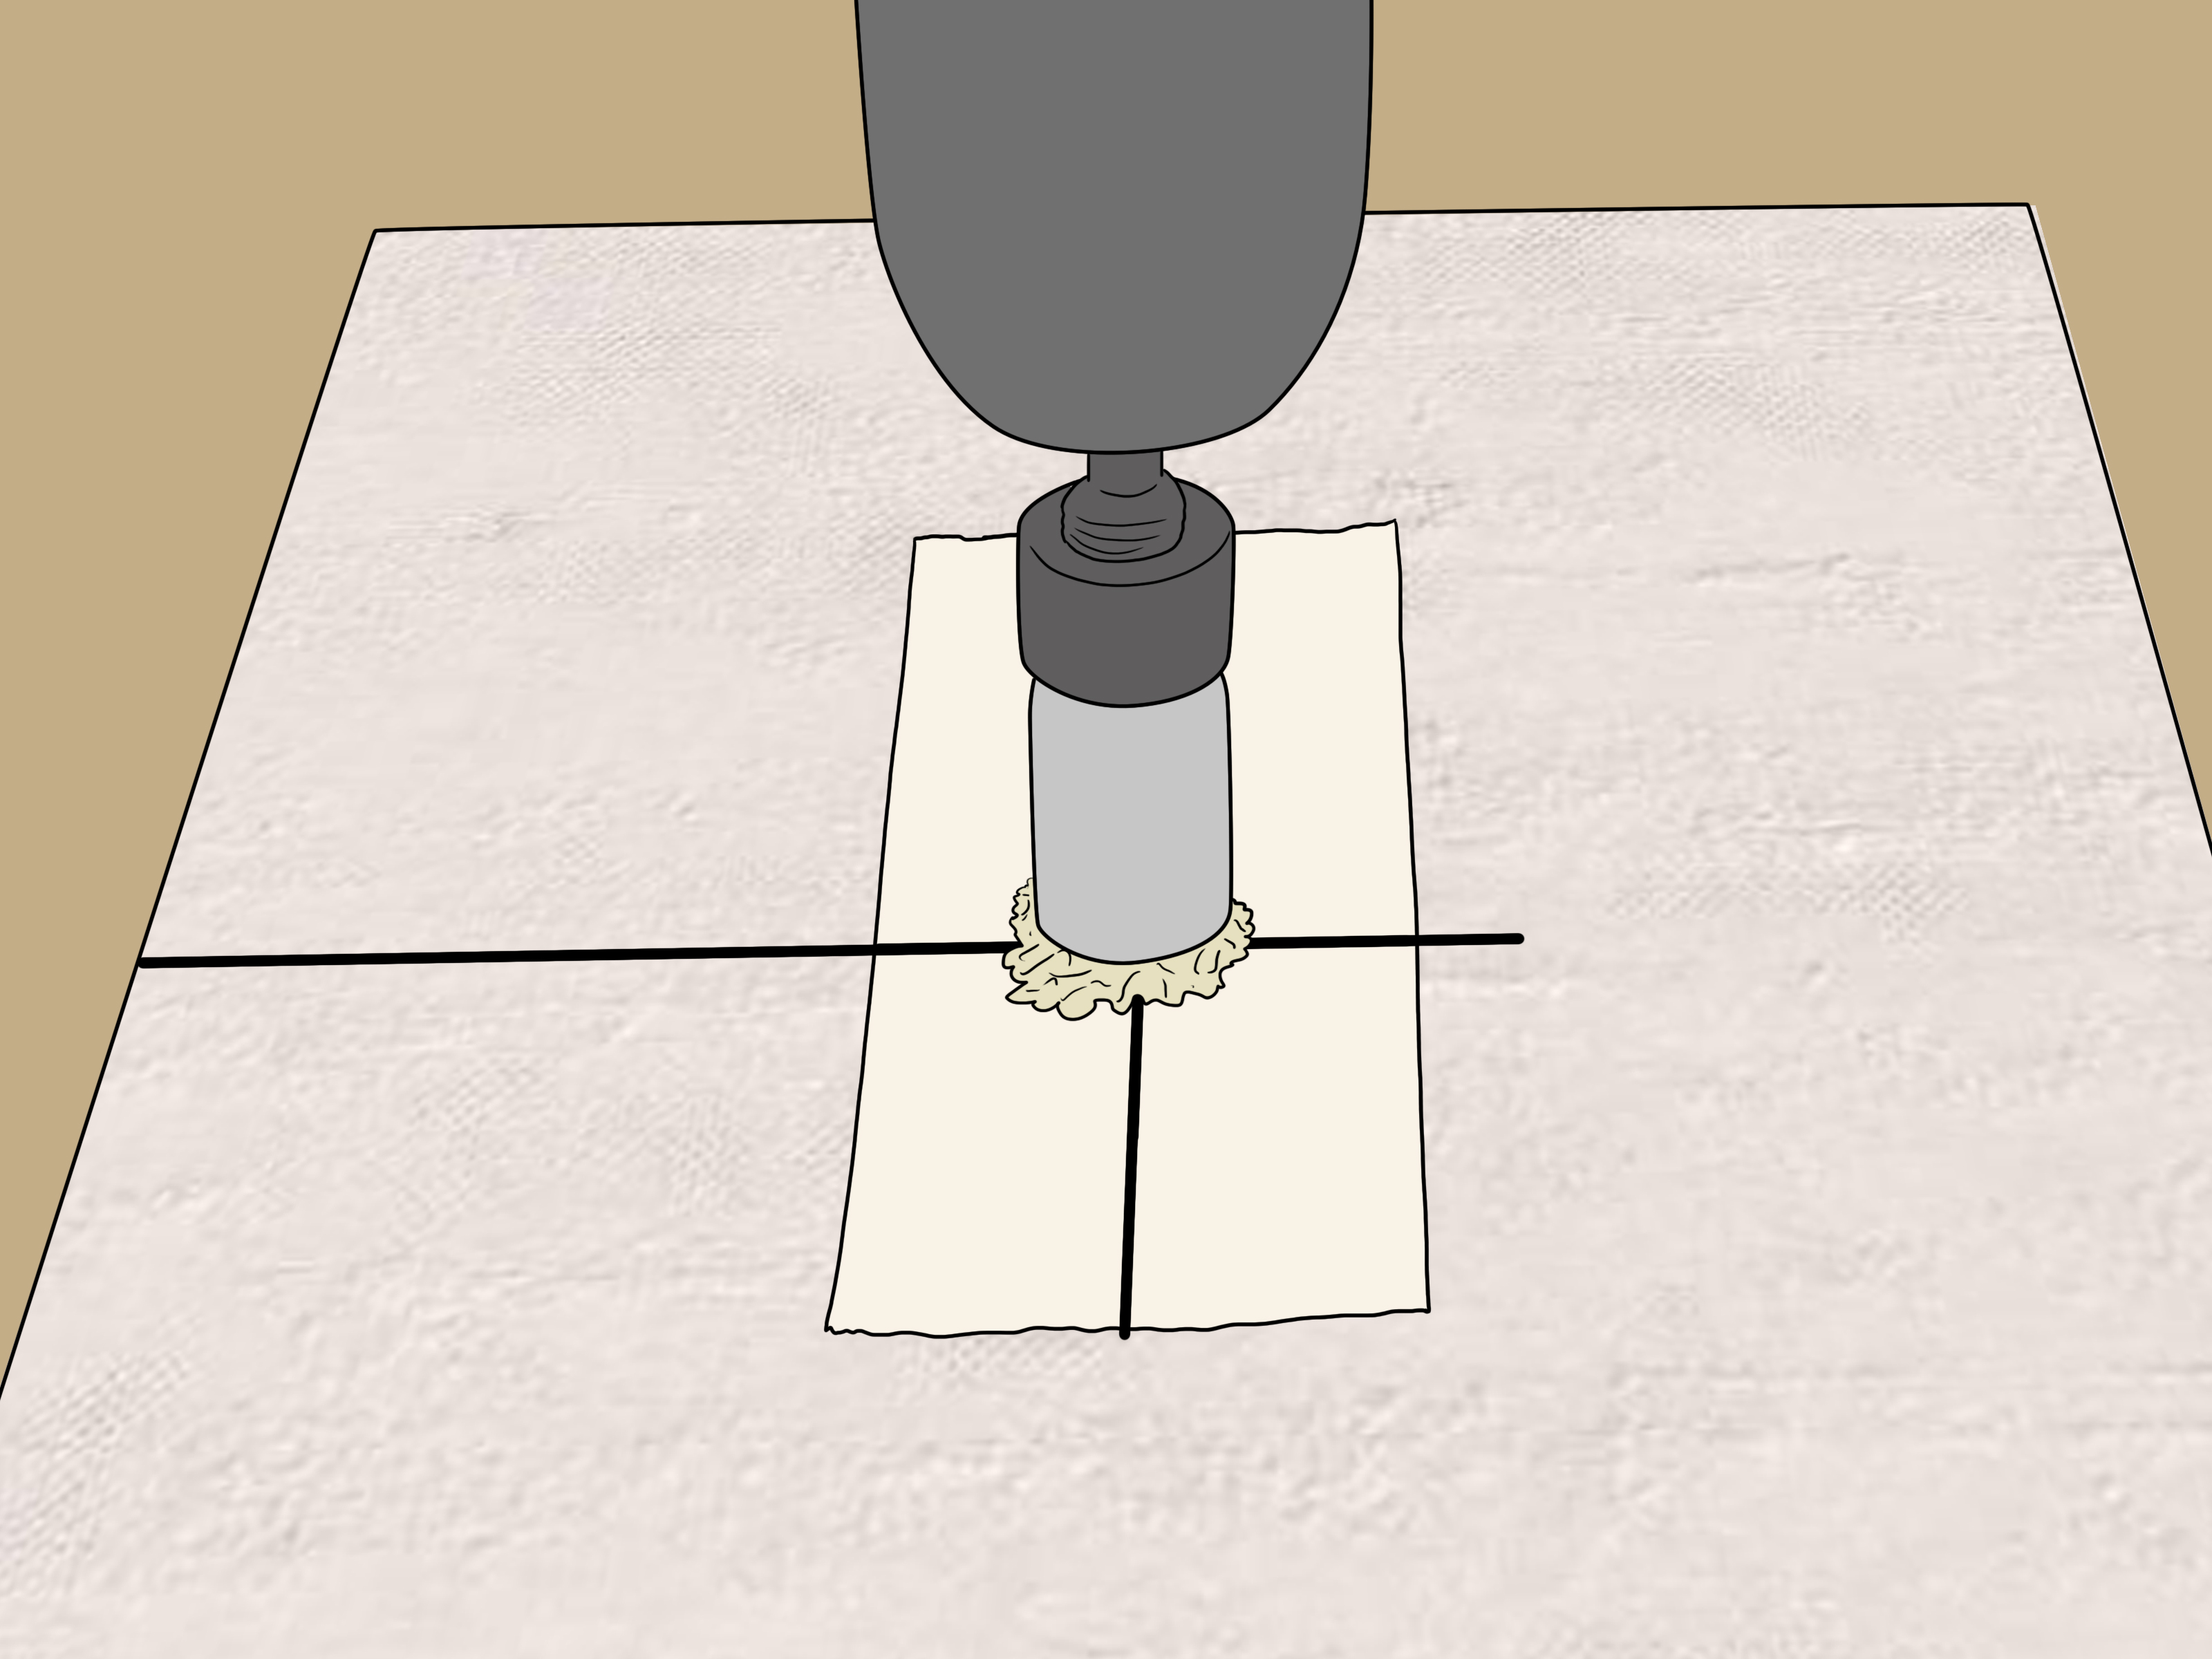
Cutting holes in tile for shower fixtures sounds like one of those jobs that should come with dramatic music, a slow-motion drill shot, and someone whispering, “Don’t crack it.” The good news? With the right tools, careful measuring, and a little patience, you can make clean openings for shower valves, tub spouts, shower arms, body sprays, handheld brackets, and accessory anchors without turning your beautiful tile into an expensive jigsaw puzzle.
This guide walks you through how to cut holes in tile for shower fixtures in 15 practical steps. It covers ceramic, porcelain, glass, stone, and marble tile; explains when to use a diamond hole saw, angle grinder, or tile bit; and shows how to keep the hole neat enough that the escutcheon plate covers it like nothing ever happened. Because in tile work, the best compliment is often, “Wait, where’s the mistake?”
Before You Start: Understand the Job
Shower fixture holes are not all the same. A small hole for a mounting screw is very different from a large opening for a mixing valve. Porcelain tile is harder than ceramic. Glass tile chips if you look at it with too much confidence. Natural stone may need extra support and gentle handling. The tool you choose should match the tile material, hole size, and whether the tile is already installed.
For most shower fixture work, a diamond hole saw is the cleanest option for round holes. For larger valve openings, an angle grinder with a diamond blade or a specialized large diamond core bit may be necessary. The secret is simple: measure twice, cut slowly, keep the bit cool, and never use hammer mode. Hammer mode is for masonry, not for your shiny new shower wall.
Tools and Materials You’ll Need
- Diamond hole saws in the correct sizes
- Variable-speed drill, preferably cordless when using water
- Angle grinder with diamond blade for large irregular openings
- Painter’s tape or masking tape
- Marker, pencil, or grease pencil
- Measuring tape and combination square
- Spray bottle, sponge, or water-cooling guide
- Safety glasses, gloves, hearing protection, and dust mask or respirator
- Scrap wood or foam board for backing loose tiles
- Tile file, rubbing stone, or diamond hand pad
- Fixture template or manufacturer’s trim plate
How to Cut Holes in Tile for Shower Fixtures: 15 Steps
Step 1: Identify the Tile Type
Start by confirming what kind of tile you are cutting. Ceramic tile is usually easier to drill than porcelain because porcelain is denser and harder. Glass tile requires a gentle touch and the right bit to reduce chipping. Natural stone, marble, and granite need diamond cutting tools and steady cooling. If you are unsure, treat the tile as hard porcelain and use a diamond bit. It is better to bring the right tool than to discover halfway through that your bit has given up and retired.
Step 2: Read the Fixture Instructions
Before marking anything, read the installation guide for the shower valve, shower arm, tub spout, body spray, or accessory you are installing. Manufacturers usually specify the required hole diameter or the acceptable opening range. The escutcheon plate often covers a larger area than the actual pipe or valve, but that does not mean you should cut casually. A hole that is too small may block access; a hole that is too large may show beyond the trim plate.
Step 3: Measure from Fixed Reference Points
Measure from reliable reference points such as the shower wall edge, tub deck, niche edge, or layout line. Do not measure from a loose tile spacer or a crooked framing member. Mark the center point of each fixture opening carefully. For a shower valve, check both horizontal and vertical placement. For a shower arm, make sure the hole lines up with the drop-ear elbow behind the wall. Tiny measuring errors become very visible once the tile is installed.
Step 4: Dry-Fit the Tile
If the tile is not yet installed, dry-fit it on the wall before cutting. Place it exactly where it will sit, including grout joint spacing. Transfer the fixture location to the tile surface. This step helps prevent the classic DIY tragedy: a perfectly cut hole in the wrong tile. Dry-fitting also lets you see whether the hole lands near an edge, corner, or narrow sliver, which may require extra care to avoid cracking.
Step 5: Apply Painter’s Tape
Put painter’s tape over the area where you will drill or cut. Tape makes the mark easier to see, helps reduce bit wandering, and can minimize surface scratches. On glossy tile, a drill bit can skate across the surface like it is auditioning for the Olympics. Tape gives the bit a little grip and gives you a cleaner starting point.
Step 6: Mark the Exact Hole Center and Diameter
Mark the center point clearly. For round holes, trace the outside diameter using the hole saw, fixture template, or trim requirement. For a large shower valve opening, trace the required circle or square. Make sure the mark represents the actual cut line, not just the decorative trim plate size. The escutcheon should cover the hole, but plumbing parts still need enough clearance for installation, adjustment, and future service.
Step 7: Choose the Correct Cutting Tool
Use a small carbide or diamond tile bit for screw-anchor holes in ceramic tile. Use a diamond hole saw for pipe openings, shower arms, tub spouts, handheld hose outlets, and body sprays. For porcelain, granite, marble, and glass, diamond is usually the safest choice. For a large mixing valve hole, use a large diamond hole saw if available, or make careful relief cuts with an angle grinder and diamond blade.
Step 8: Support Loose Tile Before Cutting
If you are cutting a tile before installation, place it on scrap wood, foam board, or another stable backing surface. Support the entire tile, especially near the hole location. Unsupported tile can flex, vibrate, and crack. For larger tiles, do not leave one side hanging off the workbench. Tile likes support. Tile does not like surprises.
Step 9: Keep the Bit Cool with Water
Diamond bits cut by grinding, not by tearing through the tile like a wood hole saw. Friction creates heat, and heat shortens bit life, increases dust, and can damage tile. Use a spray bottle, wet sponge, water reservoir guide, or frequent dipping to keep the cutting edge cool. When using water, a cordless drill is safer and more practical than a corded drill. Keep water controlled and away from electrical hazards.
Step 10: Start at a Slight Angle
For diamond hole saws without a center pilot bit, start the hole saw at a slight angle. Let one edge of the diamond rim bite into the tile first. Once it creates a shallow groove, slowly bring the drill upright until the hole saw is flat against the surface. This “lean-in” technique helps prevent the bit from wandering. Do not press hard. Let the diamond grit do the work.
Step 11: Drill Slowly and Steadily
Use low speed and light pressure. Fast drilling can overheat the bit and chip the tile. Keep the drill steady, pause often, and continue cooling the bit. If the bit stops cutting well, clean out the slurry and check for overheating. With porcelain, patience is not optional; it is part of the tool kit. The goal is a clean hole, not a speed record.
Step 12: Cut Large Valve Holes Carefully
For a shower mixing valve, the opening may be too large for a standard hole saw. If the tile is loose, you can use an angle grinder with a diamond blade to make small cuts inside the marked circle, then nibble away the waste. Stay inside the line and work slowly. If the tile is already installed, protect the surrounding tile and waterproofing, and avoid cutting deeper than necessary. The trim plate should cover the cut, but the waterproofing behind the tile still matters.
Step 13: Smooth the Edges
After cutting, smooth sharp edges with a rubbing stone, diamond hand pad, or tile file. Do not overwork the edge; just remove sharp points and minor chips. Smoothing helps the fixture sit properly and reduces stress points. It also protects your fingers from the tile equivalent of a paper cut, except less cute and more annoying.
Step 14: Test-Fit the Fixture
Before setting the tile permanently, test-fit the shower arm, valve sleeve, tub spout pipe, or accessory hardware. Make sure the hole has enough clearance and that the trim plate fully covers the opening. If the hole needs slight adjustment, make it before the tile is mortared in place. Once thinset cures, corrections become slower, messier, and far less entertaining.
Step 15: Seal, Install, and Finish Cleanly
Install the tile according to proper shower waterproofing and tile-setting practices. After grout cures, install the fixture trim. Use silicone sealant where required by the fixture manufacturer, especially around escutcheon plates and penetrations. Do not rely on tile alone as waterproofing. Tile and grout resist water, but the waterproofing system behind them is what protects the wall assembly.
Best Methods for Different Shower Fixture Holes
For Shower Arms
A shower arm usually needs a neat round hole large enough for the threaded pipe to pass through. A diamond hole saw around the appropriate diameter is often the best choice. The hole should be centered on the pipe and small enough that the escutcheon covers it completely.
For Mixing Valves
A shower valve often needs a larger opening so the cartridge, screws, plaster guard, and trim sleeve fit properly. Use the manufacturer’s plaster guard as a template. If cutting a large circle, make multiple small cuts and remove material gradually. Never guess the valve opening size based only on the trim plate.
For Tub Spouts
Tub spouts need a clean hole around the stub-out pipe. The pipe should project at the correct distance from the finished wall. Cut the tile hole slightly larger than the pipe, but not so large that the spout base fails to cover it.
For Grab Bars and Accessories
For grab bars, shelves, and shower brackets, the most important issue is structure behind the tile. Drill the tile carefully, but make sure fasteners reach blocking, studs, or approved anchors. A beautiful hole in tile is not useful if the accessory pulls loose later.
Common Mistakes to Avoid
The first mistake is using the wrong bit. Standard wood bits and general-purpose twist bits are not made for tile. They can skate, overheat, or crack the surface. The second mistake is drilling too fast. Speed feels productive, but tile rewards calm hands. The third mistake is skipping water or cooling, especially with porcelain. A hot bit cuts poorly and fails early.
Another common problem is measuring from the wrong reference point. Always account for grout joints and tile layout. Also avoid cutting too close to the edge of a tile when possible. If a fixture lands near a tile edge, consider adjusting the layout before installation. Finally, do not assume the escutcheon plate will hide everything. It hides a lot, but it is not a magic cape.
Safety Tips for Cutting Tile
Wear safety glasses whenever cutting or drilling tile. Small chips can fly unexpectedly. Use gloves when handling freshly cut tile, because the edges can be sharp. If you are dry cutting or grinding, use proper respiratory protection and control dust. Wet cutting helps reduce airborne dust, but slurry should be cleaned before it dries. Keep the work area well lit and stable, and never use hammer mode on finished tile.
When water is used near power tools, safety becomes even more important. A cordless drill is usually the better choice for wet drilling. Keep extension cords away from wet areas, and use ground-fault protection where applicable. If you are working in an existing shower wall, be mindful of hidden plumbing, electrical lines, waterproofing membranes, and backer board.
Pro Tips for Cleaner Tile Holes
Use a drill guide or make a simple guide from scrap wood with a hole drilled through it. This keeps the hole saw steady at the start. For expensive tile, practice on a spare piece first. A practice hole teaches you how the tile behaves before the real cut. If you are cutting glass tile, place the finished side up and use extra cooling. If the tile chips slightly, check whether the trim covers it before panicking. Panic is rarely a useful tile tool.
For large-format porcelain, keep vibration low. Set the tile on a flat surface, support it fully, and avoid forcing the cut. For installed tile, start gently and let the bit create its path. If drilling through tile into backer board, stop once you pass through the tile and switch bits if needed. Using a diamond bit to chew through framing or cement board is a good way to wear out an expensive tool for no good reason.
Field Experience: What Cutting Shower Fixture Holes Teaches You
After cutting a few holes in shower tile, you quickly learn that the hardest part is not always the cutting. It is the thinking before the cutting. The drill only follows the mark you give it, and if the mark is wrong, the drill will be extremely loyal to your mistake. That is why experienced tile setters spend so much time checking the layout, holding the tile in position, comparing it to the plumbing, and confirming that the trim plate will cover the final opening.
One of the best real-world habits is to keep the actual fixture trim nearby while working. Not just the instruction sheet. Not just a measurement scribbled on cardboard. The real escutcheon, sleeve, shower arm flange, or spout base tells you what the finished wall needs to look like. Many people cut a hole that technically clears the pipe but forget that the trim has screws, tabs, seals, or alignment marks. A quick test-fit can save a lot of colorful language later.
Another lesson is that water is your friend, but uncontrolled water is not. A small spray bottle, damp sponge, or water-cooling cup can keep the bit cool without flooding the work area. The sound of the bit also tells a story. A smooth grinding sound usually means the bit is cutting properly. A squeal, burning smell, or sudden slowdown means you should stop, cool the bit, clean out the slurry, and continue more gently.
Patience matters most with porcelain. Porcelain tile can look innocent, but it is dense, hard, and stubborn. If you push too hard, you may crack the tile near the end of the cut. If you rush, the edge may chip. The better approach is slow pressure, steady cooling, and small pauses. Let the diamond rim grind its way through. It may feel slow, but replacing one cracked tile takes much longer than drilling one careful hole.
Large valve openings teach a different lesson: hidden cuts do not have to be beautiful, but they do have to be controlled. The escutcheon may hide the edge, yet the opening still needs to be the right size and shape. Cut inside the line, remove small sections, and test-fit often. You can always enlarge a hole slightly. You cannot easily make it smaller unless you own a time machine, and unfortunately, most hardware stores still do not stock those.
Finally, clean work makes better work. Wipe slurry before it dries. Label tiles if several fixtures are involved. Keep spare tile nearby. Take photos of plumbing locations before the wall is closed. These small habits turn a stressful job into a manageable one. Cutting holes in tile for shower fixtures is not about brute force. It is about layout, control, cooling, and confidence. Once you understand that, the job becomes far less scaryand your shower wall gets to remain in one piece.
Conclusion
Learning how to cut holes in tile for shower fixtures is a valuable DIY skill because shower walls leave very little room for guesswork. The process depends on careful measuring, the right bit, steady cooling, and a slow cutting pace. Whether you are opening tile for a shower valve, tub spout, shower arm, body spray, or accessory bracket, the principle is the same: plan the hole before touching the drill, support the tile, cut gently, and test-fit before final installation.
A clean fixture hole does more than look professional. It helps the trim sit flat, keeps plumbing accessible, and protects the surrounding tile from stress. With diamond tools, painter’s tape, water cooling, and a patient hand, you can get results that look polished instead of patched. In other words, your tile does not need to know you were nervous.
Note: This guide is for general educational DIY use. Always follow the instructions provided by your tile, tool, waterproofing, and shower fixture manufacturers. For structural plumbing changes, waterproofing uncertainty, or expensive tile installations, consult a qualified professional.













