
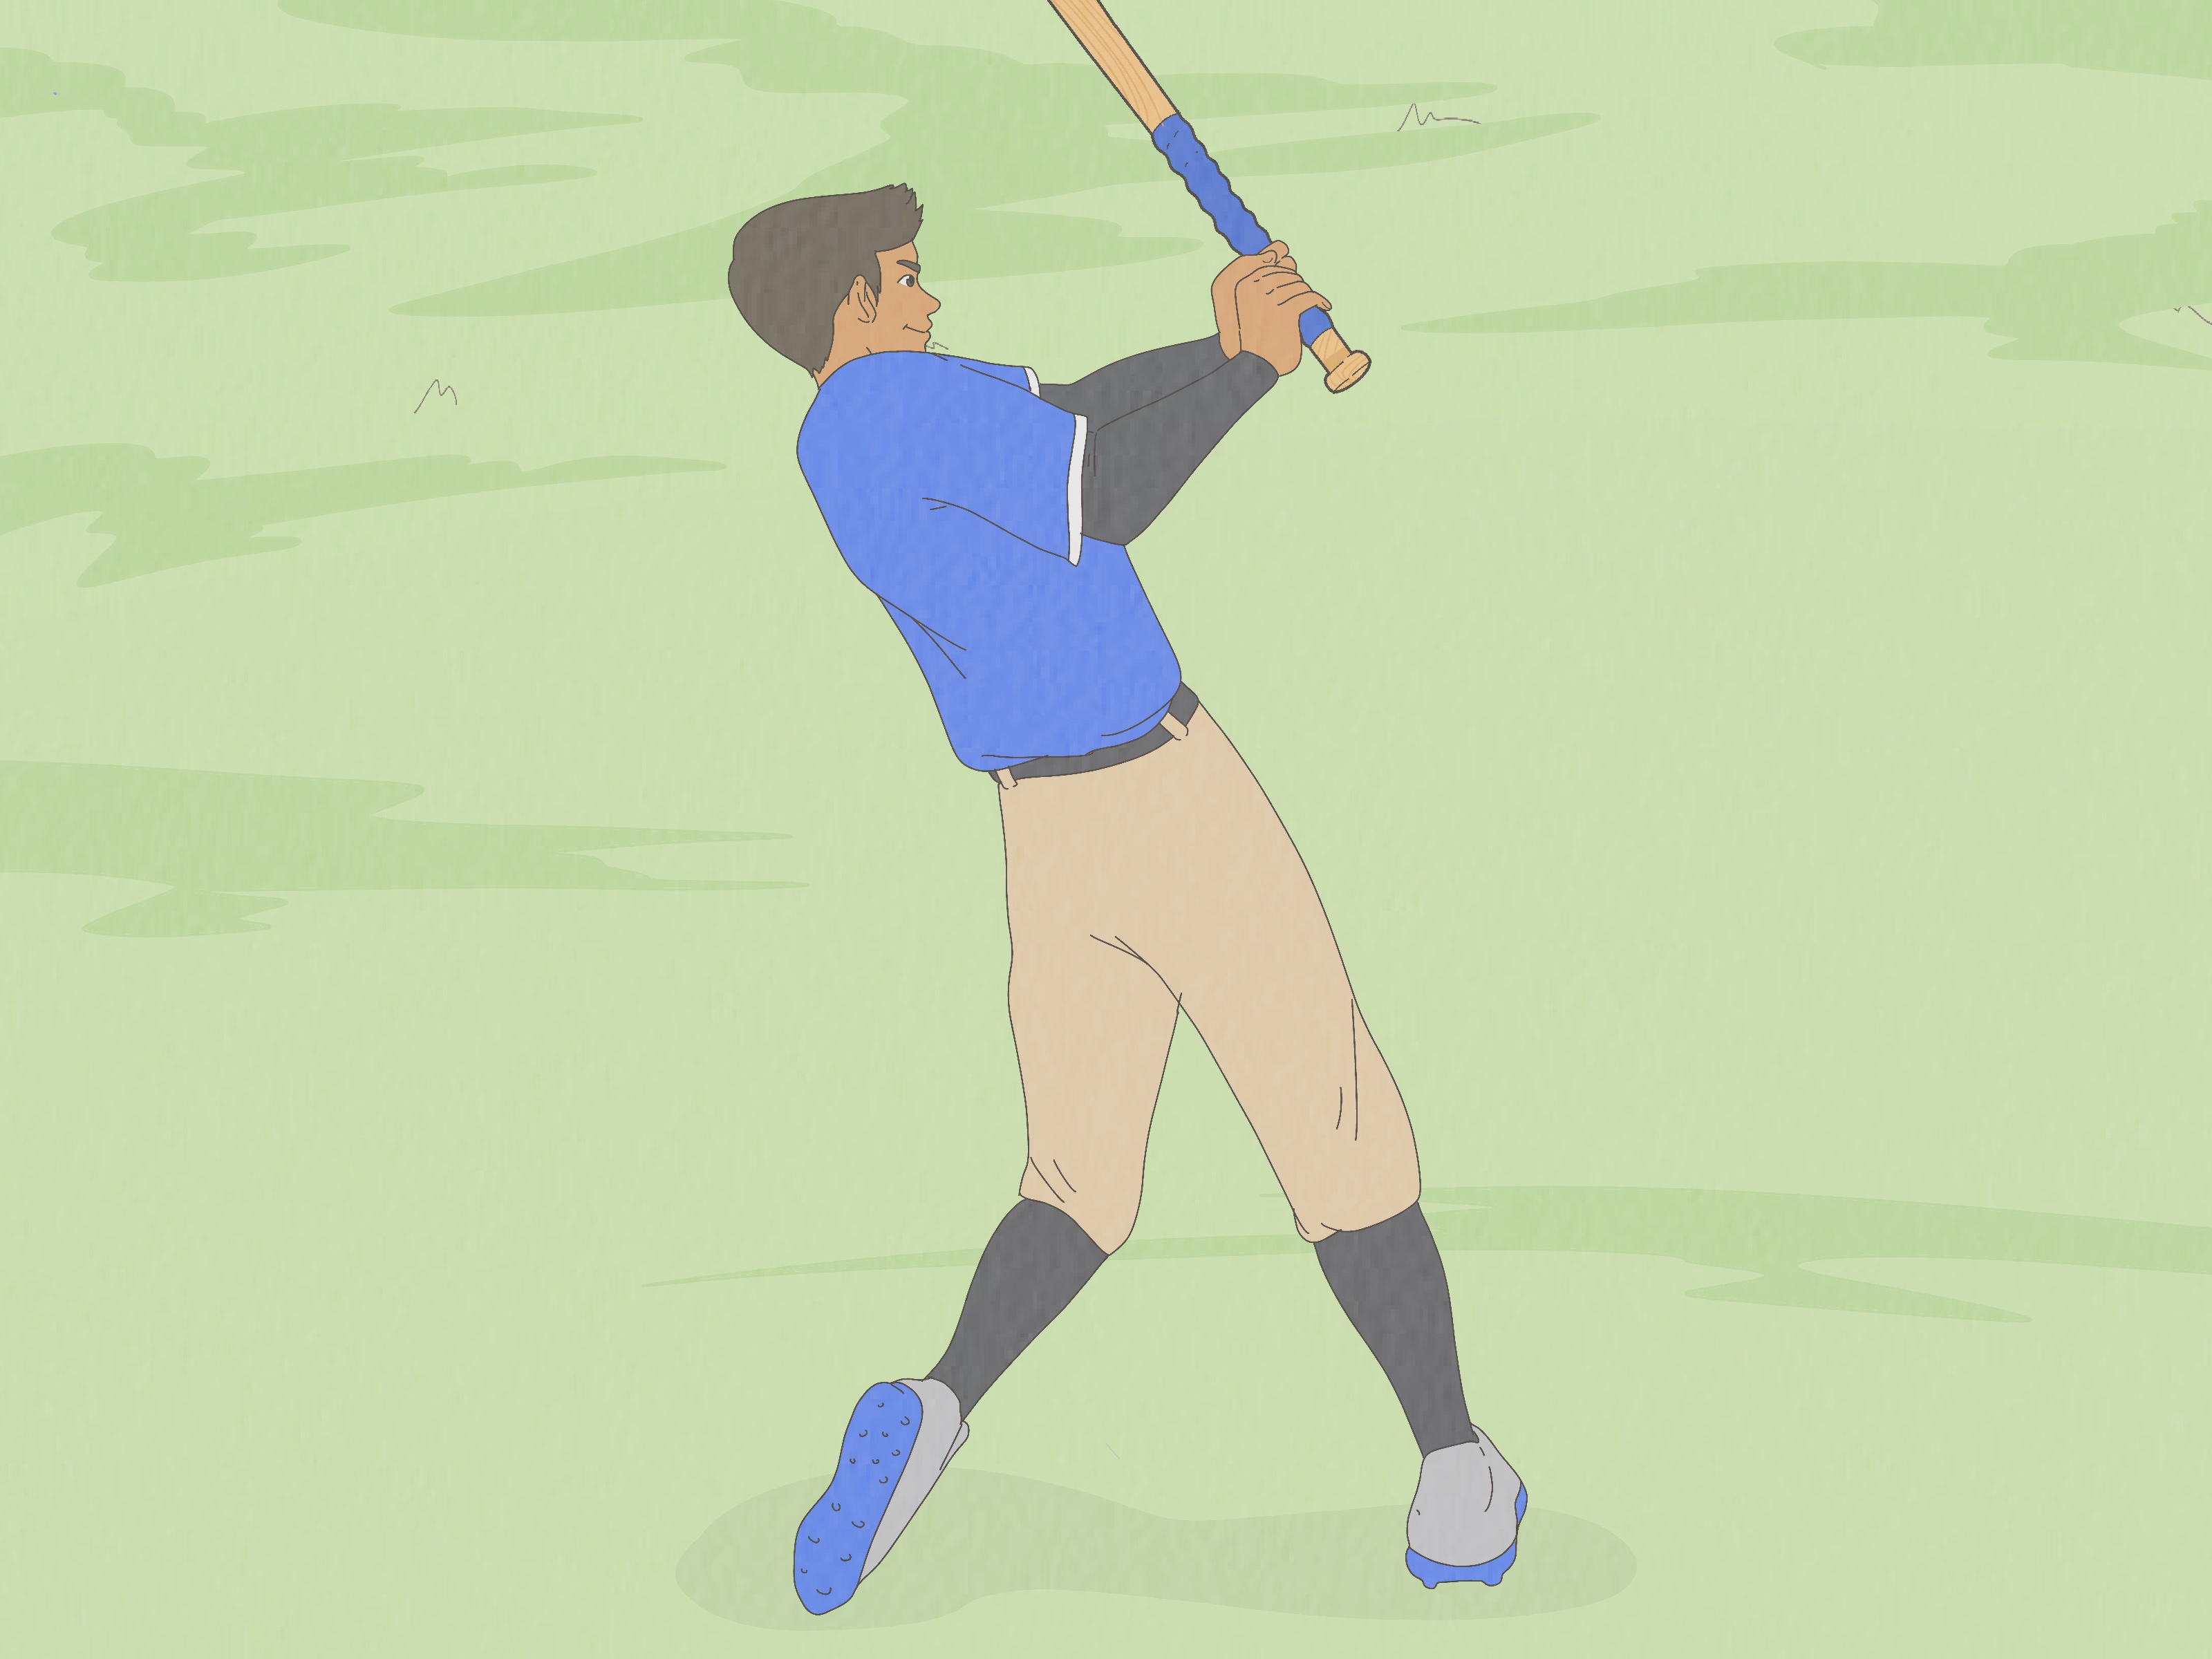
A good baseball swing begins before the pitcher moves, before the front foot lands, and even before the batter starts worrying about launch angle. It begins with the hands. Learning how to grip uick through the hitting zone, and avoid turning every swing into a white-knuckle wrestling match.
The ideal baseball bat grip is secure without being stiff. The handle rests mainly across the fingers rather than disappearing deep into the palms. The hands work together, the wrists remain mobile, and the bat feels like an athletic tool instead of a telephone pole borrowed from a utility crew. oper Baseball Bat Grip Matters
Your grip is the connection between your body and the barrel. When that connection is too tight, tension can travel into the forearms, shoulders, and upper body. When it is too loose or poorly positioned, the bat may shift during the swing. A functional grip balances control and freedom: enough pressure to keep the bat stable, but enough relaxation to let the wrists and hands move naturally.
There is no single hand position that every successful hitter must copy perfectly. Players have different hand sizes, bat models, swing patterns, and comfort preferences. Still, effective grips share several features: the bat sits near the base of the fingers, the hands are stacked without a large gap, the wrists are not forced into an awkward position, and the hitter can move the barrel without excessive strain.
How to Grip a Baseball Bat in 15 Steps
1. Choose a Bat You Can Control
Before adjusting your fingers, make sure the bat is not too long, too heavy, or too end-loaded for you. Hold it near the knob and extend it in front of your body for a few seconds. If the barrel immediately drops, your shoulder rises, or your wrist shakes like it just received surprising news, try a lighter or better-balanced model.
Proper baseball bat grip mechanics are difficult to learn when the equipment overpowers the hitter. Bat length, weight distribution, handle design, and overall moment of inertia all affect how easily the barrel can be accelerated and controlled. y Your Bottom and Top Hands
For a right-handed batter, the left hand is the bottom hand and the right hand is the top hand. For a left-handed batter, the order reverses.
The bottom hand helps establish the bat’s path and connection, while the top hand supports barrel control through the swing. They should cooperate rather than compete for custody of the bat.
3. Position the Knob Near the Bottom Hand
Place the knob close to the heel pad of your bottom hand, but do not bury it painfully against the wrist. Most beginners should keep the pinky immediately above the knob with all five fingers securely on the handle.
Some experienced hitters allow the pinky to overlap the knob or hang slightly below it. That variation can lengthen the effective lever, but it should be tested carefully rather than copied simply because a favorite professional player does it.
4. Lay the Handle Across the Base of Your Fingers
Open your bottom hand and place the handle diagonally across the pads where the fingers meet the palm. Curl the fingers around it without allowing the handle to settle deep in the center of the palm.
Holding the bat closer to the fingers generally gives the wrists more freedom and helps the hitter control the barrel without squeezing unnecessarily. Imagine carrying a hammer rather than palming a basketball. e Bottom-Hand Fingers Naturally
Close the bottom hand around the handle. The fingers should wrap completely, while the thumb rests comfortably along the side of the index finger.
Do not stretch the thumb straight down the bat or tuck it underneath the handle. Both positions can create discomfort and may restrict natural wrist movement.
6. Stack the Top Hand Above the Bottom Hand
Place the top hand directly above the bottom hand so the top-hand pinky touches or nearly touches the bottom-hand index finger.
A standard hitting grip does not leave a large gap between the hands. Keeping them together helps the hands function as one unit and reduces unnecessary barrel movement during the load and swing.
7. Keep the Handle in the Top-Hand Fingers
Use the same finger-based placement with the top hand. Let the handle cross the lower finger pads rather than sink deeply into the palm.
Hitters frequently squeeze too hard with the top hand. That can make the wrists feel locked and encourage the barrel to push away from the body. The top hand should support the swing without attempting to overpower it.
8. Check Your Knuckle Alignment
Look at the middle knucklesthe ones you would use to knock on a door. For many beginners, lining these knuckles up in a reasonably straight line creates a neutral grip.
A slight offset is also common and may feel more natural. Avoid rotating the hands so far that the elbows flare dramatically, the handle becomes trapped in the palms, or either wrist feels twisted. Knuckle alignment is a checkpoint, not a courtroom sentence. axed Grip Pressure
Hold the bat securely, but do not squeeze at maximum effort while waiting for the pitch. Your forearms should feel active yet relaxed, and your fingers should not ache after a handful of practice swings.
Grip pressure naturally increases as the swing accelerates and the bat approaches contact. Beginning with relaxed hands helps preserve rhythm, adjustability, and freedom of movement. Think “firm enough to control,” not “tight enough to leave fingerprints in aluminum.”
10. Check Your Wrists and Forearms
Raise the bat into your normal stance and notice how the wrists feel. They should be able to hinge and move without pain or major restriction.
The forearms do not have to be perfectly parallel, but the grip should let the elbows rest in athletic positions. If the back elbow is forced unusually high or the front arm becomes rigid, reset the hands before rebuilding the entire stance.
11. Try the Barrel-to-Ground Test
Take your normal grip, hold the bat upright, and slowly lower the barrel toward the ground in front of you. Maintain the same hand position throughout the movement.
If the bat is supported mainly by the fingers, the wrists should move without the handle rolling into the deep palms. Perform this drill slowly and in a clear area. Explaining a broken lamp as “advanced hitting research” rarely impresses anyone.
12. Make Five Controlled Dry Swings
Wear a batting helmet and confirm that no person or object is within the bat’s path. Take five swings at approximately half speed.
Pay attention to whether the handle remains stable, the hands stay connected, and the barrel moves freely. A proper baseball bat grip should feel repeatable. If you must rebuild it halfway through every swing, something is misplaced or the handle may not suit your hands.
13. Test the Grip on a Batting Tee
Place a ball on a tee slightly in front of your body and take controlled swings. Concentrate on consistent barrel contact rather than how far the ball travels.
Do not blame every mishit on your hands. Contact near the handle can also result from standing too close to the plate, while end-cap contact may come from poor plate coverage. Your immediate grip-related question is whether the bat shifted, rolled, or slipped during the swing.
14. Learn When to Choke Up
Choking up means moving both hands approximately one or two inches above the knob. This shortens the effective lever and can make the bat easier to accelerate and control.
It may help with two strikes, against higher velocity, or whenever the bat feels slightly difficult to handle. The trade-off is reduced reach and potentially less maximum barrel speed. Keep the hands stacked and maintain the same finger-based grip after moving them upward.
Testing performed by Driveline Baseball found that choked-up grips produced greater rotational acceleration and a quicker time to contact than longer grip positions, although normal and pinky-off grips produced slightly higher average bat speeds in that study. alize the Grip Carefully
Once you can repeat a neutral grip, experiment with small adjustments. You may prefer slightly offset knuckles, a thinner wrap, additional cushioning, batting gloves, or a modest choke-up.
Specialized handles, flared knobs, thumb guards, and pinky-off grips can also change how the bat feels. Make only one adjustment at a time and evaluate it through tee work, front toss, and live batting practice. Comfort matters, but the grip should still produce control, freedom, and repeatable contact.
Common Baseball Bat Grip Mistakes
Holding the Bat Too Deep in the Palms
A palm-heavy grip can restrict the wrists and make the swing feel pushy. Reset by opening both hands, laying the handle across the lower finger pads, and wrapping the fingers naturally.
Squeezing at Maximum Effort
Overgripping creates tension before the swing has even started. It may slow adjustments and fatigue the hands and forearms during a long practice. Keep the hands calm while tracking the pitch and let pressure increase naturally during acceleration.
Forcing Perfect Knuckle Alignment
Some instruction treats one exact knuckle line as mandatory. A neutral line or small offset can both work. If forcing the alignment causes discomfort, separates the elbows, or twists the wrists, return to a more natural position.
Using a Worn or Slippery Handle
A slick handle encourages the hitter to squeeze harder. Replace torn grip tape, dry wet equipment, and choose a wrap thickness that fits your hands.
Batting gloves and modern grip materials can improve traction, cushioning, feel, and vibration absorption. However, batting gloves should fit snugly because loose material may bunch between the hand and handle. eague Equipment Rules
Grip materials and adhesive substances are not governed identically at every level. Some youth organizations restrict sticky substances that are commonly seen in professional baseball.
Check your league’s current rules before applying pine tar, unusual tape, knob attachments, or other modifications. Little League Baseball, for example, prohibits pine tar and requires approved grip materials on non-wood bats. le Drills for a Better Bat Grip
The Finger-Line Reset
Open both hands, place the bat across the lower finger pads, wrap the bottom hand, and stack the top hand. Repeat the setup 10 times without swinging. The goal is to make the correct hand placement automatic.
The Tension Scale Drill
Take one dry swing while gripping extremely tightly, another with an overly loose grip, and a third using comfortable middle pressure. The exaggerated contrast teaches you to recognize unnecessary tension. The middle swing will usually feel smoother and easier to control.
The Choke-Up Comparison
Hit five balls from a tee with your normal grip and five while choked up one inch. Compare contact quality, timing, control, and effort. Do not judge the drill only by distance.
Practical Experiences From Learning a Better Bat Grip
The Beginner Who Tried to Strangle the Bat
A common first practice looks like this: a young hitter steps into the cage, squeezes the bat as hard as possible, and swings with every muscle from the eyebrows down. The result is often a late, stiff swing followed by a puzzled look at the bat, as though the equipment has personally betrayed the hitter.
When that player loosens the hands and moves the handle toward the fingers, the first improvement may not be a towering home run. It is usually something quieter and more valuable: the barrel becomes easier to start, the swing feels less exhausting, and the player can make a small timing adjustment after the ball leaves the coach’s hand.
Better hitting frequently begins with less visible effort. A relaxed grip does not mean a lazy swing. It means removing tension that contributes nothing useful to the movement.
The Player Using a Bat That Is Too Heavy
Another familiar experience involves a hitter copying an older teammate’s bat. The player can technically lift it, so everyone assumes the size is acceptable. During batting practice, however, the hands slide, the back shoulder drops, and the grip tightens with every pitch.
No amount of knuckle adjustment fixes the real problem: the bat is controlling the player.
Switching to a lighter or more balanced model can make the proper grip feel natural almost immediately. The player no longer needs maximum hand pressure just to keep the barrel upright. This demonstrates why mechanics and equipment must work together.
Teaching relaxed hands with an unmanageable bat is like teaching someone to whisper while a marching band practices nearby. The instruction may be correct, but the circumstances are not helping.
The Two-Strike Choke-Up Discovery
Many hitters resist choking up because it looks less powerful. Then they try it against faster pitching and discover that moving the hands only an inch can make the barrel noticeably easier to control.
The hitter may foul off a difficult pitch, reach an outside strike, or put a ball in play that previously would have produced a late swing. The adjustment does not guarantee contact, but it can provide valuable fractions of a second.
The lesson is not that everyone should choke up all the time. Grip position is a tactical choice. A normal position provides a longer lever, while a choked-up position can offer quicker acceleration and improved control. Experienced hitters select the option based on the count, pitcher, bat, and game situation.
The Knuckle-Alignment Overcorrection
Some players hear “line up the knuckles” and rotate their hands until the position looks perfect from a coach’s viewing angle. Unfortunately, their wrists feel uncomfortable and the elbows flare apart.
Once those hitters allow a slight natural offset, the stance relaxes and the swing may improve. The checkpoint was useful; the obsession was not.
Hitting instruction should guide athletic movement rather than turn players into mannequins. A grip must function at game speed. If it looks textbook while the hitter is standing still but collapses against a real pitch, it is not doing its job.
The Day Fresh Grip Tape Solved a “Mechanical” Problem
Sometimes the breakthrough costs less than lunch. A hitter may spend several practices squeezing harder because an old handle has become polished, damp, torn, or slick with sweat.
Replacing the wrapor wearing properly fitted batting glovescan restore traction and allow the hands to relax. Suddenly, the bat stops turning at contact and a supposed mechanical flaw disappears.
The practical takeaway is simple: inspect the equipment before rebuilding the swing. Check the handle surface, batting-glove fit, wrap thickness, and knob comfort. Then return to the fundamentals: fingers around the handle, hands stacked, wrists comfortable, and pressure controlled.
Good hitters make sophisticated adjustments, but they also notice when the tape is falling off.
Conclusion
Learning how to grip a baseball bat is not about squeezing harder or copying a professional hitter’s quirkiest habit. Start with a manageable bat, place the handle across the base of the fingers, stack the hands, use neutral or slightly offset knuckle alignment, and keep the grip relaxed before the swing.
Test the setup with dry swings, tee work, front toss, and live batting practice. Make small adjustments based on comfort, barrel control, and repeatable contact rather than judging the grip from one lucky home run.
The correct baseball bat grip should help you control the barrel without locking the wrists or exhausting the forearms. Build the fundamentals first, personalize second, and remember that a bat is designed to be swungnot interrogated.
Research note: This guide synthesizes instructional and equipment guidance from MLB, USA Baseball, Little League, DICK’S Sporting Goods, Driveline Baseball, Marucci, WIN Reality, BaseballMonkey, The Hitting Vault, Axe Bat, Rawlings/Easton, Bat Digest, and related American baseball-development resources. “>













