Car batteries are a little like houseplants with anger issues: ignore them too long, and they will absolutely ruin your day. One minute you are ready to leave for work, school, or a weekend trip. The next minute you are sitting in the driveway listening to a sad clicking noise and rethinking every life choice that brought you here.
The good news is that car battery maintenance is not mysterious, expensive, or reserved for people who own ten wrenches and say things like “torque spec” for fun. A few smart habits can help your battery last longer, start more reliably in hot or cold weather, and save you from surprise breakdowns. The trick is knowing what actually matters.
This guide walks through 11 practical steps to maintain a car battery, plus a longer section of real-world experience and lessons that make the advice easier to remember. It is written for everyday drivers, not professional mechanics. And one important safety note before we start: if the battery is cracked, leaking, swollen, smoking, or part of a hybrid or EV high-voltage system, stop right there and let a professional handle it.
Why car battery maintenance matters
Your battery does more than crank the engine. It helps power lights, electronics, sensors, and starting systems, and it works together with the alternator and charging system to keep the vehicle running normally. Heat, cold, vibration, corrosion, short trips, and long periods of sitting can all shorten battery life. That means a battery can look fine from the outside while quietly plotting against your schedule.
Routine maintenance helps you catch trouble early. It also improves charging efficiency, protects electrical connections, and reduces the odds of being stranded in a parking lot explaining to your car why betrayal hurts.
How to maintain car batteries: 11 steps
Step 1: Read the owner’s manual before you do anything
Not all car batteries are treated the same. Some are traditional flooded lead-acid batteries. Others are AGM batteries. Most newer vehicles use maintenance-free batteries, which usually means you should not open the caps or add water under normal use. Your owner’s manual tells you what battery type your vehicle uses, where it is located, and whether there are any special procedures for service or replacement.
This step sounds boring, but it can save you from making the classic DIY mistake: confidently doing the wrong thing. If your battery sits under a cover, in the trunk, under a seat, or in a hard-to-reach compartment, the manual is your map.
Step 2: Put safety first every single time
Before inspecting the battery, turn the engine off, remove the key, and let hot engine parts cool down. Wear eye protection and gloves if you are cleaning corrosion or touching battery hardware. Avoid sparks, cigarettes, and open flames near the battery. Battery acid is corrosive, and lead-acid batteries can release explosive gas under certain conditions.
If you see a bulging case, cracks, leaking fluid, or a strong rotten-egg smell, do not keep poking around. That is your cue to back away and get professional help. Also, do not try to service high-voltage battery components in a hybrid or electric vehicle. That is not beginner territory.
Step 3: Inspect the battery case and terminals once a month
Open the hood and actually look at the battery. This quick visual inspection is one of the easiest ways to prevent trouble. Check for:
- White, green, or blue corrosion around the terminals
- Loose or frayed battery cables
- Dirt, grease, or moisture on top of the battery case
- Cracks, swelling, or leaks
- A battery that looks tilted or not fully secured
Think of this as a one-minute health check. A clean, dry battery with tight connections is a happy battery. A fuzzy, crusty, wobbly one is basically sending you a warning email.
Step 4: Clean corrosion before it becomes a bigger problem
Battery terminal corrosion interferes with electrical flow. That means harder starts, poor charging, and more strain on the battery and alternator. If you catch corrosion early, cleaning it is usually simple.
For light corrosion, disconnect the battery the safe way if your vehicle allows it, generally removing the negative terminal first and reconnecting it last. Then clean the terminal area with a soft brush and a small amount of baking soda mixed with water, or use a battery-cleaning product approved for automotive use. Wipe everything dry when finished.
Do not go wild with random household chemicals, and do not let liquid pool on the battery. If corrosion is heavy, the clamps are badly damaged, or the cables look deteriorated, it is smarter to have the system serviced professionally.
Step 5: Keep connections tight, but do not overtighten them
Loose terminals can cause all sorts of confusing issues: slow cranking, intermittent electrical gremlins, dim lights, and charging problems. After cleaning, make sure the terminals fit snugly and the cable ends are not loose. At the same time, do not treat the clamp bolts like you are trying to win an arm-wrestling contest. Overtightening can damage the terminals or battery posts.
If your vehicle has repeated starting issues even after you tighten the connections, the problem may be deeper than the battery alone. A weak alternator, parasitic drain, or damaged cable can mimic battery trouble.
Step 6: Make sure the battery is secured properly
A battery should not slide, rattle, or bounce around. The hold-down bracket or clamp matters more than many drivers realize. Excess vibration can damage internal battery components and shorten lifespan. That is especially true on rough roads, in trucks and SUVs, or in cars that see lots of stop-and-go city driving.
Give the battery a gentle check. If it moves around, the hold-down needs attention. A secure battery is not glamorous, but neither is buying a replacement early because your battery spent a year doing tiny earthquakes under the hood.
Step 7: Drive often enough to keep the battery charged
Short trips are sneaky battery killers. If you mostly drive five or ten minutes at a time, the battery may not fully recharge between starts, especially in cold weather or when you use heaters, defrosters, lights, and infotainment systems. Cars that sit for long periods can also lose charge slowly.
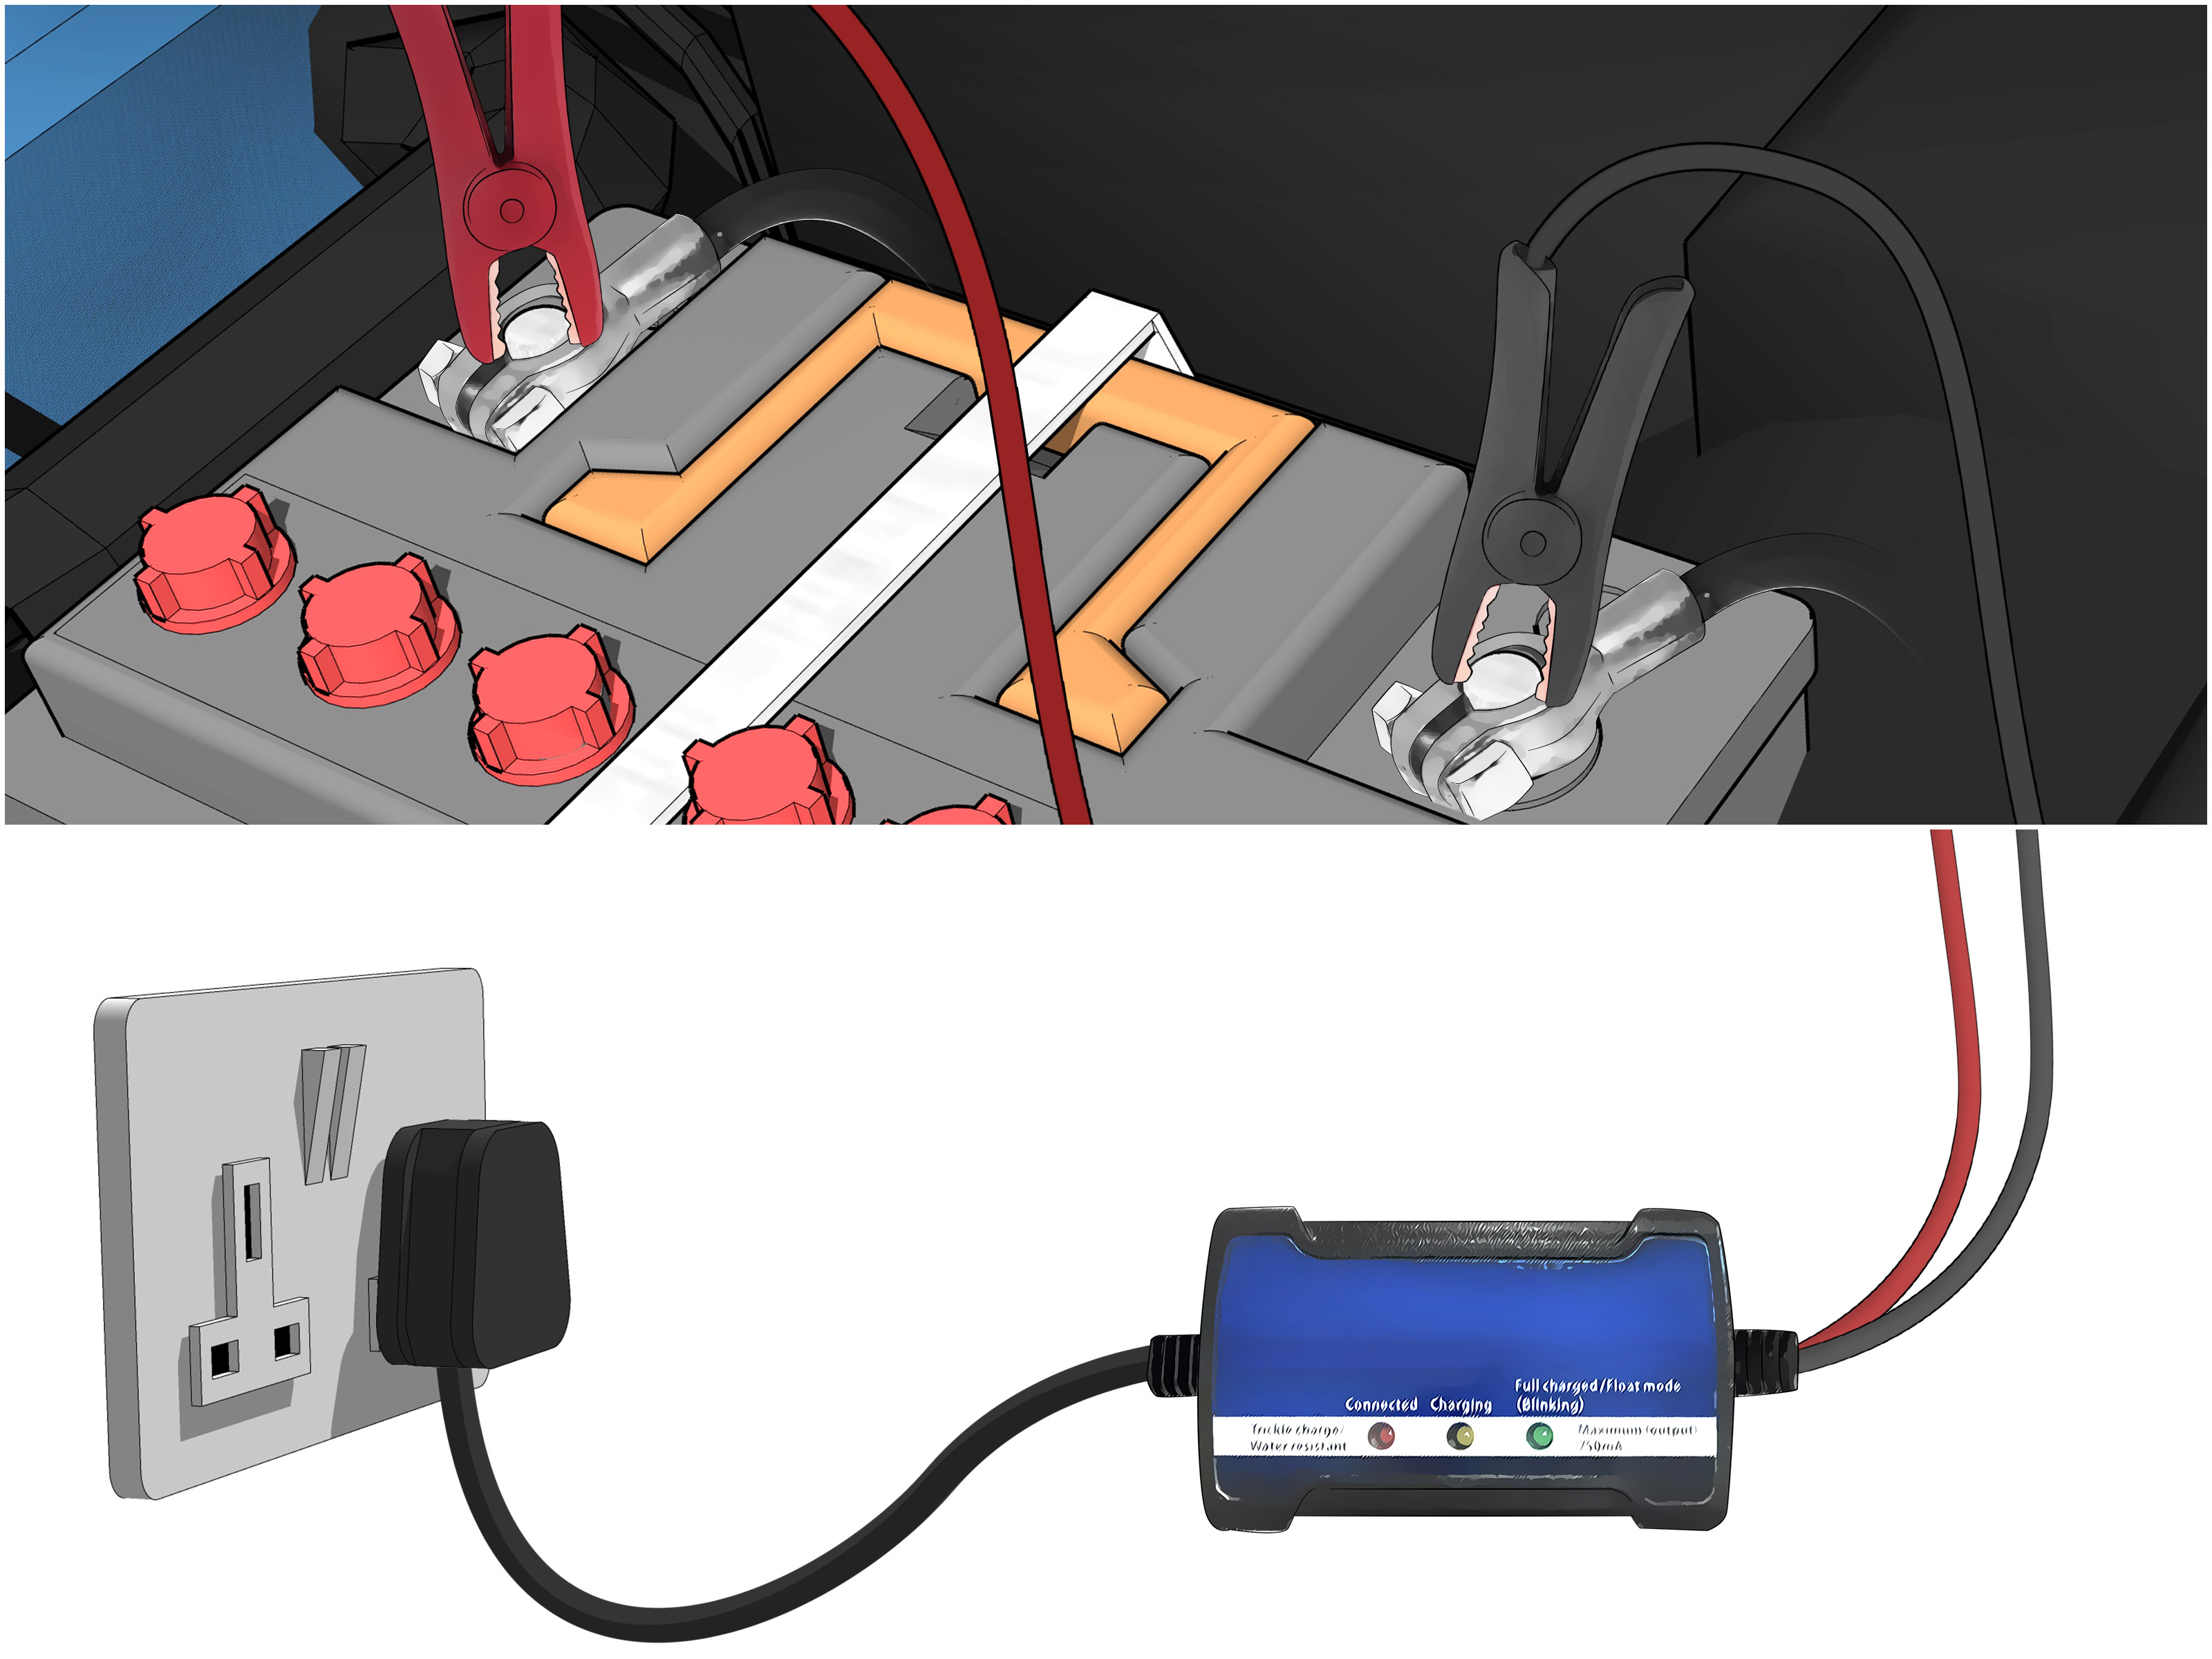
Try to give the vehicle a longer drive regularly instead of only short errands. If the car will sit for weeks, use a smart battery maintainer rather than hoping it will somehow stay perfect through vibes alone. This is especially helpful for second cars, project cars, seasonal vehicles, and garage queens that only leave the house when the weather and your mood are both ideal.
Step 8: Protect the battery from heat and cold
Many people blame winter for dead batteries, but summer heat often does the deeper damage. Heat accelerates internal wear and can evaporate liquid in some battery designs. Then winter shows up and exposes the weakness when starting demands go up. In other words, summer writes the problem and winter delivers it.
Whenever possible, park in a garage or shaded area during extreme heat. In cold weather, keep the battery fully charged because a charged battery handles freezing temperatures better than a weak one. If you live somewhere with severe winters or very hot summers, battery testing becomes even more important.
Step 9: Test the battery before the seasons test you
Do not wait for a dead battery to introduce itself. Have the battery and charging system tested periodically, especially before summer and winter, or once the battery is a few years old. Many auto service centers and parts stores can do this quickly.
Testing is useful because battery failure is not always dramatic. Sometimes the battery still starts the car, just a little slower each week, until one morning it decides retirement sounds nice. A simple test can reveal declining performance before you become the main character in a roadside assistance story.
Step 10: Check fluid only if the battery is serviceable
This step is for older or explicitly serviceable flooded batteries only. Most modern automotive batteries are sealed or maintenance-free and should not be opened. If your owner’s manual says the battery is serviceable, and only if you are comfortable doing it safely, inspect electrolyte levels according to the manufacturer’s directions.
If fluid is low, use only distilled water, never tap water and never extra acid. Fill only to the recommended level. Overfilling can cause problems, too. If any of that sounds uncertain, skip the experiment and let a professional handle it. Guessing around battery acid is not a personality trait you need.
Step 11: Replace the battery before it strands you
How long do car batteries last? Often around three to five years, though climate, driving habits, and charging conditions can shorten or extend that range. If your battery is aging and you notice slow starts, dimming lights, repeated jump-starts, swelling, or poor test results, replacement is usually the smartest move.
When replacing it, match the correct battery type and size for your vehicle. That includes the proper group size and specifications recommended by the manufacturer. Modern vehicles can be picky, and installing the wrong battery can create charging issues or electronic headaches. Save yourself the sequel.
Common mistakes that shorten battery life
- Ignoring corrosion because “it still starts fine”
- Leaving lights or accessories on after parking
- Letting the car sit too long without a maintainer
- Assuming idling is always enough to recharge a weak battery
- Using the wrong charger setting for AGM or specialty batteries
- Skipping battery tests for years
- Not securing the battery properly after service
When to call a professional
DIY maintenance is great for inspection, light cleaning, and staying ahead of obvious problems. But some situations deserve a trained technician. Get help if the battery leaks, swells, repeatedly dies, tests weak even after charging, or if you suspect an alternator issue or parasitic electrical drain. Also get professional help if your vehicle requires battery registration, system resets, or special programming after replacement.
Experience-based lessons: what drivers learn the hard way about battery maintenance
Here is the part nobody tells you when you first learn how to maintain a car battery: the battery almost never fails at a funny, convenient, story-worthy time. It does not wait until you are parked at home with tools, patience, and a free afternoon. It usually fails when you are late, wearing the wrong shoes, or trying to impress someone by being “the organized one.” The lesson is simple: battery maintenance rewards boring consistency.
One of the most common experiences drivers describe is this: the car starts a little slower for a week or two, but because it still starts, nothing gets done. That slight hesitation becomes normal. Then one colder morning, click-click-nothing. In hindsight, the warning was there. The battery was not being dramatic; it was just sending polite hints that were easy to ignore. That is why monthly inspections and seasonal testing matter so much. They catch problems while the car is still cooperating.
Another common lesson comes from people who drive very little. A car that sits in the driveway for days at a time may look perfectly healthy, but the battery can quietly discharge from normal electrical loads. Alarm systems, memory settings, and background modules keep nibbling away. Then the owner finally decides to drive somewhere important, and the car answers with silence. People often assume the battery is defective when the real issue is underuse. A smart maintainer can prevent that entire saga.
Hot climates teach a different lesson. Drivers in warm states often expect winter to be the enemy, but summer heat is what cooks many batteries from the inside out. The battery might survive August, act respectable through September, and then give up in the first chilly snap. That delay tricks people into blaming cold weather alone. Experienced drivers learn to think seasonally: heat does the damage, cold reveals it.
There is also the corrosion lesson. Plenty of people notice crusty battery terminals and assume it is cosmetic, like dust on a bookshelf. It is not. Corrosion adds resistance and reduces charging efficiency. Even a decent battery can act weak when the connection is poor. Drivers who finally clean their terminals are often amazed that the car starts more confidently afterward. It is one of those small maintenance jobs that feels almost suspiciously effective.
Then there is the “my battery was replaced, but the problem came back” experience. That usually teaches the most valuable lesson of all: the battery is part of a system. If the alternator is weak, the cables are damaged, or the car has a parasitic drain, a brand-new battery can still struggle. Smart maintenance means thinking beyond the battery itself. If the same issue keeps returning, deeper diagnosis beats repeating the same fix.
Finally, experienced drivers learn not to squeeze every last month out of an aging battery just because it still kind of works. There is a difference between thrift and gambling. Replacing a worn battery on your schedule is cheaper in stress than replacing it on the side of a road, in a dark parking lot, or during bad weather. In the end, good battery maintenance is not about becoming a mechanic. It is about building a few habits that make your car more dependable and your mornings less theatrical.
Conclusion
If you want your battery to last, keep it clean, keep it tight, keep it charged, and keep an eye on it before the weather turns nasty. These 11 steps are simple, but together they do a lot of heavy lifting. A well-maintained battery starts better, charges better, lasts longer, and causes fewer miserable surprises. That is a solid return on a few minutes of attention each month.