
Got an old sweater hiding in the back of your closet like it owes rent? Good news: your cat can turn it into prime real estate. A DIY cat bed from an old sweater is warm, soft, budget-friendly, and wonderfully simple to make. Even better, it smells faintly like you, which may help your cat feel safe, cozy, and emotionally superioras cats prefer.
This project is a smart way to upcycle clothing, reduce waste, and create a custom sleeping spot for your feline friend without spending money on yet another pet bed your cat may ignore in favor of a cardboard box. With a sweater, some stuffing, basic sewing supplies, and a little patience, you can make a plush cat bed that looks like a tiny sofa, a cuddly donut, or a soft nest made for serious nap negotiations.
Why Turn an Old Sweater into a Cat Bed?
Cats love comfort, warmth, and security. A sweater checks all three boxes. Knit fabric is naturally soft and flexible, and long sleeves can be stuffed to create a raised edge that works like a built-in pillow. That curved border gives cats something to lean against, which many felines enjoy because it creates a protected, nest-like shape.
There is also the scent factor. Cats rely heavily on smell to understand their environment. A clean but familiar sweater can carry a gentle trace of your scent, making the bed feel less like a suspicious new object and more like a trusted nap zone. This is especially helpful for shy cats, newly adopted cats, or kittens still deciding whether your home meets their royal standards.
From a practical standpoint, this DIY cat bed is inexpensive and beginner-friendly. You do not need advanced sewing skills, a sewing machine, or a craft room worthy of a television makeover. A needle, thread, scissors, stuffing, and one old sweater are enough to get started.
Best Sweaters to Use for a DIY Cat Bed
The best sweater for this project is soft, sturdy, washable, and large enough to form a roomy base. A medium, large, or extra-large adult sweater usually works well for most cats. Small sweaters can still work for kittens or petite cats, but they may not provide enough material for a full cushion and raised rim.
Choose a Soft, Durable Fabric
Cotton blends, fleece-lined knits, acrylic sweaters, and washable wool blends are good options. Avoid scratchy wool if your cat has sensitive skin or tends to reject anything that does not feel like luxury hotel bedding. If the sweater has loose threads, beads, sequins, zippers, or decorative buttons, remove them before starting. Cats may chew or swallow small pieces, and no DIY project should end with an emergency vet visit and a lecture from your cat.
Wash Before You Start
Wash and dry the sweater before turning it into a pet bed. This removes dust, dirt, and strong odors. Use a mild, pet-safe detergent and avoid heavily scented fabric softeners or essential oils. Cats have sensitive noses, and fragrances that smell “fresh meadow” to humans may smell like “chemical thunderstorm” to a cat.
Check for Holes and Weak Spots
A few small holes are easy to stitch closed, but a sweater that is falling apart may not hold stuffing securely. Tug gently at the seams, sleeves, and underarm areas. If the sweater stretches too much or unravels quickly, choose another one or reinforce weak spots with extra stitching.
Supplies You Will Need
Before you begin, gather everything in one place. This prevents the classic crafting problem of sitting down with momentum and then realizing the scissors are in another room, possibly guarded by the cat.
- One clean old long-sleeve sweater
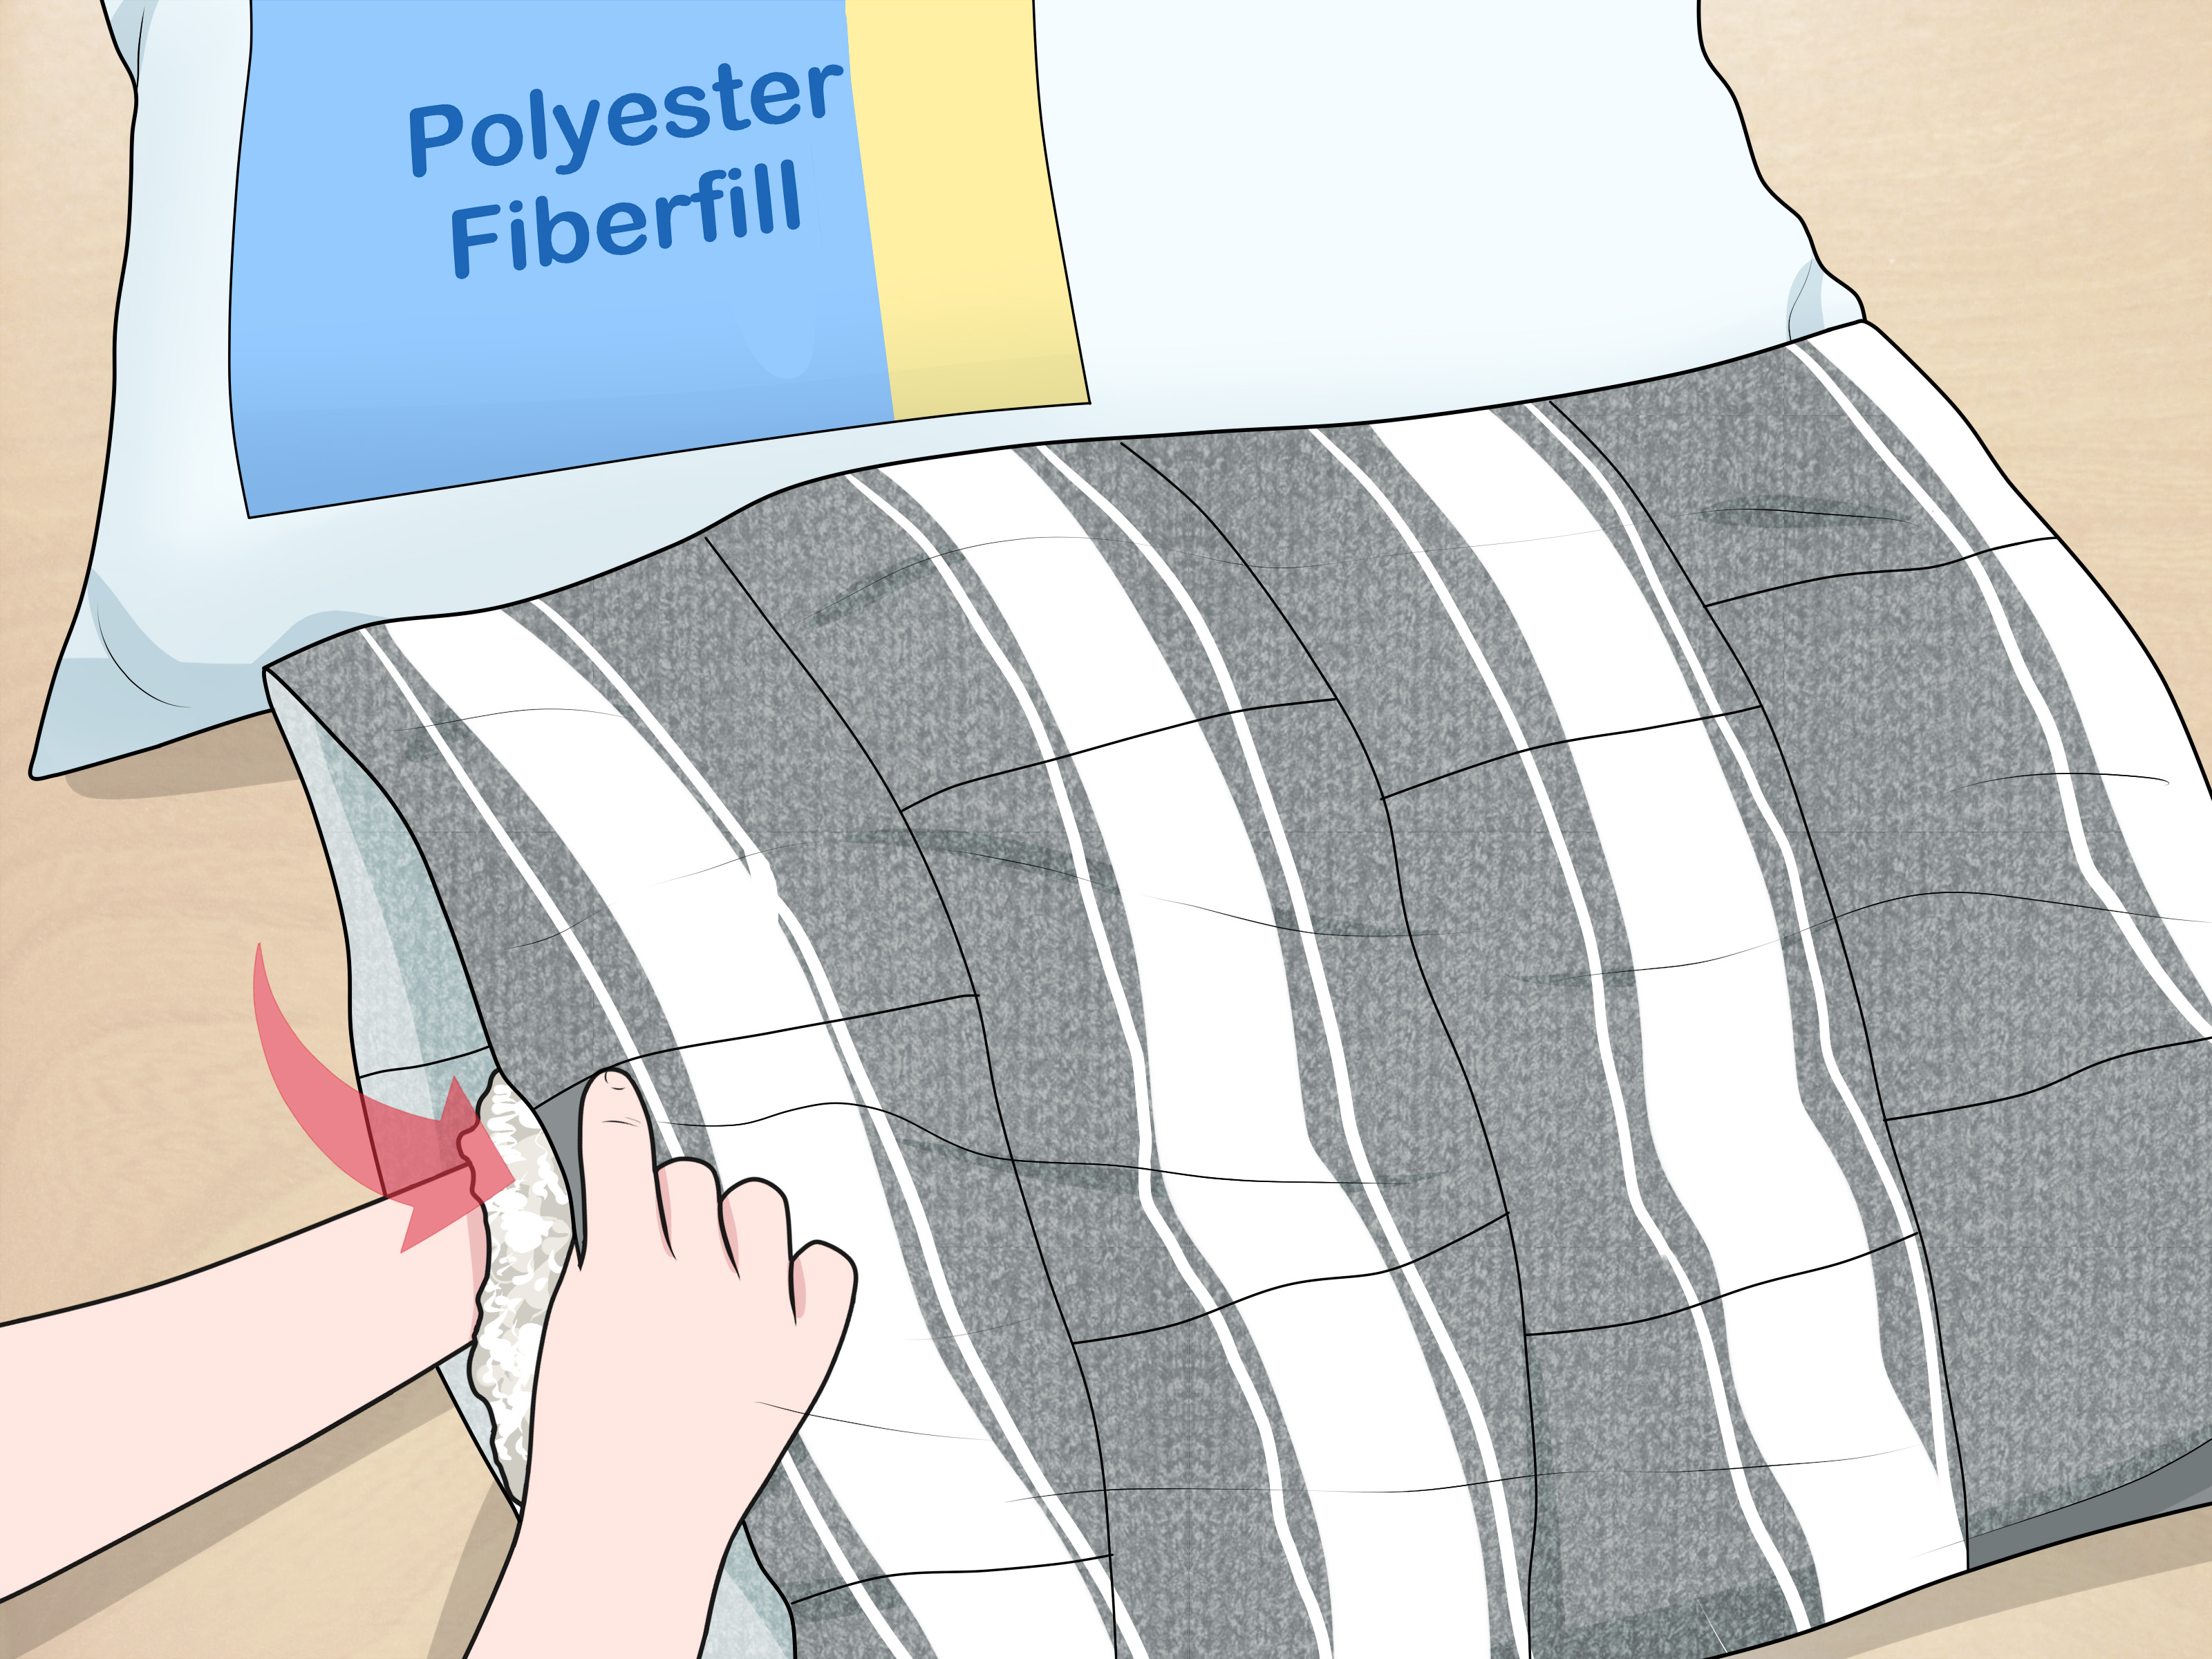
- Pillow stuffing, polyfill, fabric scraps, or stuffing from an old pillow
- Needle and strong thread, yarn, or embroidery floss
- Scissors
- Sewing pins or clips
- A small cushion, folded towel, or foam insert for the base
- Optional: sewing machine for faster stitching
- Optional: washable fabric liner or removable cover
For the filling, choose something soft but supportive. Old pillow stuffing is a great budget option, as long as it is clean and not lumpy beyond redemption. Fabric scraps can work too, though they may create a heavier bed. If your cat is older or has joint stiffness, consider using a thicker cushion or folded fleece in the center for extra support.
Step-by-Step Guide: How to Make a Cat Bed from an Old Sweater
Step 1: Lay the Sweater Flat
Place the sweater on a clean table or floor with the front facing up. Smooth out the sleeves and body. Make sure the collar, cuffs, and bottom hem are visible and easy to work with. This helps you see the bed shape before you start sewing.
Step 2: Sew the Neck Opening Closed
Fold the collar inward and sew the neck opening shut. Use a tight running stitch or whip stitch so the stuffing will not escape. If the neckline is very wide, fold the fabric over itself before stitching. The goal is to close the top of the sweater and create a neat upper edge for the bed.
Step 3: Create a Channel Across the Chest
Using pins, mark a curved or straight line from one armpit area to the other across the chest of the sweater. Sew along this line. This separates the upper portion of the sweater from the lower body and creates a tube-like channel that connects both sleeves. That channel will become the raised bolster around the bed.
If you want a rounder bed, sew a gentle curve. If you prefer a sofa-like shape, sew a straighter line. Do not worry about perfection. Your cat is not measuring seam symmetry; your cat once tried to sit in a mixing bowl.
Step 4: Stuff the Sleeves and Upper Chest
Start filling one sleeve with stuffing, pushing it evenly from the cuff toward the shoulder. Continue through the chest channel and into the other sleeve. The sleeves should become firm enough to hold their shape but not so hard that they feel like pool noodles. A soft, squeezable rim is best.
Pay special attention to the underarm areas, which can become thin or floppy. Add extra stuffing there if needed. The finished sleeves will wrap around the bed like a soft border, giving your cat a cozy place to curl up.
Step 5: Add Cushioning to the Sweater Body
Place a small pillow, folded towel, foam piece, or extra stuffing inside the main body of the sweater. This forms the sleeping surface. Spread the filling evenly so there are no hard lumps or empty corners. Cats are highly skilled at detecting comfort flaws and will file complaints by refusing to use the bed.
Step 6: Sew the Bottom Hem Closed
Once the base is filled, sew the bottom opening of the sweater closed. Use strong stitches and double back over the corners for durability. If you want the bed to be easier to wash, you can sew in hook-and-loop tape or create an envelope-style closure instead of permanently sealing the bottom.
Step 7: Shape the Bed
Bring the stuffed sleeves around the front of the sweater body to form a circular or oval rim. Overlap the cuffs slightly and sew them together. Then attach the sleeve rim to the base in a few spots so it stays in place. You do not need to sew every inch, but anchoring the sleeves at the front and sides will help the bed keep its shape.
Step 8: Fluff, Inspect, and Offer to Your Cat
Fluff the bed and check all seams. Trim loose threads and make sure no pins are left behind. Place the bed in a quiet, warm, familiar area. Good spots include a sunny window, a low shelf, the corner of a bedroom, or the place where your cat already naps on your clean laundry with suspicious timing.
Safety Tips for a Homemade Cat Bed
A DIY cat bed should be comfortable, but it also needs to be safe. Avoid using anything that could be swallowed, chewed loose, or tangled around paws. Remove buttons, beads, long ribbons, loose yarn loops, and decorative patches. If your cat is a known fabric chewer, supervise the first few uses and inspect the bed often.
Do not use stuffing that has mold, strong odors, sharp debris, or clumps that cannot be cleaned. If repurposing an old pillow, wash and dry it thoroughly first. Make sure the bed is not too tall for kittens, senior cats, or cats with mobility issues. A low, soft edge is usually easier to step over.
Keep the bed away from open flames, space heaters, damp floors, and cords. Cats like warmth, but they do not need their bed positioned directly against a heat source. A cozy corner with indirect sunlight is usually enough.
How to Make the Cat Bed More Comfortable
Add a Removable Inner Cushion
A removable cushion makes cleaning easier and allows you to adjust firmness. You can use a small pillow, a folded baby blanket, or a piece of washable fleece. If your cat likes to knead, choose a fabric that can handle tiny claws without snagging immediately.
Use Your Cat’s Favorite Texture
Some cats love fleece. Others prefer cotton, sherpa, or smooth knits. If your cat already has a favorite blanket, use it as a guide. You can even place that blanket inside the new sweater bed for the first few days to encourage acceptance.
Warm It Up Naturally
Place the bed near sunlight or in a draft-free room. Avoid heating pads unless they are specifically designed for pets and used according to the manufacturer’s instructions. For most cats, a soft sweater bed in a warm corner is more than enough.
How to Get Your Cat to Use the New Bed
Cats do not always appreciate handmade gifts on your preferred timeline. You may proudly present the bed, and your cat may immediately sit in the supply bag. This is normal. The trick is to make the bed feel familiar and rewarding without forcing it.
Place the bed where your cat already likes to sleep. Do not hide it in a random laundry room and expect enthusiasm. Add a favorite blanket or a toy nearby. You can sprinkle a small amount of catnip or silvervine if your cat responds well to it. Treats can also help create a positive association.
Most importantly, let your cat discover the bed naturally. Do not pick up your cat and plop them into it repeatedly. Cats prefer to believe every good idea was theirs first. Let them sniff, paw, circle, ignore, return, and eventually claim it like an ancient throne.
Cleaning and Maintenance
A cat bed needs regular cleaning, especially if your cat sheds, drools, tracks litter, or treats the bed as a snack station. Vacuum the surface weekly or use a lint roller to remove hair. Spot-clean stains with mild soap and water.
If the bed is fully washable, place it in a laundry bag or pillowcase before washing on a gentle cycle. Air-drying is usually safer than high heat, especially for sweaters that may shrink or lose shape. If you used a removable cushion, wash the cover and cushion separately when possible.
Check the seams after each wash. Restitch any weak areas before the stuffing begins to escape. Once stuffing starts emerging, your cat may decide the bed is now a toy, a cloud, or a crime scene.
Creative Variations to Try
The No-Sew Version
If sewing is not your thing, you can create a temporary version using fabric glue, safety-free clips, or tight knots. However, sewing is more durable and safer for regular use. Fabric glue should be fully dry and non-toxic before your cat goes near the bed.
The Extra-Fluffy Winter Bed
Use a thick sweater and add a fleece liner for colder months. This version is especially nice for short-haired cats, senior cats, or cats who act personally betrayed by winter.
The Low-Entry Senior Cat Bed
For older cats, avoid overstuffing the sleeves. Keep the rim low and soft so your cat can step in easily. Add a supportive cushion to reduce pressure on joints.
The Kitten Nest
For kittens, use a smaller sweater and softer stuffing. Make sure there are no gaps where tiny paws could get caught. Keep the bed in a warm, quiet, supervised area.
Common Mistakes to Avoid
One common mistake is overstuffing the sleeves. A rim that is too firm may look neat but feel uncomfortable. Another mistake is using a sweater with too many loose fibers or decorations. Cats may chew, scratch, or pull at these details.
Some people also place the bed in the wrong location. Even the softest DIY cat bed may fail if it is placed in a loud hallway, near a noisy appliance, or beside the dog’s favorite stomping route. Cats like comfort, but they also like control. A peaceful, predictable spot makes the bed more appealing.
Finally, do not be offended if your cat takes a few days to use it. Cats are cautious inspectors. They may need time to confirm that the new bed is not a trap, a bath-related device, or an object with hidden responsibilities.
Personal Experience: What Making a Cat Bed from an Old Sweater Teaches You
Making a cat bed from an old sweater is one of those projects that sounds almost too simple, but the experience is surprisingly satisfying. You start with a sweater that has probably been rejected by fashion, laundry logic, or a mysterious stain near the cuff. Then, about an hour later, it becomes a soft little nest that looks intentional. That transformation is the best part. It feels less like crafting and more like rescuing an object from the “maybe someday” pile.
The first thing you learn is that cats care about texture more than aesthetics. You may choose a sweater because the color matches your living room, but your cat will choose the bed because it feels warm, smells familiar, and sits in the right spot. A beautiful bed in the wrong corner is just home decor. A slightly lopsided bed in a sunbeam is a five-star feline resort.
You also learn that stuffing matters. Too little stuffing makes the bed collapse into a sad sweater puddle. Too much stuffing creates a stiff ring that looks more like a decorative tire than a cuddle zone. The best result comes from filling the sleeves gradually, squeezing as you go, and checking the shape often. The rim should feel like a soft armrest, not a gym foam roller.
Another practical lesson is that hand sewing does not need to be perfect. Strong, consistent stitches are more important than pretty stitches. Cats do not care if the seam looks professional. They care whether the bed supports their loaf position. If your sewing is messy but secure, congratulationsyou have made rustic pet furniture.
The placement experiment is also part of the fun. Many cats ignore a new bed at first, especially if it appears suddenly in the middle of the room like an unsolicited suggestion. Move it near an existing nap spot, and everything changes. Put it beside a window, at the foot of the bed, or near your desk, and your cat may slowly adopt it. The key is not to announce it too enthusiastically. Cats are suspicious of human excitement.
One helpful trick is to leave the finished sweater bed alone for a day before expecting results. Let your cat sniff it, walk away, return, and pretend not to care. Add a familiar blanket or a toy if needed. If your cat loves catnip, a tiny sprinkle can help, but do not overdo it. The goal is gentle invitation, not turning the bed into a nightclub.
This project is also a good reminder that pet comfort does not have to be expensive. Store-bought cat beds can be lovely, but cats are famously unpredictable. They may reject a fancy bed and fall in love with a laundry basket. A sweater bed gives you a low-cost way to test what your cat actually likes: raised edges, soft fabric, familiar scent, and a cozy base.
In the end, the best part is watching your cat finally curl into something you made. Even if the bed is imperfect, it becomes personal. It carries a little history from your closet and a little comfort for your pet. And if your cat ignores it completely? Place a cardboard box next to it. The cat will sit in the box first, obviouslybut eventually, curiosity may win.
Conclusion
Learning how to make a cat bed from an old sweater is a simple, affordable, and eco-friendly way to spoil your cat without buying another mass-produced pet accessory. With one clean sweater, some stuffing, and basic stitching, you can create a warm, washable, and familiar resting place your cat may genuinely enjoy.
The most successful DIY cat beds are safe, soft, and placed where your cat already feels comfortable. Keep decorations minimal, use pet-safe materials, and let your cat explore the new bed at their own pace. Whether your final result looks like a boutique pet lounger or a charmingly squishy sweater donut, your cat will judge it by the only standard that matters: nap quality.
Note: This article is based on practical DIY crafting methods and widely accepted pet-care guidance. Always supervise your cat when introducing any homemade pet item, and remove the bed if your cat chews, swallows, or pulls apart the material.














