
Note: This guide is written for beginners and reflects the current Roblox Creator Dashboard and Roblox Studio workflow for creating, selling, and scripting Roblox game passes.
So, you built a Roblox experience. Maybe it has a cozy obby, a dramatic sword arena, a pizza shop run entirely by chaos, or a VIP lounge with chairs so fancy they practically whisper, “premium content.” Now you want to give players an optional upgrade and earn Robux while you are at it. That is where a Roblox game pass comes in.
A game pass is a one-time purchase that gives players a permanent perk inside your experience. It can unlock VIP access, a special tool, faster speed, double coins, an exclusive area, custom cosmetics, or any other benefit you design. Unlike repeatable purchases such as developer products, a pass is typically bought once and kept by the player. That makes it perfect for long-term perks that feel valuable without turning your game into a paywall with neon lights.
In this beginner-friendly guide, you will learn how to make a game pass on Roblox, configure it for sale, find your pass ID, connect it to your game with a simple script, test it, price it wisely, and avoid the classic “I made a pass but it does absolutely nothing” problem. Let’s build something players actually want to buy.
What Is a Roblox Game Pass?
A Roblox game pass, also called an experience pass, is a monetization feature that lets creators charge players a one-time Robux fee for special privileges inside a specific experience. Think of it as a digital ticket. Once the player owns it, your game can recognize that ownership and unlock whatever benefit you have attached to it.
Common examples include:
- VIP rooms or exclusive areas
- Special tools, weapons, pets, or vehicles
- Speed boosts, jump boosts, or extra storage
- Double XP, double coins, or bonus rewards
- Cosmetic effects, name tags, trails, or chat tags
- Access to premium mini-games or private features
The important word is optional. A good game pass makes your experience more exciting, not impossible to enjoy without paying. Players should feel like they are buying a cool upgrade, not paying a toll just to have fun.
Game Pass vs. Developer Product: What Is the Difference?
Before you create your first pass, it helps to understand the difference between a game pass and a developer product. Beginners often mix these up, and Roblox will not send a tiny tutorial goblin to correct you.
Game Pass
A game pass is usually a one-time purchase. The player buys it once, keeps it, and receives permanent access to the perk. Use game passes for benefits like VIP access, permanent speed boosts, permanent tools, or lifetime bonus features.
Developer Product
A developer product is designed for repeatable purchases. Players can buy it again and again, which makes it better for consumables like coins, gems, revives, temporary boosts, spins, or one-time power-ups.
Here is the simple rule: if the player should own it forever, use a game pass. If the player should be able to buy it repeatedly, use a developer product.
Before You Start: What You Need
You do not need to be a professional programmer to create a game pass, but you do need a few basics in place:
- A Roblox account
- A published Roblox experience
- Access to the Roblox Creator Dashboard
- Roblox Studio installed if you want the pass to unlock in-game features
- A simple icon image for the pass
- A clear idea of what the pass gives players
The biggest beginner mistake is creating a pass before deciding what it actually does. “VIP Pass” sounds nice, but VIP for what? A room? A sword? A golden banana? Be specific. Players are much more likely to buy a pass when the benefit is obvious.
How to Make a Game Pass on Roblox
The game pass creation process happens inside the Roblox Creator Dashboard. Roblox has changed its interface over the years, so if you remember old tutorials mentioning the classic “Create” page, do not panic. The modern workflow centers on the Creator Dashboard.
Step 1: Open the Roblox Creator Dashboard
Go to the Roblox Creator Dashboard and sign in to your account. From there, open the Creations section. This is where your experiences, places, assets, and monetization settings live.
Step 2: Select Your Experience
Choose the Roblox experience where you want to add the game pass. A game pass is attached to an experience, so make sure you select the correct one. Accidentally adding your VIP sword pass to your unfinished “Testing Place 47” is a very Roblox kind of problem, but it is still avoidable.
Step 3: Go to Monetization > Passes
In the experience menu, find Monetization, then select Passes. This page shows existing passes for that experience and gives you the option to create a new one.
Step 4: Click Create a Pass
Click Create a Pass. Roblox will ask for basic information such as the pass image, name, and description. This is your first impression, so do not treat it like a grocery label that says “thing.”
Step 5: Upload a Game Pass Icon
Upload an image that represents the pass. A clean, readable icon usually performs better than a cluttered screenshot. If your pass gives VIP access, use a VIP badge, gold ticket, crown, velvet rope, glowing door, or similar visual. If it gives a speed boost, use motion lines, shoes, lightning, or a fast-looking character.
Keep the image simple because players may see it at a small size. Avoid tiny text, messy backgrounds, and anything that violates Roblox community standards. Your icon should say, “This is cool,” not “I made this in nine seconds while eating cereal.”
Step 6: Add a Clear Name
Your pass name should explain the benefit quickly. Good examples include:
- VIP Access
- Double Coins
- Rainbow Trail
- Speed Boost
- Exclusive Pet Pack
- Admin Commands Lite
Avoid vague names like “Special Pass” or “Cool Thing.” Players should not need a detective board and red string to understand what they are buying.
Step 7: Write a Helpful Description
The description should explain exactly what the player gets. Keep it short, honest, and benefit-focused.
Example:
Unlock the VIP Lounge, receive a golden name tag, and get access to an exclusive daily reward chest.
That description works because it gives three clear benefits. It does not promise world domination, unlimited Robux, or “secret powers.” Never mislead players. If your pass description overpromises and the game underdelivers, players will rememberand not in the fan-club way.
Step 8: Create the Pass
After entering the details, create the pass. At this point, the pass exists, but it may not be for sale yet. Creating the pass is only the first half of the job. The second half is configuring sales and connecting the pass to your game logic.
How to Put Your Roblox Game Pass on Sale
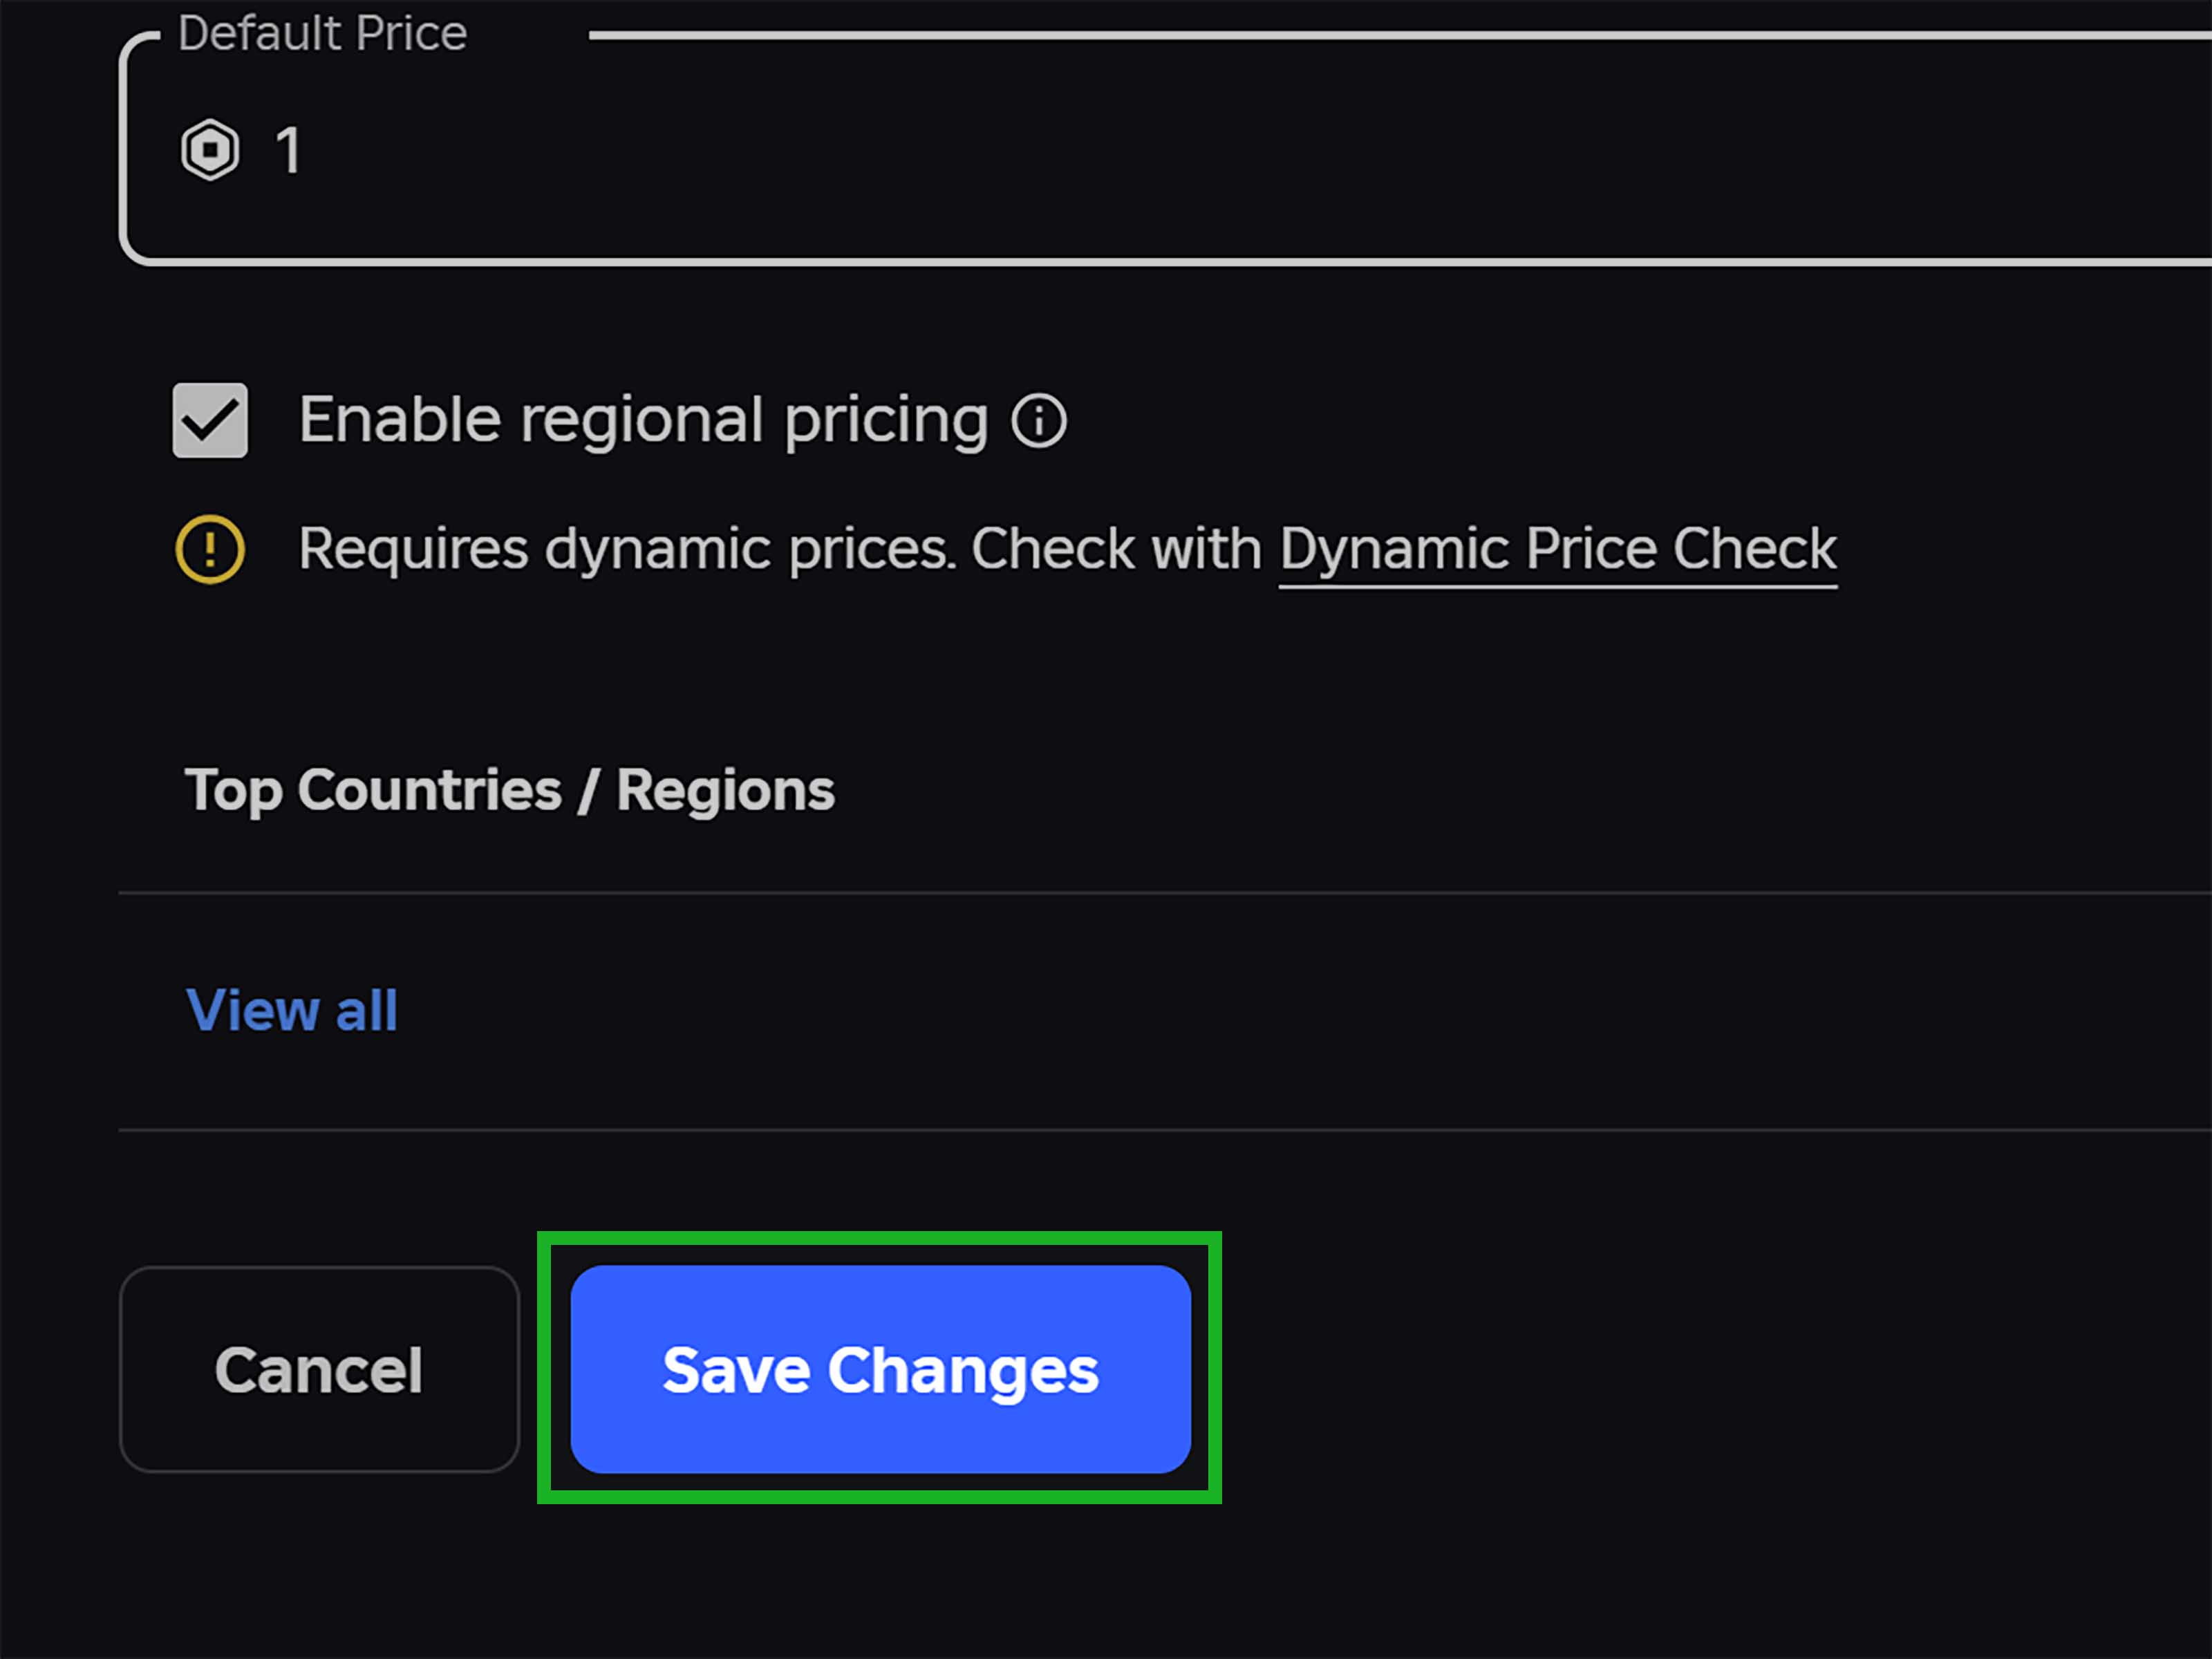
After the pass is created, open it from the Passes page. Look for its sales or monetization settings. Turn on the option that makes the item available for sale, then enter the Robux price.
Roblox allows creators to choose the Robux amount, but pricing should be thoughtful. The price should match the value of the benefit, the size of your audience, and the stage of your game. A brand-new game with three visits probably should not launch with a 999 Robux VIP pass unless the VIP room contains the meaning of life and a working vending machine.
Beginner-Friendly Pricing Ideas
- 10–25 Robux: Small cosmetics, simple trails, basic name tags
- 25–75 Robux: Useful boosts, VIP rooms, small tool perks
- 75–200 Robux: Stronger bundles, double rewards, premium areas
- 200+ Robux: High-value bundles, advanced perks, rare cosmetics, or major permanent advantages
For most beginner experiences, it is safer to start with affordable passes and increase value over time. Lower prices can encourage more players to try your monetization system, while higher prices work better when your game already has strong engagement and loyal players.
How to Find Your Roblox Game Pass ID
To make the game pass actually work inside Roblox Studio, you need the pass ID. This is a number that identifies your pass. You can usually find it by opening the pass in the Creator Dashboard and checking the URL or pass settings. The ID is the numeric value Roblox uses when your script checks ownership or prompts a purchase.
Do not confuse a pass ID with an old asset ID. Modern game passes use pass IDs, and Roblox’s current scripting methods expect the correct game pass ID. If your script looks perfect but nothing works, the ID is one of the first things to check.
How to Add a Game Pass to Your Roblox Game
Creating a pass does not automatically give players the perk. Roblox can sell the pass, but your game needs code to detect ownership and deliver the reward. This is the part where beginners often get stuck, but the basic idea is simple:
- Get the player.
- Check whether the player owns the pass.
- If they own it, give the reward.
- If they do not own it, optionally show a purchase prompt.
Basic Server Script to Check Game Pass Ownership
Place this script in ServerScriptService in Roblox Studio. Replace 123456789 with your actual game pass ID.
This script checks ownership when a player joins. The pcall helps prevent your script from breaking if the ownership check fails temporarily. That is a good habit because live games can experience network hiccups, API delays, and the occasional mysterious gremlin.
Example: Give a Speed Boost to Pass Owners
Here is a simple example that gives pass owners extra WalkSpeed when their character loads:
This is a beginner-friendly reward because it is easy to test. Join the game, check your speed, and confirm whether the pass effect activates. Once you understand the structure, you can replace the speed boost with a tool, room access, pet, tag, or bonus reward.
How to Prompt Players to Buy a Game Pass
You can also prompt players to purchase a pass inside your experience. For example, you might add a button that says “Buy VIP” or place a purchase prompt near a locked door.
A purchase prompt is usually handled from a LocalScript, especially when connected to a GUI button. Here is a simple example:
This code opens the Roblox purchase prompt when the player clicks the button. After purchase, your server-side logic should still verify ownership before granting benefits. Never rely only on the client for important rewards. The client is great for buttons and visuals; the server is where trust should live.
Best Game Pass Ideas for Beginners
If you are not sure what kind of pass to make, start with perks that are easy to understand and easy to deliver. A beginner game pass should be simple enough to script and valuable enough for players to care.
VIP Room
A VIP room is one of the easiest passes to understand. Players buy access to a special area with decorations, reward chests, exclusive tools, or social features. Make the room visible from outside so players can see what they are missing. A locked glowing door sells better than a secret feature nobody knows exists.
Double Coins
If your game has coins, gems, points, or XP, a double reward pass can be powerful. Just make sure your economy stays balanced. If one pass breaks your entire progression system, your game will turn into a vending machine with physics.
Speed Boost
Speed passes are popular in obbies, simulators, racing games, and open-world maps. Keep the boost useful but not ridiculous. If players move so fast they launch into another dimension, that is funny once and annoying forever.
Cosmetic Effects
Trails, auras, name tags, particles, and custom colors are great because they add status without making the game unfair. Cosmetics are especially useful if you want monetization that does not feel pay-to-win.
Exclusive Tools
A special tool can be exciting, but be careful with combat advantages. If the paid sword defeats everyone instantly, free players may leave faster than a player touching lava in an obby.
How to Price Your Roblox Game Pass Without Annoying Players
Pricing is part math, part psychology, and part “would I buy this if I were playing?” The best price depends on your audience, your game type, the value of the perk, and how often players return.
Here are a few practical pricing tips:
- Match price to value: A tiny cosmetic should not cost as much as a major VIP bundle.
- Offer more than one option: Low-cost passes attract casual buyers; premium bundles appeal to loyal fans.
- Avoid pay-to-win pressure: Players should feel excited, not forced.
- Use clear descriptions: Confused players do not buy.
- Improve the perk over time: Updating a pass can make old buyers happy and new buyers interested.
One smart approach is to create a small, affordable pass first. Watch how players respond. If people buy it and enjoy it, you can add more advanced passes later. If nobody buys it, improve the value, visibility, or description before assuming monetization does not work.
How to Test Your Game Pass
Testing matters because a broken pass is worse than no pass. Players who spend Robux expect the perk to work immediately. If they buy VIP access and get nothing except emotional damage, they may dislike the game, leave negative feedback, or never return.
Test the Creator Dashboard Setup
Check that the pass has a clear icon, name, description, and price. Confirm that it is actually for sale. Make sure it is attached to the correct experience.
Test the Pass ID
Copy the pass ID carefully. If one digit is wrong, your script will check the wrong pass. This is the scripting equivalent of mailing a birthday card to a volcano.
Test in Roblox Studio
Use Play mode to check whether your scripts run without errors. Open the Output window in Roblox Studio and watch for warnings or failed ownership checks.
Test in the Published Experience
Some purchase and ownership behavior is easier to verify in the live, published version of your experience. Test with your account, a friend, or an alternate testing account where appropriate. Confirm that the reward appears after purchase and after rejoining.
Common Roblox Game Pass Mistakes
Every Roblox creator makes mistakes. The goal is to make small mistakes, not “the VIP door deletes the map” mistakes.
Creating the Pass but Not Scripting It
The pass does not magically unlock your feature. You must add code or game logic that checks ownership and grants the perk.
Using the Wrong ID
Make sure you are using the game pass ID, not a random asset ID or another pass number. Wrong IDs are one of the most common reasons scripts fail.
Only Checking Once
If a player buys the pass during a session, your game may need to refresh their access or listen for purchase completion. Otherwise, the player might have to rejoin before getting the perk.
Making the Pass Too Expensive
A high price can work for a high-value game with dedicated players. For beginners, overpriced passes often scare people away. Start reasonable, then improve your monetization as your game grows.
Giving an Unfair Advantage
Paid perks should feel rewarding, but they should not ruin the game for everyone else. If free players feel like background characters in someone else’s wallet simulator, they will leave.
Writing a Vague Description
“Buy this for cool stuff” is not enough. Tell players exactly what they get. Specific benefits build trust.
Smart Ways to Promote Your Game Pass
Once your pass works, you need players to notice it. Do not spam them with pop-ups every three seconds. That feels less like monetization and more like being chased by a billboard.
Better promotion ideas include:
- A visible VIP door with a clean purchase button
- A shop menu that explains all passes clearly
- Signs near locked areas that show the benefit
- Short tutorial messages when players first encounter premium features
- Update logs that announce new perks added to existing passes
- Seasonal events that temporarily highlight related passes
The best promotion is built into gameplay. If players see a cool trail, a premium lounge, or a useful boost while playing, they understand the value naturally. Show, do not shout.
How to Make Your Game Pass Feel Worth It
A pass sells better when it feels polished. That does not mean you need Hollywood-level production. It means the player should instantly understand what they bought and feel a little spark of satisfaction.
Add Immediate Feedback
When a player gets a perk, show a message, play a sound, add an effect, or update the UI. A simple “VIP Activated!” message can make the purchase feel more rewarding.
Make Benefits Visible
Cosmetics, name tags, and VIP badges help players show off. Visibility can increase desire because other players see the perk in action.
Keep Updating the Pass
If players buy a VIP pass and you later add a new VIP chest, VIP trail, or VIP-only mini-game, the pass becomes more valuable. Existing buyers feel rewarded, and new buyers have more reasons to purchase.
Respect Free Players
The strongest Roblox games usually give free players a complete, fun experience while offering paid players extra convenience, customization, or prestige. That balance builds trust and long-term retention.
Beginner Experience: What It Is Really Like to Make Your First Game Pass
The first time you make a Roblox game pass, the process can feel surprisingly exciting and slightly confusing. On the surface, it looks simple: upload an icon, add a name, set a price, and boom, you are officially a digital entrepreneur. Then you open Roblox Studio and realize the pass does not automatically hand out VIP powers like a tiny robot butler. That is the moment most beginners discover the second half of the process: scripting.
A realistic beginner experience usually starts with an idea that is too big. You might imagine a VIP pass that gives players a mansion, three pets, a flying car, double XP, custom music, a golden aura, and possibly the ability to summon meteors. Ambition is great, but your first pass should be simple. A speed boost, VIP room, or cosmetic trail is much easier to test. Once that works, you can build more features on top of it.
The most satisfying part is seeing the ownership check work for the first time. You join your game, the Output window prints that your player owns the pass, and your character receives the reward. It feels like turning on a machine you built yourself. It may only be a few lines of Lua, but it is also the foundation of a real game economy.
The most frustrating part is usually troubleshooting. Maybe the pass ID is wrong. Maybe the script is in the wrong place. Maybe you used a LocalScript where a server Script made more sense. Maybe the reward works once but disappears when the player respawns. These are normal beginner problems. The fix is to test one piece at a time. First confirm the script runs. Then confirm the pass ID is correct. Then confirm ownership returns true. Then add the reward. If you try to build everything at once, debugging becomes a scavenger hunt hosted by confusion.
Another lesson beginners learn quickly is that presentation matters. A pass with a plain icon and unclear description feels unfinished, even if the perk is good. A polished icon, simple name, and honest description can make the same pass feel more trustworthy. Players want to know what they are buying before they spend Robux. Clear communication is not just good writing; it is good game design.
Pricing also becomes a learning experience. Many first-time creators either price too low because they are nervous or too high because they imagine every player is secretly a Robux millionaire. A good first pass should be affordable enough for curious players but valuable enough to feel meaningful. If your game is new, start modestly. As your experience grows, you can add premium bundles or higher-value passes.
The best long-term habit is to treat every game pass as part of the player experience, not just a store item. Ask yourself: does this perk make the game more fun? Can free players still enjoy the experience? Is the reward delivered clearly? Does the pass still work after updates? The creators who ask these questions build better games and stronger communities.
Making your first Roblox game pass is not just about monetization. It teaches you how Roblox experiences connect design, scripting, user interface, pricing, and player trust. That is why it is such a useful beginner project. By the time your pass works, you have learned more than how to sell a perk. You have learned how to make your game respond to player ownership, how to test live features, and how to think like a creator.
Conclusion
Learning how to make a game pass on Roblox is one of the best first steps toward building a more professional experience. A game pass lets you reward loyal players, add premium features, and earn Robux from your creativity. The process starts in the Roblox Creator Dashboard, where you create the pass, upload an icon, write a clear description, and set a Robux price. Then, in Roblox Studio, you use the pass ID and MarketplaceService to check ownership and unlock the perk inside your game.
The secret is not just creating a pass; it is creating a pass that feels worth buying. Keep the benefit clear, the price fair, the scripting reliable, and the experience fun for both free and paying players. Start small, test carefully, improve often, and do not be afraid to polish your idea over time. Your first pass may be simple, but it can teach you the same skills used in larger Roblox games: monetization, scripting, economy design, and player-focused thinking.
If your game pass gives players something fun, useful, or stylish without ruining the balance, you are on the right track. And if your VIP room has a couch, a glowing sign, and a dramatic entrance? Even better. Roblox players appreciate flair.













