A reversible duct tape bracelet is proof that stylish accessories do not require precious metals, mysterious jewelry tools, or a dragon-guarded craft budget. With two contrasting tape designs and a simple hook-and-loop closure, you can make one bracelet that delivers two completely different looks.
This beginner-friendly duct tape craft takes about 20 minutes and requires no sewing. The finished bracelet is flexible, water-resistant, adjustable, and easy to personalize. Wear polka dots on Monday, flip to neon orange on Tuesday, and tell everyone you planned the wardrobe coordination months ago.
How Does a Reversible Duct Tape Bracelet Work?
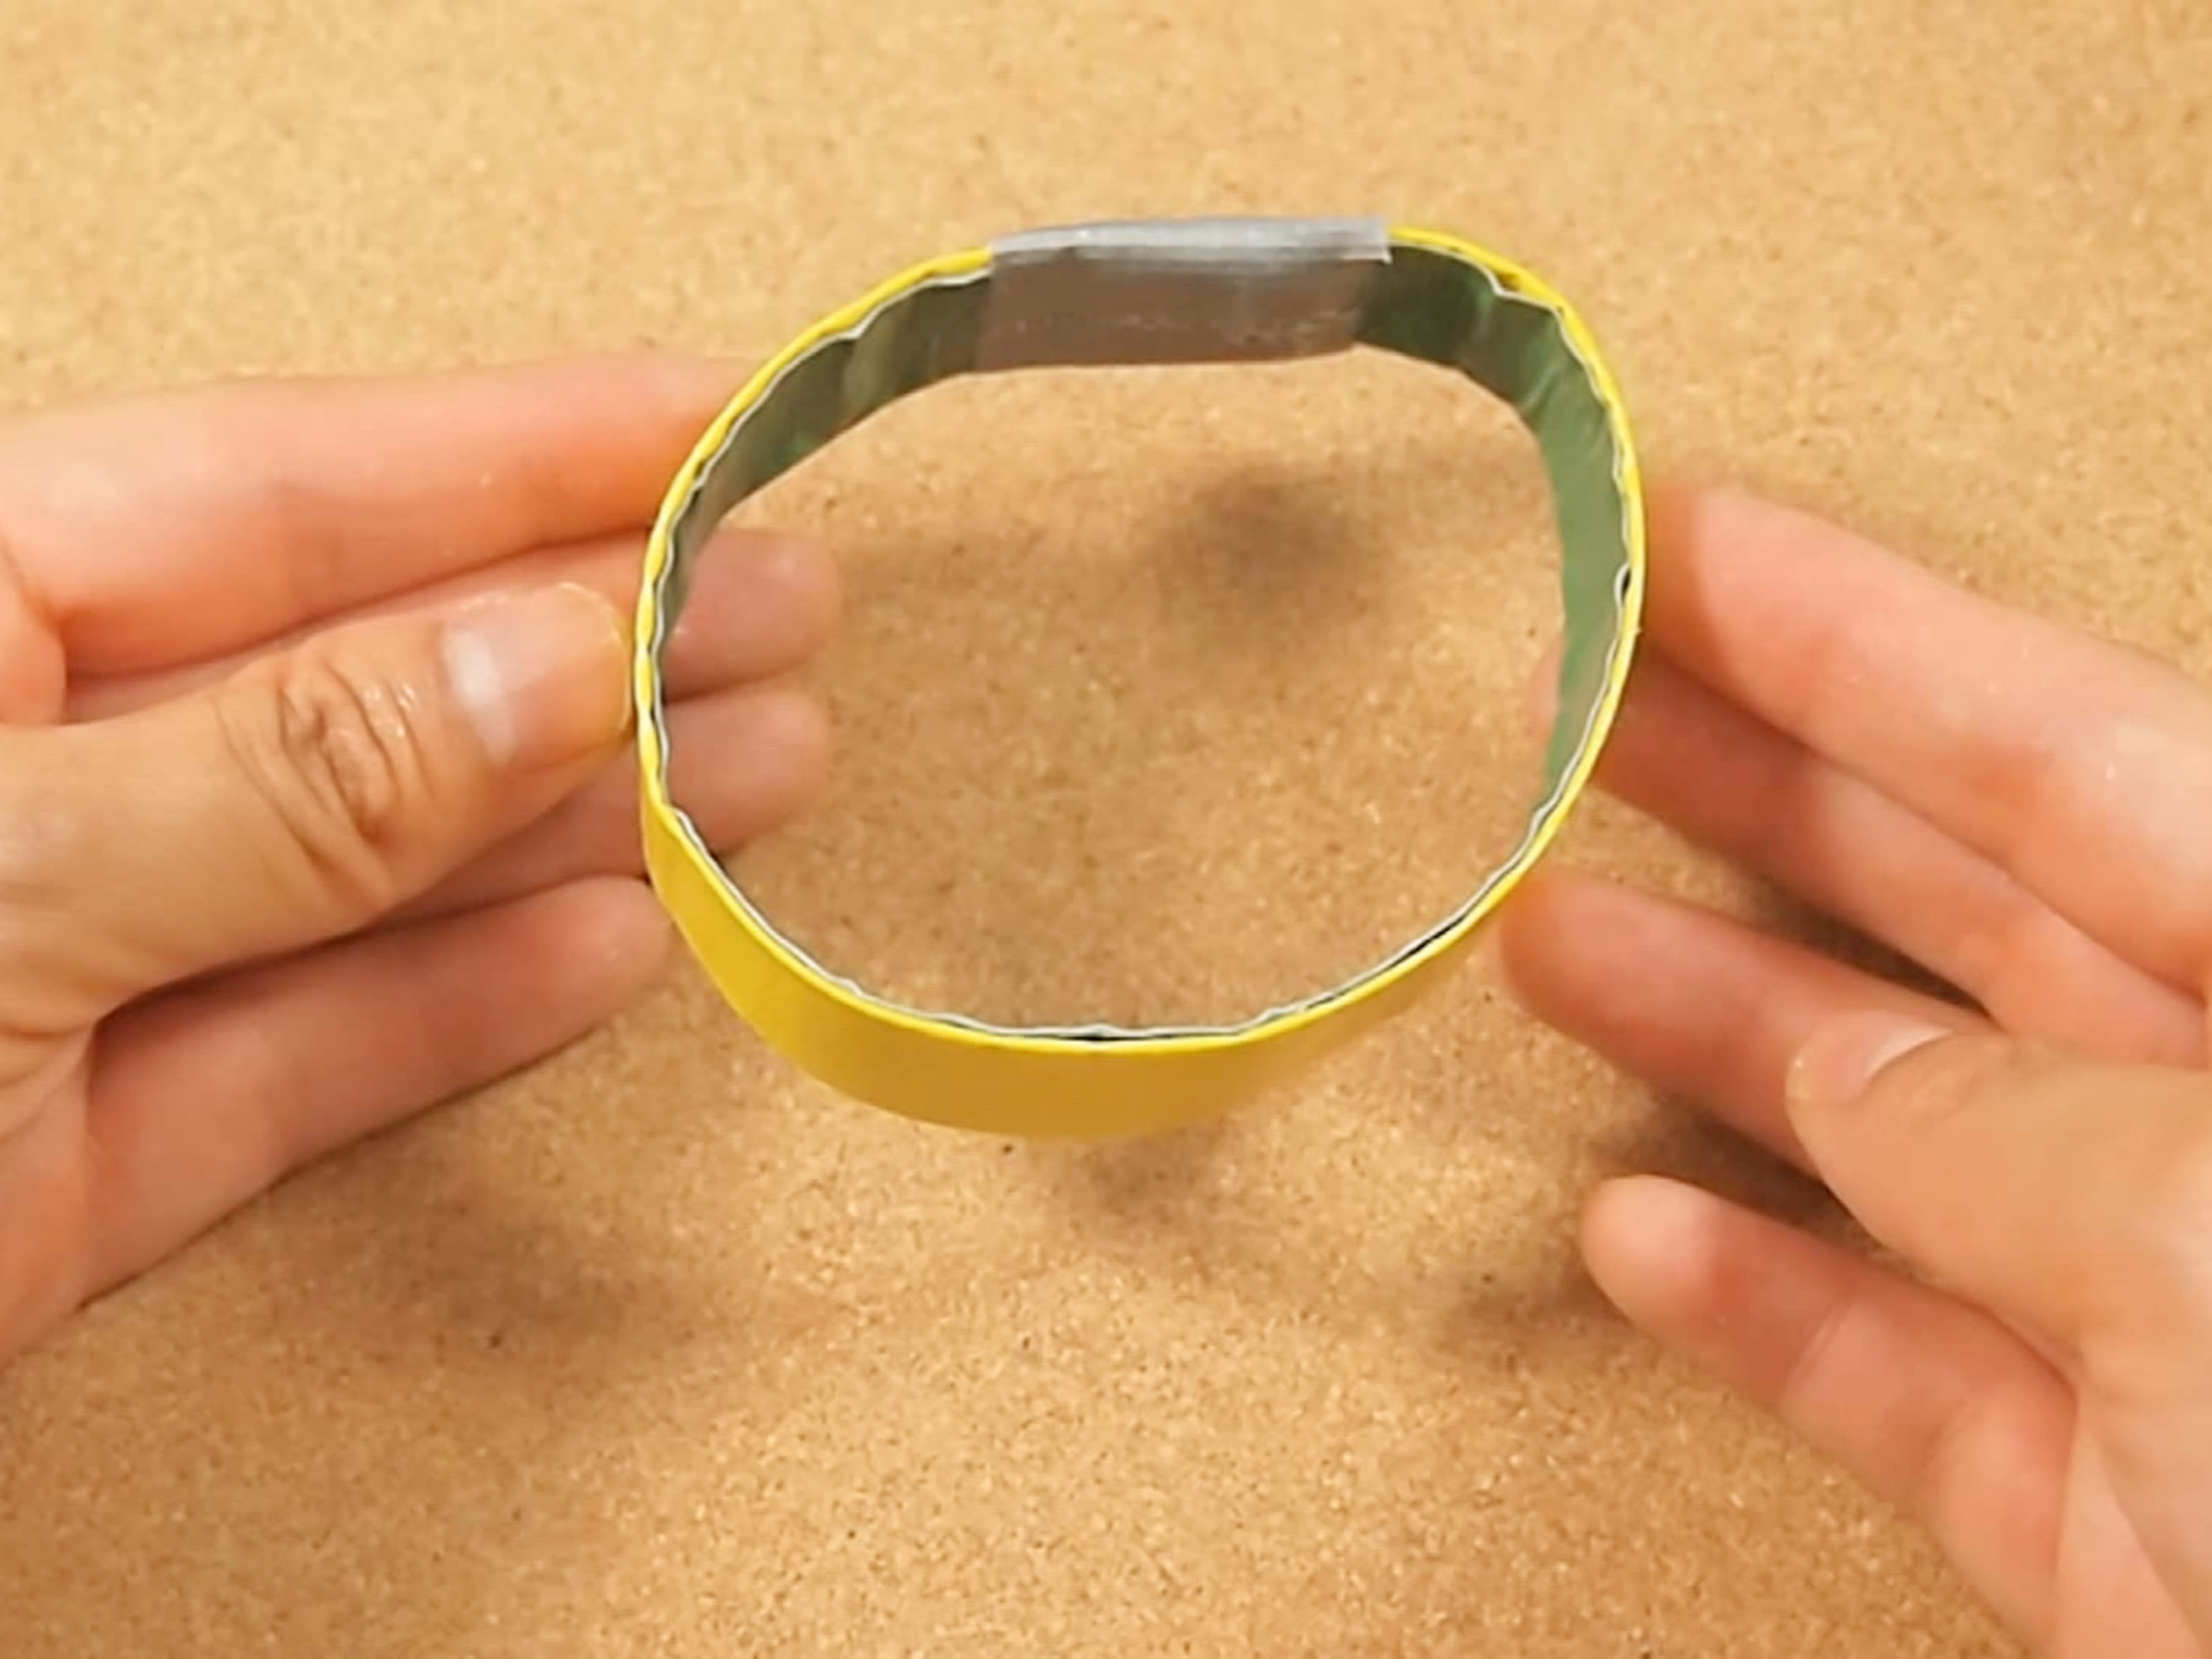
The bracelet is made by laminating two equal strips of duct tape with their adhesive sides facing each other. One pattern becomes the front, while the second becomes the reverse. A hook-and-loop fastener is attached to opposite faces at opposite ends, allowing the band to close securely regardless of which design faces outward.
The project works especially well because quality duct tape combines a flexible cloth reinforcement with a smooth, moisture-resistant outer surface. Once the adhesive layers are pressed together, they create a surprisingly durable band without leaving sticky material against your skin.
Project at a Glance
- Skill level: Beginner
- Active time: Approximately 15–25 minutes
- Typical finished width: 3/4–1 inch
- Best closure: Adhesive-backed hook-and-loop dots or squares
- Estimated cost: A few dollars when using tape already in your craft supplies
Materials and Tools You Will Need
- Two rolls of duct tape in different colors or patterns
- Flexible measuring tape or a piece of string and a ruler
- Sharp craft scissors
- Metal ruler or straightedge
- Self-healing cutting mat or clean craft board
- Two adhesive-backed hook-and-loop dots or small squares
- Optional double-sided tape for reinforcing the closure
- Optional wax paper for controlling sticky strips while you work
Choosing Your Two Designs
Select tapes with noticeably different appearances so flipping the bracelet feels worthwhile. Black paired with metallic gold creates a dressier accessory, while rainbow stripes and solid blue make a cheerful children’s craft. A floral pattern backed with a neutral color can move from playful to understated in one flip.
Tapes of similar thickness are easiest to align. Very thin decorative tape may wrinkle when paired with an unusually heavy repair tape, so standard consumer craft duct tape is usually the friendliest choice.
How to Make a Reversible Duct Tape Bracelet in 8 Steps
Step 1: Measure Your Wrist
Wrap a flexible measuring tape comfortably around the wrist where the bracelet will sit. Do not pull it tightly. You should be able to slide one finger beneath the measuring tape without forcing it.
Add approximately 1 1/4 to 1 1/2 inches to the wrist measurement. This extra length creates the overlap required for the hook-and-loop closure. For example, if the wrist measures 6 1/2 inches, begin with strips measuring about 8 inches.
If you do not have a flexible measuring tape, wrap a piece of string around the wrist, mark the meeting point, and measure the string with a ruler. Avoid measuring an existing stretchy bracelet because elastic can introduce an inaccurate size.
Step 2: Prepare a Clean Cutting Surface
Place a craft mat or smooth board on a stable table. Remove lint, crumbs, thread, and any mysterious glitter left from the previous craft session. Duct tape is highly skilled at finding debris that humans cannot see.
Pull out the first color with its adhesive side facing down. Lightly anchor one end to the cutting surface without pressing the entire strip flat. Measure the required length and cut it squarely. A clean, straight cut makes the two layers much easier to align later.
If the scissors begin collecting adhesive residue, wipe the blades according to the tool manufacturer’s care instructions before continuing. Dull or gummy scissors tend to drag the tape and create jagged edges.
Step 3: Cut the First Bracelet Strip
Standard duct tape is usually wider than a comfortable bracelet. Cut or carefully tear the measured piece lengthwise to create a strip approximately 3/4–1 inch wide. A ruler and craft knife produce the straightest result, although sharp scissors work perfectly well for a casual handmade style.
Save the unused half for another bracelet, a matching ring, or an emergency repair to the craft box that has been threatening structural collapse since last spring.
Lay the prepared strip with its sticky side facing up. Placing it on wax paper can keep the adhesive under control until the second layer is ready.
Step 4: Cut a Matching Strip in the Second Design
Cut the second duct tape color to exactly the same length and width as the first. Rather than relying on the wrist measurement again, use the completed first strip as a template. Place it nearbynot adhesive-to-adhesive yetand mark the second piece before cutting.
Matching dimensions matter because exposed adhesive along an uneven edge can attract lint or rub against the wearer. A tiny difference can be trimmed later, but careful cutting now prevents the bracelet from becoming an accidental fuzz collection system.
Step 5: Join the Sticky Sides Together
Place the first strip adhesive side up. Hold the second strip above it with its adhesive side down. Begin at one short end and align the corners. Lower the second strip gradually while smoothing forward with a finger or the edge of a ruler.
Do not drop the entire strip at once. Duct tape forms strong bonds quickly, and separating two misaligned adhesive surfaces can stretch or wrinkle them. Working slowly pushes out air pockets and gives you time to correct the alignment before the layers fully meet.
Once joined, rub firmly along the complete band. Turn it over and repeat. You should now have a smooth pattern on each face with no exposed adhesive.
Step 6: Trim and Finish the Edges
Inspect both long edges and trim away narrow areas where one layer extends beyond the other. A metal ruler and cutting mat can produce an especially crisp line, but scissors are sufficient if you use long, steady cuts rather than a series of tiny snips.
Round all four corners slightly. Rounded ends are more comfortable, resist peeling, and are less likely to catch on sleeves. You do not need dramatic semicircles; removing the sharp corner with a small curved cut is enough.
Flex the strip gently several times to soften it. Do not crease it sharply, because a hard fold can create a permanent bump. The goal is a natural curve that follows the wrist.
Step 7: Add the Reversible Closure
Lay the bracelet flat with Design A facing up. Attach the hook half of the fastener near the left end on Design A. Turn the bracelet over and attach the loop half near the right end on Design B. Leave about 1/4 inch between each fastener and the end of the band.
This opposite-face placement is the secret to a reversible closure. With Design A facing outward, wrap the right end over the left so the fasteners meet. To wear Design B outward, flip the band and reverse the direction of the overlap. The same two fastener pieces will meet again.
Press adhesive-backed fasteners firmly for the amount of time recommended on their packaging. If their adhesive does not bond well to the tape’s coated surface, reinforce each fastener with a small piece of strong double-sided tape. Avoid staples, which can leave sharp metal points near the skin.
Step 8: Test Both Sides and Make Final Adjustments
Wrap the bracelet around your wrist with Design A showing and close it. It should remain secure while allowing comfortable movement. Flip it and repeat with Design B facing outward.
If the bracelet is too loose, move one fastener inward before its adhesive fully sets. If it is slightly long, trim an equal amount from the appropriate end, round the new corners, and reposition the fastener. If it feels tight, make a new, longer band rather than forcing the closure; a bracelet should accessorize your wrist, not negotiate its surrender.
Finally, check that no adhesive is exposed and that every edge feels smooth. Your reversible duct tape bracelet is now ready to wear.
Design Ideas for a Truly Two-in-One Bracelet
Day-and-Night Combination
Use a bright geometric print on one side and matte black on the other. The patterned surface works for casual outfits, while black creates a simpler evening look.
Team or School Colors
Pair two school colors or place a solid color opposite a team-inspired pattern. Small tape cutouts can form initials, numbers, stripes, or simple mascots, provided they are pressed flat and do not interfere with the closure.
Best-Friend Bracelets
Create two bands using the same pair of tapes but reverse their dominant designs. Each friend receives a coordinated bracelet without the set looking completely identical.
Holiday Designs
Combine a seasonal pattern with a versatile solid color. A snowflake bracelet backed with silver remains wearable after the holiday decorations have returned to their boxes.
Minimalist Color Blocking
Patterns are optional. Two solid colors can produce a sleek reversible cuff. Navy and white, red and black, or lavender and gray offer strong contrast without making the wrist look like it won an argument with a confetti cannon.
Common Problems and Simple Fixes
The Tape Wrinkles During Assembly
Peel the layers apart only as far as necessary, then reapply the upper strip gradually. Prevent future wrinkles by lowering one inch at a time and smoothing in a single direction.
The Edges Feel Sticky
Trim the band until both layers are flush. For a very narrow exposed line, press a matching sliver of tape over the area and trim it carefully. Completely wrapping the edges in a third color is possible, but the border will appear on both sides.
The Fastener Keeps Falling Off
Clean the bracelet surface and replace the fastener with a fresh adhesive-backed piece. Press it firmly and allow its adhesive to set before repeatedly opening the bracelet. Pull the fastener faces apart from their edges rather than yanking the band itself.
The Bracelet Is Stiff
Roll it loosely around a cylindrical object, such as a clean marker, for a few minutes. This encourages a curve without creating a hard crease. Standard craft duct tape will also soften somewhat through normal wear.
The Pattern Does Not Line Up
Perfect pattern alignment is unnecessary because each face is viewed independently. Concentrate on keeping the physical edges straight. If a stripe is noticeably crooked, treat it as “dynamic asymmetry,” a phrase that has rescued many crafts from the recycling bin.
Care and Storage Tips
Wipe the bracelet with a lightly damp cloth and dry it promptly. Although duct tape has a moisture-resistant surface, this handmade jewelry should not be soaked, washed in a machine, or worn while swimming.
Store the bracelet flat or in a loose circle away from direct sunlight and high heat. Excessive heat can soften pressure-sensitive adhesive and cause the layers or fasteners to shift. Keep the hook-and-loop pieces closed during storage so they do not collect fibers.
Replace the bracelet if its layers separate, the fastener no longer holds, or an edge becomes rough. Fortunately, making a replacement takes less time than finding a missing earring back.
Maker Experiences: Lessons That Improve the Finished Bracelet
The first lesson many makers discover is that measuring the wrist and measuring the bracelet are not quite the same task. A strip cut to the exact wrist circumference may look mathematically impressive while being practically impossible to close. The extra overlap is not wasted material; it provides room for the fastener and lets the wrist move comfortably. Testing a paper strip before cutting decorative tape is an excellent strategy when making bracelets for several people.
Alignment is the moment that separates a polished bracelet from one that looks as though it survived a small adhesive tornado. Beginners often try to join both layers in midair. That approach usually creates wrinkles, exposed glue, or a mysterious curve in an otherwise straight band. Keeping the lower strip on a flat surface and lowering the upper strip from one end produces much more consistent results.
Another common experience concerns patterned tape. Large motifs can disappear when the tape is cut into a narrow band. A roll featuring enormous flamingos may become a bracelet decorated with several pink knees and one confused beak. Small repeating prints, narrow stripes, dots, plaids, and compact geometric designs generally remain recognizable at bracelet scale. Before cutting, unroll enough tape to choose the most attractive section of the pattern.
Fastener placement also rewards patience. If both hook-and-loop pieces are placed on the same face, the bracelet may close in one configuration but lose its reversible function. Temporarily positioning the fasteners and wrapping the band in both directions helps confirm the arrangement. Once both sides work, the pieces can be pressed down permanently.
Comfort improves dramatically when the corners are rounded. Square corners may look tidy on the table but can catch on sweaters or poke the wrist during typing. A very small curved cut solves the problem without noticeably shortening the bracelet. Smoothing the laminated band over the edge of a table or around a marker also helps it conform naturally to the arm.
Group craft sessions reveal another useful trick: prepare individual material stations before anyone touches the tape. Each station can include two premeasured strips, a pair of fasteners, scissors, and wax paper. This reduces tangles and prevents one enthusiastic participant from converting an entire roll into something that can only be described as a sticky abstract sculpture.
Finally, reversible bracelets tend to inspire experimentation. Once the basic band works, makers often try narrower stacked bracelets, coordinated sets, removable tape emblems, or color combinations matched to events. The strongest results still follow the same fundamentals: accurate sizing, gradual lamination, smooth edges, and correctly placed fasteners. Creativity supplies the personality, but careful construction keeps that personality attached to the wrist.
Conclusion
Learning how to make a reversible duct tape bracelet takes only eight straightforward steps, yet the project offers nearly unlimited design possibilities. Two coordinated tapes, careful alignment, comfortable sizing, and an opposite-face hook-and-loop closure transform an everyday repair material into wearable two-sided jewelry.
Start with a simple color combination, test both orientations before securing the closure, and save your leftover tape for a matching set. The result is inexpensive, customizable, and much more fashionable than anything normally associated with a toolbox.