
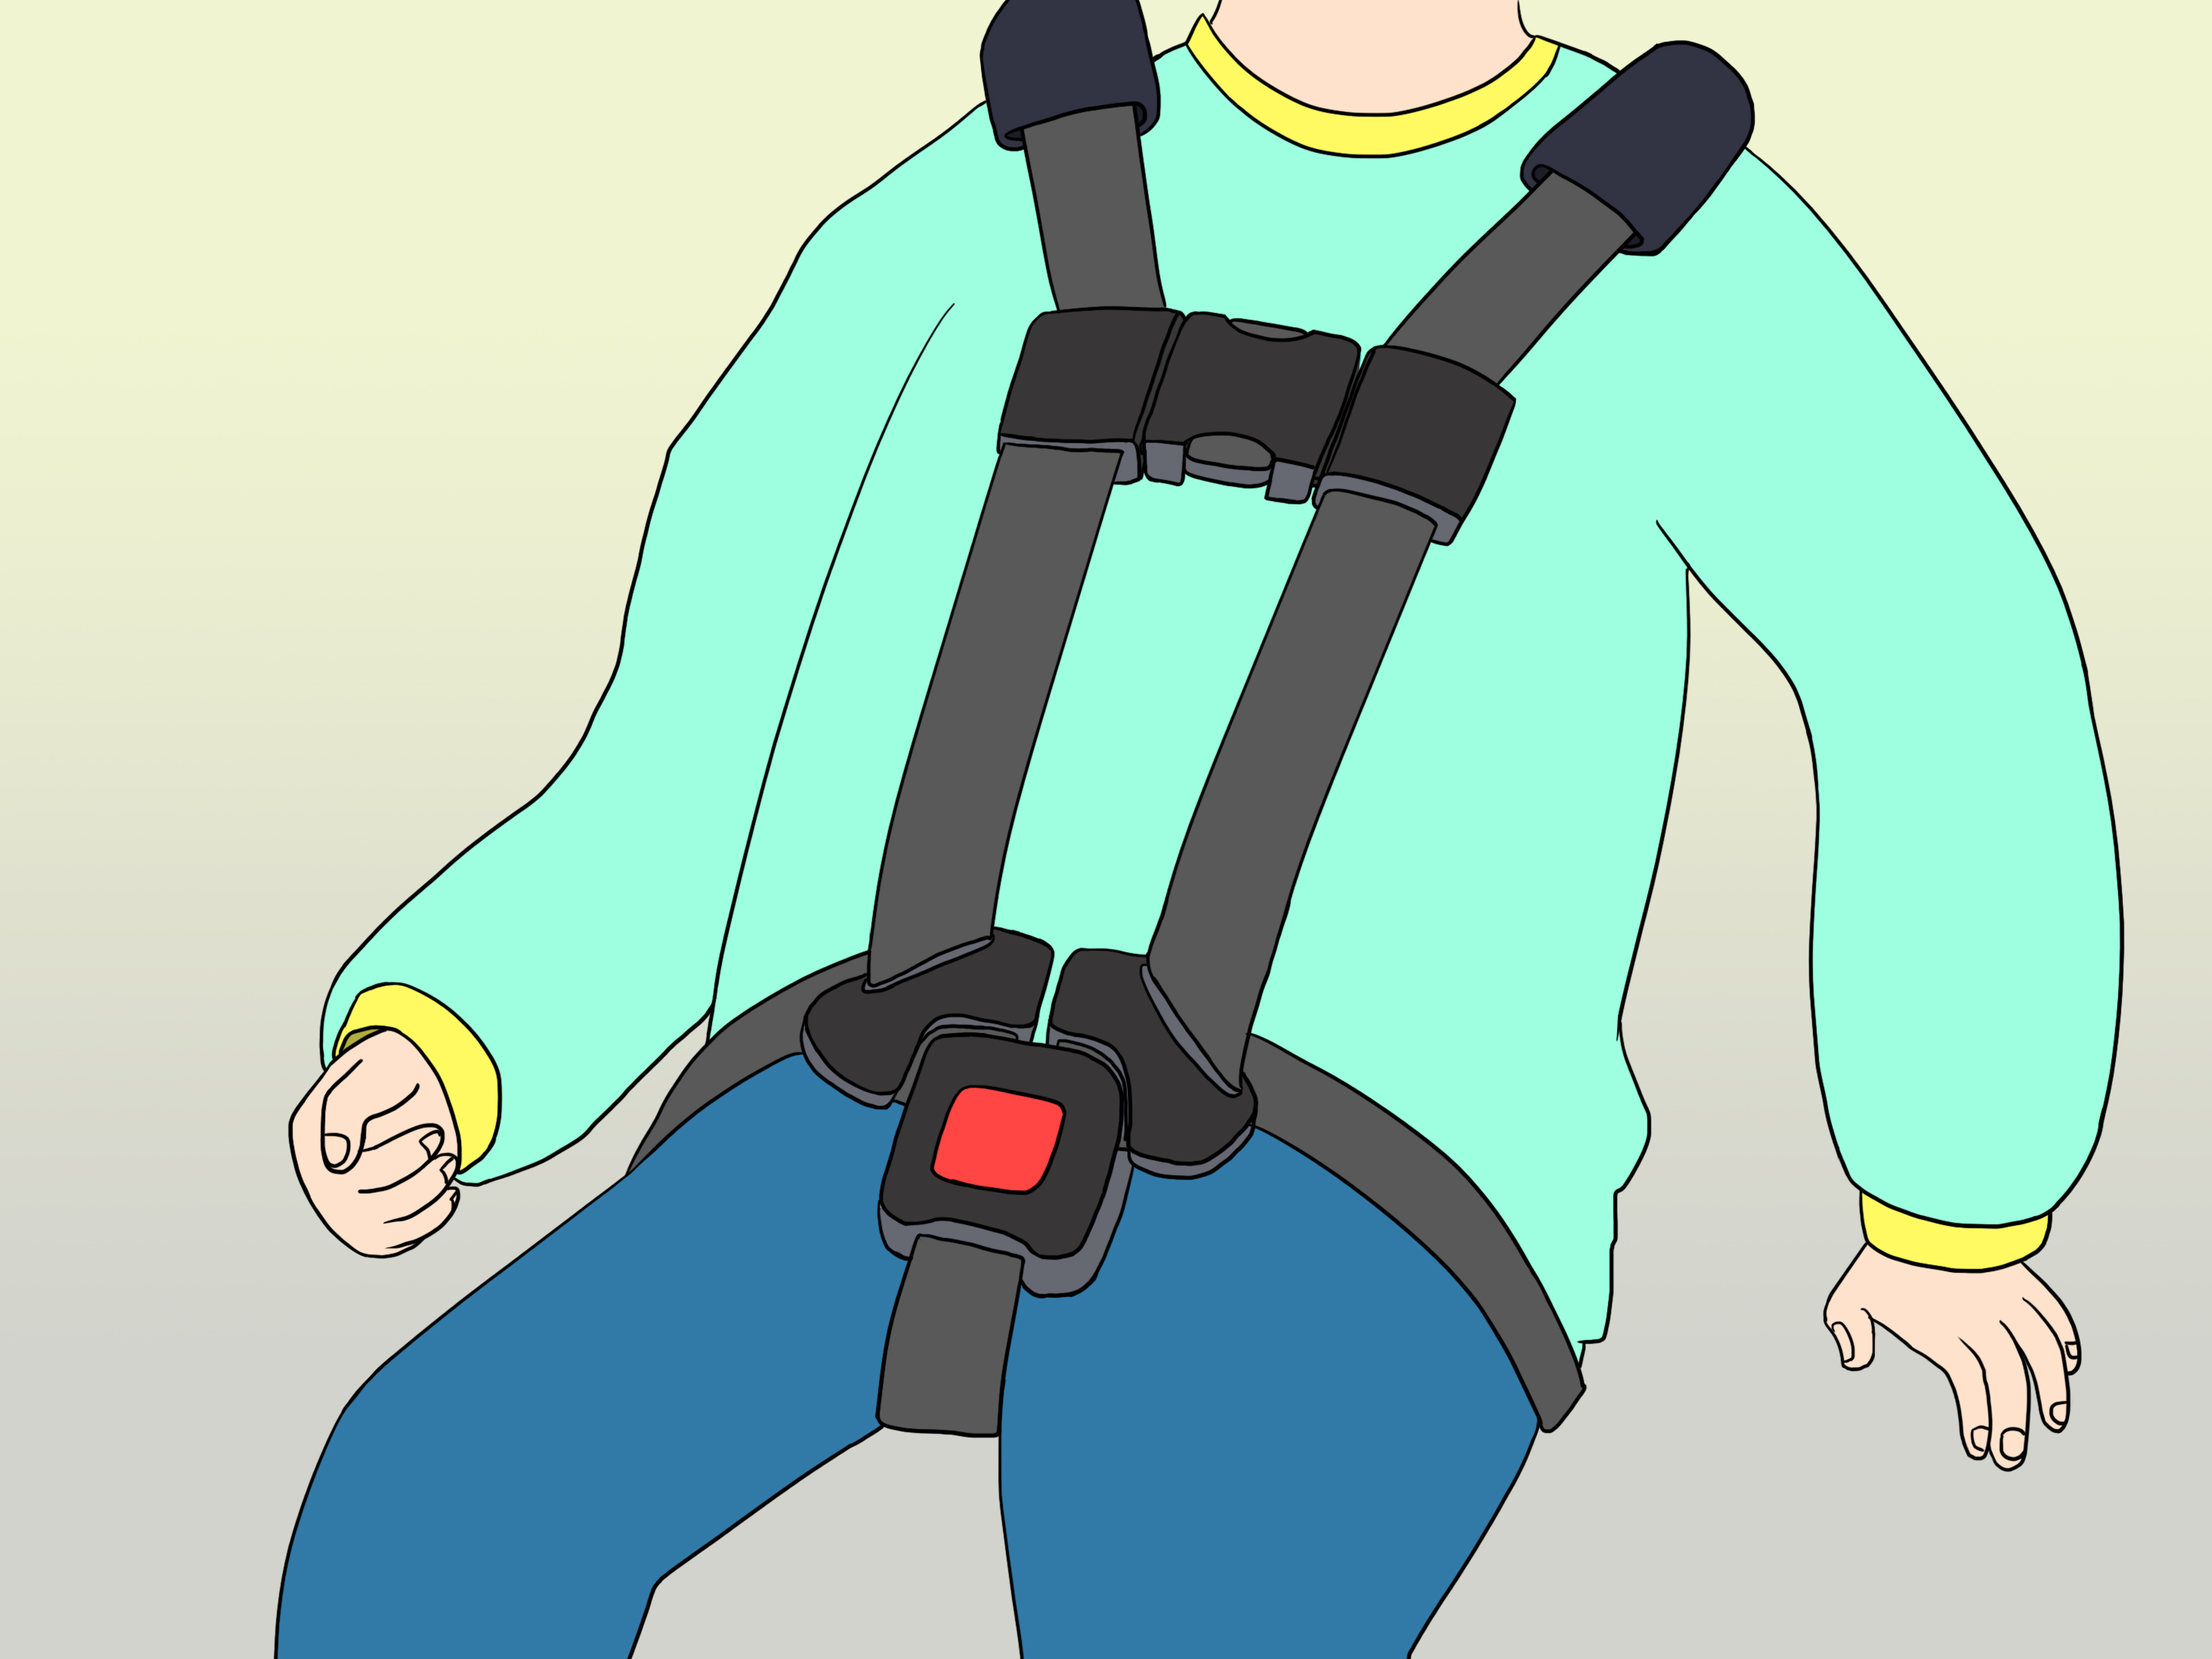
Installing a car seat can feel like assembling furniture without the tiny Allen wrench, except the stakes are much higher and the instruction manual somehow has more diagrams than a space shuttle launch. The good news? You do not need to be a mechanic, engineer, or professional contortionist to do it correctly. You do need patience, the right seat for your child, your car seat manual, your vehicle owner’s manual, and a willingness to test the installation like you mean it.
This guide explains how to safely install a car seat in both rear-facing and front-facing positions, using current U.S. child passenger safety guidance. It covers seat selection, LATCH versus seat belt installation, harness fit, recline angle, top tether use, common mistakes, and real-world parent experience. The goal is simple: help your child ride safer every time, whether you are driving across town or making the legendary “quick errand” that somehow becomes a three-stop expedition.
Why Proper Car Seat Installation Matters
A car seat is designed to manage crash forces, support a child’s head, neck, and spine, and keep the child properly positioned during a sudden stop or collision. But it can only do that job well when it is installed and used correctly. Many car seats are misused in everyday life, often because the seat is too loose, the harness is too slack, the recline angle is wrong, or the wrong belt path is used.
That sounds intimidating, but it is fixable. Most installation problems come from small details: not locking the seat belt, forgetting the forward-facing tether, routing the belt through the wrong path, or checking movement from the top of the seat instead of at the belt path. Once you understand those details, the process becomes much less mysterious. Still annoying? Sometimes. But mysterious? Not anymore.
Rear-Facing vs. Front-Facing: Which Direction Is Right?
The safest rule is to keep your child rear-facing as long as allowed by the height and weight limits of the car seat. Rear-facing seats support the child’s head, neck, and spine by spreading crash forces across the back of the seat. This is especially important for babies and toddlers, whose bodies are still developing.
A child should move to a forward-facing car seat only after outgrowing the rear-facing limits listed by the car seat manufacturer. Do not rush this transition because your toddler’s legs look bent. Kids are tiny yoga instructors by nature. Bent legs are usually not a safety problem; outgrowing the manufacturer’s height or weight limit is.
Rear-Facing Car Seats
Rear-facing seats include infant seats, convertible seats, and all-in-one seats. Infant seats are typically portable and click into a base. Convertible and all-in-one seats usually stay installed in the vehicle and can often be used rear-facing for a longer period because they have higher size limits.
Front-Facing Car Seats
Forward-facing seats use a harness and should be installed with a top tether whenever the seat and vehicle allow it. The tether is not decorative. It is not a mystery strap. It helps limit how far the top of the car seat moves forward in a crash, which helps protect the child’s head and neck.
Before You Install: Read Two Manuals
Yes, two. Not one. Not “I watched a video once.” You need the car seat manual and the vehicle owner’s manual. The car seat manual tells you how that specific seat works: recline positions, belt paths, harness settings, LATCH limits, and whether accessories are allowed. The vehicle manual tells you where lower anchors and tether anchors are located, how the seat belts lock, and which seating positions are approved for child restraints.
This matters because not every vehicle seat works the same way. Some center seats do not have dedicated lower anchors. Some tether anchors are hidden behind covers, under flaps, or in locations that seem designed by someone who enjoys scavenger hunts. Your manual is the treasure map.
Choose the Safest Seating Position
Children under 13 should ride in the back seat. For a car seat, the safest position is the one where you can get a correct, tight installation and use the seat exactly as the manufacturer requires. Many families assume the center rear seat is always best, and it can be a great option because it is farther from side impacts. However, the best position is not “center at any cost.” If the center seat gives you a loose or incompatible installation, use an outboard rear seat where the car seat fits securely.
Never place a rear-facing car seat in front of an active passenger air bag. An inflating air bag can strike the back of a rear-facing seat with dangerous force. If your vehicle has special rules for air bags, advanced passenger sensors, or small back seats, check the manual before installing.
How to Install a Rear-Facing Car Seat
Rear-facing installation can be done with either the vehicle seat belt or the lower anchors, commonly called LATCH. In most cases, one method is not automatically safer than the other. The safer method is the one that gives you a correct installation according to both manuals. Unless your car seat specifically allows it, do not use the seat belt and lower anchors together. This is not a “belt and suspenders” moment; it is a “follow the manual” moment.
Step 1: Set the Correct Recline Angle
Rear-facing seats must be reclined at the correct angle. Newborns and young infants often need a more reclined position to help keep the airway open, while older children may be allowed to sit more upright depending on the seat instructions. Look for the level line, bubble indicator, or angle marker on the car seat. Park on level ground before checking it. If you check the recline on a hill, the seat may lie to you with confidence.
Step 2: Route the Belt Through the Rear-Facing Belt Path
Car seats have different belt paths for rear-facing and forward-facing use. Make sure the seat belt or lower anchor strap goes through the rear-facing belt path. This path is usually marked with labels or color coding. Double-check before tightening, because using the wrong belt path can make the seat unsafe even if it feels tight.
Step 3: Lock and Tighten the Installation
If you use the seat belt, the belt must be locked. Some vehicles lock at the retractor when you slowly pull the shoulder belt all the way out and let it feed back in. Some car seats have built-in lock-offs. Some vehicles use locking latchplates. This is exactly why the vehicle manual matters. Press down where the child’s body would sit and pull the belt or anchor strap tight. You are not trying to crush the vehicle seat into another dimension, but firm pressure helps remove slack.
Step 4: Do the One-Inch Test
Hold the car seat at the belt path with your non-dominant hand and try to move it side to side and front to back. A properly installed seat should not move more than one inch at the belt path. Do not test movement at the top of a rear-facing seat; that part may naturally move. The belt path is the exam desk, and that is where the grade is earned.
Step 5: Check the Harness Fit
For rear-facing children, harness straps usually come from at or below the child’s shoulders. Buckle the harness, place the chest clip at armpit level, and tighten until you cannot pinch extra strap webbing at the shoulder. The harness should lie flat, not twisted. Twisted straps are like tangled headphones: annoying in normal life, unacceptable when safety matters.
How to Install a Front-Facing Car Seat
Once your child has outgrown the rear-facing limits, a forward-facing car seat with a harness is the next stage. Forward-facing installation uses either the seat belt or lower anchors to secure the seat, plus the top tether. The top tether is one of the most important parts of forward-facing installation because it reduces forward movement of the seat in a crash.
Step 1: Convert the Seat Correctly
If you are using a convertible or all-in-one seat, switch it from rear-facing mode to forward-facing mode exactly as the manual describes. This may mean changing the recline setting, moving the lower anchor strap to a different belt path, adjusting the harness height, removing infant inserts, or changing the buckle position. Do not assume the seat automatically transforms like a superhero. It needs your help.
Step 2: Position the Harness at or Above the Shoulders
For forward-facing use, harness straps generally come from at or above the child’s shoulders. This is different from rear-facing use. Check your manual for your exact seat. The chest clip still belongs at armpit level, and the harness still needs to pass the pinch test.
Step 3: Use the Forward-Facing Belt Path
Route the seat belt or lower anchor strap through the forward-facing belt path. This path is often behind the child’s back area. Make sure there are no twists, then buckle or connect the anchors. If using the seat belt, lock it according to your vehicle or car seat instructions.
Step 4: Tighten at the Belt Path
Push the car seat firmly into the vehicle seat while pulling the belt or anchor strap tight. Then test movement at the belt path. The seat should not move more than one inch side to side or front to back. If it moves more, tighten again, change your angle of pull, or try the seat belt instead of lower anchors if permitted.
Step 5: Attach and Tighten the Top Tether
Find the vehicle’s tether anchor, attach the tether hook, and tighten the strap. Tether anchors may be on the rear shelf, seat back, floor, cargo area, or ceiling depending on the vehicle. Do not attach the tether to a random cargo hook unless your vehicle manual says it is an approved tether anchor. Random hooks are for groceries, not crash forces.
LATCH vs. Seat Belt: Which Should You Use?
LATCH was designed to make car seat installation easier, but it is not always easier in every vehicle. Seat belts are also safe when used correctly. Choose the method that produces a secure installation and is allowed by both the vehicle and car seat manufacturers.
Pay attention to lower anchor weight limits. Many forward-facing seats require you to stop using lower anchors once the child and car seat together exceed a specified limit. When that happens, switch to a locked seat belt installation and keep using the top tether if allowed. The tether remains important even when the seat belt is doing the main holding job.
Common Car Seat Installation Mistakes
- Using the wrong belt path: Rear-facing and forward-facing paths are not interchangeable.
- Leaving the seat too loose: More than one inch of movement at the belt path means the installation needs work.
- Forgetting the top tether: Forward-facing seats should use the tether according to the seat and vehicle manuals.
- Harness too loose: If you can pinch strap webbing at the shoulder, tighten it.
- Chest clip too low: Keep the clip at armpit level.
- Bulky coats under the harness: Thick clothing can compress in a crash and leave the harness too loose. Use thin layers and place blankets or coats over the buckled harness.
- Using expired or unknown-history seats: Avoid seats that are expired, recalled, missing parts, or have been in a moderate or severe crash.
Car Seat Safety Checks After Installation
After installing the seat, run through a quick checklist. Is the seat appropriate for the child’s age, height, weight, and developmental stage? Is it installed in the back seat? Is the belt or lower anchor strap routed through the correct belt path? Is the seat belt locked or the lower anchor strap tight? Does the seat move less than one inch at the belt path? Is the harness flat, snug, and correctly positioned? Is the chest clip at armpit level? For forward-facing, is the top tether attached and tightened?
Also register your car seat with the manufacturer so you can receive recall notices. Keep the manual in a safe place, or download a digital copy from the manufacturer’s website. Check the seat labels for the model number, manufacture date, and expiration date. A car seat is not a family heirloom like grandma’s cookie recipe. It has a service life.
When to Get Help From a Certified Technician
If you are unsure, get a car seat check from a nationally certified Child Passenger Safety Technician, often called a CPST. A good technician does not simply install the seat for you and send you away. They teach you how to do it yourself, explain what needed adjusting, and help you understand your seat and vehicle combination.
This is especially useful if you have a newborn, a preemie, a child with medical needs, three car seats across one row, a vehicle with unusual seat belts, or a car seat that seems to fight back like it has a personal grudge. A second set of trained eyes can turn confusion into confidence.
Real-World Experience: What Parents Learn the Hard Way
The first lesson many caregivers learn is that “tight” is not a vibe; it is a measurement. A car seat can feel sturdy when you shake the top but still be loose at the belt path. The one-inch test keeps you honest. Always test where the belt or anchor strap actually holds the seat. Once parents learn this, they often realize their installation was close, but not quite there.
The second lesson is that the best car seat is not always the fanciest car seat. A premium seat with seventeen cup holders, luxury fabric, and a name that sounds like a spaceship is not automatically safer if it does not fit your vehicle well. A simpler seat that installs tightly, fits your child, and is used correctly every ride can be the better choice. Safety is not about showing off in the preschool pickup line.
The third lesson is that switching from rear-facing to forward-facing should not be treated like a birthday milestone. Some parents think age two means automatic forward-facing day. In reality, the better approach is to follow the rear-facing height and weight limits of the car seat. Many convertible seats allow children to remain rear-facing beyond age two. If your child still fits safely rear-facing, there is usually no need to rush.
The fourth lesson is that installation changes as children grow. Harness height changes. Buckle position may change. Recline rules may change. Lower anchor limits may become relevant. A seat that was perfect six months ago may need adjustments today. Children grow quietly until one morning their pants are too short, their shoes are suspiciously small, and their harness straps are suddenly coming from the wrong slot.
The fifth lesson is that moving a seat between cars increases the chance of mistakes. If possible, keep a properly installed seat in each regular vehicle. If you must move a seat often, give yourself extra time and avoid doing it while late, hungry, or standing in the rain. Car seats and panic are not a charming couple.
The sixth lesson is about winter. Bulky coats under the harness can create dangerous slack. A better routine is thin, warm layers under the harness, then a blanket or coat over the buckled child. It may feel odd at first, but it keeps the harness close to the body where it can do its job.
The seventh lesson is that grandparents, babysitters, and rideshare helpers need instructions too. If another adult transports your child, show them how the seat is installed and how the harness should fit. Leave a simple checklist in the car. A kind caregiver with the best intentions can still make mistakes if nobody explains the details.
The eighth lesson is that confidence comes from repetition. The first installation may take thirty minutes, two manuals, and one dramatic sigh. The fifth installation feels easier. By the tenth, you may still sweat a little, but you will know what to check. That confidence is valuable because car seat safety is not a one-time project; it is part of everyday travel.
Final Thoughts
Learning how to safely install a car seat is one of those parenting skills that feels complicated until the key rules click. Keep children rear-facing as long as their seat allows. Move to forward-facing only after they outgrow rear-facing limits. Use the correct belt path. Lock and tighten the installation. Check for less than one inch of movement at the belt path. Use the top tether for forward-facing seats. Keep the harness snug, flat, and correctly positioned. When in doubt, read the manuals and ask a certified technician for help.
A correctly installed car seat is not about perfectionism; it is about protection. Every careful adjustment, every harness check, every tether connection, and every “wait, let me test that again” moment helps your child ride safer. And yes, once the seat is installed correctly, you are fully allowed to celebrate with coffee. Preferably while it is still warm, though parents know that may be the boldest safety fantasy of all.













