
Important note: Industrial piercings pass through ear cartilage and involve two connected holes, which makes them more complex than a simple lobe piercing. This article is written for searchers who are curious about the process, but the safest recommendation is clear: do not self-pierce an industrial at home. A professional piercer can assess your ear anatomy, use sterile equipment, place the jewelry correctly, and reduce the risk of infection, scarring, rejection, and long-term cartilage damage.
An industrial piercing has a certain rock-star energy. It says, “Yes, I own a tiny metal bridge on my ear, and yes, I probably have better playlists than you.” But behind the cool look is a piercing that requires precision, anatomy knowledge, sterile technique, and patience. Unlike a single ear piercing, an industrial usually connects two cartilage piercings with one straight barbell, often across the upper ear. That means alignment mattersa lot. If the angle is off, the jewelry can press, migrate, irritate, or refuse to heal like a stubborn houseplant with attitude.
So, if you are searching for “how to self pierce an industrial,” the most useful answer is not a risky DIY tutorial. The better answer is a safety-first, realistic guide that explains what to do instead, what to know before getting pierced, and how to protect your ear before and after the appointment. Think of this as the nine-step guide your future ear will thank you for.
What Is an Industrial Piercing?
An industrial piercing is usually two cartilage piercings connected by a single piece of jewelry, most commonly a long straight barbell. The classic placement runs diagonally across the upper ear, from the forward helix area to the outer helix. However, not every ear is built for a traditional industrial. Ear shape, cartilage ridge, fold depth, and available space all affect whether the piercing will sit comfortably.
This is one of the biggest reasons self-piercing is a bad idea. A professional piercer does not just poke two holes and hope the jewelry behaves. They check whether your ear can support the piercing, mark the angles, choose suitable jewelry length, and make sure the bar will not dig into the flat of your ear. A poorly placed industrial can cause pressure bumps, prolonged irritation, scarring, migration, or the dreaded “why does my ear hate me?” phase.
Why Self-Piercing an Industrial Is Risky
Cartilage piercings are more sensitive than lobe piercings because cartilage has less blood flow. Less blood flow can mean slower healing and a higher chance that infection becomes serious if it starts. Industrial piercings also create two wounds connected by one bar, so irritation at one end can affect the entire piercing.
Common risks of attempting an industrial piercing at home include infection, bleeding, allergic reaction, incorrect placement, embedded jewelry, cartilage trauma, keloid or hypertrophic scarring, and long healing delays. Using unsterile tools, touching the wound with unwashed hands, choosing low-quality jewelry, or piercing at the wrong angle can turn a cool style choice into a medical problem. Spoiler: your bathroom mirror is not a sterile piercing studio, no matter how confidently it reflects your determination.
How to Self Pierce an Industrial: 9 Safer Steps to Follow Instead
The following nine steps are designed as a safer alternative to self-piercing. They satisfy the real intent behind the search: getting an industrial piercing while avoiding unnecessary harm.
Step 1: Understand That Industrial Piercings Are Not Beginner Piercings
Before you do anything, know what you are signing up for. An industrial piercing is more advanced than a lobe piercing because it involves cartilage, alignment, and pressure management. The barbell needs to pass through two separate piercings at a compatible angle. If one hole is too high, too low, too shallow, or too deep, the jewelry may pull against the tissue.
This is why a professional evaluation matters. A good piercer may tell you that a traditional industrial will work beautifully. They may also suggest a modified industrial, two separate helix piercings, a chain industrial, or another ear project that fits your anatomy better. That is not rejectionit is expertise doing its job.
Step 2: Check Your Ear Anatomy Before Falling in Love With the Look
Not every ear can safely support a straight industrial bar. The upper ear needs enough defined cartilage structure for both piercing points, and the bar should not press into the flat inner cartilage. If the bar touches the middle of the ear, it can create constant pressure, irritation, and delayed healing.
Professional piercers look at the ridge, fold, angle, and thickness of your ear. They also check whether glasses, headphones, helmets, work equipment, or sleeping habits may interfere with healing. If you wear over-ear headphones daily or sleep like a dramatic Victorian fainting onto one side, mention it during your consultation.
Step 3: Choose a Reputable Piercing Studio
A safe industrial piercing starts with the studio. Look for a clean, professional environment with trained piercers who use sterile, single-use needles and sterilized jewelry. The studio should be willing to answer questions about hygiene, jewelry materials, aftercare, and healing expectations without acting annoyed. If asking about sterilization makes them roll their eyes, roll yourself right out the door.
Good signs include sealed sterile tools, gloves, disinfected surfaces, sharps disposal containers, clear aftercare instructions, and an autoclave or proper sterilization system. The piercer should mark your ear, explain placement, and give you a chance to review the angle before the piercing happens.
Step 4: Avoid Piercing Guns for Cartilage
Piercing guns are not appropriate for industrial piercings. Cartilage should be pierced with proper sterile piercing needles by a trained professional. Guns can cause blunt-force trauma, create uneven holes, and are not designed for the precision required by an industrial piercing.
If a location offers to do an industrial with a piercing gun, consider that your cue to leave gracefully. Or dramatically. Your choice.
Step 5: Choose Safe Starter Jewelry
Jewelry quality matters. For a fresh industrial piercing, many professional piercers recommend implant-grade titanium, niobium, solid 14k or higher gold that is suitable for body jewelry, or other high-quality materials used for initial piercings. Nickel-containing jewelry can trigger allergic reactions in some people, and cheap mystery metal is not a personality trait your immune system appreciates.
The jewelry must also be the correct length and thickness. A bar that is too short can compress swelling tissue. A bar that is too long can snag on hair, clothing, towels, or masks. Your piercer will usually choose jewelry that allows room for initial swelling, then may recommend downsizing later once swelling decreases.
Step 6: Prepare Your Body Before the Appointment
Before getting an industrial piercing, eat a real meal, drink water, and avoid showing up exhausted. Piercing on an empty stomach can increase the chance of feeling lightheaded. Wear comfortable clothing and style your hair away from the ear being pierced. Bring any glasses, earbuds, or protective gear you use often so the piercer can consider placement.
Do not attempt to numb, ice, squeeze, twist, or “pre-clean” your ear with harsh products before the appointment. Also, avoid alcohol before getting pierced. Your goal is to arrive calm, fed, hydrated, and readynot operating on caffeine fumes and chaotic confidence.
Step 7: Follow Professional Aftercare Exactly
Aftercare is where many piercings either thrive or stage a tiny rebellion. Most professional aftercare guidance recommends washing your hands before touching the piercing and cleaning with sterile saline wound wash. Avoid rotating or twisting the jewelry. That old advice belongs in the same museum as dial-up internet sounds.
Do not use hydrogen peroxide, rubbing alcohol, ointments, tea tree oil, or random kitchen remedies on a healing industrial piercing unless a qualified healthcare professional tells you to. Harsh products can irritate tissue and slow healing. After cleaning, gently dry the area with clean disposable gauze or a clean paper product. Avoid cloth towels because they can harbor bacteria and snag on jewelry.
Step 8: Protect the Piercing While It Heals
Industrial piercings can take many months to heal fully. During that time, avoid sleeping on the piercing, bumping it, changing jewelry too early, or letting hair products build up around it. Be careful with hats, helmets, headphones, masks, and shirt collars. Even one aggressive towel snag can make your piercing question your life choices.
Keep hair clean and away from the jewelry when possible. If you use hairspray, dry shampoo, gel, or fragrance near your ear, shield the piercing. Do not swim in pools, lakes, hot tubs, or oceans during the early healing period unless your piercer or healthcare professional has cleared it. Bodies of water can introduce bacteria, and your fresh piercing is essentially an open wound.
Step 9: Know When to Get Medical Help
Some tenderness, mild swelling, and light crusting can be normal in the early healing stage. However, warning signs include worsening redness, heat, severe swelling, throbbing pain, yellow or green discharge, fever, red streaks, jewelry sinking into the skin, or symptoms that improve and then suddenly return. Cartilage infections should be taken seriously because they can become more complicated than lobe infections.
If you suspect infection, do not remove the jewelry unless a healthcare professional tells you to. Removing jewelry can sometimes trap infection inside. Contact a medical professional, especially if the piercing is very painful, hot, swollen, or producing pus.
What Not to Do With an Industrial Piercing
Avoid touching the piercing for fun. Yes, it is tempting. No, your fingers are not as clean as you think. Avoid changing jewelry early, using low-quality metal, sleeping on it, picking crust, or asking every friend with a sewing needle for “help.” Your industrial piercing needs calm, cleanliness, and patiencenot a committee meeting in your bathroom.
Do not use alcohol, peroxide, antibiotic ointment, or homemade salt mixes without professional direction. Do not twist the bar to “keep it open.” Do not remove the jewelry at the first sign of irritation. And please, do not pierce through swelling, bumps, or irritated cartilage in an attempt to “fix” placement. That is not fixing; that is adding plot twists.
How Long Does an Industrial Piercing Take to Heal?
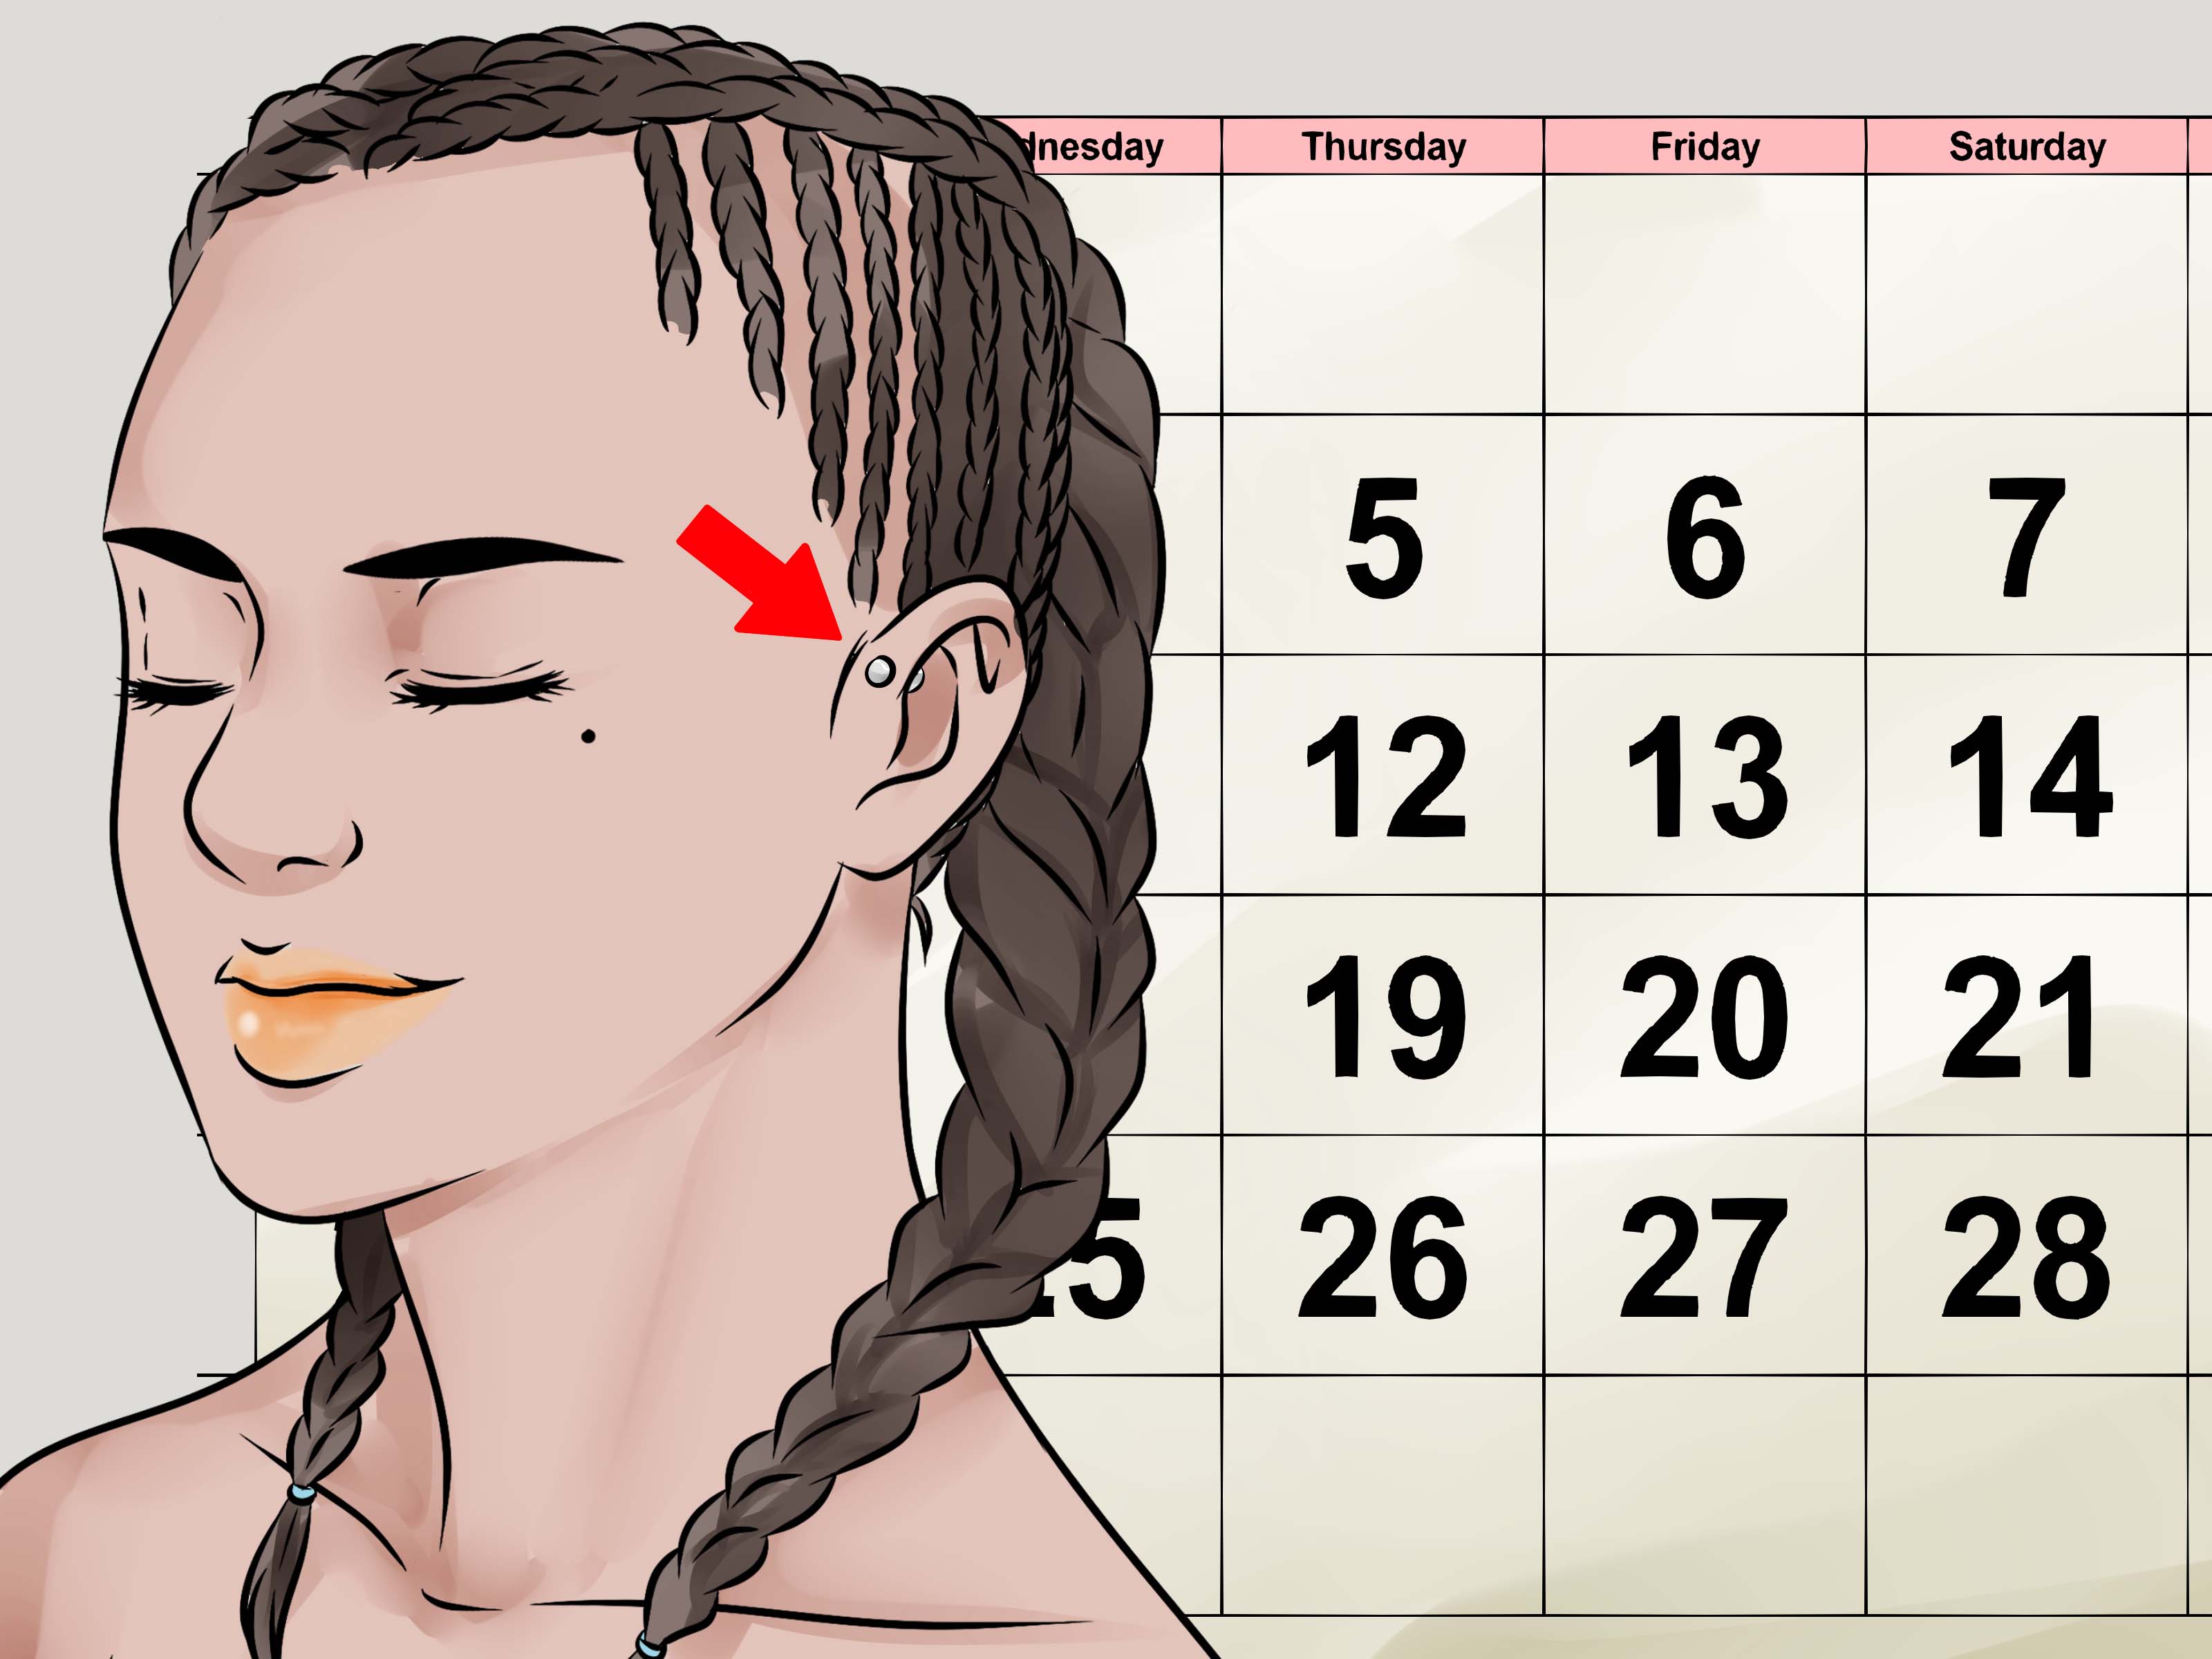
Healing time varies from person to person, but industrial piercings are known for being slow healers. Many take six months to a year, and some take longer depending on aftercare, anatomy, jewelry fit, lifestyle, and whether the piercing gets bumped or slept on. Because there are two piercings connected by one bar, irritation can travel from one side to the other.
The outside may look healed before the inside is fully stable. That is why changing jewelry too early can restart irritation. If you want new jewelry, ask your piercer when it is safe. Your ear is not being dramatic; cartilage simply heals on its own schedule.
Best Jewelry Materials for Industrial Piercings
For initial jewelry, quality is essential. Implant-grade titanium is popular because it is lightweight and often well tolerated. Niobium and properly made solid gold body jewelry may also be options. Stainless steel can be suitable in some cases, but people with nickel sensitivity should be cautious. Avoid plated jewelry, costume jewelry, and anything with unknown metal content.
The shape also matters. A straight barbell is classic, but some people need custom options due to anatomy. Decorative jewelry should usually wait until the piercing is fully healed because charms, chains, and elaborate designs can snag or add pressure.
Can You Fake an Industrial Piercing?
Absolutelyand this is a smart option if you are unsure. Faux industrial cuffs, clip-ons, and magnetic styles can help you test the look before committing to a long healing process. A fake industrial will not give you the same permanence, but it also will not require months of aftercare or a stern conversation with your cartilage.
If you love the look after wearing a faux version for a while, book a consultation with a professional piercer. If you hate it after one day, congratulations: you just saved money, healing time, and possibly your pillowcase.
Experience-Based Tips: What People Often Learn After Getting an Industrial Piercing
Many people go into an industrial piercing thinking the piercing moment will be the hardest part. In reality, the piercing itself is brief. The long game is healing. The first lesson people often learn is that industrial piercings are easy to bump. Hairbrushes become suspicious. Towels become enemies. Hoodies suddenly have too much personality. Even putting on a T-shirt can feel like a coordination exercise.
A common experience is swelling during the first few days. This is one reason properly fitted starter jewelry matters. If the bar is too tight, swelling can become uncomfortable quickly. People also learn that sleeping position is not a small detail. Side sleepers may need a travel pillow or piercing pillow so the ear can rest in the center opening without pressure. This one adjustment can make a huge difference.
Another experience is the “it looked fine yesterday” phase. Cartilage piercings can flare up after being bumped, slept on, or exposed to hair products. A piercing may look calm one week and irritated the next. That does not always mean disaster, but it does mean the piercing needs gentler treatment. Consistency wins. Clean with sterile saline, avoid touching, and reduce pressure.
People also discover that not all bumps are the same. Some bumps are irritation bumps caused by pressure or movement. Others may be related to trauma, jewelry fit, moisture, or infection. This is why guessing can be risky. A piercer can often identify whether the issue is jewelry angle, length, material, or aftercare. A healthcare professional should evaluate signs of infection.
Another real-world lesson: cheap jewelry is rarely worth it. Many people are tempted to switch to a decorative bar too early. The shiny dragon barbell may look magnificent online, but if the piercing is not healed, heavy or decorative jewelry can trigger irritation. Industrial piercings reward patience. Save the dramatic jewelry for later, when your ear has earned its retirement from healing drama.
Finally, people often learn that anatomy is everything. Some ears heal industrials beautifully. Others struggle because the bar presses on the flat of the ear or the angle creates constant tension. This is not a personal failure. It is cartilage geometry. A professional piercer can suggest alternatives that still create a bold look, such as two separate helix piercings connected with a chain after healing.
The biggest experience-based takeaway is simple: respect the piercing. An industrial can look amazing, but it is not a quick accessory like a clip-on earring. It is a healing body modification that needs planning, clean care, and patience. Treat it well, and it can become one of the coolest features on your ear. Treat it casually, and it may become a tiny metal-powered headache.
Conclusion
Searching for “how to self pierce an industrial” usually comes from excitement, curiosity, or the desire to save money. But industrial piercings are not ideal DIY projects. They involve cartilage, two connected piercing sites, careful angles, sterile tools, and jewelry that must fit your anatomy. The safest path is to skip self-piercing and work with a trained professional piercer.
A great industrial piercing starts before the needle ever appears: research the studio, check your anatomy, choose quality jewelry, understand aftercare, and prepare for a long healing period. The piercing may look bold and effortless when healed, but getting there requires patience. Your ear is not a craft project. Give it professional care, and it is far more likely to reward you with the sleek, edgy industrial look you wanted in the first place.












