
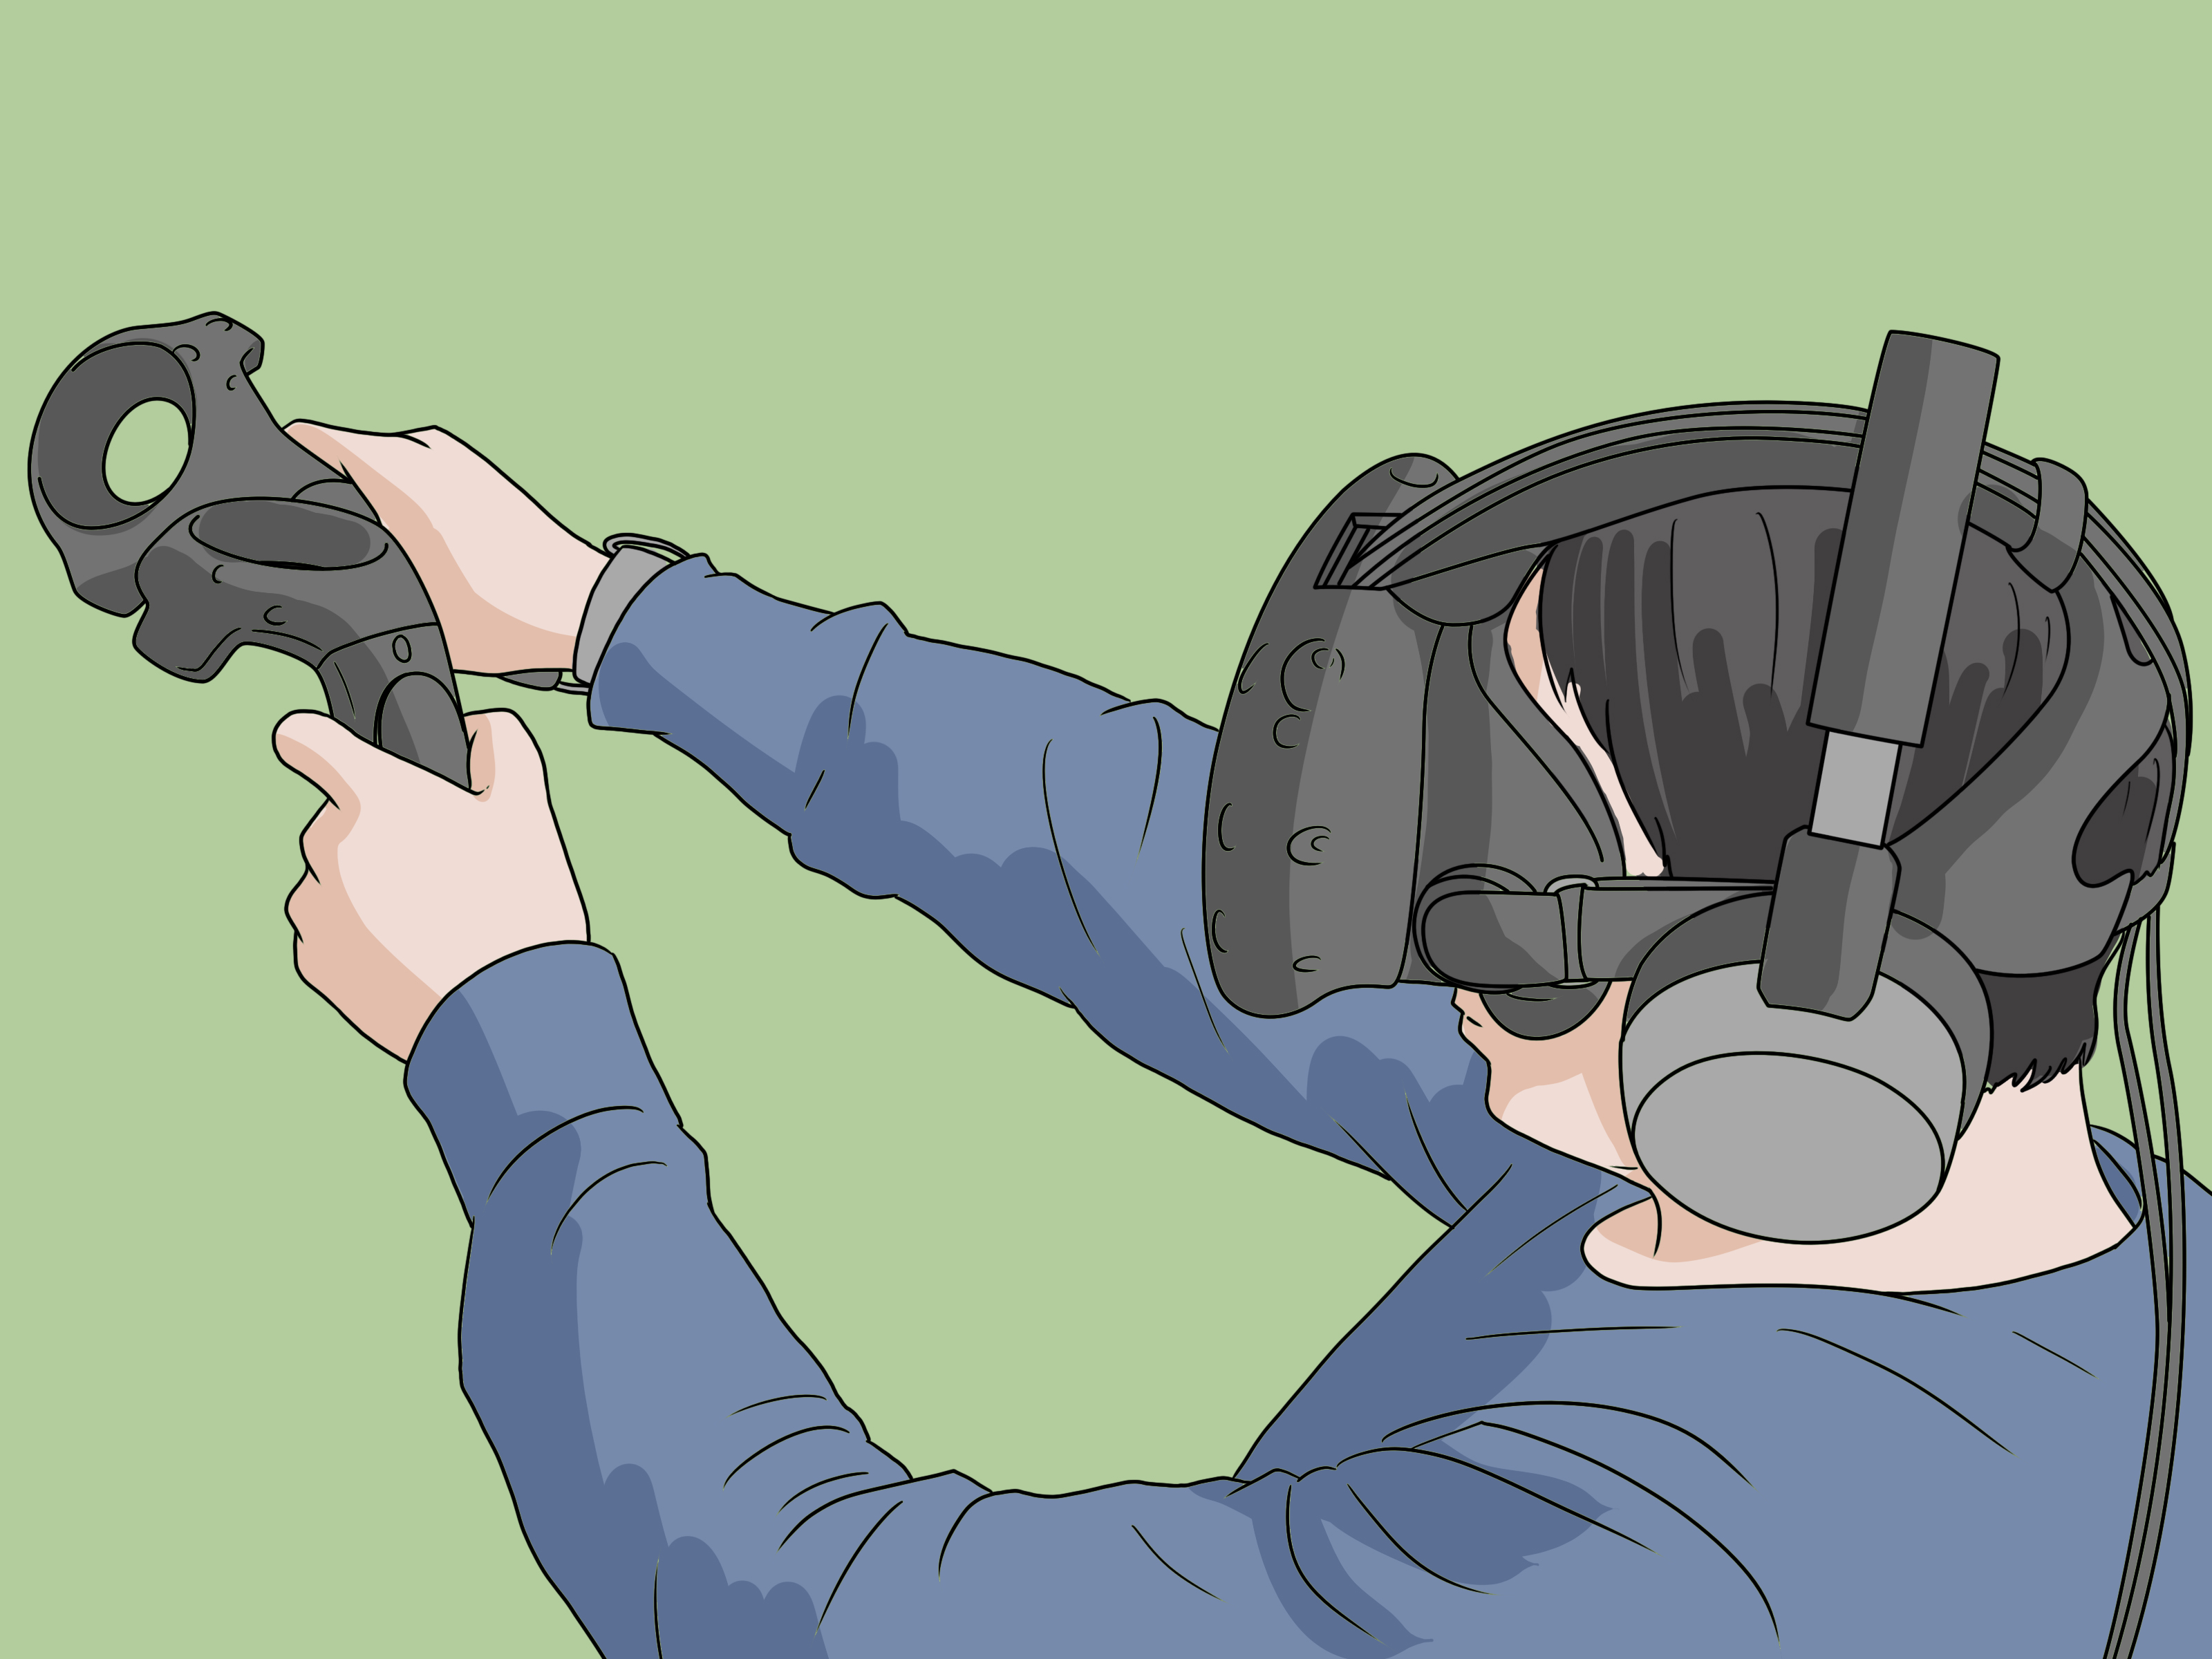
If you have just unboxed an HTC Vive, congratulations: you are about to turn a corner of your room into a spaceship, rhythm arena, art studio, fitness zone, or accidental “why did I punch the air so hard?” laboratory. The Vive is still one of the most recognizable names in PC VR, but its setup is a little more hands-on than plugging in a mouse and pretending technology is simple. The good news is that once you know the order, the whole process becomes much less intimidating.
This guide walks through exactly how to set up your HTC Vive in a way that is practical, readable, and mercifully free of robot-sounding fluff. Whether you are installing an original HTC Vive or getting a SteamVR-based Vive kit running again, the basics are the same: prepare the room, connect the hardware correctly, run SteamVR setup, dial in comfort, and fix the handful of issues that love to show up at the worst possible moment.
Before You Plug In Anything, Make Sure Your PC and Room Are Ready
Check your computer first
The Vive is a PC VR headset, which means your computer is doing the heavy lifting. If your PC is barely surviving ten browser tabs and a music app, it may not be ready to render a giant dragon two inches from your face. For classic HTC Vive hardware, the usual baseline starts with a reasonably capable CPU, a VR-ready GPU, a supported video output, and a USB port for data. In plain English: this is not the moment for a bargain-bin office machine.
Before you begin, install Steam and run the SteamVR Performance Test or, at the very least, confirm your hardware meets Vive requirements. This small step can save you from finishing a perfect setup only to discover your graphics card responds to VR with the emotional resilience of a stale cracker.
Pick the right play style
You generally have two setup options: seated/standing-only or room-scale. If you want to stay mostly in one spot, standing-only works well and asks less from your room. If you want to move around, room-scale is the better choice. A good room-scale area should be clear, open, and free from furniture, pets, cables, and coffee tables that seem harmless until you meet them at headset speed.
Give yourself enough space to stretch your arms while holding controllers without smacking a wall, lamp, or relative. The Vive is magical, but it will not repair drywall after a dramatic sword swing.
What Comes in an HTC Vive Setup?
A typical Vive kit includes the headset, a link box, headset cable, two base stations, two controllers, power adapters, and mounting hardware. Think of the link box as the headset’s traffic director. It sits between your PC and the headset, handling the connection so everything plays nicely together. The base stations handle tracking, the controllers let you interact with VR, and the headset is the part that makes your living room vanish.
Before you start, unpack everything and sort it into groups: headset parts, base station parts, controller parts, and cables. This sounds boring, which means it is exactly the kind of smart step people skip before spending twenty minutes asking why one power adapter seems to belong to literally everything.
Step-by-Step: How to Set Up Your HTC Vive
1. Install the Vive and SteamVR software
Start with software, not hardware. Download the Vive setup software from the official Vive setup page and install Steam if you do not already have it. During setup, SteamVR will also be installed or configured. This matters because SteamVR is the environment that recognizes the headset, tracks devices, runs room setup, and launches most PC VR titles.
Let the installer walk you through the process. Do not skip prompts just because you are feeling confident. VR setup has a funny way of punishing overconfidence with tiny missing checkboxes.
2. Set up the base stations first
The base stations are the secret sauce behind solid tracking. Place them diagonally across your play space, above head height, and angled downward toward the center of the area. Stability matters. If one base station is on a wobbly shelf that vibrates every time a truck passes by, your virtual world may start behaving like it had too much espresso.
Try to keep them with a clear line of sight across the room when possible. On older Vive systems, proper positioning and channel settings matter a lot. The basic goal is simple: the stations should cover the play area cleanly, without being bumped, blocked, or loosely balanced in a way that screams “temporary solution” and ends in regret.
3. Connect the link box to your PC
Now move to the link box. Connect its power cable first, then the USB cable, then the HDMI cable or compatible video connection from the PC side to your computer. The video cable should connect to your graphics card, not to the motherboard’s video output. This is one of the most common setup mistakes, and it is annoyingly effective at making a new headset look broken.
Once the PC side is connected, attach the headset side cable to the link box. If the headset cable is not seated firmly, you may get a black screen, intermittent tracking, or the classic “everything looks fine except absolutely nothing works” experience.
4. Plug in and power up the headset
With the link box connected, power on the headset and give Windows a moment to recognize the devices. SteamVR should begin to notice your hardware. If it asks to update firmware, do it before you start room setup. It is not the glamorous part of VR, but skipping firmware updates is a great way to create tomorrow’s troubleshooting session today.
5. Charge or power on the controllers
Turn on the controllers and make sure they have enough battery. If they do not pair automatically, open SteamVR, go to the Devices menu, and choose the pairing option. When pairing is successful, the controllers should show a stable connection. If one controller refuses to cooperate, restart it, confirm its charge level, and try again before assuming it has entered a lifelong grudge against you.
6. Run SteamVR Room Setup
This is the step that tells the system what your real-world space looks like. In SteamVR, choose either standing-only or room-scale. If you choose standing-only, the process is simpler and mostly defines your orientation and floor level. If you choose room-scale, you will also trace the boundaries of your available floor area.
Take the floor calibration seriously. If your floor height is wrong in VR, every game will feel subtly cursed. Put the controller on the floor when prompted, define the edges carefully, and make sure your base stations have not shifted during setup. Chaperone boundaries exist for a reason: they are the gentle warning before your desk becomes a jump scare.
How to Adjust the HTC Vive for Comfort and Clarity
Fit the headset properly
A badly fitted Vive can feel heavy, blurry, and weirdly personal in the worst way. Adjust the straps so the headset sits securely without crushing your face like it is collecting rent. The display should sit centered over your eyes, not slightly high, slightly low, or “good enough because I’m impatient.” In VR, tiny fit problems become big comfort problems fast.
Set the IPD correctly
IPD, or interpupillary distance, is the distance between your pupils. On HTC Vive headsets that support manual IPD adjustment, use the knob to bring the image into sharper focus. If the picture looks slightly off, text feels fuzzy, or your eyes get tired too quickly, IPD is often the culprit. The right setting makes everything look cleaner and more natural almost immediately.
Adjust lens distance if needed
If you wear glasses or just need a bit more room, adjust the lens distance so the lenses sit farther from your face. Keep them as close as comfortably possible for the best field of view, but not so close that your glasses scrape the lenses. That is not “breaking in the headset.” That is just heartbreak with extra steps.
Best Practices After Initial Setup
Manage the cable like a civilized human
The Vive cable is functional, but it can become a floor snake if ignored. Route it behind you when possible, use clips or a simple tether management solution if needed, and get into the habit of checking cable twist after each session. Few things break immersion faster than realizing the dragon is not the dangerous thing in the room; the dangerous thing is the loop of cable wrapped around your ankle.
Keep the tracking area clean
Reflective surfaces, moving objects, and physical clutter can all make tracking less reliable. Mirrors, shiny glass, and random items near the play area are not always a problem, but if tracking seems jumpy, they are worth checking. The cleaner and more predictable the room, the better your Vive tends to behave.
Update when prompted
Firmware and software updates may improve tracking, compatibility, and stability. They are not exciting, but they matter. A smooth VR session is often built on tiny boring updates nobody brags about on social media.
Common HTC Vive Setup Problems and How to Fix Them
Black screen in the headset
First, check the link box connections. Make sure the video cable is connected to the dedicated GPU, not the motherboard. Then inspect the headset cable and reboot SteamVR. If needed, unplug the headset and link box completely, wait a moment, and reconnect everything. This sounds suspiciously like turning it off and on again because, frankly, that advice became famous for a reason.
Base stations are not tracking properly
Confirm both base stations are powered, stable, angled correctly, and not too far apart. They should be aimed toward the center of the play area. If tracking is drifting or devices are dropping out, check for obstructions and rerun Room Setup. Also confirm the stations are not vibrating from speakers, doors, or wobbly furniture.
Controllers will not pair
Check battery level first. Then reopen SteamVR and use the pairing menu manually. If a controller still refuses to connect, restart SteamVR and the controller, then try again. Nine times out of ten, the problem is not a dramatic hardware failure; it is something annoying and fixable, which is both good news and somehow still annoying.
The floor is too high or too low in VR
This usually means Room Setup needs to be run again. Recalibrate the floor carefully and make sure the base stations have not moved. Even a small shift in their position can make your virtual floor feel like it was designed by someone who has never seen a floor before.
How to Get the Best Experience Once Everything Works
Start with a simple app or game rather than the most intense thing in your library. A tutorial experience, art tool, or rhythm game is often a better first test than launching directly into something fast and physically demanding. You want to confirm tracking, comfort, audio, and movement before you go chasing chaos.
It also helps to keep a small mat or rug centered in your play area. Many VR users use one as a physical reference point. It gives your feet a “home base” so you can tell where you are without peeking. Low-tech? Absolutely. Effective? Very.
If you share the headset, teach everyone how to adjust the fit and rerun boundary checks when needed. The Vive can feel impressively personal once it is tuned to the user, but surprisingly awkward when someone else leaves it adjusted for their giant head, tiny head, or “apparently three eyes” IPD setting.
Conclusion
Setting up an HTC Vive is not difficult so much as it is detailed. The process goes much more smoothly when you follow the right order: confirm your PC, clear the room, install the software, mount the base stations, connect the link box properly, pair the controllers, and run SteamVR Room Setup with care. After that, comfort tweaks like strap fit, IPD, and lens distance can make the difference between “this is neat” and “wow, I get it now.”
The Vive rewards patience. Spend a little extra time on clean cable routing, accurate boundary setup, and secure base station placement, and you will save yourself a lot of future troubleshooting. Once it is dialed in, the setup fades into the background and the headset gets to do what it was built for: making your room disappear in the best possible way.
Hands-On Experiences Related to Setting Up Your HTC Vive
A typical HTC Vive setup experience starts the same way for a lot of people: confidence during unboxing, confusion during cable sorting, and then a weird burst of optimism once the base stations are finally on the wall. The first surprise is usually just how physical the setup feels compared with modern plug-and-play gadgets. You are not simply installing software; you are arranging a tracked environment. It feels part gaming project, part furniture choreography, and part science fair for grown-ups.
Many first-time users say the room preparation takes longer than expected. Not because the steps are hard, but because the room suddenly looks full of hazards you never noticed before. A chair leg becomes a shin-seeking missile. A side table transforms into an expensive enemy. Even the “totally out of the way” floor lamp starts looking suspicious once you imagine swinging a controller in a game with even moderate enthusiasm. That moment is actually useful, because good Vive setup is really about building trust in the space around you.
Another common experience is the huge difference base station placement makes. When they are mounted securely and aimed well, tracking feels almost magical. When they are placed casually on unstable shelves or pointed a bit too lazily, the system may still work, but with enough hiccups to make you question reality in all the wrong ways. Users often discover that ten extra minutes spent making the stations solid and symmetrical pays off more than any shortcut later.
The first time the headset image appears correctly is a small triumph. After all the cables, adapters, updates, and controller pairing, that moment feels earned. But then comes the next learning curve: comfort. A lot of people expect the Vive to work best the instant it is on their face. In reality, the difference between “blurry and heavy” and “sharp and immersive” often comes down to strap tension, IPD adjustment, and lens distance. It is a reminder that VR gear is less like putting on headphones and more like fitting sports equipment. Small changes matter.
Then there is Room Setup, which tends to teach humility. People who rush through boundary tracing often end up with crooked virtual floors, awkward front-facing directions, or chaperone borders that feel a little too optimistic. People who slow down and calibrate carefully usually report a much better first play session. It is one of those classic tech lessons: the boring setup screen is secretly the part protecting your future fun.
Once everything is finally working, most users describe a very specific emotional flip. The setup that looked complicated an hour earlier suddenly seems logical. The link box makes sense. The base stations make sense. The cable management tricks make sense. And the moment you step into a good VR app, the entire setup process becomes easier to forgive. Not forgotten, exactly, but forgiven. Like assembling a difficult piece of furniture that somehow becomes charming once you sit in it.
That is really the HTC Vive experience in a nutshell: a little technical at the start, deeply satisfying once dialed in, and much easier the second time around. The first setup teaches you the system. After that, you stop thinking about the hardware and start thinking about where you want VR to take you next.












