
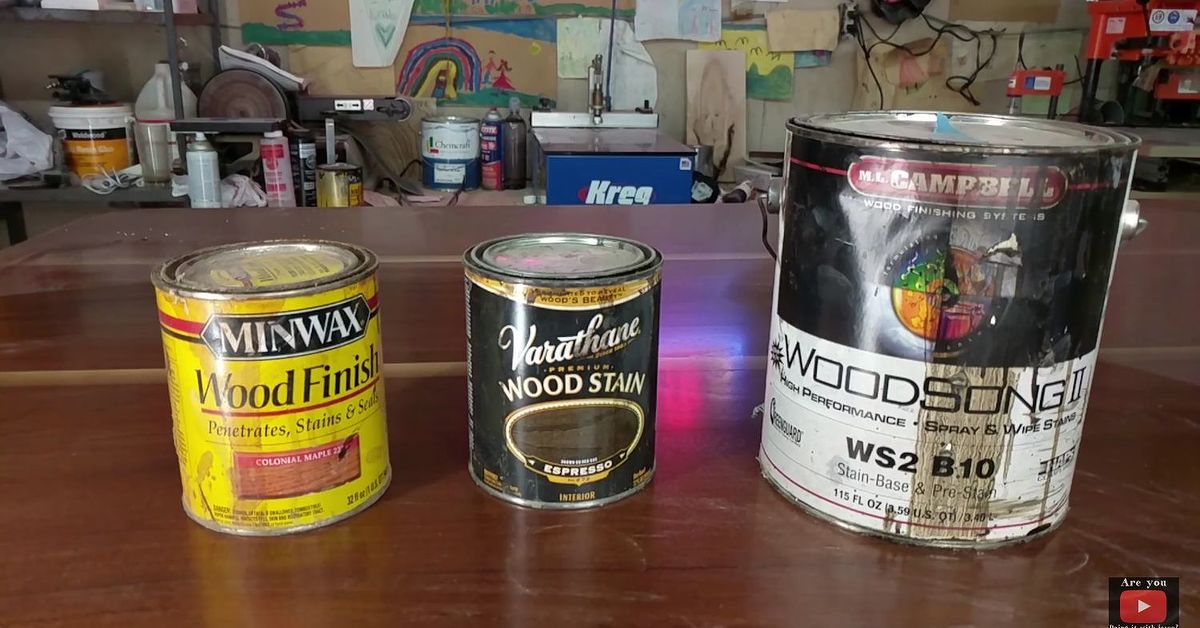
Staining wood is one of those DIY skills that looks mysterious until you try it. Then it becomes clear: the stain is not the hard part. The real magic happens before the can is even opened. A professional-looking wood stain finish depends on surface prep, sanding, testing, timing, and knowing when to stop fiddling with the poor board like it owes you money.
Whether you are refinishing an old dresser, upgrading raw pine shelves, darkening a farmhouse table, or giving plain cabinet doors a richer look, learning how to stain wood properly can turn a simple project into something that looks custom-built. Wood stain enhances grain, adds color, and gives ordinary lumber character. But if you rush the process, stain can also highlight scratches, glue spots, sanding mistakes, blotches, and every tiny decision you hoped the wood would politely ignore.
This guide walks you through how to stain wood like a pro, from choosing the right stain to applying the final protective topcoat. No confusing shop talk. No wizard robes required. Just practical steps, smart tips, and a few hard-earned lessons that can save your weekend project from becoming “abstract rustic art.”
What Does Wood Stain Actually Do?
Wood stain is a coloring product designed to soak into the surface of wood and change or enhance its appearance. Unlike paint, which covers wood grain, stain works with the grain. That is why stained oak, walnut, pine, maple, and cherry can all look dramatically different even when you use the same color.
Stain does not usually protect wood by itself. It adds color, depth, and richness, but most stained projects still need a clear topcoat such as polyurethane, polycrylic, lacquer, varnish, or finishing oil. Think of stain as the outfit and the topcoat as the rain jacket. Stylish is nice, but survival matters.
Choose the Right Type of Wood Stain
Before you start staining wood, choose a stain that matches your project, skill level, and desired look. Not all stains behave the same way.
Oil-Based Stain
Oil-based wood stain is popular because it penetrates well, gives rich color, and usually offers a longer working time. That extra time makes it easier to wipe, blend, and correct uneven areas before the stain dries. It is a great choice for furniture, trim, doors, and many interior woodworking projects.
The trade-off is odor, cleanup, and drying time. Oil-based stains often require mineral spirits for cleanup and should be used in a well-ventilated area. Also, used oily rags must be handled safely because they can create a fire hazard if tossed into a pile.
Water-Based Stain
Water-based stain dries faster, has lower odor, and cleans up with soap and water. It is a strong option for indoor projects where ventilation is limited. It also comes in a wide range of colors, including modern grays, blacks, whites, and bold decorative tones.
Because water-based stains dry quickly, you need to work efficiently. They can also raise the wood grain, which means the surface may feel slightly fuzzy after the first coat. A light sanding after proper drying can help restore smoothness.
Gel Stain
Gel stain is thicker than traditional penetrating stain. It sits more on the surface, which makes it useful for woods that tend to stain unevenly, such as pine, maple, birch, and cherry. Gel stain can also be helpful when refreshing previously finished surfaces after proper cleaning and scuff sanding.
If regular stain behaves like coffee, gel stain behaves more like pudding. Thankfully, it belongs on wood and not in your breakfast bowl.
Gather Your Tools and Supplies
A clean setup makes staining easier and less stressful. Before opening the stain, gather everything you need so you are not sprinting across the garage with one sticky glove and rising panic.
- Wood stain of your choice
- Pre-stain wood conditioner, especially for soft or blotchy woods
- Sandpaper in multiple grits, such as 80, 120, 150, 180, and 220
- Sanding block or orbital sander
- Vacuum, tack cloth, or lint-free cloth
- Clean rags or staining pads
- Natural-bristle brush, foam brush, or synthetic brush depending on product type
- Disposable gloves
- Drop cloth or plastic sheeting
- Painter’s tape if needed
- Clear topcoat
- Respirator or mask and eye protection
Step 1: Start With Clean, Bare Wood
Professional wood staining begins with a clean surface. Stain needs access to the wood pores. If an old finish, wax, oil, dust, paint, glue, or grime blocks those pores, the stain will not absorb evenly.
For new raw wood, inspect the surface for dents, mill marks, glue squeeze-out, pencil lines, and rough patches. For previously finished wood furniture, you may need to remove the existing finish by sanding or using a chemical stripper. If the old finish is still sealed, stain may sit on top instead of soaking in, which leads to streaks and disappointment with a side order of regret.
Pay special attention to glue spots. Wood glue can seal the grain and prevent stain from penetrating, leaving pale patches that show up only after staining. Wipe away glue during assembly and sand carefully before finishing.
Step 2: Sand the Wood the Right Way
Sanding is the difference between “I made this!” and “I found this behind a shed.” It smooths the surface, opens the grain, removes scratches, and helps stain absorb evenly.
Always sand with the grain when sanding by hand. Cross-grain scratches may look harmless on bare wood, but stain will darken them like it has been hired as a private investigator.
For rough or unfinished wood, you might begin with 80-grit or 100-grit sandpaper, then move to 120, 150, 180, and possibly 220. For wood that is already fairly smooth, starting at 120 may be enough. Avoid jumping from very coarse grit straight to fine grit. Each grit removes the scratches from the previous grit.
Do not over-sand. Sanding too fine can burnish the wood surface and close the pores, making it harder for stain to penetrate. For many oil-based stains, stopping around 180 or 220 grit works well. Always check the instructions on your specific product because different stains have different recommendations.
Step 3: Remove Every Bit of Dust
After sanding, remove dust thoroughly. Dust left on the surface can mix with stain and create a muddy, rough finish. Use a vacuum first, then wipe with a tack cloth or a clean lint-free cloth. For some projects, a rag lightly dampened with mineral spirits or water may help pick up fine dust, depending on the stain type and product directions.
Let the wood dry completely before staining. Moisture trapped in the surface can interfere with absorption and drying. A clean, dry board is your best friend. A dusty board is just a tiny sawdust rebellion waiting to happen.
Step 4: Test the Stain First
Never judge stain color by the label on the can. That little printed sample is more of a polite suggestion than a legal contract. Wood species, sanding grit, stain type, number of coats, and wipe-off time all affect the final color.
Test your stain on a scrap piece from the same project whenever possible. Sand the test piece exactly the same way you sanded the main project. Then apply the stain, let it sit for the recommended time, wipe off the excess, and allow it to dry. If you plan to use a topcoat, apply it to the test board too. Clear finishes can warm, darken, or slightly change the look of the stain.
Testing may feel like an extra step, but it is much faster than sanding an entire tabletop back to bare wood because “espresso brown” turned into “haunted attic black.”
Step 5: Use Pre-Stain Wood Conditioner When Needed
Some woods absorb stain unevenly. Pine, fir, alder, birch, maple, and cherry are famous for blotching. A pre-stain wood conditioner helps reduce that problem by partially sealing the surface so the stain absorbs more evenly.
Apply conditioner according to the manufacturer’s directions, usually with a brush or cloth. Let it soak in, wipe away any excess, and stain within the recommended time window. Conditioner does not make difficult wood magically perfect, but it can make a dramatic difference, especially on visible furniture parts such as tabletops, cabinet doors, shelves, and drawer fronts.
Step 6: Stir the Stain, Do Not Shake It
Before applying wood stain, stir it thoroughly from the bottom of the can. Pigments settle, and if they are not mixed evenly, your first few strokes may be weak while the bottom of the can becomes a concentrated color swamp.
Avoid shaking stain unless the product specifically says it is okay. Shaking can create bubbles, and bubbles are not the cute kind of surprise you want in a finish.
Step 7: Apply the Stain Evenly
Apply stain with a clean rag, brush, foam applicator, or staining pad. Work in manageable sections, especially on large surfaces. Apply a generous, even coat and move with the grain whenever possible. On open-grain woods like oak, ash, and mahogany, work the stain into the pores so the grain pattern gets rich definition.
Do not let puddles sit. Heavy pools of stain can become sticky, uneven, and slow to dry. The goal is controlled saturation, not turning your project into a wooden soup bowl.
Step 8: Wipe Off Excess Stain
After the stain sits for the recommended amount of time, wipe off the excess with a clean lint-free cloth. Wipe in the direction of the grain. The longer the stain sits before wiping, the darker the color may become, but every product has limits. Leaving stain too long can create tackiness rather than richness.
Use fresh cloths as needed. A rag overloaded with stain will smear instead of remove. Keep wiping until the surface looks even and no wet, shiny patches remain. This step is where many beginners go wrong. Stain is meant to color the wood, not form a thick layer on top.
Step 9: Let the Stain Dry Fully
Drying time depends on the stain type, temperature, humidity, airflow, wood species, and how much stain was applied. Water-based stains may dry faster than oil-based stains, while gel stains and heavily applied coats can take longer.
Do not rush the topcoat. If stain is still tacky, the clear finish may not bond correctly. You may end up with cloudiness, soft finish, streaking, or a surface that feels like it has unresolved emotional issues.
Step 10: Add a Protective Topcoat
Once the stain is dry, protect it with a clear finish. This step is essential for furniture, cabinets, doors, trim, shelves, and anything that will be touched, cleaned, bumped, or forced to hold a coffee mug without complaining.
Polyurethane is durable and popular for tabletops, floors, and high-use surfaces. Water-based polycrylic or water-based polyurethane dries clear and is often preferred over light stains or cool-toned colors. Oil-based polyurethane adds warmth and amber tone, which can look beautiful over medium and dark stains.
Apply thin coats rather than one heavy coat. Follow drying directions, sand lightly between coats if recommended, remove dust, and apply the next coat. The final coat should be left alone to cure. No poking. No “just checking.” Respect the finish.
Common Wood Staining Mistakes to Avoid
Skipping Surface Prep
Stain highlights flaws. If the wood has scratches, glue spots, old finish, or dust, stain will reveal them with the enthusiasm of a toddler announcing family secrets in public.
Using the Wrong Grit
Too coarse, and the wood may absorb too much stain and look muddy. Too fine, and the surface may not absorb enough stain. Follow a sensible sanding progression and test first.
Forgetting Wood Conditioner
Softwoods and blotch-prone hardwoods often need conditioner. Pine especially can turn patchy without it. If you want a smooth, even stained finish, conditioner is often worth the extra few minutes.
Applying Too Much Stain
More stain does not always mean better color. Thick stain left on the surface can become sticky and uneven. Apply, wait, wipe, and repeat only if the product allows additional coats.
Ignoring Safety
Use gloves, eye protection, ventilation, and safe disposal methods. Oil-soaked rags should never be thrown into a pile or trash can while wet. Lay them flat outdoors to dry completely or store them in a water-filled metal container according to local disposal guidance.
How to Fix Blotchy Wood Stain
If your stain looks blotchy, do not panic. Well, maybe panic for five seconds, then breathe. Blotching usually happens because the wood absorbed stain unevenly. If the stain is still wet, wiping more thoroughly may help even it out. If it has dried, options include applying a darker gel stain, using a toner, sanding back the surface, or stripping and starting over with conditioner.
For severe blotching, sanding back to bare wood may be the cleanest solution. It is annoying, yes. But it is still better than pretending the blotches are “organic character” while avoiding eye contact with your own furniture.
How to Get a Darker Wood Stain Color
To make wood stain darker, start with testing. You may be able to leave the stain on longer before wiping, apply a second coat after the first coat dries, use a darker stain color, or choose gel stain for more surface color. Sanding with a slightly lower final grit can also allow more stain absorption, but this should be tested carefully.
Do not keep adding wet stain over tacky stain. That usually creates a sticky surface rather than a deeper professional finish. Patience is not glamorous, but neither is sanding off gummy stain at midnight.
Best Woods for Staining
Oak is one of the easiest woods to stain because its open grain accepts color beautifully. Ash and mahogany also stain well and show attractive grain patterns. Walnut usually needs less staining because it already has rich natural color. Pine is affordable and common, but it can blotch easily. Maple and cherry can also be tricky because they may absorb stain unevenly.
If you are new to staining, practice on oak or poplar before tackling expensive hardwood. For budget projects, pine can still look great with good sanding, conditioner, and the right stain choice.
Pro Tips for a Smoother Finish
- Work in good lighting so you can see lap marks, puddles, and missed spots.
- Keep a wet edge on large surfaces to prevent uneven color.
- Use clean rags and replace them often.
- Stain hidden areas first to practice your technique.
- Label your test boards with stain color, sanding grit, wipe-off time, and topcoat.
- Let each layer dry fully before moving to the next step.
- Do not stain in extreme heat, cold, or high humidity unless the product allows it.
Real-World Experience: What Staining Wood Teaches You the Hard Way
The first thing experience teaches you about staining wood is that confidence should arrive after testing, not before. Many DIYers begin with a big dream, a tiny can of stain, and the belief that “I’ll just wing it” is a project plan. It is not. Stain has a way of rewarding patient people and humbling everyone else. The board does not care how excited you are. It only cares whether you sanded evenly.
One of the most useful lessons is to make sample boards for every important project. Professionals do this because wood is unpredictable. Two boards from the same species can absorb stain differently. Even two sides of the same board can vary. A stain that looks warm and elegant on oak may look orange on pine or dull on maple. A test board lets you adjust before the real project is at risk.
Another experience-based tip is to slow down during sanding. Beginners often rush sanding because it feels boring compared with applying stain. But sanding is the foundation of the finish. If you miss a swirl mark from an orbital sander or leave a rough patch near an edge, stain will find it immediately. The best approach is to inspect the wood under angled light before staining. Side lighting reveals scratches and glue spots that overhead lighting hides.
It also helps to stain parts before final assembly when possible. Inside corners, tight joints, and narrow gaps can be difficult to stain evenly after a piece is built. Shelves, cabinet frames, table aprons, and decorative trim are often easier to finish in sections. Just make sure glue areas are protected, because stain can interfere with glue bonding.
Experience also teaches that wiping is not optional. Many uneven finishes happen because stain was brushed on like paint and left there. Most penetrating stains need to be wiped back. The wiping step controls the color and removes excess material that would otherwise dry sticky. Use multiple clean rags and keep turning the cloth to a fresh area. Once a rag is saturated, it stops helping.
Finally, every woodworker eventually learns that finishing is part science, part patience, and part not touching the project too soon. A stained piece may feel dry before it is ready for a topcoat. A topcoat may feel dry before it is cured enough for heavy use. Give the finish time. Put the table somewhere safe, walk away, and resist the ancient human urge to press a fingerprint into fresh polyurethane “just to see.” That fingerprint will see you too, forever.
Conclusion
Learning how to stain wood like a pro is really about respecting the process. Choose the right stain, prepare the surface carefully, sand with the grain, remove dust, test your color, condition blotch-prone wood, apply stain evenly, wipe off the excess, and protect everything with a durable topcoat. None of these steps is difficult on its own, but together they create the difference between a rushed DIY finish and a rich, smooth, professional-looking result.
Wood staining is also wonderfully forgiving when you practice first. Start small, make test boards, take notes, and learn how each wood species behaves. Before long, you will be turning plain boards into warm shelves, tired furniture into statement pieces, and weekend projects into things guests compliment. Just smile modestly and say, “Oh, this old thing?” like you did not spend three evenings lovingly sanding it under garage lights.














