
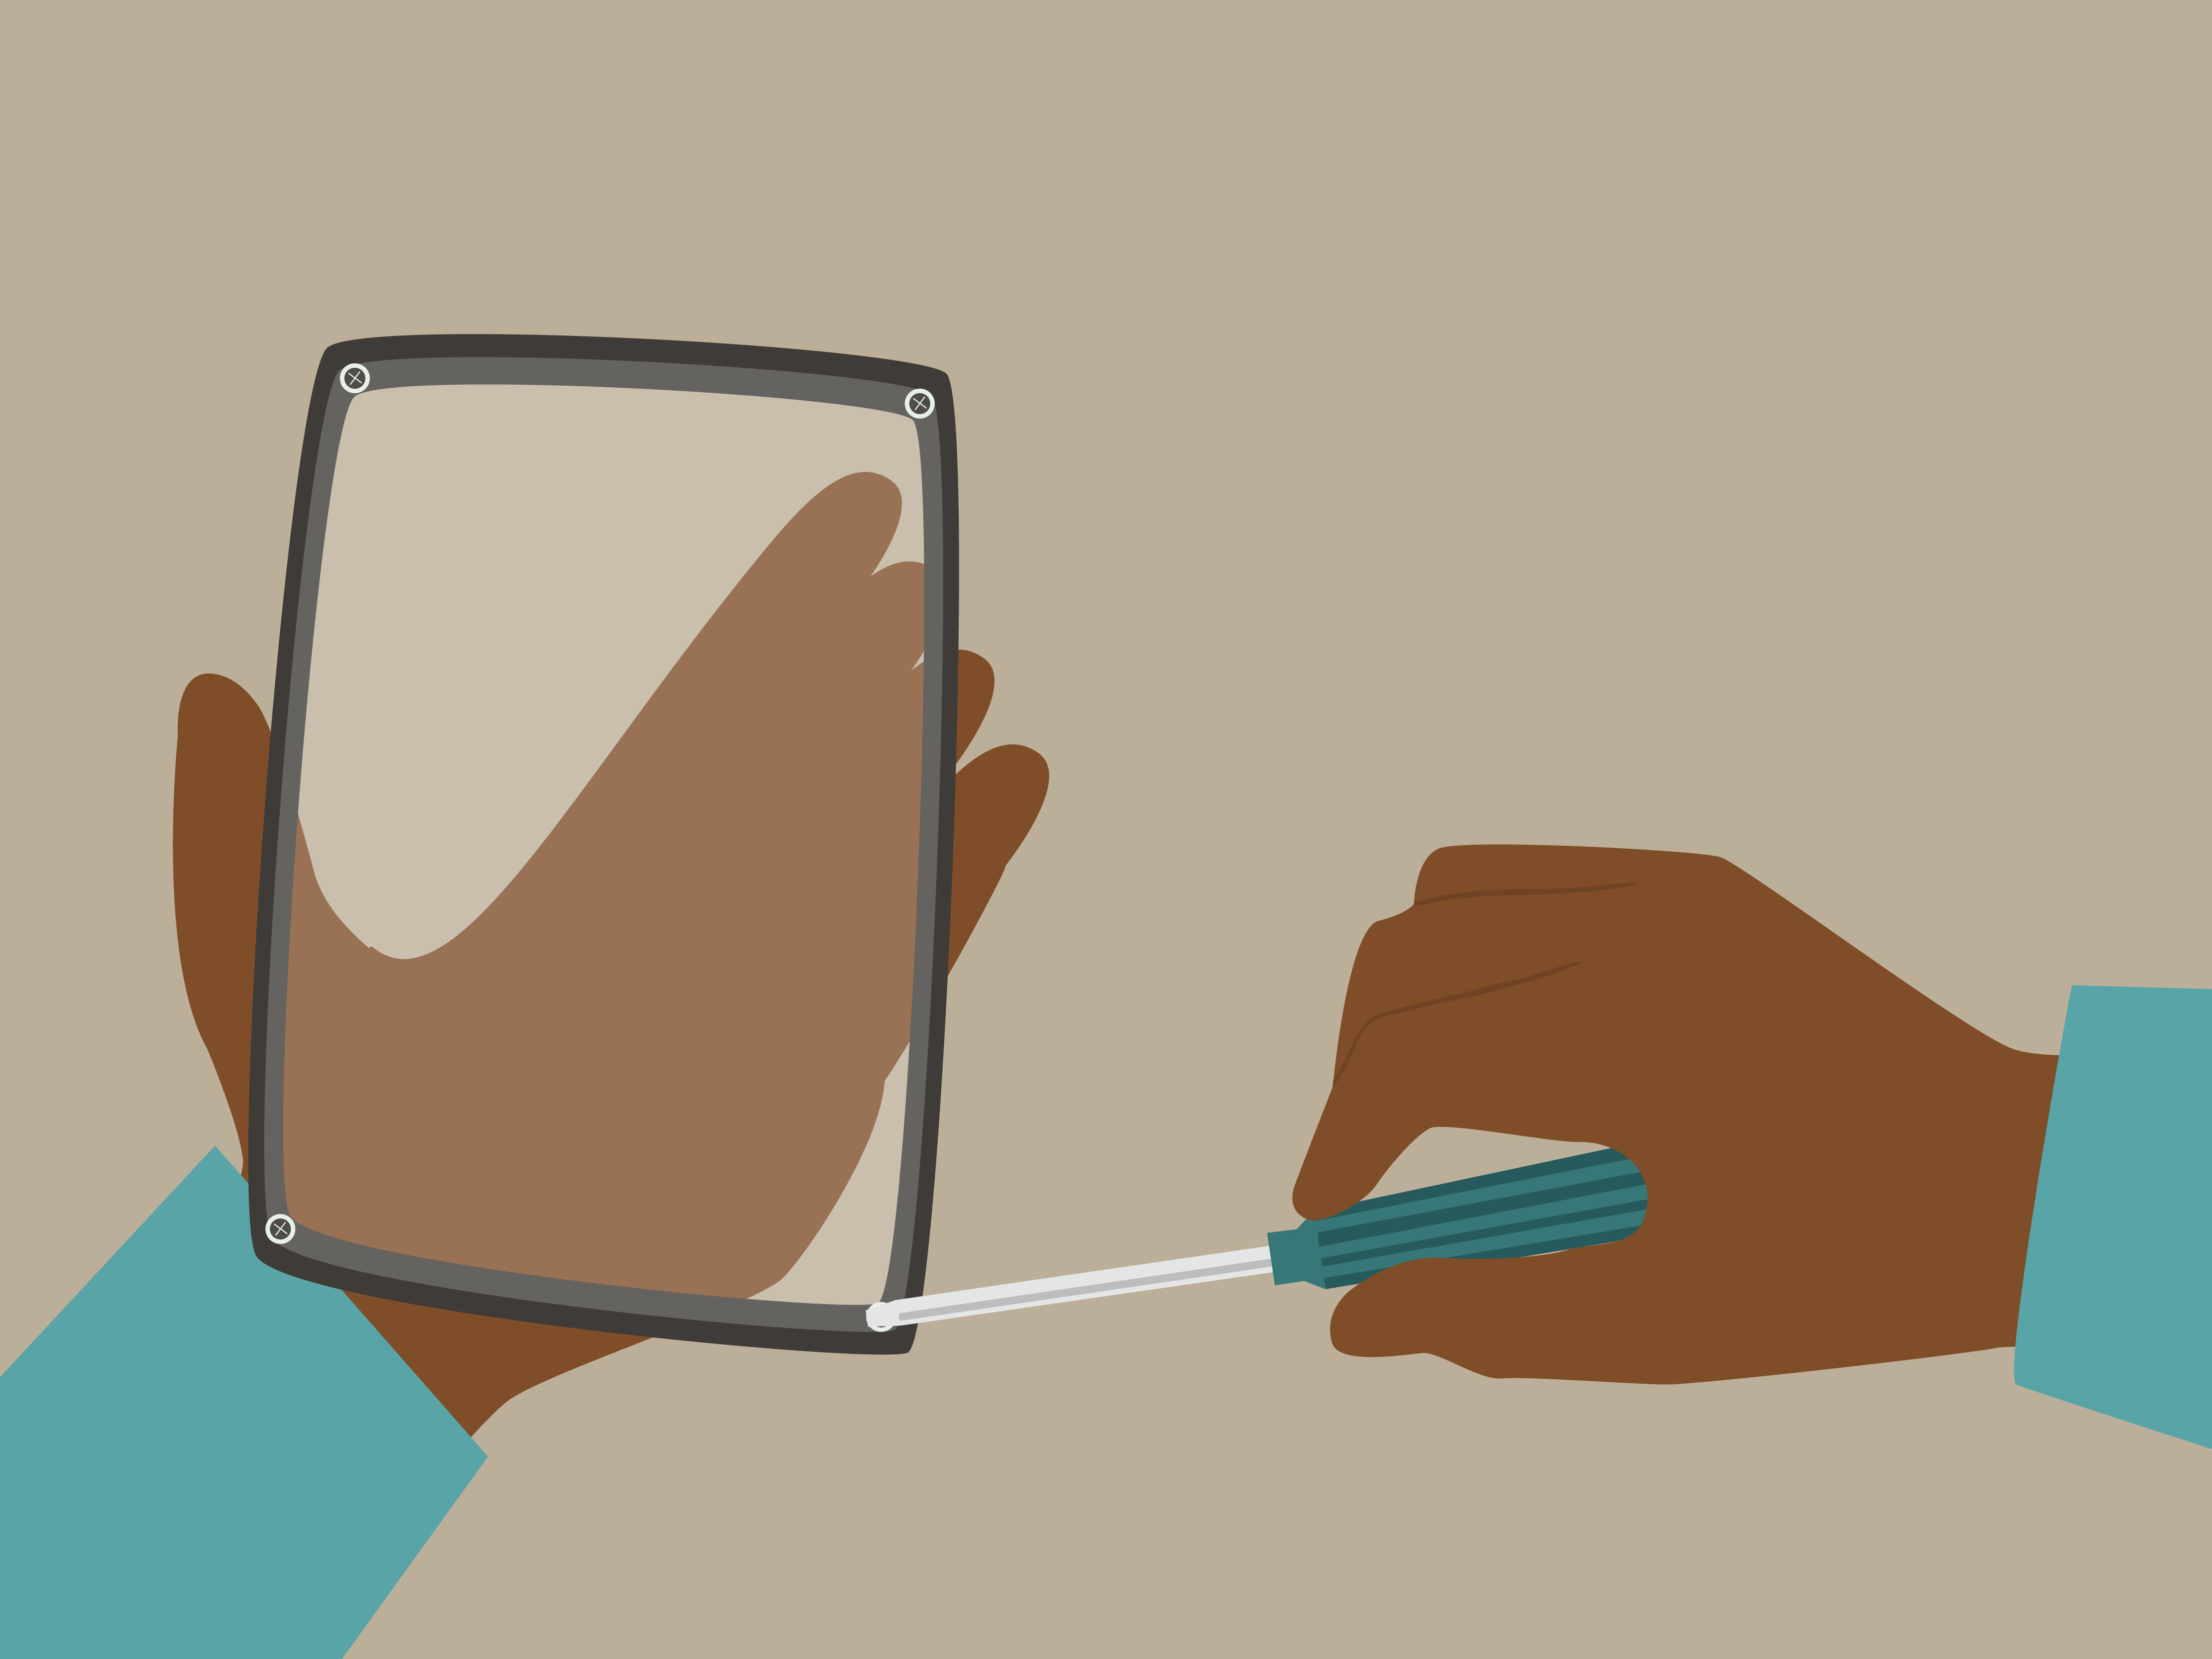
Note: This guide is for educational DIY repair planning. Kindle Fire and Amazon Fire tablet models vary by generation, size, adhesive design, and internal layout. Opening a tablet can void a warranty, damage the screen, or create battery risks if done carelessly. If the battery is swollen, leaking, hot, punctured, or smells unusual, stop immediately and use a professional repair or recycling option.
Introduction: Before You Turn Your Kindle Fire Into a Tiny Plastic Sandwich
Taking apart a Kindle Fire sounds intimidating until you understand what is actually inside: a screen assembly, a plastic rear case, a lithium-polymer battery, ribbon cables, a motherboard, speakers, buttons, cameras, and enough tiny screws to make your carpet feel like a black hole. Whether you are replacing a worn battery, checking a loose charging port, recovering a stuck button, or simply satisfying your inner gadget detective, the safest approach is slow, organized, and boringly careful. In electronics repair, boring is beautiful.
This guide explains how to take apart a Kindle Fire in 14 practical steps. It focuses on the general disassembly process used across many Kindle Fire, Fire HD 7, Fire HD 8, Fire HD 10, and related Amazon Fire tablet models. Older Kindle Fire tablets often open from the rear case with plastic clips, while some newer Fire HD models may require heat, opening picks, and extra attention around adhesive and screen edges. That is why the first rule is simple: identify your exact model before you start poking at it like a raccoon with a library card.
The main keyword here is how to take apart a Kindle Fire, but the real goal is better: learning how to disassemble a Fire tablet safely, protect the battery, avoid ribbon-cable disasters, and put every screw back where it belongs. Let’s begin with preparation, because preparation is what separates a successful repair from a dramatic pile of “well, that used to be a tablet.”
What You Need Before Disassembling a Kindle Fire
Before you open a Kindle Fire tablet, gather the right tools. Using the correct tool matters because Amazon Fire tablets are mostly held together by plastic clips, adhesive, small screws, and delicate connectors. A kitchen knife is not a repair tool. It is a fast track to scratches, broken clips, and a very awkward explanation.
Recommended Tools
- Plastic opening tool or opening picks
- Nylon or ESD-safe spudger
- Small Phillips screwdriver
- Torx bits for certain models, often around T5 on some Fire tablets
- Tweezers for screws and cable tabs
- Magnetic project mat or small labeled containers
- Soft microfiber cloth or anti-static work mat
- Low-heat hair dryer or heat gun for models with adhesive
- Isopropyl alcohol, preferably high concentration, for stubborn adhesive
- Safety glasses if you are removing glass or a damaged battery area
Work on a clean, bright table. Avoid carpet if possible because static electricity and tiny screws both love carpet. Charge the device down below 25 percent if you plan to remove the battery. A lower charge reduces risk if the battery is accidentally damaged, though the best safety measure is still not bending, puncturing, overheating, or crushing it.
How to Take Apart a Kindle Fire: 14 Steps
Step 1: Identify Your Kindle Fire Model
Start by identifying the exact Fire tablet model. Go to Settings, choose Device Options, and look for Device Model or About Fire Tablet. You may see names such as Fire 7, Fire HD 8, Fire HD 10, Fire HDX, or a generation number. This matters because internal layouts change. A first-generation Kindle Fire is not built the same way as a Fire HD 8 from 2024. They are relatives, not twins.
If the tablet will not turn on, inspect the back cover for a model number or serial information. You can also compare the button placement, camera position, screen size, charging port type, and speaker layout with your model’s known specifications. The more specific you are, the fewer surprises you will meet inside.
Step 2: Back Up Your Data
Before opening the tablet, back up anything important. Sync Kindle books, photos, downloads, app data, documents, and notes where possible. If the tablet still works, connect it to Wi-Fi and allow Amazon content to sync. Transfer personal files to a computer or cloud storage. If a microSD card is installed, unmount it through settings before removing it.
Disassembly can go perfectly and still end with a tablet that refuses to boot because a cable was already damaged, a connector was weak, or the battery was failing. Backing up first is not paranoia. It is common sense wearing a tiny repair apron.
Step 3: Power Off the Tablet Completely
Hold the power button until the shutdown prompt appears, then turn the tablet off. Do not merely put it to sleep. A sleeping tablet still has power moving through the board, and you do not want to disconnect internal parts while the device is awake and silently judging your life choices.
After shutdown, disconnect the charging cable and all accessories. Remove headphones, USB adapters, cases, screen covers that block access, and any attached keyboard or child-proof bumper case. If the device refuses to shut down normally, hold the power button long enough to force it off before proceeding.
Step 4: Remove the microSD Card and External Accessories
If your Kindle Fire has a microSD card slot, remove the card before opening the case. Some models use a push-push design: press the card inward gently, and it should spring outward. Do not dig into the slot with metal tools. A stuck card is annoying; a damaged card reader is a whole new hobby you did not ask for.
Set the microSD card aside in a safe place. If you use a case, remove it now. Many Fire tablets have strong plastic protective cases, especially Kids editions, and they can hide seams or make you think the tablet is sealed when it is not.
Step 5: Prepare a Screw and Parts Map
Use a magnetic repair mat, small bowls, or labeled paper sections to organize parts. Draw a rough outline of the tablet and place screws where they came from. Kindle Fire screws may look similar but differ in length. Putting a long screw where a short screw belongs can damage the board or press into the screen from behind.
Take photos as you go. Your phone camera is your best repair assistant, and unlike a human assistant, it will not wander off for coffee during the scary cable part.
Step 6: Warm the Edges if Your Model Uses Adhesive
Some Fire tablets open mainly by releasing plastic clips. Others, especially certain Fire HD models, may need gentle heat to soften adhesive around the screen or rear cover. Use a hair dryer or heat gun on a low setting and move it in sweeping motions around the edge. Do not concentrate heat in one spot. The goal is warm, not “fresh pizza stone.”
If the device has a cracked screen, be especially careful. Heat can loosen broken glass, and broken glass loves fingers in a deeply personal way. Wear eye protection and consider using packing tape over cracked glass to reduce shedding.
Step 7: Insert a Plastic Opening Tool at the Seam
Find the seam between the back cover and the front assembly. On many Kindle Fire models, a good starting point is a lower corner. Insert a plastic opening tool or pick into the gap. Avoid forcing the tool too deep because internal cables and the battery may sit close to the edges depending on the model.
If the gap is tight, gently twist the plastic tool until the first clip releases. You may hear a small pop. That sound is normal when a plastic clip releases. A sharp crack, however, is not a celebration. If something feels wrong, stop and inspect the angle.
Step 8: Work Around the Perimeter Slowly
Slide the opening pick around the perimeter to release the clips or adhesive. Keep the tool as flat as possible. Do not jab downward into the tablet. Pay attention near buttons, speakers, cameras, and charging ports, because these areas may contain cables or small assemblies.
For stubborn clips, use another plastic pick to keep the first section open while you work on the next one. Avoid metal tools unless absolutely necessary to start a difficult clip, and if you use metal, switch back to plastic immediately. Metal can scratch the case, short components, or turn a gentle repair into a miniature crime scene.
Step 9: Lift the Rear Cover Carefully
Once the clips release, lift the rear cover slowly. Do not yank it off. Some Kindle Fire HD models may have cables connecting the rear case or display assembly to the motherboard. Open the tablet like a book and look inside before separating anything fully.
If you see ribbon cables, stop and identify their connectors. Ribbon cables are thin, flat, and surprisingly unforgiving. Pulling one at the wrong angle can tear it or damage the tiny latch that holds it in place.
Step 10: Disconnect the Battery First
Before touching the motherboard, screen connectors, cameras, or charging port, disconnect the battery if your model allows easy access to the connector. Use a plastic spudger to gently lift or slide the battery connector out of its socket. Do not pry against tiny surface-mounted components around the connector.
This is one of the most important steps in any Kindle Fire disassembly. Disconnecting the battery reduces the chance of shorting the board while you remove other parts. If the connector is unfamiliar, take a photo, study the direction it moves, and proceed slowly. The battery connector is not a doorbell. Do not press it randomly and hope for music.
Step 11: Remove Internal Screws and Shields
Many Fire tablets include small screws holding the battery, speaker modules, motherboard, charging port board, or metal shields. Remove only the screws necessary for your repair goal. For example, replacing a battery may not require removing the entire motherboard. Replacing a charging port might require removing shields, cables, and boards near the bottom edge.
Use the correct bit size and apply downward pressure so the screwdriver does not strip the screw head. If a screw resists, do not attack it like a tiny villain. Check for adhesive, hidden clips, or a different screw type.
Step 12: Disconnect Ribbon Cables and Small Connectors
Ribbon cables may use flip-up ZIF connectors, slide-in connectors, or press-fit connectors. For flip-up latches, use a spudger or tweezers to lift the locking flap gently, then pull the cable straight out. For press-fit connectors, lift evenly from the connector edge. Never pull on the cable itself when you can lift the connector body.
Common cables inside a Kindle Fire can include the display cable, digitizer cable, battery cable, speaker cable, camera cable, button cable, and charging board cable. Label them mentally or photograph each one before removal. Reassembly becomes much easier when you have a visual trail.
Step 13: Remove the Component You Need to Replace
Now remove the part that brought you here. If you are replacing the battery, loosen any adhesive slowly. Use a plastic card, spudger, or adhesive pull tabs if present. Do not bend the battery. Do not puncture it. Do not pry with a screwdriver. If adhesive is stubborn, apply a small amount of isopropyl alcohol around the edges and wait a few minutes before trying again.
If you are replacing the screen, charging port, speaker, camera, or motherboard, follow the same principle: remove only what blocks access, keep screws organized, and do not force parts that are still connected. Adhesive, clips, and hidden screws are common. When a component does not move, assume you missed something rather than assuming the tablet needs “more enthusiasm.”
Step 14: Reassemble and Test Before Final Sealing
After replacing or inspecting the component, reconnect cables in reverse order. Seat each connector squarely and secure any locking flaps. Reconnect the battery near the end of reassembly, then test the tablet before snapping the case fully shut. Check the power button, touchscreen, charging port, speakers, cameras, Wi-Fi, and microSD card slot if applicable.
Once everything works, align the rear cover and press around the perimeter until the clips snap back into place. If your model used adhesive, replace it with suitable electronics adhesive strips. Do not leave the screen or cover floating loosely because dust, flexing, and future drops can create new problems.
Common Mistakes When Taking Apart a Kindle Fire
Using Metal Tools Too Early
Metal tools can help with extreme cases, but they should not be your first choice. Plastic picks and spudgers are safer around batteries, screens, cables, and plastic housings. Metal tools can slip, scratch, puncture, or short something important. In other words, metal tools are like hot sauce: useful, but not something you pour over everything.
Forgetting the Battery Connector
Many DIY repair problems happen because someone removes a screen cable, board, or charging connector while the battery is still connected. Disconnect the battery as soon as you can safely access it. That single habit can prevent many electrical accidents.
Mixing Up Screws
Kindle Fire screws may differ by location. Mixing them up can damage the casing, board, or display. Keep them labeled. A two-minute organization habit can save you from a two-hour mystery later.
Prying Under the Battery Too Aggressively
Lithium-polymer batteries are sensitive to bending, puncture, and crushing. If the battery is glued down, patience is your best tool. Work from the edges, use gentle adhesive softening, and never use sharp metal under the cell.
When You Should Not Take Apart a Kindle Fire
There are times when opening a Kindle Fire is not the smartest move. If your device is still under warranty, check repair or replacement options first. If it is a Kids edition covered by a protection plan, opening it yourself may cost more than it saves. If the battery is swollen, stop. A swollen tablet may show a lifted screen, warped back cover, unusual heat, chemical odor, or a spongy feel near the battery area.
You should also avoid DIY disassembly if the tablet has severe liquid damage, burned areas, melted plastic, or a cracked battery pouch. In those cases, professional service or certified electronics recycling is safer. Lithium-ion and lithium-polymer batteries should not be thrown in regular trash or curbside recycling because damaged batteries can create fire hazards during transport and processing.
Kindle Fire Disassembly Tips for Better Results
Use Photos Like a Repair Diary
Take a photo before and after every major step. Capture screw locations, cable routing, adhesive strips, and connector positions. If you forget how a cable folds, your photo will remember. It is like leaving breadcrumbs, except the breadcrumbs are high-resolution and do not attract ants.
Keep Heat Gentle
Heat softens adhesive, but too much heat can damage screens, batteries, plastic frames, and internal components. Use sweeping motion, low temperature, and short heating sessions. If a part is still resisting, add patience before adding more heat.
Know Your Repair Goal
Do not fully strip the tablet unless necessary. If your goal is battery replacement, focus on safely opening the case, disconnecting the battery, removing adhesive, and installing the new cell. If your goal is charging port repair, focus on the lower board and related cables. The less you disturb, the less you must troubleshoot later.
Buy Model-Specific Parts
Fire tablet parts are not universally interchangeable. A Fire HD 8 battery from one generation may not fit another generation. Charging ports, screens, speakers, cameras, and flex cables also vary. Match the part to the exact model and generation before ordering.
How to Handle the Battery Safely
The battery is the most important safety concern when taking apart a Kindle Fire. Do not puncture it, fold it, cut it, crush it, or expose it to high heat. If you smell a sweet chemical odor, see smoke, notice swelling, or feel sudden heat, move away from flammable materials and stop the repair.
When replacing a battery, use a reputable replacement part designed for your exact tablet. Cheap no-name batteries can be tempting, but a tablet battery is not the place to chase the lowest possible price. Store removed batteries in a safe container and take them to a proper electronics recycling or hazardous waste collection point. Never toss lithium batteries into household trash.
Troubleshooting After Reassembly
The Tablet Will Not Turn On
Check the battery connector first. It may not be fully seated. Then check the power button cable, display cable, and charging port cable. Connect the tablet to a known-good charger and cable for at least 30 minutes before assuming failure. A replacement battery may arrive deeply discharged.
The Touchscreen Does Not Respond
A nonresponsive touchscreen usually points to a loose digitizer cable, damaged connector latch, or cracked digitizer. Reopen the device and inspect the cable connection. Make sure no dust or adhesive is blocking the connector.
The Screen Works but Looks Strange
Lines, flickering, dimness, or no backlight can indicate a display cable that is crooked, partially seated, or damaged. Disconnect the battery, reseat the cable, and test again. If the screen was bent during removal, replacement may be required.
The Case Will Not Snap Shut
Do not force it. A cable may be routed incorrectly, a screw may be in the wrong place, or a clip may be bent. Open the case again and inspect the perimeter. Proper reassembly should feel firm, not like you are closing a suitcase after buying too many souvenirs.
Experience Section: What Taking Apart a Kindle Fire Teaches You
Taking apart a Kindle Fire is more than a repair task. It is a tiny masterclass in patience, planning, and respect for modern electronics. The first thing many people notice is how compact everything is. From the outside, a Fire tablet looks like a simple slab for reading, streaming, browsing, and keeping kids entertained in the car. Inside, it is a careful puzzle of layered parts, delicate connectors, adhesive, clips, and screws that all have to coexist in a case barely thicker than a notebook.
One useful experience is learning how much force is too much. Beginners often think repair is about strength. It is not. It is about angle, timing, and observation. When a plastic opening pick glides around the case and releases clips one by one, the process feels smooth. When the tool stops suddenly, that resistance is information. It may mean adhesive, a hidden clip, a screw, or a cable. The trick is to listen to the device, even though it is technically not talking. If you have to force it, something is probably still attached.
Another lesson is that organization beats memory. You may feel certain you will remember where every screw came from. Five minutes later, after three similar screws appear beside two almost-identical brackets, confidence begins to wobble like a cheap folding chair. Labeled containers, photos, and a simple screw map prevent confusion. Experienced repairers do not rely on heroic memory. They rely on systems.
Battery handling is also a major eye-opener. Many people treat batteries as simple power packs, but inside a tablet they deserve real caution. A Kindle Fire battery is wide, thin, and often secured with adhesive. Removing it safely means working slowly, avoiding sharp tools, and respecting warning signs such as swelling or heat. Once you have seen how close the battery sits to other components, you understand why careful prying matters.
The most satisfying part is the first successful test after reassembly. Pressing the power button and seeing the Amazon logo appear feels like a tiny victory parade. The tablet boots, the screen responds, the charging icon appears, and suddenly all those careful steps feel worth it. Even if the repair was only a battery swap or a connector reseat, you gain confidence. You also gain a deeper appreciation for repair culture: fixing a device can save money, reduce electronic waste, and teach practical skills that apply to phones, laptops, game controllers, and other household gadgets.
Finally, taking apart a Kindle Fire teaches humility. Sometimes a repair goes smoothly. Sometimes a clip breaks, a screw hides, adhesive fights back, or the problem turns out to be more complicated than expected. That is normal. The best repair mindset is not “I must win immediately.” It is “I will move carefully, document everything, and stop before I make the problem worse.” That approach turns DIY repair from a gamble into a skill.
Conclusion
Learning how to take apart a Kindle Fire is absolutely possible, but it rewards patience more than bravery. Identify your exact model, power the tablet off, remove accessories, open the case with plastic tools, disconnect the battery, and handle every ribbon cable like it is made of butterfly wings and rent money. Whether you are replacing a battery, checking the charging port, inspecting internal parts, or exploring tablet repair for the first time, the safest path is slow, organized, and model-specific.
The most important takeaway is simple: do not rush. A Kindle Fire is built with small clips, delicate connectors, adhesive, and a lithium-polymer battery that deserves respect. With the right tools and careful steps, you can open the device, inspect or replace parts, and reassemble it with confidence. And if something looks swollen, burned, cracked, or suspiciously dramatic, call in a professional. There is no shame in letting a repair expert handle the spicy electronics.













