
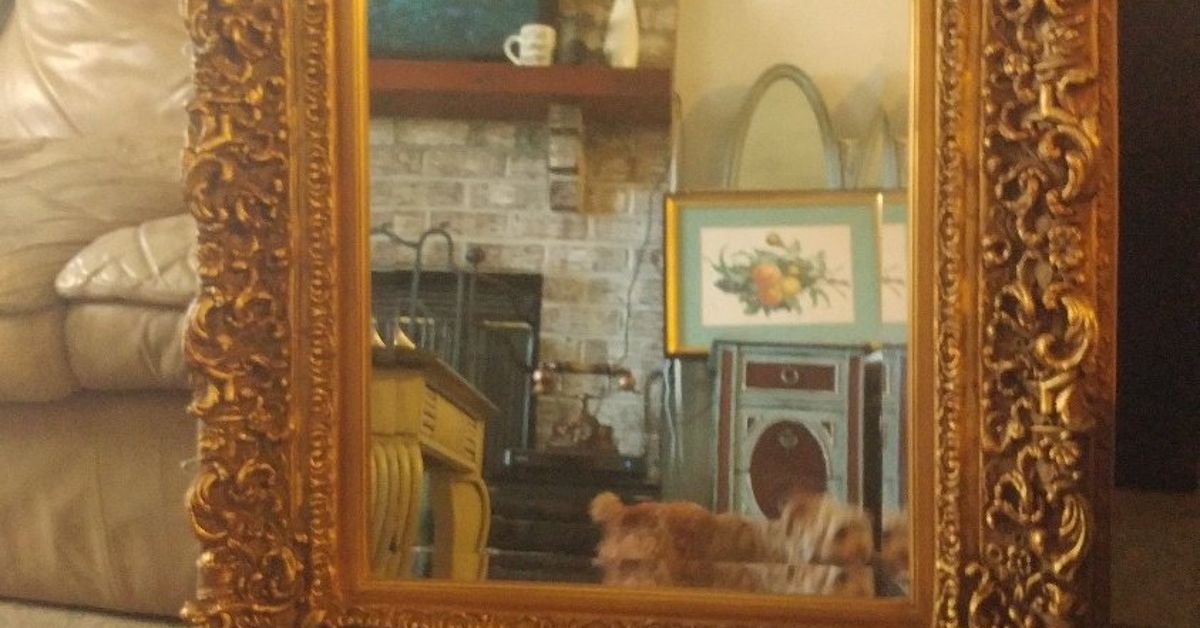
Some home projects whisper, “I am practical.” An ornate mirror makeover walks in wearing costume jewelry and says, “I am the moment.” That is exactly why this project is so satisfying. A dated mirror with an overly formal frame, chipped finish, or thrift-store mystery energy can go from dusty relic to designer-looking focal point with a little planning, the right prep, and a finish that suits your room instead of fighting it.
The beauty of an ornate mirror makeover is that it works in almost any decorating style. Want a Parisian vintage vibe? Go with layered gold. Prefer modern drama? Matte black can make a carved frame look sculptural instead of stuffy. Love cottage style? Chalky white or a soft greige can calm down the ornament and let texture do the talking. In other words, you do not need a brand-new mirror. You need vision, painter’s tape, and the confidence to tell that old frame it is getting a personality update.
Why an Ornate Mirror Is Worth Saving
Mirrors already do a lot of heavy lifting in a room. They bounce light, visually expand tight spaces, and add shape to walls that would otherwise look a little sleepy. An ornate mirror brings even more to the party because the frame itself acts like wall art. That carved detail, scrollwork, floral motif, or vintage molding gives you depth and texture that flat, basic mirrors simply cannot fake.
This is why thrift stores, flea markets, estate sales, and hand-me-down piles are full of makeover potential. What looks outdated in one room can become stunning in another with a new finish. A gold-framed mirror can become moody and modern in black. A dark, heavy frame can become airy and romantic in soft ivory. A scratched-up bargain can suddenly look custom once the finish feels intentional.
Before You Start: Choose the Right Look
The smartest ornate mirror makeover begins before the first coat of paint. Decide what role the mirror will play in the space. Is it meant to blend into a serene, neutral room? Become the star of the entryway? Add warmth above a mantel? The finish should support the room, not argue with it like two people trying to talk over each other at brunch.
Popular Finish Ideas for an Ornate Mirror Makeover
Antique gold: Great for classic, eclectic, and collected interiors. It highlights carved details and feels timeless without trying too hard.
Matte black: Perfect for modern, transitional, and dramatic spaces. It simplifies ornate details and makes the silhouette look bold.
Soft white or cream: Ideal for cottage, farmhouse, and French-inspired rooms. It softens a busy frame and makes texture the hero.
Greige, taupe, or muted green: Excellent for a more current designer look. These shades feel fresh, subtle, and expensive in the best possible way.
Layered metallics: If you want depth, use a darker base with brushed metallic highlights on top. This trick helps details pop without making the frame look shiny and new in a bad way.
What You Will Need
Most ornate mirror makeover projects need only basic supplies:
Mild cleaner, microfiber cloth, painter’s tape, paper or plastic to cover the glass, fine-grit sandpaper or sanding sponge, primer if needed, paint or spray paint, a small brush for carved details if brushing by hand, optional metallic wax or glaze, drop cloth, and a clear protective topcoat if the mirror will live in a humid area like a bathroom.
If the mirror is older, especially if the home or original piece predates 1978, be careful with sanding. Older painted surfaces may contain lead, so it is better to pause, assess the age, and use lead-safe practices before you turn your makeover into a dust-producing regret festival.
Step-by-Step: How to Give an Ornate Mirror a Real Glow-Up
1. Inspect the frame like a detective
Start by checking the mirror frame for chips, loose gesso, cracked corners, rusted hardware, or damaged hanging attachments. Do not skip the back. A mirror can look charming from the front and secretly be one screw away from chaos. If the hanging hardware looks weak, replace it before the makeover is done. Beauty is wonderful, but beauty that stays on the wall is even better.
2. Clean first, glam later
Dust, grime, hairspray, bathroom residue, and mysterious sticky things will sabotage paint adhesion. Clean the frame thoroughly and let it dry completely. If the mirror came from a thrift store, assume it has lived several lives. Respectfully clean away the evidence.
3. Mask the glass carefully
Use painter’s tape around the edges of the mirror and cover the rest of the glass with paper or plastic. This part is not glamorous, but it makes the difference between “fresh makeover” and “why is there gold overspray on my reflection?” Take your time along carved edges and tight corners.
4. Prep the surface
Light sanding helps paint grip better, especially on slick, glossy, or previously sealed surfaces. You do not need to sand carved ornament like you are trying to erase history. A gentle scuff is usually enough. Wipe away all dust before priming or painting.
5. Prime when the frame needs it
If the frame is very dark, glossy, laminate-coated, metal, or damaged, primer is your best friend. It improves adhesion, creates a more even color result, and helps you avoid putting on too much topcoat later. Thin, even primer coats are better than one thick blob that settles into every scroll and groove like icing on a bad cake.
6. Paint with patience
For highly carved details, spray paint often gives the smoothest finish because it reaches recesses without leaving obvious brush marks. If you prefer brushing, use a quality brush and work paint into crevices gently to avoid drips and pooling. Multiple thin coats are the secret weapon. Heavy coats may hide detail, run into corners, or dry unevenly.
This is where many DIYers get too excited. They see one decent coat and think, “We are done.” No, we are emotionally done, but not physically done. Let the coat dry, evaluate it in good light, and add the next layer only when it is ready.
7. Add dimension if the frame looks flat
Some ornate mirrors need more than a single solid color. If the carvings disappear after painting, try dry-brushing a lighter metallic or slightly contrasting tone over the raised details. Rub-and-buff products, wax finishes, or subtle glazing can add age, depth, and character. The goal is not to make the frame look fake-old. The goal is to make it look intentionally finished.
8. Seal if necessary
A protective finish is especially useful in bathrooms, powder rooms, or high-touch areas. If your mirror hangs above a sink or vanity, a clear protective coat can help defend the frame from moisture and splashes. Make sure the paint is fully cured before sealing so you do not trap problems under the finish.
9. Rehang it securely
Once the makeover is complete, rehang the mirror with appropriate hardware for its weight and wall type. This is not the time for “I found a random nail in the junk drawer.” Large or heavy mirrors need proper anchors, secure hanging points, and a hardware check that matches the mirror’s actual weight.
Best Paint Choices for an Ornate Mirror Makeover
The best paint depends on the frame material and the look you want. Spray paint is usually the easiest option for detailed frames because it covers evenly and helps preserve ornament. Acrylic or furniture paint works well if you want more control or a layered hand-painted finish. Metallic craft paints can be useful for highlighting details rather than covering the whole piece. Sample-size wall paints can also work beautifully for decorative frames when paired with the right prep and sealant.
If your mirror frame is resin, plastic, metal, wood, or a mystery material from the decorating gods, check whether the paint is compatible and use a suitable primer when needed. A beautiful color does not mean much if it chips the first time someone sneezes near it.
Common Ornate Mirror Makeover Mistakes
Using too much paint
Thick coats fill in the carved beauty that made the mirror worth saving in the first place. Go light and build slowly.
Skipping prep
Dirt, gloss, and residue can cause peeling, patchiness, or poor adhesion. Prep is not exciting, but it is what makes the makeover last.
Choosing the wrong finish for the room
A super-bright metallic in a calm organic bedroom may feel out of place. A dark matte finish in a tiny windowless bathroom may look heavier than you expected. Always test the idea against the space.
Ignoring safety
This includes old paint concerns, poor ventilation, and weak hanging hardware. A stylish mirror is lovely. A falling mirror is memorable for all the wrong reasons.
Where an Ornate Mirror Makeover Works Best
Entryway: An ornate mirror adds instant impact and helps bounce light into a narrow or dim space.
Above a mantel: This is classic for a reason. It creates height, balance, and a strong focal point.
Bathroom vanity: A refreshed frame can make a builder-grade bathroom feel far more custom.
Bedroom dresser wall: Great for bringing softness, light, and a touch of elegance.
Dining room or hallway: Ornate frames look especially striking when paired with wallpaper, sconces, or a console table.
How to Make It Look Expensive
The magic is usually in restraint. Keep the color palette intentional. Let the carved details show. If you use metallics, choose aged or muted tones over glaring shine. Pair the finished mirror with good styling: a console table, ceramic lamp, greenery, candles, or art nearby. Even a budget mirror makeover can look high-end when the surrounding choices feel considered.
Another designer trick is contrast. If the wall color is light, a darker mirror can feel crisp and architectural. If the wall is deep and moody, a soft gold or pale painted frame can stand out beautifully. Mirrors are not just objects; they are light managers, mood builders, and sneaky visual amplifiers.
Experience Section: What an Ornate Mirror Makeover Feels Like in Real Life
An ornate mirror makeover sounds simple on paper, but the real-life experience is part decorating project, part treasure rescue, and part lesson in patience. It often starts with spotting a mirror that looks a little ridiculous. Maybe the frame is too shiny, too dark, too chipped, too formal, or just too “grandma’s formal sitting room in 1997.” And yet something about the shape or carving makes it impossible to leave behind. That is usually the first clue that the makeover is worth doing.
Once the mirror gets home, there is often a brief emotional dip. In the store, it looked charmingly vintage. Under honest lighting, it suddenly looks enormous, dusty, and weirdly dramatic. This is normal. Almost every good makeover has an awkward middle stage where the piece looks worse before it looks better. During cleaning and taping, the frame may seem fussier than expected. Tiny details collect dust. Old finishes flake. Painter’s tape refuses to cooperate in curvy corners. The mirror tests your patience before it earns your admiration.
Then comes the transformation stage, which is where the fun begins. The first coat is usually underwhelming. The second coat starts to shift the mood. By the third pass, the frame begins to reveal what it always wanted to be. An outdated gold turns soft and elegant. A dull brown becomes graphic and modern. A heavily carved frame that once felt heavy suddenly looks artistic because the finish now highlights its texture instead of fighting it. It is one of those rare DIY moments where a small material cost can create a surprisingly dramatic visual payoff.
Another memorable part of the experience is seeing how much a mirror changes the entire room once the makeover is complete. The updated frame does not just improve the mirror; it changes the surrounding wall, the furniture near it, and even the way light moves through the space. A once-ignored corner can feel intentional. A bathroom can look more custom. An entryway can feel brighter and more welcoming. The mirror starts doing its design job better because the frame finally belongs in the room.
The biggest lesson most people take from an ornate mirror makeover is that “old-fashioned” and “outdated” are not the same thing. Plenty of pieces only look wrong because the finish is wrong. Once the color, sheen, and styling make sense, the details that once felt excessive become the very reason the piece feels special. That is the charm of this project: you are not just painting a frame. You are editing its attitude. And when it works, the result feels custom, clever, and just smug enough to make you start eyeing every thrift-store mirror like your next great decorating victory.
Final Thoughts
An ornate mirror makeover is one of the best examples of high impact without high drama. You do not need a massive renovation budget, advanced carpentry skills, or a design degree from a glamorous imaginary academy. You need a solid plan, careful prep, a finish that suits your space, and enough patience to let thin coats do their thing.
Whether you are reviving a flea market find, upgrading a bathroom mirror, or rescuing a hand-me-down with strong opinions, the right makeover can turn a forgotten piece into a standout feature. And that is the sweet spot of great DIY: not making something look brand-new, but making it look exactly right.












