
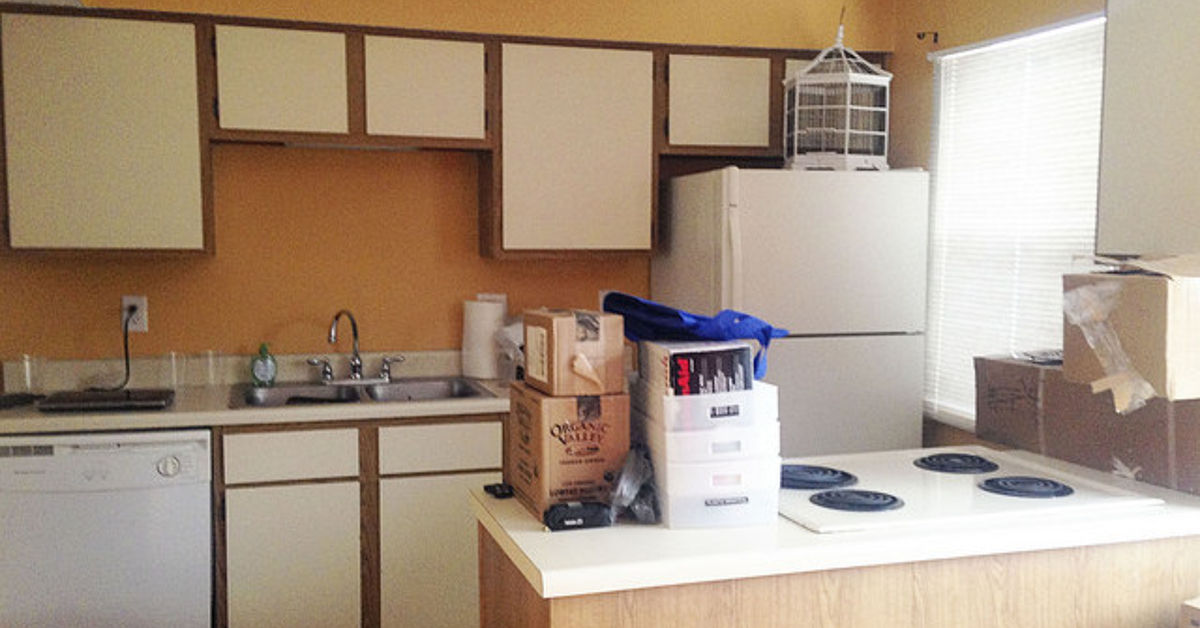
Painting laminate countertops is one of those DIY projects that sounds almost suspiciously simple. You look at your tired old counter, the one wearing a mysterious beige pattern from the “somebody loved brown in 1997” collection, and think, “Surely a coat of paint can fix this.” The good news? It can. The slightly less glamorous news? It cannot be treated like painting a birdhouse on a sunny Saturday. Laminate is slick, stubborn, and not emotionally available to regular wall paint.
Done correctly, painting laminate countertops can refresh a kitchen, bathroom, laundry room, craft area, or rental-friendly workspace for a fraction of the cost of replacement. It can turn a faded Formica countertop into a smooth solid color, a faux marble surface, a granite-look finish, or a modern concrete-style counter. Done carelessly, it can peel, scratch, bubble, and make you say words that should not be used near freshly painted cabinetry.
This guide walks through how to paint laminate countertops the smart way: how to prepare the surface, choose the right primer and countertop paint, apply a durable topcoat, avoid common mistakes, and care for the finished surface so your makeover lasts longer than your New Year’s resolution to organize the junk drawer.
Can You Paint Laminate Countertops?
Yes, you can paint laminate countertops, including many Formica-style surfaces, as long as the laminate is structurally sound. The key phrase here is “structurally sound.” Paint is a cosmetic upgrade, not a miracle worker in a tiny roller tray. If your countertop is peeling, swollen from water damage, lifting at the seams, cracked near the sink, or soft underneath, painting will not solve the underlying problem. In those cases, repair or replacement should come first.
Laminate is made to resist stains and moisture, which is exactly why paint does not naturally want to stick to it. That glossy protective surface is great when spaghetti sauce attacks. It is less great when you are trying to create adhesion. For a lasting result, the surface must be cleaned, lightly sanded, primed with a bonding primer, painted in thin coats, and sealed with a hard protective topcoat.
Why Paint Laminate Countertops Instead of Replacing Them?
Replacing countertops can mean measuring, ordering, demolition, disposal, installation, plumbing adjustments, and the sudden discovery that your backsplash has “opinions.” Painting laminate countertops is less invasive. Most DIYers can complete the active work over a weekend, although cure time can stretch the full project timeline to one or two weeks depending on the coating system.
Painting makes sense when:
- The countertop is ugly but still solid.
- You want a budget kitchen update before a larger remodel.
- You are refreshing a bathroom vanity, laundry counter, bar top, desk, or craft station.
- You want to test a new color or design direction before investing in stone, quartz, butcher block, or new laminate.
- You enjoy DIY projects and are willing to be patient with prep and curing.
Painting may not be the best choice when:
- The countertop gets heavy commercial use.
- You regularly place hot pans directly on the counter.
- You want a surface that behaves exactly like granite or quartz.
- The laminate is badly damaged, delaminated, warped, or soft.
- You need a zero-maintenance surface.
A painted laminate countertop can look beautiful and perform well, but it should be treated as a refinished surface. Use cutting boards, trivets, gentle cleaners, and common sense. In other words, do not chop onions directly on it like you are auditioning for a cooking show with a reckless countertop sponsor.
Best Paint for Laminate Countertops
The best paint for laminate countertops is not ordinary interior wall paint by itself. Wall paint is designed for drywall, not for a slick horizontal surface that faces coffee mugs, dish soap, keys, crumbs, elbows, and the occasional rogue jar of peanut butter.
For most projects, you have three main options:
1. Countertop Paint Kits
Countertop refinishing kits are popular because they package the system for you. Many include primer or base coat, decorative mineral colors, sponges or rollers, and a protective topcoat. Some are designed to mimic granite, marble, quartz, or natural stone. These kits are helpful for beginners because the steps and compatible products are already planned.
2. Bonding Primer + Acrylic or Enamel Paint + Topcoat
This route gives you more color freedom. You use a bonding primer made for slick, nonporous surfaces, then apply a durable acrylic, enamel, or cabinet-grade paint, followed by a compatible clear coat. The advantage is customization. The disadvantage is that you must make sure every product works with the next one. Paint chemistry is not the place to improvise like a jazz drummer.
3. Epoxy or Resin Coating Systems
Epoxy countertop systems can create a glossy, thick, high-impact finish. They are often used for dramatic marble effects, metallic veining, or high-shine surfaces. Epoxy can be durable, but it requires careful mixing, ventilation, edge control, bubble management, and patience. It is less forgiving than basic paint, but the result can be striking.
Tools and Materials You Will Need
Before you begin painting laminate countertops, gather everything in one place. Nothing ruins DIY momentum like realizing your tack cloth is missing while your primer is open and your dog is looking very interested.
- Degreasing cleaner or mild detergent
- Clean cloths or microfiber towels
- Fine- to medium-grit sandpaper or sanding sponge
- Painter’s tape
- Plastic sheeting or drop cloths
- Bonding primer for slick or nonporous surfaces
- Countertop paint, acrylic paint, enamel paint, or refinishing kit
- Small angled brush for edges
- High-density foam roller or microfiber roller
- Paint tray
- Tack cloth or damp cloth for dust removal
- Clear protective topcoat, polyurethane, polycrylic, epoxy, or kit sealer
- Caulk suitable for kitchens or bathrooms
- Gloves, eye protection, and a mask or respirator if recommended by the product label
How to Paint Laminate Countertops Step by Step
Step 1: Inspect the Countertop
Look closely at seams, edges, the area around the sink, and spots near appliances. If the laminate is lifting, glue it down before painting. If there are chips, fill them with a suitable filler and sand smooth. If water has swollen the particleboard underneath, painting will only decorate the problem. A rotten base under a pretty topcoat is still a rotten base, just wearing makeup.
Step 2: Remove Old Caulk
If the counter meets a backsplash, wall, or sink, remove old caulk where possible. Paint and sealer look cleaner when they do not have to crawl over cracked, yellowed caulk. After the countertop is painted and cured, you can apply a fresh bead of kitchen- or bath-rated caulk for a finished edge.
Step 3: Clean and Degrease Thoroughly
This is one of the most important steps. Kitchen counters collect cooking oil, soap film, hand lotion, dust, food residue, and invisible grime. Paint will not bond well to grease. Wash the surface with a degreasing cleaner or detergent, rinse with clean water, and dry completely. Pay special attention to the area near the stove and sink. If the surface feels even slightly slick or oily, clean it again. Yes, again. Prep work is where good countertops are born.
Step 4: Lightly Sand the Laminate
Use sandpaper or a sanding sponge to dull the glossy surface. You are not trying to grind through the laminate; you are creating tiny scratches so the primer can grab on. Think of sanding as giving the paint a handshake instead of forcing it to hug a sheet of glass. After sanding, vacuum or wipe away all dust. Follow with a tack cloth or slightly damp microfiber cloth, then let the counter dry.
Step 5: Tape and Protect Everything Nearby
Use painter’s tape around sinks, faucets, backsplashes, walls, appliances, and cabinet edges. Cover cabinets and floors with drop cloths or plastic. Countertop coatings can drip over edges, especially topcoats and epoxy. Gravity is not your friend here; it is more like a messy assistant who works for free.
Step 6: Apply Bonding Primer
Choose a primer labeled for laminate, glossy surfaces, slick surfaces, or nonporous materials. Apply a thin, even coat with a brush at edges and a roller on large flat areas. Avoid thick coats. Thick primer can dry unevenly and leave texture. Let the primer dry according to the product label. Some projects benefit from a second coat of primer, especially if the old countertop color or pattern is bold.
Step 7: Apply the Base Coat or Countertop Paint
Once the primer is dry, apply your paint or base coat in thin layers. Use a foam roller for a smoother finish and a brush only where the roller cannot reach. If you are using a countertop paint kit, follow the kit order exactly. If you are creating a solid color, two light coats usually look better than one heavy coat. If you are creating faux stone, apply the base coat first, then build pattern with sponging, feathering, veining, or mineral flakes.
Step 8: Add Decorative Effects
This is where painting laminate countertops becomes fun. For a granite look, sponge on several related colors in soft layers. For a marble look, draw thin veins with a small brush, then soften them with a damp brush or sponge. For a concrete effect, use gray tones with subtle movement, not zebra stripes. Step back often. Up close, the pattern may look chaotic; from several feet away, it should feel natural.
A helpful rule: nature is irregular, but it is not random chaos. Marble veins usually travel in a direction. Granite speckles vary but do not look like confetti exploded at a birthday party. When in doubt, use less contrast and build slowly.
Step 9: Seal the Surface
The protective topcoat is what turns pretty paint into a usable countertop finish. Depending on your system, this may be water-based acrylic topcoat, polyurethane, polycrylic, epoxy, resin, or a dedicated countertop sealer. Apply it exactly as directed. Thin, even coats are usually best. Watch for bubbles, lint, brush marks, and drips over the counter edge.
Do not mix random products unless the labels confirm compatibility. Some topcoats can yellow over light paint. Some sealers may not bond to certain paints. Some epoxy systems require precise timing. Read the instructions twice, then once more while holding coffee.
Step 10: Let the Countertop Cure
Dry and cured are not the same thing. A countertop may feel dry to the touch in a few hours but still be soft underneath. Many countertop systems require several days before light use and up to two weeks or more before full cure. During this time, avoid heavy appliances, standing water, aggressive cleaning, hot cookware, and sliding objects across the surface.
This waiting period is the hardest part because the counter looks done. It is not done. It is in its “please do not ruin me yet” era.
Design Ideas for Painted Laminate Countertops
Classic White
White painted countertops can brighten a small kitchen or bathroom. They pair well with navy cabinets, natural wood, black hardware, and subway tile. Use a non-yellowing topcoat if you choose white or cream.
Soft Gray Concrete
A gray concrete-style finish works well in modern, industrial, farmhouse, and minimalist kitchens. Keep the texture subtle and matte to satin for a more realistic look.
Faux Marble
White marble with gray veining is popular because it looks clean and elegant. The secret is restraint. A few believable veins look expensive. Too many thick veins look like a lightning storm got trapped under glass.
Granite Look
Granite-style countertop paint kits are forgiving because speckled patterns hide small imperfections. They are a smart choice for first-time DIYers or older laminate with minor visual flaws.
Deep Charcoal or Black
Dark countertops can make a kitchen look dramatic and polished. They hide some stains but may show dust, crumbs, and scratches depending on the sheen. Pair them with warm wood, brass accents, or white cabinets for contrast.
Common Mistakes When Painting Laminate Countertops
Skipping the Cleaning
Paint over grease and you are basically making a peel-and-stick disaster. Degreasing is not optional.
Sanding Too Much or Too Little
Too little sanding leaves a glossy surface that resists primer. Too much sanding can damage the laminate. Aim for dull, not destroyed.
Using the Wrong Primer
Regular primer may not bond well to laminate. Use a bonding primer designed for slick or nonporous surfaces.
Applying Thick Coats
Thick coats take longer to dry, show roller marks, and may remain soft. Thin coats are more durable and professional-looking.
Ignoring Cure Time
The finish needs time to harden. If you put a toaster, coffee maker, or heavy mixer on the counter too soon, you may leave permanent marks.
Expecting Stone-Level Durability
A painted laminate countertop can be durable, but it is still painted. Use trivets under hot items, cutting boards under knives, and gentle cleaners for daily care.
How to Care for Painted Laminate Countertops
Once your painted countertop has cured, treat it gently. Clean it with mild dish soap and water or a cleaner approved by the coating manufacturer. Avoid abrasive powders, steel wool, harsh scrub pads, bleach-heavy cleaners, and strong solvents unless the product instructions specifically allow them.
Use cutting boards every time you chop, slice, or pound food. Use trivets under hot pans, slow cookers, air fryers, electric skillets, and coffee makers that produce heat. Wipe spills promptly, especially around seams and sinks. Do not let water sit for long periods. The more carefully you treat the surface, the better it will age.
Is Painting Laminate Countertops Worth It?
Painting laminate countertops is worth it when you want an affordable, creative, high-impact update and you are willing to do the prep work. It is not a perfect substitute for brand-new stone, quartz, or professionally installed laminate. But for many homeowners, renters with permission, DIY fans, and budget remodelers, it is a smart bridge between “I hate this counter” and “I am ready for a full renovation.”
The biggest advantage is transformation. A dated counter can suddenly look intentional. A bathroom vanity can look custom. A laundry room can feel finished. A kitchen can stop whispering, “I still remember dial-up internet.”
Real-World Experience: Lessons from Painting Laminate Countertops
The most common experience people have with painting laminate countertops is surprise. Not surprise that the counter looks better, but surprise that the prep work takes longer than the painting. The actual rolling and sponging can feel fast. The cleaning, sanding, taping, drying, waiting, sealing, and curing are where the project earns its results.
One practical lesson is that lighting matters. A countertop may look perfectly clean under warm evening light, then reveal greasy patches and sanding dust the next morning. Good natural light or a bright work lamp helps you catch flaws before they become permanent. This is especially important along the front edge, where drips and missed spots are easy to overlook.
Another experience-related tip: practice your decorative finish before touching the counter. A piece of cardboard, scrap wood, or even the back of an old shelf can become your training zone. Faux marble veining, granite sponging, and concrete-style layering all look better when your hand has warmed up. The first attempt often looks dramatic in a “haunted countertop” way. The second or third attempt usually becomes softer and more believable.
Edges deserve extra patience. Flat surfaces are simple; edges are sneaky. Paint can collect along the underside lip and form drips. A small brush helps, but check the edges several times while each coat is still workable. Wipe or smooth drips early. Once a drip hardens under a clear topcoat, it becomes part of the family.
Drying time also feels longer in real life than it sounds on the label. Humidity, temperature, thick coats, poor ventilation, and heavy topcoats can slow everything down. Many DIYers plan to use the kitchen normally the next day and then discover the finish is still tender. A better plan is to create a temporary kitchen station: coffee maker on a table, cutting board somewhere safe, paper plates if needed, and a firm rule that nobody rests grocery bags on the new counter. This rule includes teenagers, spouses, roommates, and that one friend who says, “I’ll be careful,” while holding keys.
Small imperfections are also part of the experience. A tiny speck of dust, a faint roller line, or a slightly uneven vein may feel enormous while you are working. After the room is put back together, most of these details disappear into the overall look. The goal is not factory perfection. The goal is a clean, durable, attractive surface that makes the room feel renewed.
The best long-term results usually come from people who change their habits after the project. They stop cutting directly on the counter. They use trivets. They lift appliances instead of dragging them. They wipe water around the sink. They clean with mild products. In short, they treat the painted surface like a nice table instead of a garage workbench.
The final experience worth mentioning is emotional: painting laminate countertops can make an outdated room feel loved again. It is satisfying because the change is visible, affordable, and personal. You pick the color. You create the finish. You rescue a surface that might otherwise be ripped out. And when someone asks, “Is that new countertop?” you get to smile modestly while secretly accepting your imaginary DIY trophy.
Conclusion
Painting laminate countertops is a practical, budget-friendly way to refresh a dated surface without committing to a full remodel. The project works best when you respect the process: clean deeply, sand lightly, use a proper bonding primer, apply thin coats, seal carefully, and allow enough cure time. Whether you choose a solid color, faux granite, marble veining, or a soft concrete finish, the final result can dramatically change the look of your kitchen, bathroom, laundry room, or workspace.
The trick is to be patient. Laminate may be slick, but it is not unbeatable. With the right products and a little DIY discipline, that old countertop can go from “please ignore me” to “yes, I absolutely meant to look this stylish.” Just remember: cutting boards, trivets, gentle cleaning, and no hot pans directly on the surface. Your countertop has had a makeover. Let it enjoy its glow-up.
Note: This article is written for educational and DIY planning purposes. Always follow the exact instructions, safety guidance, ventilation requirements, drying times, and curing recommendations on the specific primer, paint, countertop kit, or sealer you use.











