Note: This thermal camera review is written for homeowners, DIYers, technicians, gadget lovers, and anyone who has ever pointed at a suspicious wall stain and whispered, “Please don’t be expensive.” It is based on real thermal-imaging principles, current product categories, and practical buying criteria used across the U.S. market.
Introduction: The Superpower That Sees Heat
A thermal camera does not give you X-ray vision, but it comes surprisingly close to feeling like a legal, tool-shaped superpower. Instead of showing ordinary light, a thermal imaging camera detects infrared radiation and turns temperature differences into a visible image. Hot areas may glow yellow, orange, or white; cooler zones may appear blue, purple, or black. Suddenly, your home, car, circuit breaker, laptop, dog bed, and refrigerator seal all have colorful secrets.
That is why thermal cameras have moved from “expensive professional inspection gear” into the toolboxes of homeowners, HVAC technicians, electricians, mechanics, energy auditors, electronics hobbyists, and curious people who absolutely do not trust the cold corner of the living room. Modern models range from compact smartphone attachments to rugged handheld thermal imagers with built-in screens, reporting software, laser pointers, visible-light overlays, Wi-Fi transfer, and enough menus to make a spaceship jealous.
In this thermal camera reviewed guide, we will look at what thermal cameras do well, where they fall short, which specs actually matter, and how to choose the right model without paying for features you will never use. Because buying a thermal camera is not just about picking the one with the brightest rainbow image. It is about resolution, sensitivity, accuracy, field of view, software, durability, and whether the thing will still be useful after the first “Look, my coffee is hot!” demonstration.
What Is a Thermal Camera?
A thermal camera, also called an infrared camera or thermal imaging camera, captures surface temperature patterns. It does this by detecting infrared energy emitted by objects. Unlike a regular camera, it does not need visible light to create an image. That means it can reveal heat loss around windows, overheating electrical components, missing insulation, moisture-related temperature changes, HVAC airflow problems, warm pipes behind walls, and hot spots in machinery.
However, a thermal camera does not literally see through walls. This is one of the biggest myths in the tool world, right next to “I only need one more drill.” Thermal imaging shows temperature differences on surfaces. If a pipe warms the drywall, the camera may show the heat pattern. If moisture cools an area through evaporation, the camera may reveal a suspicious cool patch. But it cannot magically display a full plumbing diagram hiding behind sheetrock like a video game map.
How Thermal Cameras Work in Real Life
Thermal cameras convert heat patterns into visual images called thermograms. In a home energy audit, the camera may reveal cold air leaking around a window frame. In an electrical inspection, it may show one breaker running hotter than nearby breakers. In electronics repair, it can help locate a tiny component overheating on a circuit board. In automotive work, it can show uneven brake temperatures, radiator flow issues, or a misbehaving relay.
The value comes from comparison. A warm electrical connection may be normal if everything around it is equally warm. A single unusually hot connection, though, may deserve attention from a qualified electrician. A cool patch on a ceiling could be missing insulation, but it could also be air movement, moisture, or a harmless temperature difference. Thermal cameras are excellent at saying, “Something is different here.” They are less good at saying, “Here is the full legal diagnosis, your invoice, and a mint.”
Thermal Camera Reviewed: The Specs That Actually Matter
1. Thermal Resolution
Thermal resolution is one of the most important specs. It tells you how many temperature-sensing pixels the camera has. Common entry-level models may offer 80 x 60 or 120 x 90 resolution. Better consumer and prosumer tools often use 160 x 120, 256 x 192, or 320 x 240 sensors. Professional thermal imagers can reach 464 x 348, 640 x 480, or higher.
More thermal pixels mean more detail. This matters when scanning small targets, distant objects, electrical panels, circuit boards, or subtle insulation gaps. A low-resolution camera can still find big problems, like a missing attic insulation section or a hot motor. But if you want to identify small components or create professional reports, higher resolution is worth the money.
2. Thermal Sensitivity, or NETD
Thermal sensitivity is often listed as NETD, short for noise equivalent temperature difference. In plain English, it measures how small a temperature difference the camera can detect. Lower numbers are better. A camera with sensitivity below 50 mK can usually show more subtle temperature variations than a model rated around 100 mK.
For homeowners, sensitivity helps when looking for air leaks, damp areas, or weak insulation. For electronics work, it can reveal tiny heat signatures. For industrial use, it helps identify early warning signs before a component becomes the mechanical equivalent of a toaster with ambition.
3. Accuracy
Many thermal cameras advertise accuracy around plus or minus 2 degrees Celsius or plus or minus 2 percent, depending on the model and measurement conditions. That sounds precise, but real-world accuracy depends on distance, surface material, reflections, emissivity settings, ambient temperature, and whether the camera has warmed up properly.
For most DIY use, the exact number is less important than the pattern. If one section of a wall is much colder than the rest, that is useful information. If one electrical connection is dramatically hotter than neighboring connections, that is a red flag. For professional electrical, medical, industrial, or legal documentation, calibrated equipment and proper training matter much more.
4. Emissivity Settings
Emissivity describes how effectively a surface emits infrared energy. Matte drywall, wood, fabric, and painted surfaces are usually easier to read. Shiny metal, glass, polished tile, and reflective surfaces can trick a thermal camera because they reflect heat from nearby objects. A stainless steel appliance may show your own body heat bouncing back at you, which is funny until you mistake yourself for a compressor problem.
Better thermal cameras allow manual emissivity adjustment. This is especially useful for HVAC, electrical, automotive, and industrial work. For casual home inspections, automatic settings may be fine, but users should still understand that shiny surfaces can lie.
5. Field of View
Field of view determines how wide an area the thermal camera can see. A wide field of view is helpful for scanning rooms, walls, ceilings, and HVAC vents. A narrower field of view is better for distant targets or small objects. Homeowners usually benefit from wider coverage, while inspectors and technicians may prefer models with lens options or sharper targeting.
6. Refresh Rate
Refresh rate affects how smooth the thermal image looks when you move the camera. Many consumer thermal cameras in the U.S. operate around 9 Hz, which is usable for still inspections but can look slightly choppy during motion. Higher refresh rates feel smoother and are better for moving targets, live troubleshooting, and industrial work. For scanning windows and outlets, 9 Hz is usually fine. For fast-moving machinery, it may feel like watching a flipbook drawn by a tired engineer.
Types of Thermal Cameras
Smartphone Thermal Camera Attachments
Phone-connected thermal cameras are popular because they are compact, affordable, and easy to carry. They plug into a phone through USB-C or Lightning, or connect wirelessly. Models from brands such as FLIR, Seek Thermal, TOPDON, InfiRay, and Thermal Master have made this category far more accessible.
The advantage is convenience. You already have the screen, storage, sharing tools, and battery system in your phone. The downside is that performance depends heavily on app quality, phone compatibility, connector durability, and whether the device works with Android, iPhone, or both. If the app is clumsy, the camera can feel like a brilliant tool trapped inside a tiny software haunted house.
Handheld Thermal Cameras
Handheld thermal cameras look more like traditional inspection tools. They usually include a built-in screen, grip, battery, storage, and dedicated controls. These are excellent for contractors, HVAC technicians, electricians, maintenance teams, and serious DIY users who want a standalone device that does not depend on a phone.
Handheld models are often more durable and easier to use with gloves. Many include laser pointers, visible-light cameras, image blending, drop protection, IP ratings, and software for reporting. They also tend to cost more, but the workflow is often smoother. For professional use, that matters. Time is money, and nobody wants to explain to a client that the inspection is delayed because the app wants a surprise update.
Pocket Thermal Cameras
Pocket thermal cameras sit between phone attachments and full-size handheld units. They are small, self-contained, and useful for quick inspections. Some models combine thermal imaging with a visible-light camera, LED light, cloud upload, and simple reporting. They are ideal for homeowners, facility managers, property owners, and technicians who want a grab-and-go tool.
Professional Industrial Thermal Imagers
Professional models from companies such as FLIR and Fluke can offer high thermal resolution, better sensitivity, advanced lenses, stronger calibration, rugged construction, long battery life, and detailed reporting software. These are made for predictive maintenance, electrical inspections, mechanical systems, manufacturing, utilities, and building science.
They are also expensive. A homeowner looking for attic drafts does not need the same camera used to inspect high-voltage switchgear. Buying the most powerful thermal camera for basic home use is like buying a fire truck because your toast is moody.
Best Uses for a Thermal Camera
Home Energy Audits
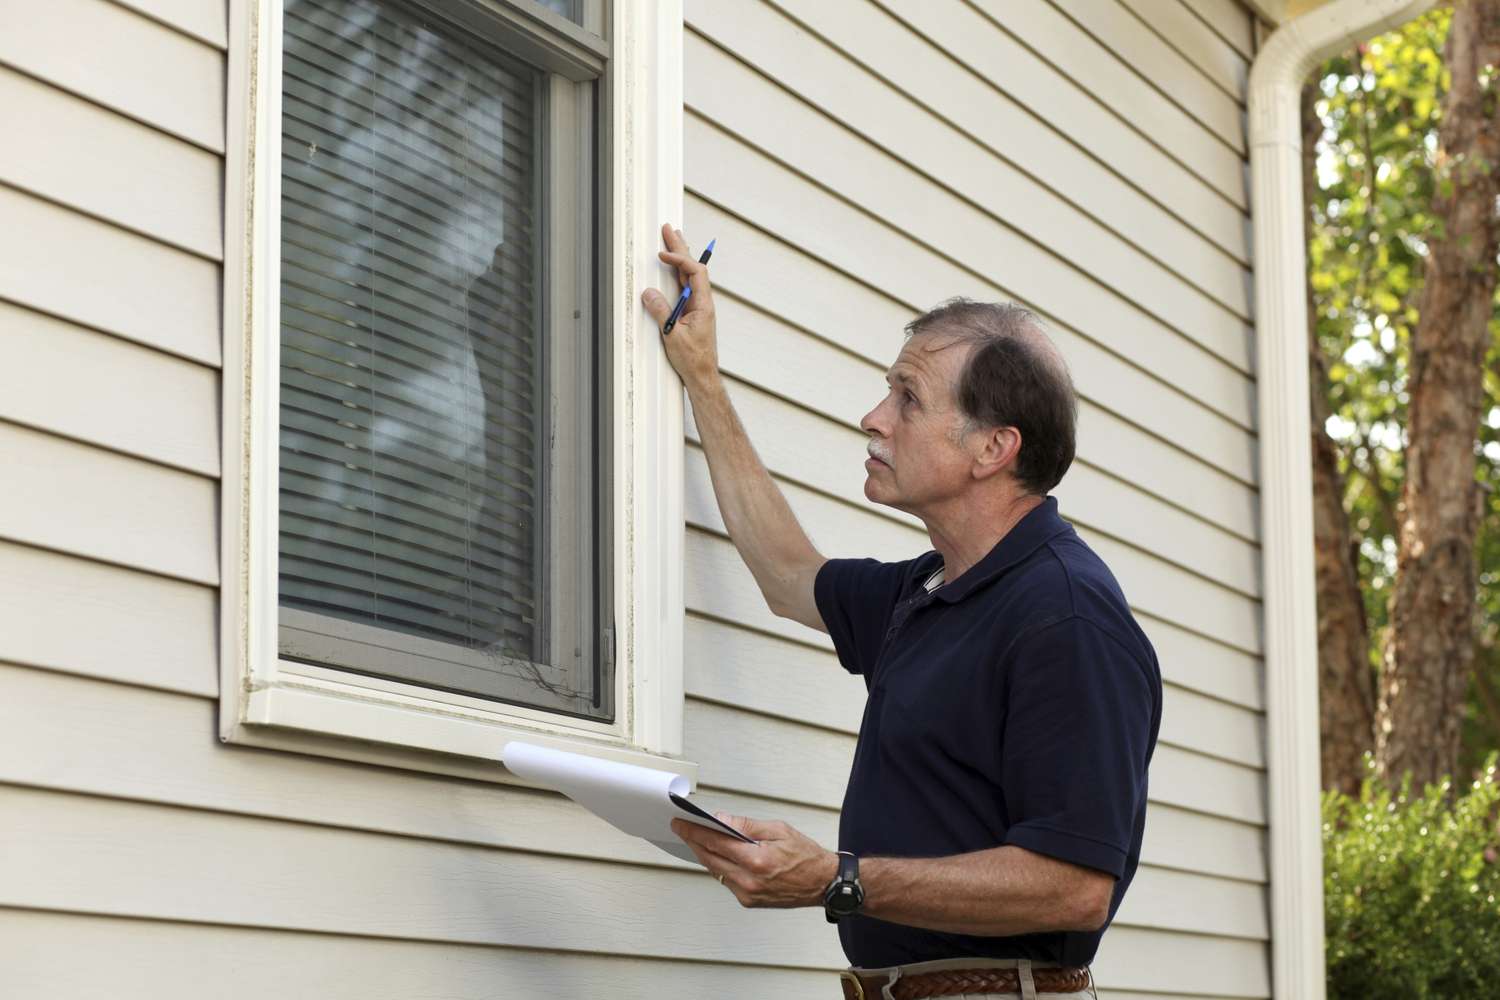
One of the best uses for a thermal camera is finding energy loss. Cold drafts around doors, weak insulation, attic bypasses, and poorly sealed windows can all show up as temperature differences. For best results, use the camera when there is a strong indoor-outdoor temperature difference. Winter mornings and hot summer afternoons often reveal more than mild spring days.
HVAC Troubleshooting
Thermal imaging can show whether vents are delivering conditioned air, whether ducts are leaking, and whether radiators or radiant floor systems are heating evenly. It can also help locate blocked airflow or uneven cooling. A thermal camera will not replace HVAC gauges or professional diagnostics, but it can point you toward the problem faster.
Electrical Safety Checks
Thermal cameras can identify abnormal heat in outlets, breakers, switches, extension cords, and electrical panels. Heat can indicate overload, loose connections, failing components, or other risks. This is an area where caution matters. Do not remove panel covers or touch live electrical components unless you are qualified. Use thermal imaging as an observation tool, not as an excuse to become an amateur lightning negotiator.
Plumbing and Moisture Investigation
Thermal cameras can sometimes help locate leaks, damp areas, or hidden plumbing lines by showing temperature differences. Moisture often appears cooler because evaporation pulls heat from a surface. Warm water pipes may leave heat trails behind walls or floors. Still, thermal imaging should be paired with moisture meters, visual inspection, and common sense. A cool patch is a clue, not a courtroom confession.
Electronics Repair
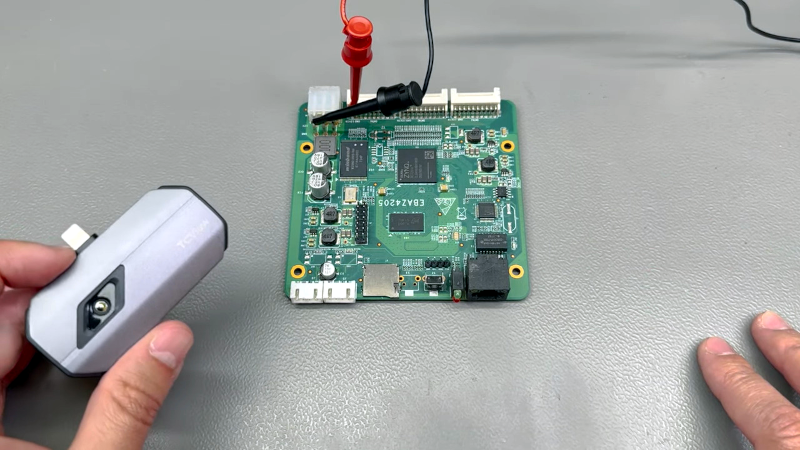
For electronics hobbyists, a thermal camera can be incredibly useful. It can reveal overheating chips, shorted components, failing voltage regulators, battery heat, or poor heat-sink contact. A model with higher resolution, close focus, manual focus, or macro capability is much better for circuit boards than a basic wide-angle home inspection camera.
Automotive Diagnostics
Mechanics and DIY car owners can use thermal cameras to compare brake temperatures, check radiator flow, spot misfiring cylinders through exhaust manifold differences, inspect heated seats, and identify parasitic heat from relays or wiring. It will not replace a scan tool, but it adds a visual layer that can make troubleshooting faster and more satisfying.
What We Like About Modern Thermal Cameras
The biggest improvement is accessibility. A useful thermal camera no longer requires a giant budget. Entry-level phone attachments can help homeowners find drafts and hot electronics. Midrange handheld models can handle serious home inspection and technician work. Professional tools still dominate high-accuracy reporting, but the gap between casual and professional thermal imaging has narrowed.
Modern image blending is another major win. Some cameras combine thermal data with visible-light edges, making it easier to understand what you are seeing. Instead of a vague orange blob, you may see the outline of a window, outlet, pipe, or appliance. This is especially helpful when creating reports or explaining problems to someone who thinks “thermal bridge” sounds like an Icelandic tourist attraction.
Software has also improved. Many cameras now offer spot meters, temperature boxes, high-low markers, adjustable palettes, image notes, wireless sharing, and desktop reporting. For professionals, these features can save time. For homeowners, they make it easier to document issues before calling a contractor.
What We Do Not Like
The first downside is price confusion. Thermal cameras can cost less than $150 or several thousand dollars, and the difference is not always obvious to beginners. Marketing terms such as “super resolution,” “enhanced resolution,” and “AI upscaling” can make a lower-resolution sensor sound more powerful than it really is. Upscaling can improve visual appearance, but native thermal resolution still matters.
The second problem is misinterpretation. Thermal images look authoritative, but they require context. A cold wall area might be missing insulation, air leakage, thermal bridging, or simply a surface cooled by airflow. A hot spot on electronics may be normal operating behavior. A shiny object may reflect heat from elsewhere. Without careful interpretation, thermal imaging can turn into colorful guessing.
Battery life is another practical issue. Phone attachments may drain your phone. Standalone units may last a few hours or much longer depending on the model. If you plan to inspect multiple properties, industrial equipment, or a large building, battery life and charging options matter.
How to Choose the Right Thermal Camera
For Homeowners
Choose a simple camera with at least basic thermal resolution, easy software, and a wide field of view. A phone attachment or pocket model is usually enough for checking drafts, insulation gaps, appliance heat, and basic moisture clues. Look for clear images, reliable app support, and easy saving or sharing.
For DIY Repair and Electronics
Look for higher resolution, manual focus, close-focus capability, and good thermal sensitivity. A macro lens can be a major advantage for circuit boards. Avoid models that cannot focus close enough, because tiny components will look like a warm bowl of digital soup.
For Contractors and Inspectors
Choose a rugged handheld camera with a built-in screen, visible-light overlay, reporting software, good battery life, and reliable accuracy. A minimum of 160 x 120 resolution may work for basic inspections, but 320 x 240 or higher is better for professional documentation.
For Industrial and Electrical Work
Professional users should prioritize accuracy, calibration, safety ratings, resolution, sensitivity, lens options, reporting tools, and brand support. Electrical inspections can involve serious hazards, so equipment quality and operator training are essential.
Common Mistakes to Avoid
Do not buy only by color palette. Iron, rainbow, white-hot, and black-hot palettes are useful, but they do not determine camera quality. Do not assume higher displayed image size means higher thermal resolution. Some cameras upscale images, which can look nicer while still capturing fewer native temperature points.
Do not ignore emissivity. Shiny metal, glass, and reflective surfaces can produce misleading readings. Do not scan too close or too far without understanding the camera’s focus and field of view. Do not rely on thermal imaging alone for moisture, mold, electrical danger, or structural problems. It is a powerful clue-finder, not a magic judge in a tiny plastic robe.
Thermal Camera Reviewed: Final Verdict
A thermal camera is one of those tools that feels unnecessary until you use one. Then suddenly everything becomes a mystery worth scanning. Why is that outlet warmer? Why is the ceiling corner cold? Why is the router cooking itself like a grilled cheese sandwich? The appeal is immediate because thermal imaging turns invisible problems into visible patterns.
For most homeowners, a midrange phone-connected or pocket thermal camera is the best starting point. It can help identify drafts, insulation gaps, HVAC issues, appliance heat, and basic moisture clues without requiring professional-level spending. For technicians, inspectors, and contractors, a rugged handheld model with stronger resolution and reporting tools is worth the upgrade. For industrial users, professional thermal imagers from established brands remain the smart choice because accuracy, durability, and documentation matter.
The best thermal camera is not automatically the most expensive one. It is the one that matches your job. If you only need to find air leaks, do not overbuy. If you inspect electrical systems professionally, do not underbuy. If you want to scan your refrigerator, laptop, dog, coffee mug, and suspiciously warm pizza box, welcome to the club. Thermal cameras make the world look weird, useful, and occasionally hilarious.
Extra Field Experience: What Using a Thermal Camera Actually Feels Like
The first experience most people have with a thermal camera is pure chaos. You turn it on, point it around the room, and immediately forget the original reason you bought it. The coffee mug glows. The dog has warm ears. The television looks like a small fireplace. Your footprints remain on the floor for a few seconds like you are a detective in a science fiction movie. It is fun, but after the novelty wears off, the real value starts to appear.
One practical test is scanning around doors and windows on a cold day. At first, the image may look like modern art painted by a thermostat. But once you compare corners, frames, weatherstripping, and glass edges, patterns become clear. A thin blue streak near a door sweep can reveal an air leak. A cold rectangle on a wall may suggest missing insulation. The camera does not fix the issue, but it tells you where to start. That alone can save hours of guessing.
Another useful experience is checking electronics. A router tucked into a tight shelf may show a strong hot spot near its processor or power supply. Move it into open air, clean the vents, and scan again. If the temperature drops noticeably, the camera has helped confirm a simple cooling problem. This is where thermal imaging feels less like a toy and more like a practical troubleshooting partner.
In a garage, thermal cameras can be surprisingly helpful. After driving, brake rotors should usually show somewhat similar heat patterns from side to side. A major difference can suggest a sticking caliper or uneven braking. Around a car engine, a thermal camera may show coolant flow, exhaust temperature differences, or heat-soaked components. It will not replace proper diagnostic tools, but it can guide your attention quickly.
In home maintenance, the biggest lesson is patience. Thermal cameras reward slow scanning. Move too quickly and you miss details. Scan when the temperature difference is too small and you may see very little. Use the wrong angle on a reflective surface and you may capture a thermal selfie instead of useful data. The best results come from comparing similar areas, changing angles, and confirming findings with another method.
After using a thermal camera for a while, you also become more realistic. Not every colorful spot is a disaster. Homes are full of normal thermal patterns. Studs, pipes, vents, sunlight, appliances, electronics, and human activity all affect surface temperature. The camera gives clues, not final answers. But good clues are valuable. They help you decide whether to add weatherstripping, call an electrician, improve airflow, inspect insulation, or simply stop storing your Wi-Fi router in a wooden cave.
The most satisfying part is documentation. A thermal image can make a problem easier to explain. Instead of saying, “This corner feels cold,” you can show a visible temperature pattern. Instead of guessing that a device is overheating, you can compare before-and-after images. For homeowners, renters, landlords, technicians, and inspectors, that visual proof is powerful.
Overall, using a thermal camera teaches you that heat has a story. Sometimes it is a boring story, like “the laptop is warm.” Sometimes it is a useful story, like “the attic hatch leaks air.” And sometimes it is a funny story, like discovering your cat has been sitting on the exact same chair long enough to leave a glowing thermal throne. That mix of practicality and curiosity is what makes thermal cameras so addictive.